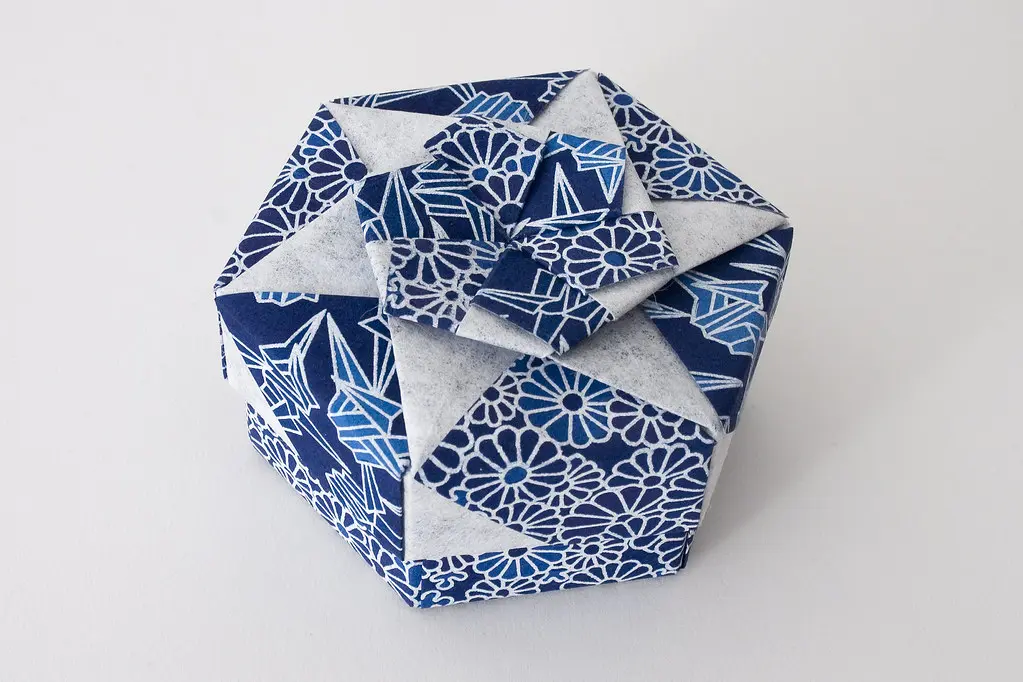
I spent four hours on a single tessellation once, only to realize at the very last fold that a crease three steps back was mirrored wrong, and the entire grid had to come undone. That moment taught me more about advanced origami projects than any tutorial ever could, patience matters more than speed once models reach this level, and this guide walks through exactly what separates intermediate work from true advanced folding.
This piece is Part of Origami Project Ideas for Every Skill Level, and it covers what genuinely makes a model advanced, which techniques show up repeatedly at this level, the paper choices that hold up under complex folding, and where to look once intermediate models start feeling too easy.
What Makes an Origami Model Advanced?
Advanced origami isn't just about having more folds than a beginner model. It's defined by the techniques involved, precision demands, and how much the model relies on accurate sequencing rather than forgiving, repeatable steps.
I've found that the real marker of an advanced model is how unforgiving it becomes when something goes even slightly wrong early on. A beginner crane survives a slightly off diagonal fold without much visible damage. An advanced tessellation or wet-folded sculpture rarely offers that same room for error, since small inaccuracies compound across dozens or even hundreds of later folds.
Advanced models also frequently move beyond simple diagrams into complex origami models built from crease patterns, grids of dashed lines showing every fold in a finished piece all at once, rather than a numbered step-by-step sequence. Reading a crease pattern is itself a skill that takes real practice to develop.
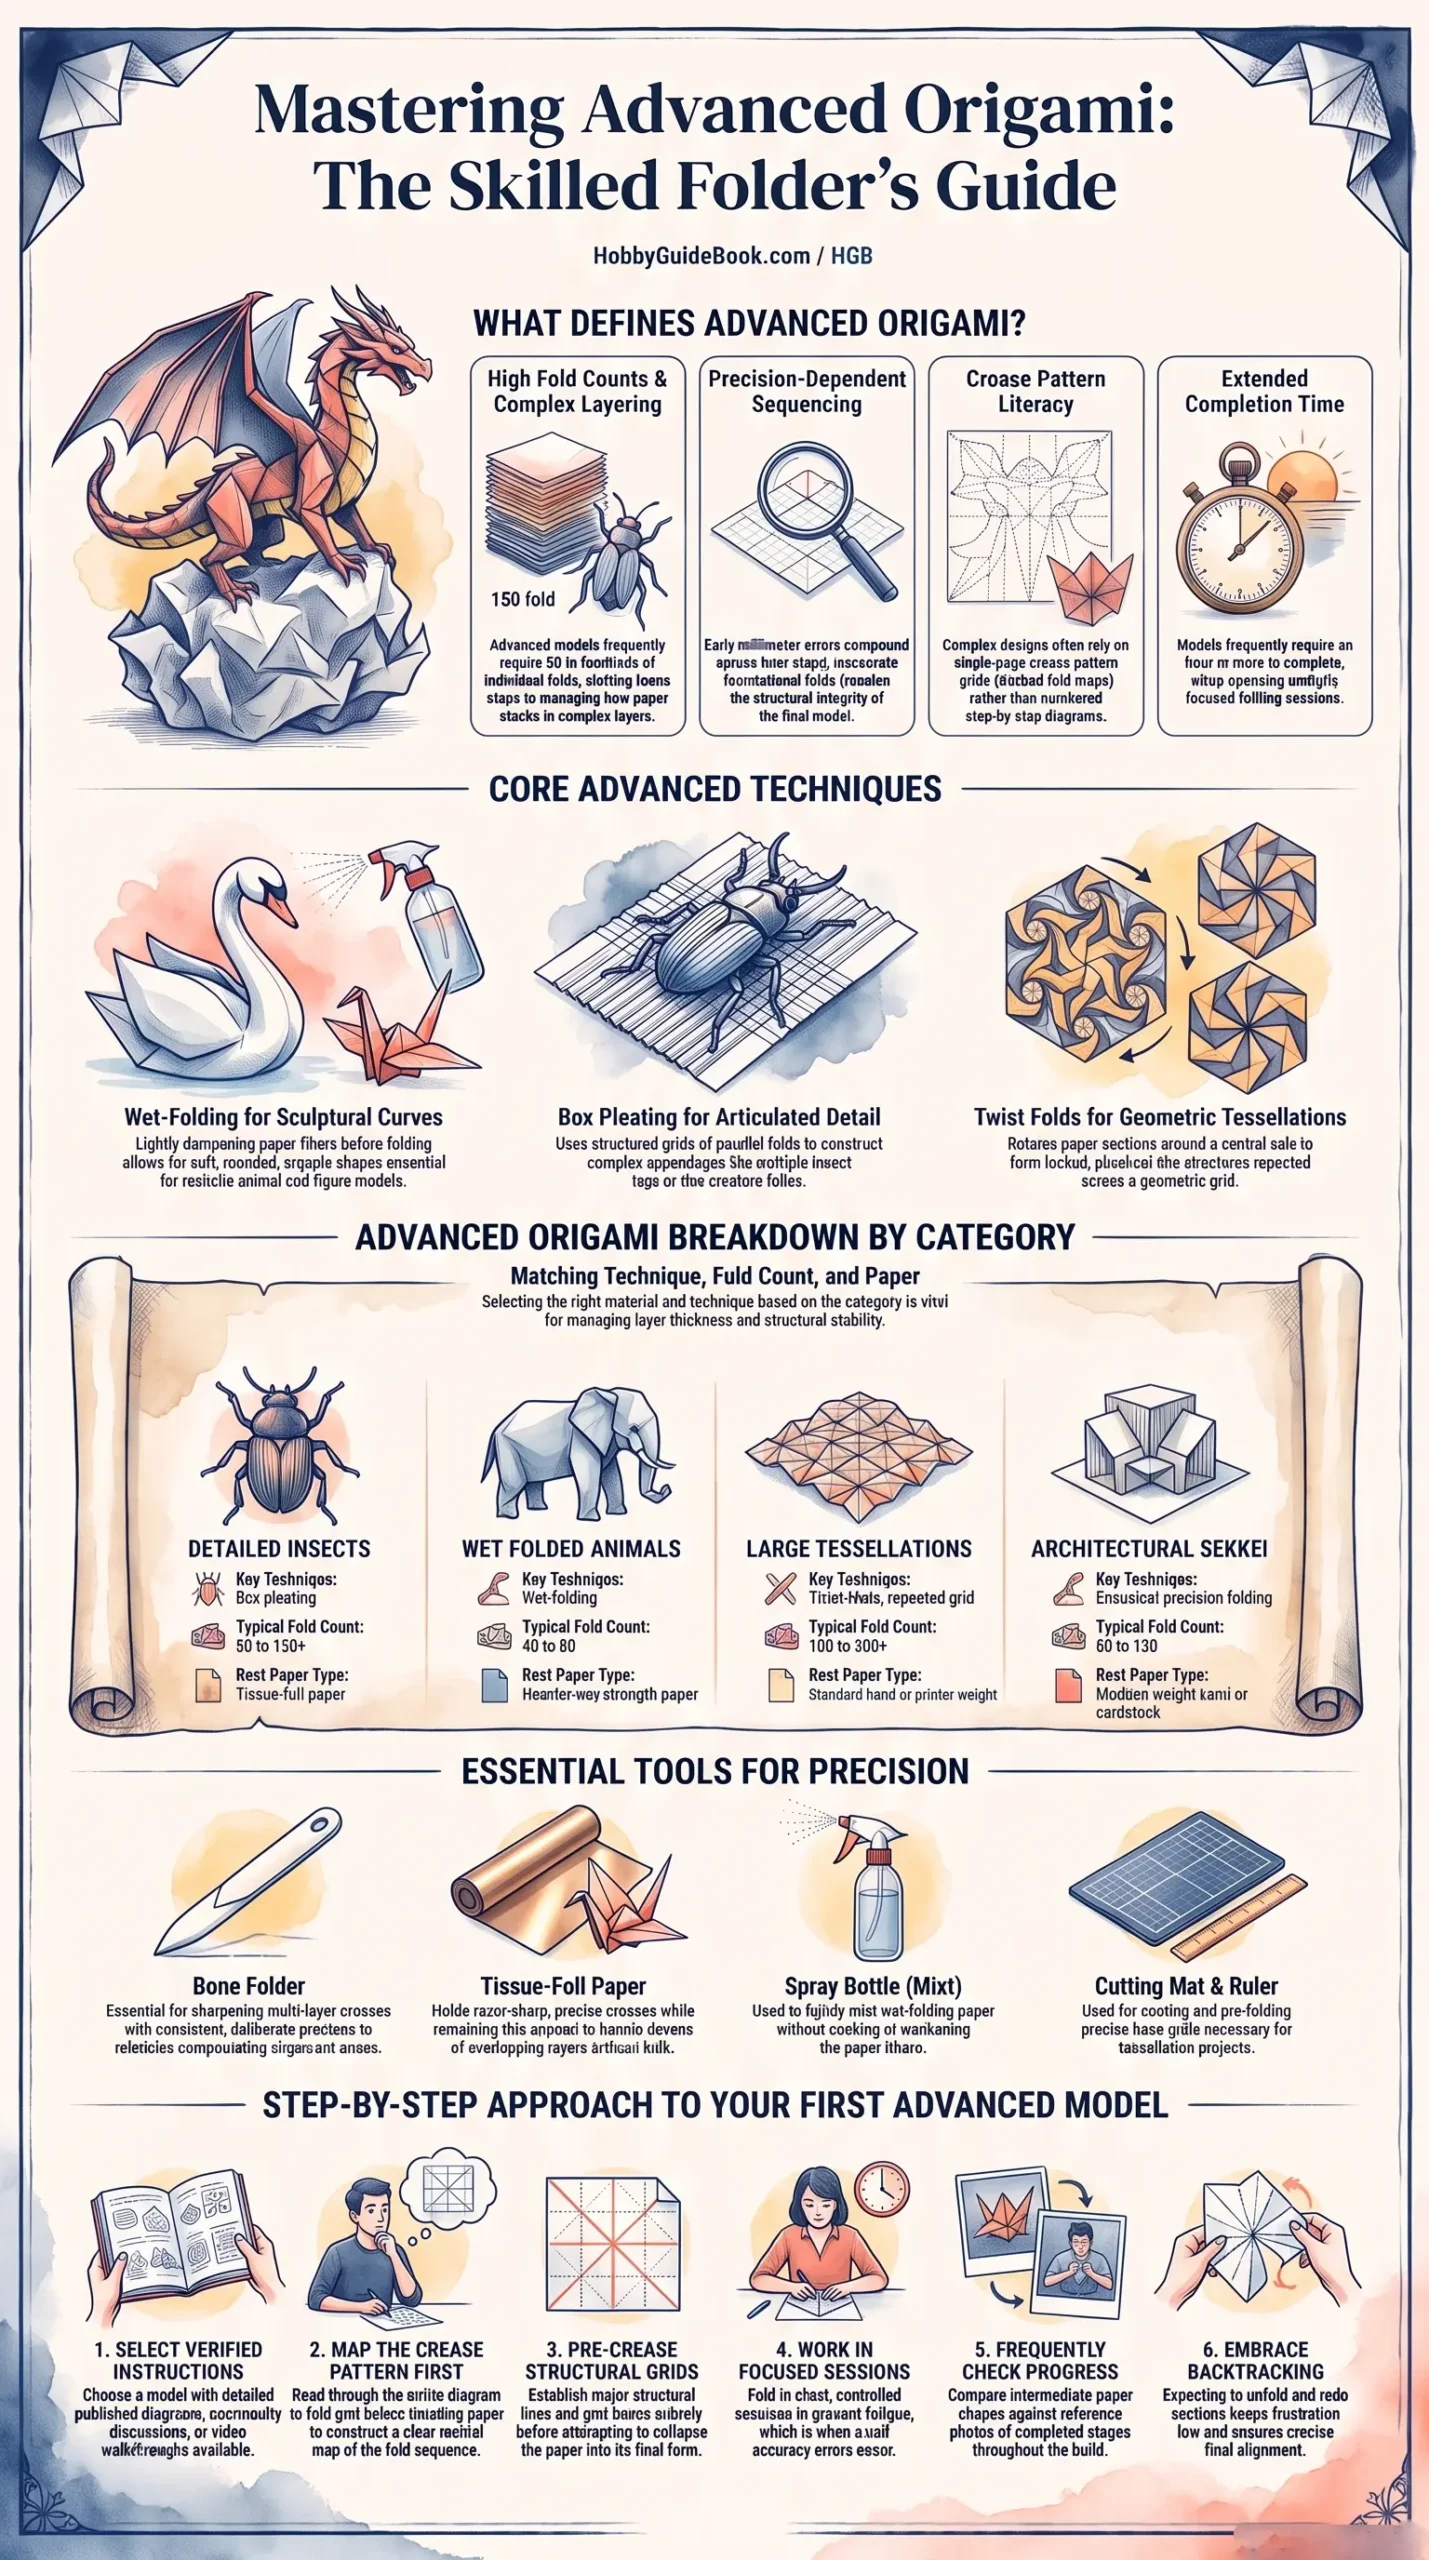
Photo Credit: Hobby Guidebook Editorial
Common Traits of Advanced Origami Models
A few shared characteristics tend to show up across most models considered genuinely advanced, regardless of the specific technique involved.
- High fold counts, often 50 or more individual folds, sometimes reaching into the hundreds for large tessellations or detailed figurative models.
- Precision-dependent sequencing, where an inaccurate early fold throws off multiple later steps rather than staying isolated to one small section.
- Layered, multi-directional creases, requiring folds that intersect and interact rather than following one simple linear path.
- Crease pattern literacy, the ability to read a full grid of fold lines rather than following numbered diagram steps.
- Extended completion time, frequently an hour or more for a single model, sometimes spanning multiple sessions for the most complex designs.
Materials and Tools for Advanced Origami Projects
Advanced work generally uses the same core tools as simpler origami, but precision and paper quality matter noticeably more at this level.
|
Item |
Purpose |
Notes |
|
Specialty foil or tissue-foil paper |
Holds crisp, precise creases for detailed models |
Common choice for complex figurative folds |
|
Bone folder |
Sharpens creases with consistent pressure |
Essential for multi-layer, high-precision folds |
|
Crease pattern printouts or grid paper |
Guides pre-creasing for tessellations |
Often printed at exact model scale |
|
Spray bottle with water |
Softens paper slightly for wet-folding |
Used sparingly, never soaking the sheet |
|
Cutting mat and ruler |
Helps pre-fold accurate grid lines |
Useful for scoring tessellation base grids |
What Are Some of the Most Challenging Origami Models to Fold?
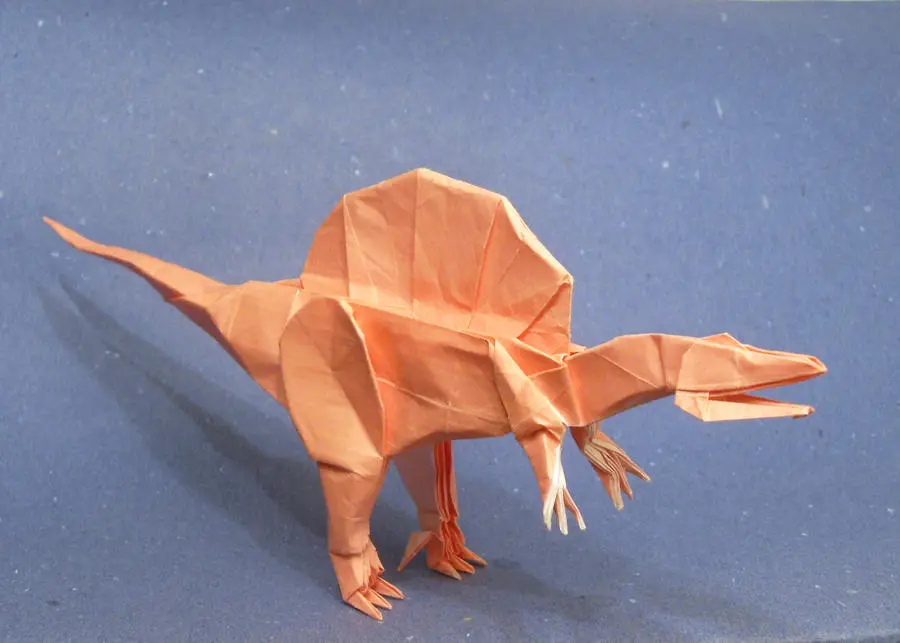
A handful of models consistently come up when folders discuss the true upper edge of difficulty in this hobby. Complex insect models, particularly detailed beetles and spiders with multiple articulated legs, rank among the hardest, often requiring 100 or more precise folds working from a base shape that barely resembles the finished insect until very late in the process.
Detailed dragon models, especially those with individually folded scales, wings, and claws, are another frequent contender, sometimes taking several hours across multiple sessions to complete properly. Large-scale tessellations, particularly ones using twist folds arranged in repeating geometric patterns across a big sheet, challenge folders in a completely different way, less about individual fold complexity and more about maintaining perfect consistency across dozens of repeated units.
Expert origami projects like these typically come from designers working at the very top of the field, with instructions published as detailed crease patterns rather than simplified step-by-step diagrams, which itself represents a real jump in required skill just to interpret the instructions correctly.
Which Techniques Are Common in Advanced Origami?
A specific set of techniques separates advanced folding from earlier skill levels, and most complex models draw on several of them together rather than relying on just one.
Wet-folding involves lightly dampening paper before folding, allowing softer, more sculptural curves rather than the sharp, flat creases typical of dry paper. This technique shows up constantly in advanced animal and figure models, where a rounded, lifelike shape matters more than crisp geometric lines.
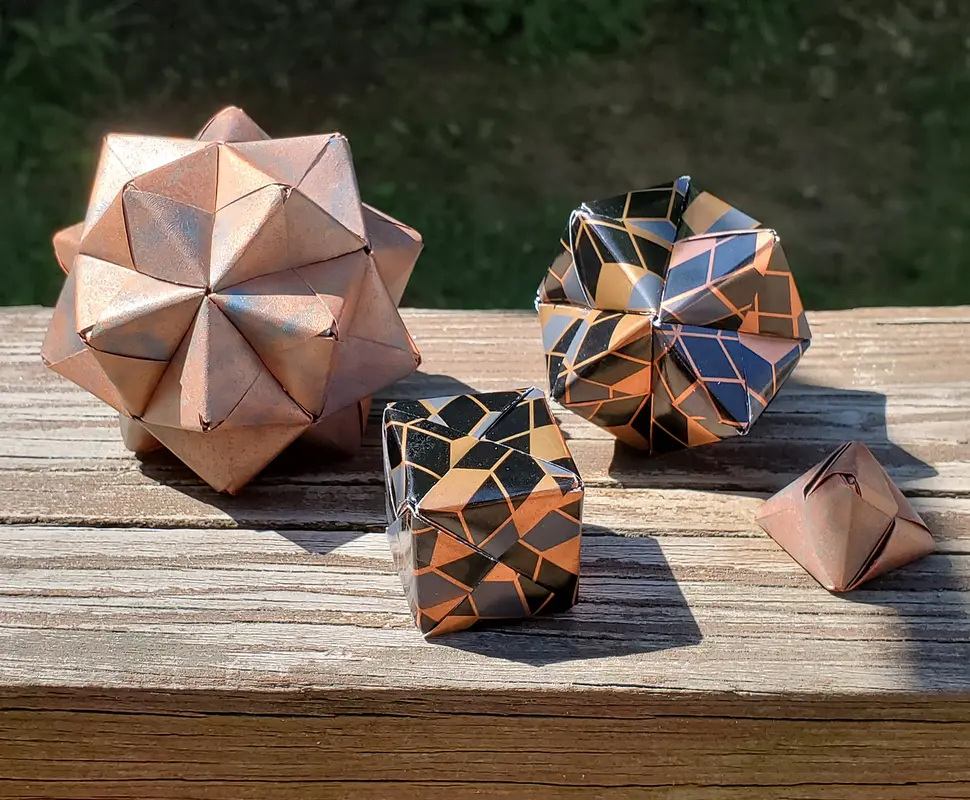
Box pleating uses a structured grid of parallel folds to create complex, articulated shapes like multiple legs or detailed limbs, common in advanced insect and creature models. Twist folds, where a section of paper rotates around a central point to create a locked, pinwheel-like structure, appear frequently in tessellation work and some geometric modular designs.
A folding instructor I once studied under during an intensive workshop described advanced technique as learning to think in layers rather than lines. That framing genuinely changed how I approach complex models, since advanced folding really is about managing how paper stacks and interacts across multiple points at once, not just following a longer sequence of individual steps.
Step-by-Step: Approaching Your First Advanced Model
Moving into advanced territory works best with a structured approach rather than diving straight into the hardest model you can find.
- Choose a model with published, detailed instructions, ideally one with some community discussion or video walkthrough available, since advanced diagrams alone can be genuinely difficult to interpret correctly the first time.
- Read through the entire crease pattern or diagram before folding anything, building a rough mental map of the model's structure rather than jumping straight into step one blind.
- Pre-crease major structural lines first, especially on tessellations, establishing the full grid before attempting to collapse the pattern into its final shape.
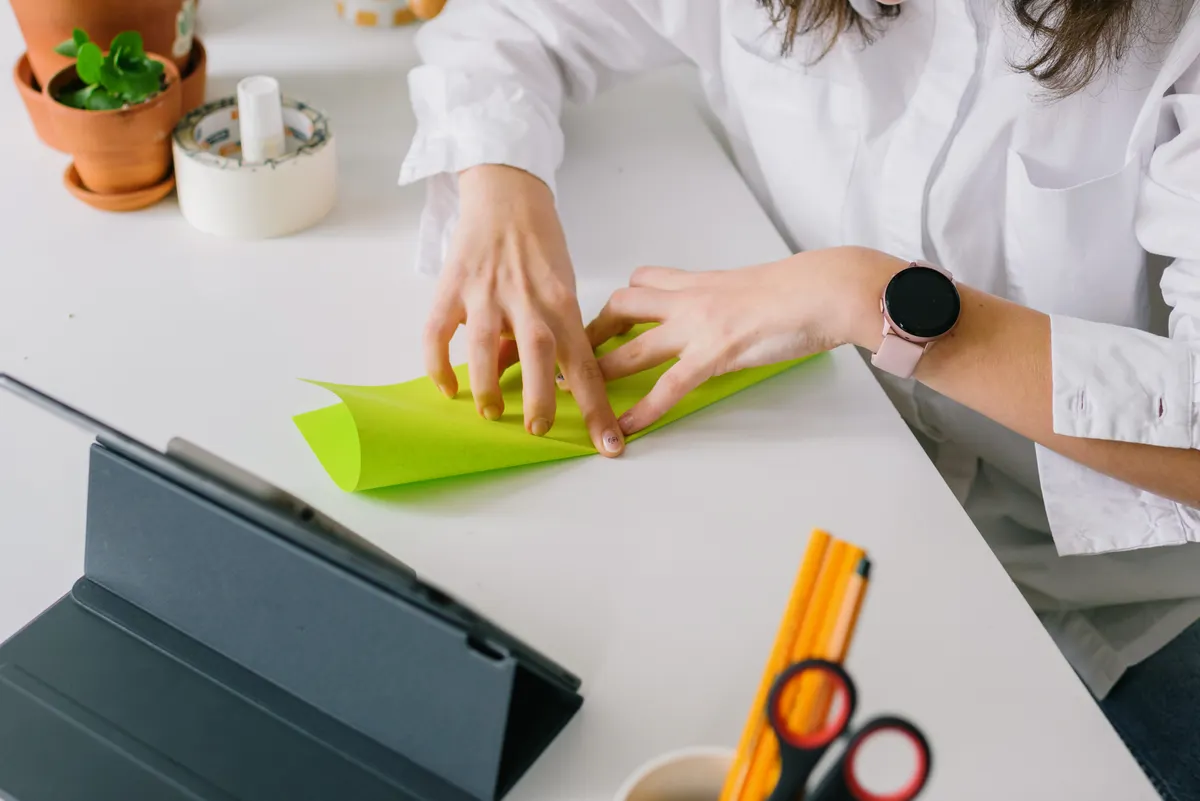
- Work in short, focused sessions rather than rushing through in one sitting. Advanced models genuinely benefit from fresh eyes returning after a break, since fatigue is when small sequencing errors creep in.
- Check your progress against reference photos frequently, comparing your model's current shape to images of completed stages rather than only checking at the very end.
- Expect to unfold and redo sections. Even experienced folders regularly backtrack on advanced models, and treating this as normal rather than a failure keeps frustration from derailing the whole project.
What Should You Fold After Mastering Intermediate Models?
This is a common question once folders start feeling confident with models like the standing dog, elephant, or detailed rabbit covered in intermediate guides. The natural next step usually involves picking one advanced technique to focus on first, rather than attempting a model that combines several unfamiliar methods all at once.
I've found that starting with a moderately complex tessellation is often a gentler entry into advanced territory than jumping straight into a fully articulated insect model. Tessellations demand precision and patience, but the individual folds themselves are frequently simpler in isolation, repeated many times rather than varied constantly like a detailed figurative model requires.

Photo Credit: cottonbro studio
For folders specifically drawn to structural, geometric work, Origami Sekkei covers architectural origami in more depth, a fascinating advanced category focused on folding detailed building facades and structures rather than animals or abstract patterns.
Do Advanced Models Require Crease Patterns or Design Software?
Many do, particularly at the higher end of complexity, though it depends heavily on the specific model and designer. Some advanced models still come with detailed step-by-step diagrams, just with significantly more steps and finer precision required at each stage than intermediate work demands.
Others, especially original designs from well-known origami artists, are published purely as crease patterns, essentially a flat map showing every fold line in the finished piece without any sequential guidance at all. Folding directly from a crease pattern is a genuinely advanced skill on its own, requiring you to work out a logical folding order yourself rather than following someone else's numbered sequence.
Some designers also use origami design software to plan complex models mathematically before ever folding paper, particularly for tessellations and box-pleated creature designs where the geometry needs to work out precisely before physical folding even begins. This software isn't required for folding existing advanced models, but it becomes relevant if you eventually want to design your own original complex patterns.
Exploring Tessellation Origami as an Advanced Path
Tessellations deserve special mention among advanced techniques, since they represent such a distinct direction compared to figurative folding like animals or insects. Rather than building toward a single recognizable shape, tessellation origami repeats a geometric unit across a grid, creating patterns that rely entirely on precise, consistent folding rather than sequential shaping.
The learning curve here is different too. Once you understand the core twist fold or pleat pattern a specific tessellation uses, scaling up to a larger grid is more about patience and consistency than learning new techniques, which some folders find genuinely meditative compared to the constant problem-solving that detailed creature models demand. For a deeper look at this entire category, Tessellation Origami covers the specific grid patterns and twist fold techniques that define this advanced style.
What Paper Is Used for Complex Origami Models?
Paper choice becomes genuinely critical at the advanced level, since standard kami paper often can't handle the layer count or precision advanced models demand. Tissue-foil paper, a thin layer of tissue paper bonded to metallic foil, is a common choice for detailed figurative models since it holds extremely sharp creases while remaining thin enough to manage dozens of layers without becoming bulky.
For wet-folding specifically, slightly heavier paper with good wet strength works better than standard kami, since thinner sheets can tear or become too fragile once dampened. Tessellations often use standard kami or slightly heavier printer-weight paper, since the grid-based folding doesn't typically involve the extreme layering that figurative models require, making paper thickness less critical than precise, consistent folding across the whole sheet.
Photo Credit: wal_ 172619
Comparing Advanced Origami Categories
|
Category |
Key Technique |
Typical Fold Count |
Best Paper Type |
|
Detailed insects |
Box pleating |
80 to 150+ |
Tissue-foil |
|
Wet-folded animals |
Wet-folding |
40 to 80 |
Heavier wet-strength paper |
|
Large tessellations |
Twist folds, repeated grid |
100 to 300+ |
Standard kami or printer weight |
|
Architectural sekkei |
Structural precision folding |
60 to 120 |
Medium weight kami or cardstock |
Pro Tips for Tackling Advanced Origami
- Sharpen every crease deliberately. A bone folder matters even more at this level, since soft creases compound errors far faster across high fold counts.
- Work under strong, even lighting. Fine detail work genuinely benefits from good visibility, especially when checking crease pattern lines against your folded paper.
- Keep your workspace uncluttered and stable. Complex models with many loose layers are easily disturbed on a crowded or unstable surface.
- Don't rush wet-folding. Applying too much water at once can weaken paper fibers, so a light misting is almost always enough, and letting sections dry slightly between adjustments prevents tearing.
- Accept that redoing sections is normal, not a failure. Even experienced folders regularly backtrack on advanced models, and treating mistakes as part of the process keeps frustration manageable.
Frequently Asked Questions
What makes an origami model advanced? High fold counts, precision-dependent sequencing, layered multi-directional creases, and reliance on crease patterns rather than simple diagrams all mark advanced models.
What are some of the most challenging origami models to fold? Detailed insects, articulated dragons, and large twist-fold tessellations rank among the most demanding, often requiring 100 or more precise folds.
Which techniques are common in advanced origami? Wet-folding, box pleating, and twist folds appear frequently, often combined together in complex figurative or geometric designs.
What paper is used for complex origami models? Tissue-foil paper suits detailed figurative folds, heavier wet-strength paper suits wet-folding, and standard kami works well for tessellations.
What should you fold after mastering intermediate models? Picking one advanced technique, like tessellations or wet-folding, to focus on first is generally easier than combining several unfamiliar methods at once.
Do advanced models require crease patterns or design software? Many do, particularly complex original designs, though some advanced models still include detailed step-by-step diagrams rather than pure crease patterns.
Final Thoughts
Advanced origami projects ask for a different kind of patience than earlier skill levels, less about learning new individual folds and more about managing precision, sequencing, and the occasional necessary backtrack. Pick one technique to focus on first, expect a few unfolded attempts along the way, and let each finished model build the confidence needed for the next.
If you're ready to explore the rest of what this hobby has to offer, Read the full origami guide for everything from paper choices to techniques across every skill level.


Leave a Reply