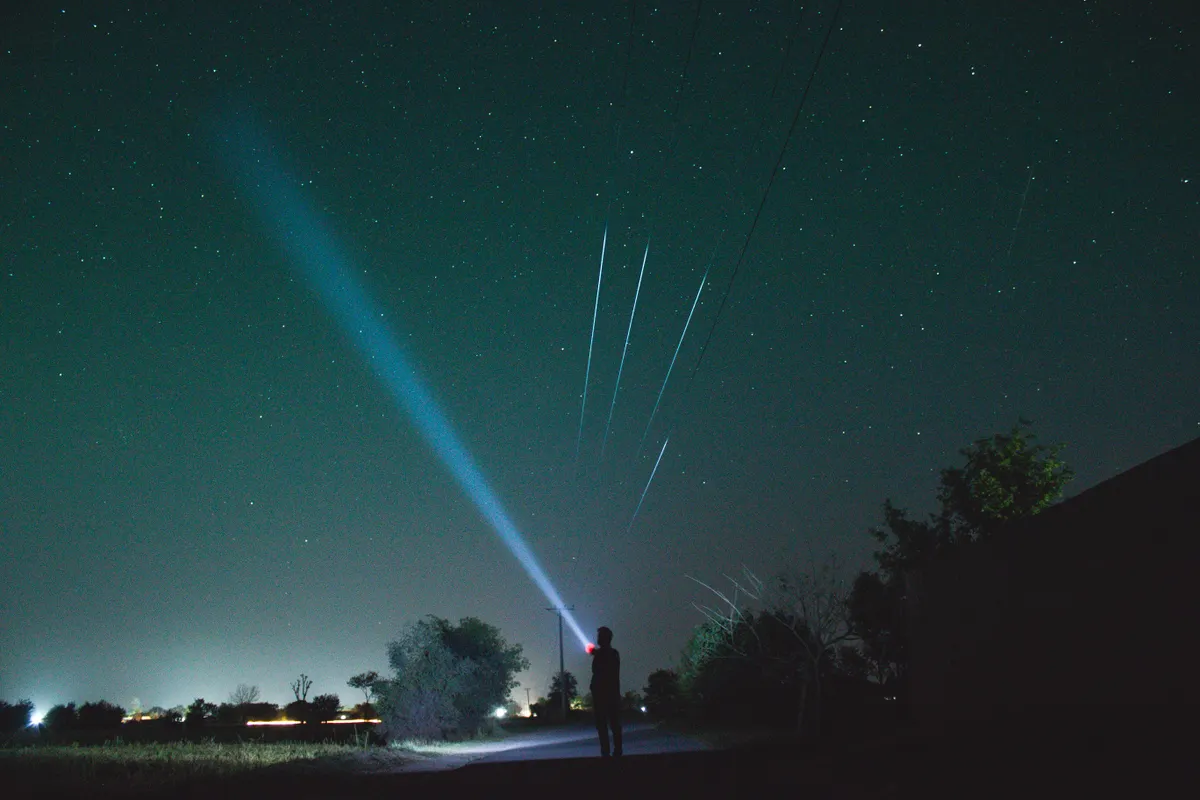
You finally get your eyes adjusted to the dark. A faint smudge appears near the horizon, maybe a galaxy, maybe just a smudge on your glasses. Then someone flips on a white flashlight to find their keys, and your night vision is gone. Getting it back can take another twenty minutes.
That's why using red flashlights for night vision is one of the first habits any stargazer should build. It sounds small, but it changes everything about how much you actually see in the sky. Understanding solid Dark Adaptation Techniques is the foundation this whole habit sits on.
Why Red Light Preserves Dark Adaptation
Your eyes have two kinds of light-sensing cells. Cones handle color and detail in bright light. Rods handle low-light vision, and they're what let you spot faint stars and dim galaxies. Rods are slow to "wake up," usually taking 20 to 30 minutes in full darkness.
White light resets that process almost instantly. Red light, especially dim red light, barely bothers your rod cells at all. That's the whole reason red flashlight astronomy use has been standard practice for decades.
What You Need Before Starting
You don't need much gear for this. A short list gets you fully set up.
|
Item |
Why You Need It |
|
Red LED flashlight or headlamp |
Main light source that won't ruin adaptation |
|
Red filter or cellophane |
Backup fix for any white flashlight you already own |
|
Extra batteries |
Cold nights drain batteries faster |
|
Star chart printed in red-safe ink |
Lets you read without white glare |
|
Dimmer or rheostat, if available |
Lets you adjust brightness on the fly |
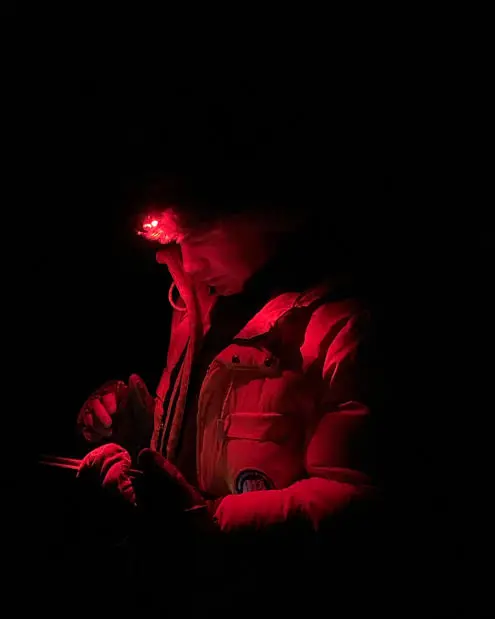
Photo Credit: Internet
Basic Steps for Using a Red Flashlight
- Pick a true red LED light, not a white light with a red cover taped over it, if possible. Dedicated red LEDs are dimmer and gentler on your eyes.
- Check the red light brightness setting before you head outside. Many headlamps have multiple red levels. Start on the lowest one.
- Give your eyes 20 to 30 minutes in the dark before expecting full night vision. Avoid any white screens during this window, including your phone.
- Use the flashlight only when needed, like reading a chart or adjusting equipment. Point it down and away from other observers.
- Combine it with the Averted Vision Technique for faint deep-sky objects. Looking slightly off to the side of a dim target often reveals more detail than staring directly at it.
- If you're Collimating a Newtonian Reflector in the field, keep your red light dim and brief. Bright red light for extended periods can still slow full dark adaptation.
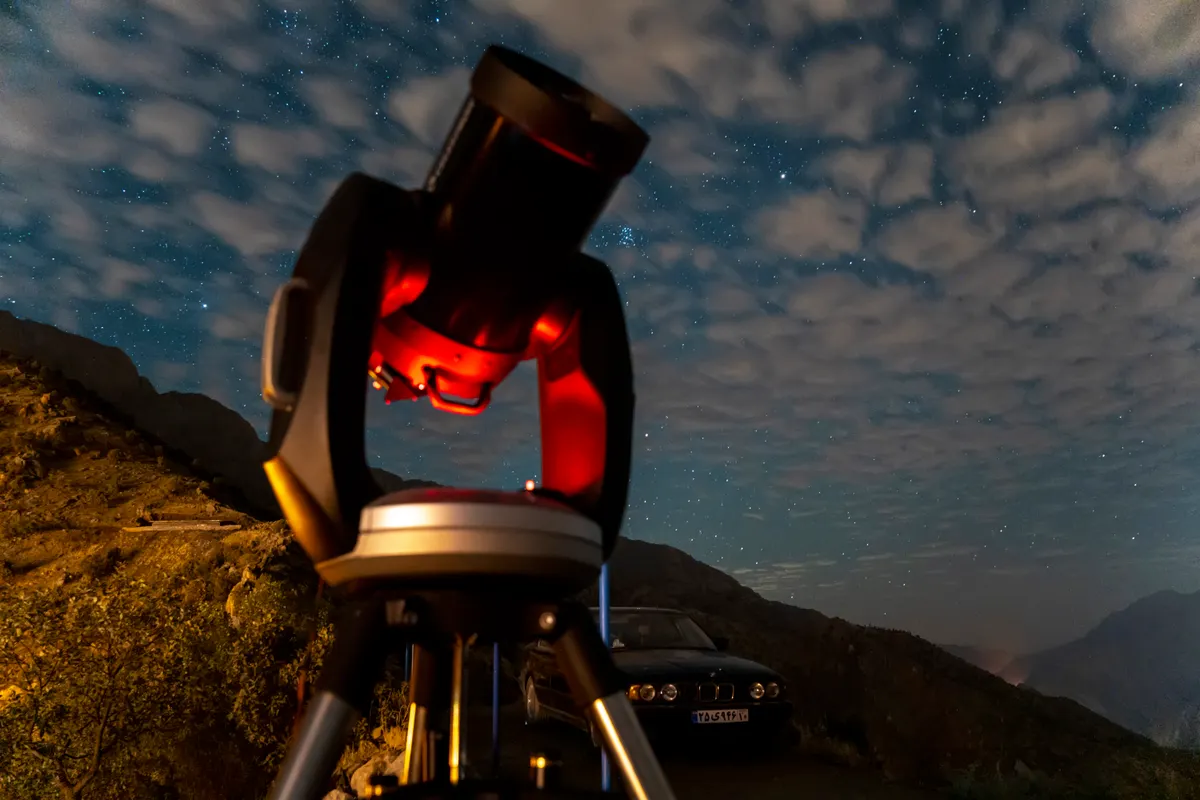
Photo Credit: Akbar Nemati
A dim red glow lets your eyes stay "night ready" while still giving you enough light to read a star chart or check an eyepiece. Bright light of any color undoes the work your eyes just spent half an hour doing.
Pro Tips and Common Mistakes
- Don't buy the brightest red light you can find. Dimmer is almost always better for astronomy.
- Avoid checking your phone. Even red-tinted screen filters aren't as gentle as a dedicated red flashlight.
- Watch your footing. Dim red light means you may not see tripping hazards like tent stakes or tripod legs, so move slowly and know your setup area in daylight first.
- Don't share white light with a group without warning. One flash can cost everyone their adaptation.
Red Light Options Compared
|
Type |
Adaptation Friendly |
Cost |
Best For |
|
Dedicated red LED headlamp |
High |
$$ |
Regular stargazers |
|
Red filter over white flashlight |
Medium |
$ |
Beginners on a budget |
|
Smartphone red mode |
Low to Medium |
Free |
Occasional, casual use |
Photo Credit: Marek Piwnicki
FAQ
How do you use red flashlights for night vision? Turn it on at the lowest brightness setting, point it away from others, and only use it briefly to read charts or check gear.
What do you need before starting? A red LED flashlight or filter, extra batteries, and a star chart are the essentials.
What are the basic steps? Pick a true red light, set it to the dimmest level, let your eyes adapt for 20-30 minutes, and use the light sparingly outdoors.
What are the most common mistakes to avoid? Using a light that's too bright, checking a phone screen, and flashing white light near other observers are the biggest ones.
What tools make this easier? A headlamp with an adjustable red brightness setting and a rheostat dimmer make fine control much simpler.
When is the best time to use one? Anytime you're outside in the dark for astronomy, especially after your eyes have already adapted.
How can a beginner improve at this? Practice at home in a dark room first, so you know your light's brightness levels before you're out under real stargazing conditions.
Final Thoughts
Red light isn't just a quirky astronomy tradition. It's a simple habit that protects the night vision you worked hard to build. Once you get used to it, reaching for a red flashlight becomes second nature. For more foundational skills like this, read our complete astronomy guide.



Leave a Reply