I've watched countless beginners grab a diagram for a modular kusudama ball as their very first fold, then give up twenty minutes in, completely unaware that a simple paper cup would have taught the same skills without the frustration. This origami model comparison chart exists to stop that exact mistake, giving you a clear side-by-side look at which models suit your skill level before you ever pick up paper.
This guide breaks down popular origami models by difficulty, fold count, paper needs, and folding time, so you can choose your next project with real confidence instead of guesswork.
This article is Part of Origami Glossary & Reference, so if you're building a broader understanding of origami terms and standards, that page covers more reference material worth exploring.
How Can You Compare Origami Models by Difficulty?
Origami models get sorted into difficulty tiers based on a few consistent factors, not just how the finished shape looks. I've found that beginners often misjudge difficulty purely by appearance, assuming a simple-looking flower is easy when it actually hides a tricky reverse fold sequence.
What actually determines a model's difficulty:
- Number of steps, since more steps generally mean more room for small mistakes to compound
- Fold types involved, with basic valley and mountain folds ranking easier than sink folds or reverse folds
- Layer thickness, since models with many overlapping layers get physically harder to crease sharply
- Base complexity, since starting from a preliminary or bird base adds difficulty before the unique shaping even begins
For a deeper explanation of specific fold types referenced throughout this chart, the Origami Techniques Explained guide walks through each one individually, from basic valley folds to more advanced sink folds.
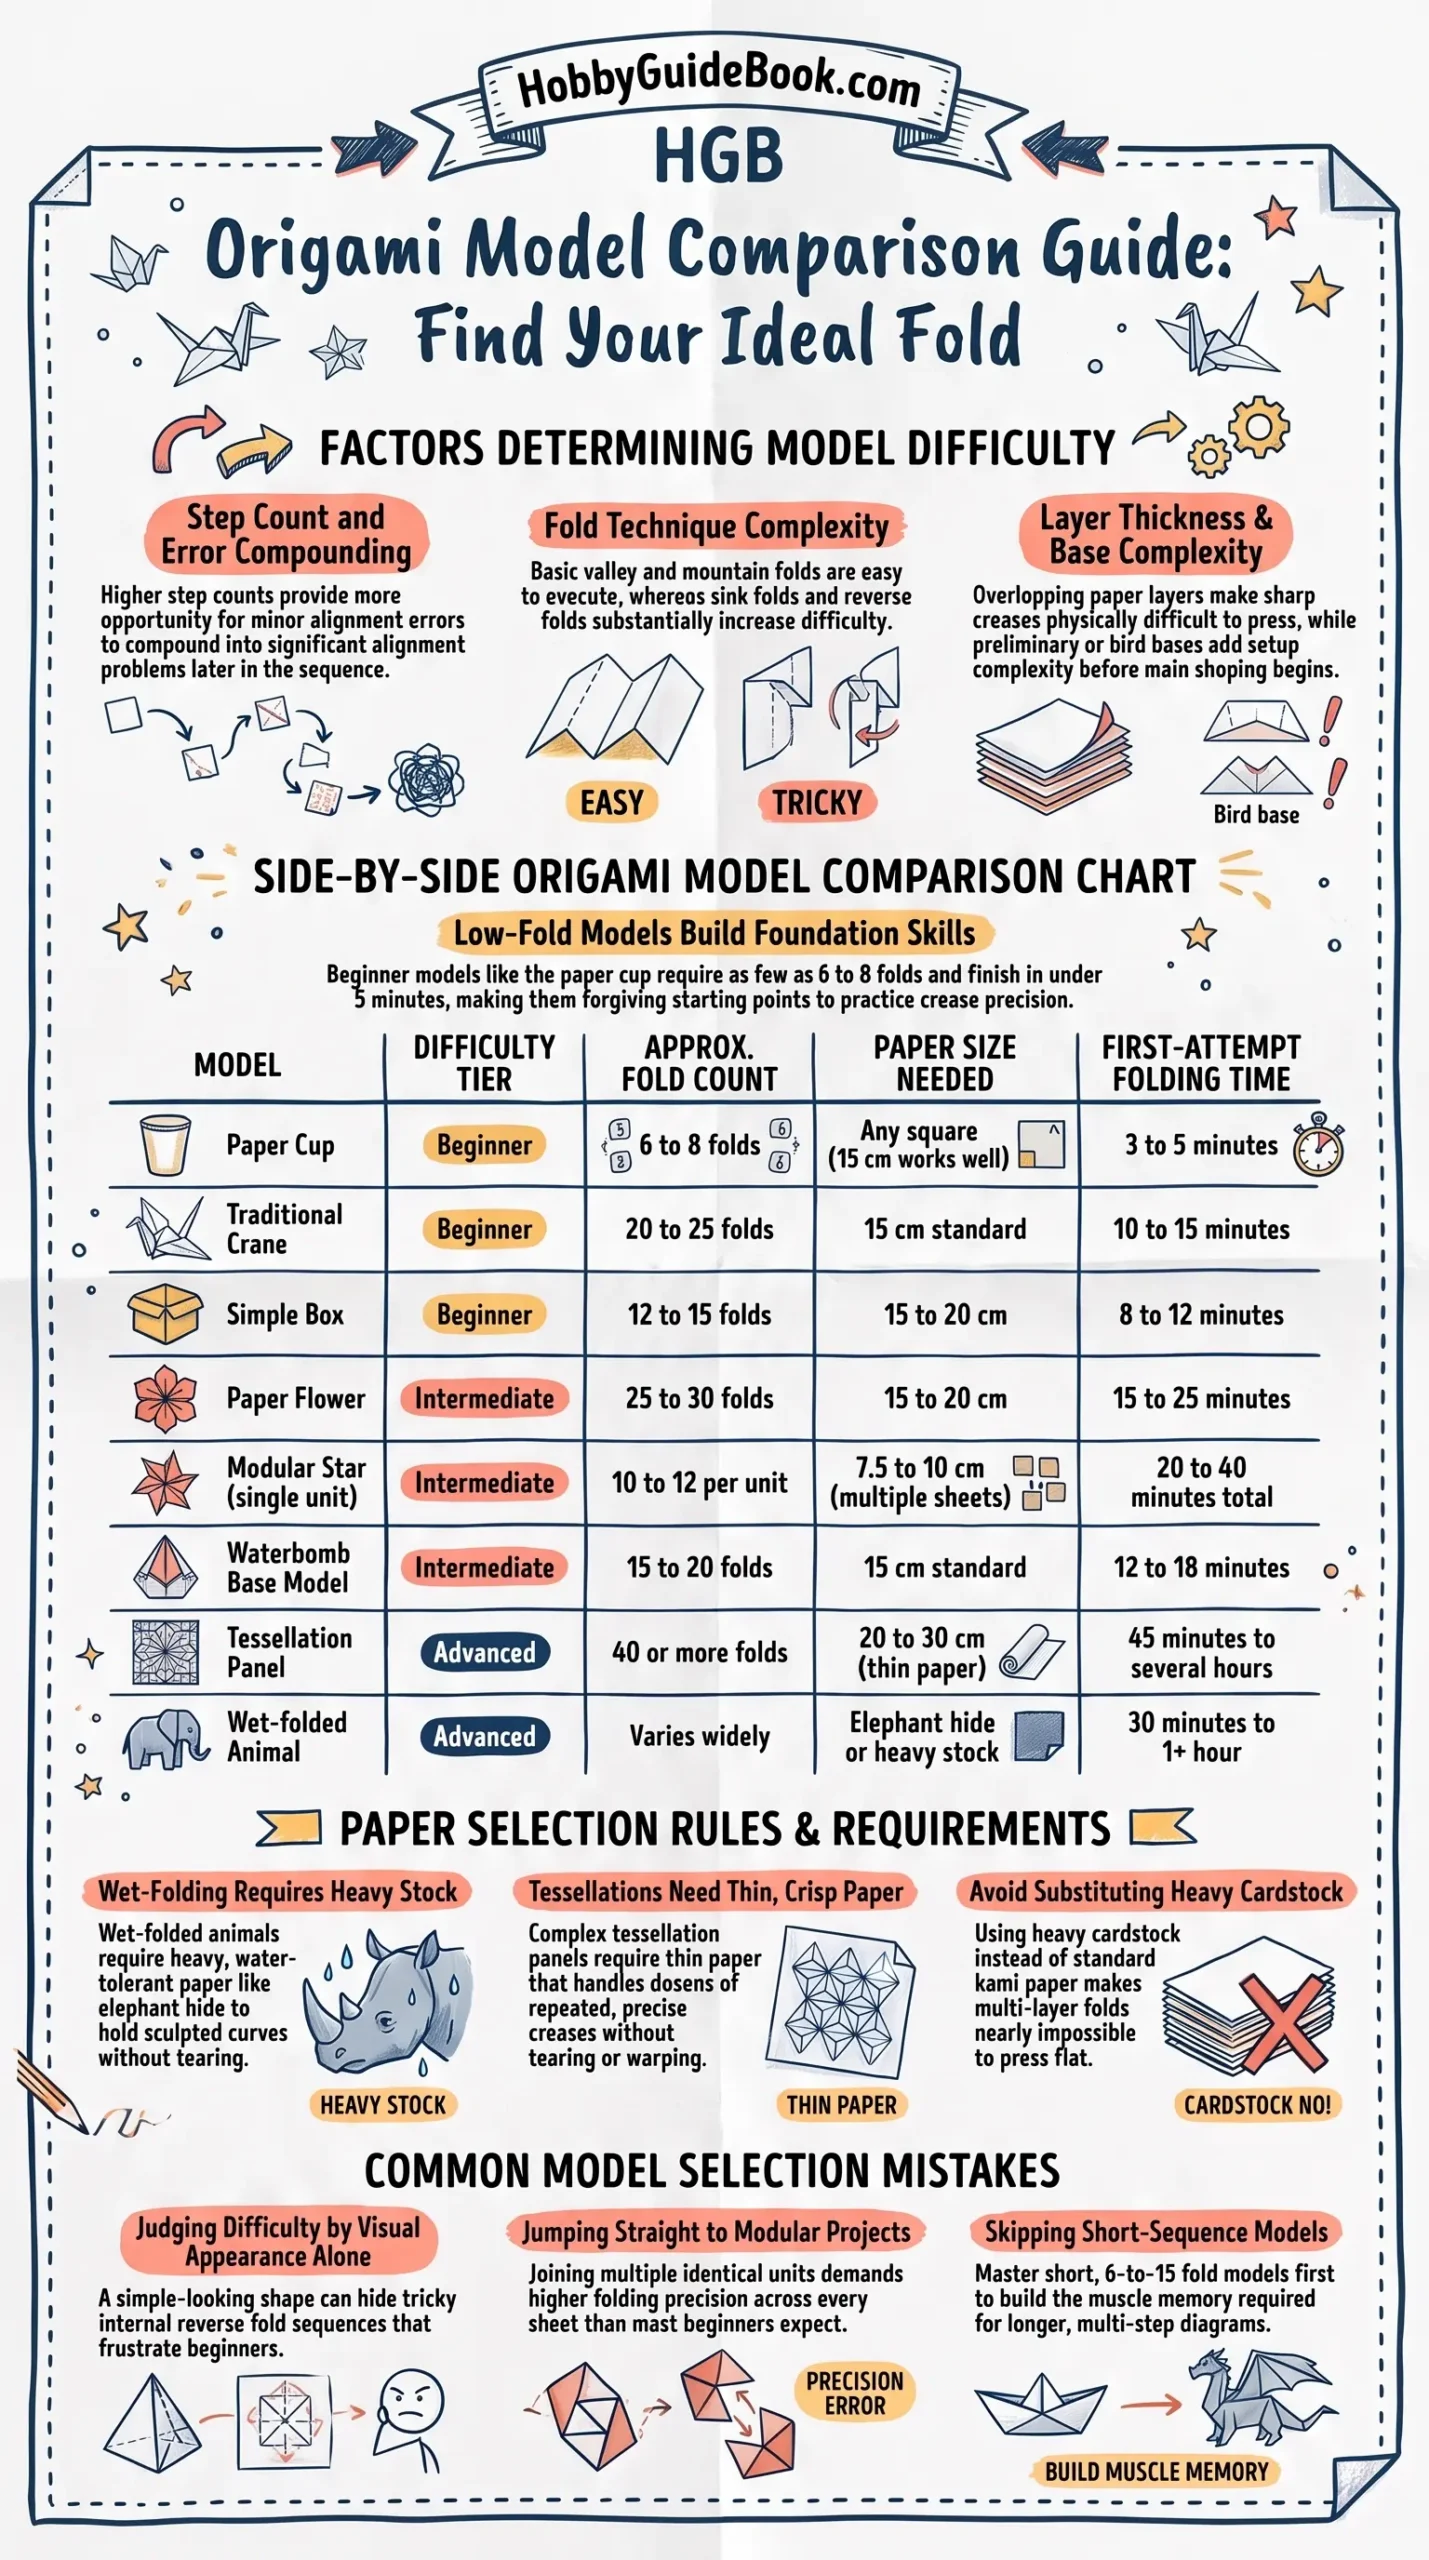
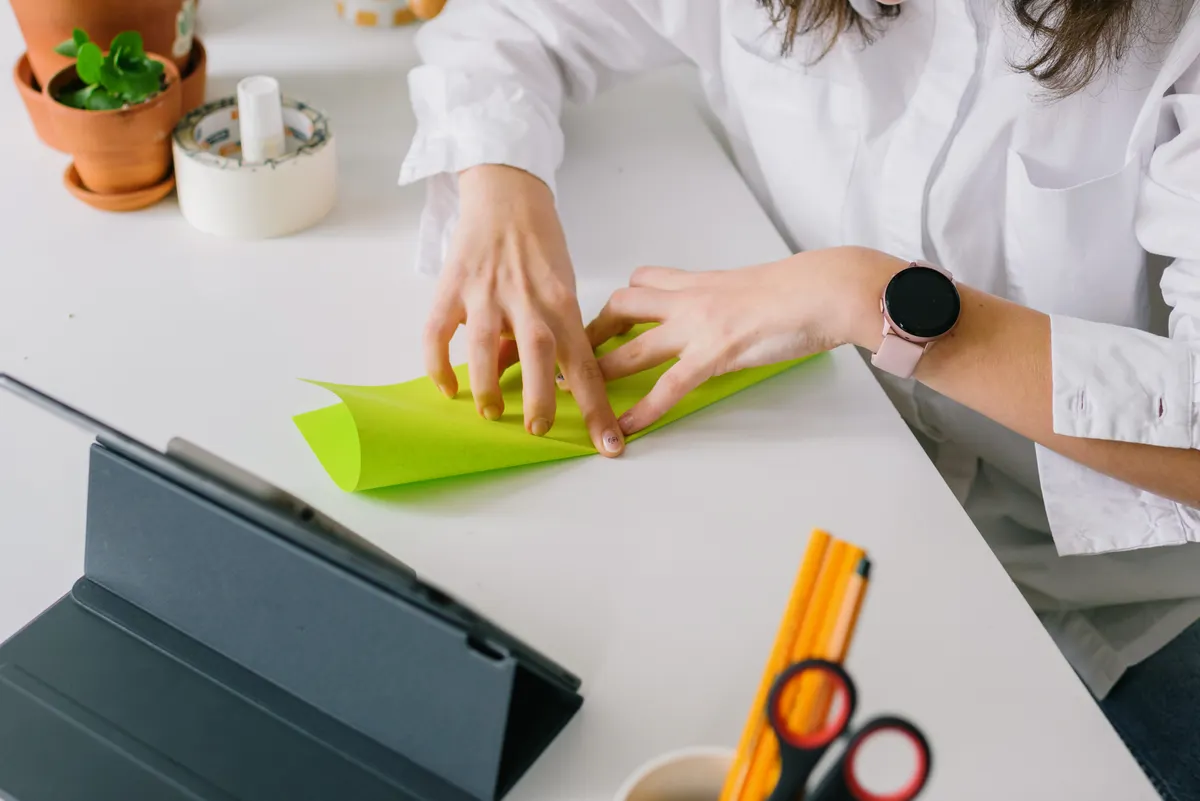
Photo Credit: Hobby Guidebook Editorial
Origami Model Comparison Chart
Here's a direct comparison across popular models, covering difficulty, fold count, paper needs, and realistic folding time for a first attempt.
|
Model |
Difficulty |
Approx. Fold Count |
Paper Size Needed |
Folding Time |
|
Paper cup |
Beginner |
6 to 8 |
Any square, 15 cm works well |
3 to 5 minutes |
|
Traditional crane |
Beginner |
20 to 25 |
15 cm standard |
10 to 15 minutes |
|
Simple box |
Beginner |
12 to 15 |
15 to 20 cm |
8 to 12 minutes |
|
Paper flower |
Intermediate |
25 to 30 |
15 to 20 cm |
15 to 25 minutes |
|
Modular star, single unit |
Intermediate |
10 to 12 per unit |
7.5 to 10 cm, multiple sheets |
20 to 40 minutes total |
|
Waterbomb base model |
Intermediate |
15 to 20 |
15 cm standard |
12 to 18 minutes |
|
Tessellation panel |
Advanced |
40 or more |
20 to 30 cm, thin paper preferred |
45 minutes to several hours |
|
Wet-folded animal |
Advanced |
Varies widely |
Elephant hide or heavier stock |
30 minutes to over an hour |
This table alone answers most of the "where should I start" hesitation beginners feel. Once you see fold counts and time estimates laid out directly, choosing a first project stops feeling like a guessing game.
Which Origami Models Are Good for Beginners?
Beginner-friendly models share a specific set of traits that make early folding sessions genuinely enjoyable rather than discouraging. I always point new folders toward these first, since success early on builds the confidence needed to tackle harder shapes later.
Solid first models to try:
- Paper cup, using only a handful of folds and forgiving of imprecise creases
- Traditional crane, the classic starting point that teaches several core techniques at once
- Simple box, introducing basic measuring and symmetrical folding without much complexity
- Basic paper boat, another low-step model that works well on ordinary printer paper
What makes these models genuinely beginner-friendly:
- Few total steps, keeping the sequence short enough to remember without constant diagram checking
- Forgiving fold types, relying mostly on valley and mountain folds rather than trickier techniques
- Standard paper size, using the common 15 cm square most kits and diagrams assume
- Quick completion, finishing in under fifteen minutes, which keeps motivation high
Starting here isn't about avoiding challenge forever, it's about building the muscle memory that makes every future model easier to approach.
Which Models Use the Fewest Folds?
The paper cup genuinely wins this category, needing only six to eight total folds to reach a finished, functional shape. Simple traditional models tend to cluster in this low-fold range too, generally staying under fifteen total steps.
Models with notably fewer folds:
- Paper cup, six to eight folds, among the simplest functional models in traditional origami
- Basic paper boat, roughly eight to ten folds, another quick classic
- Simple box, twelve to fifteen folds, slightly more involved but still approachable
- Basic envelope fold, around ten folds, useful and decorative at the same time
Low fold count doesn't automatically mean low skill required though. A model with few folds but very precise measuring, like certain modular units, can still challenge a beginner despite the short step count.
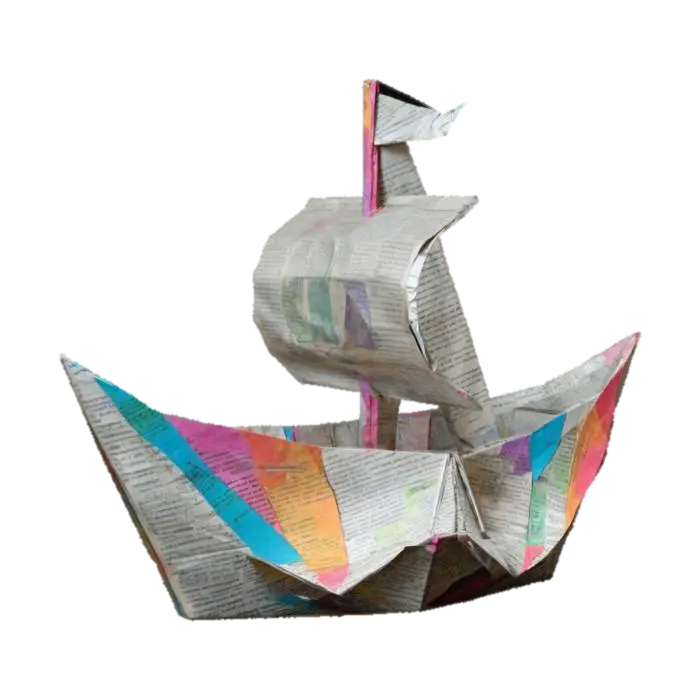
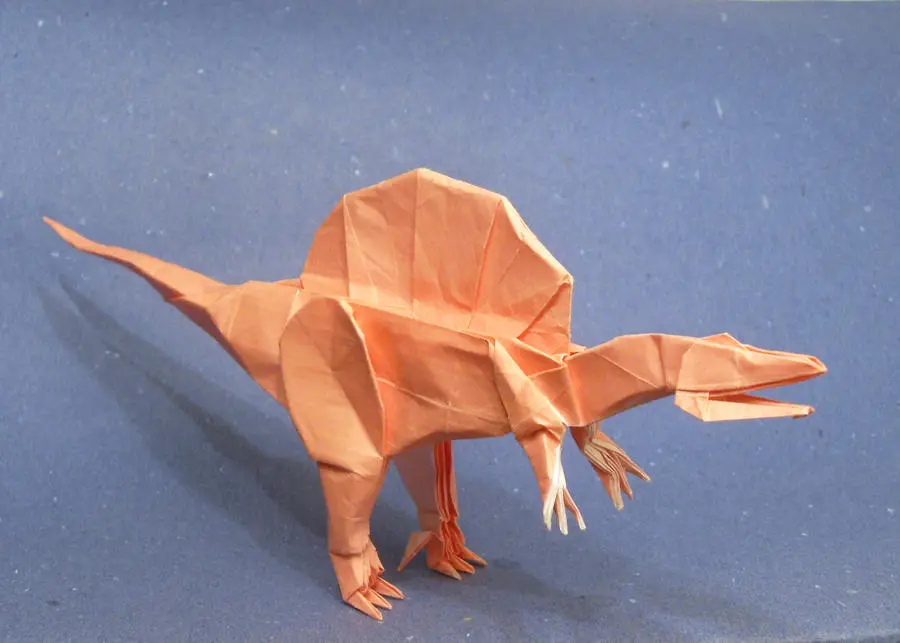
Photo Credit: Internet
Which Origami Models Require Special Paper?
Most beginner and intermediate models work perfectly fine with standard kami paper, but a handful of techniques genuinely need something different to turn out well. Knowing this ahead of time saves a frustrating mid-fold discovery that your paper simply isn't cooperating.
Models that call for special paper:
- Wet-folded animals, requiring elephant hide paper or another heavier, water-tolerant stock that holds sculpted curves
- Tessellation panels, working best on thin, crisp paper that handles many precise, repeated creases without tearing
- Large modular builds, often needing consistent, uniform paper across dozens of identical units
- Detailed flowers, sometimes benefiting from duo paper, colored differently on each side, to highlight petal layers
A quick pro tip: never substitute heavier cardstock for models designed around standard kami thickness. The extra stiffness makes multi-layer folds nearly impossible to press flat, especially on anything built from a preliminary or bird base.
As folders often say, the paper never lies. It only shows you exactly where a fold went wrong.
Paper choice plays directly into that honesty. The wrong paper for a given technique doesn't just make folding harder, it actively hides whether your technique itself was correct in the first place.
How Do Paper Size and Model Complexity Affect Folding Time?
Folding time depends heavily on both how many steps a model requires and how much room your fingers have to work with. Larger paper generally speeds up early folding sessions, since there's more surface area to correct small positioning errors without starting over.
A quick pro tip: if you're timing yourself against the estimates in the comparison chart above, expect your first attempt at any new model to take noticeably longer than listed. Those times reflect a folder already familiar with the specific sequence, not a true first attempt working from an unfamiliar diagram.
For a full breakdown of what separates beginner, intermediate, and advanced classifications beyond just this chart, the Origami Difficulty Levels Explained guide covers the criteria in much greater depth.
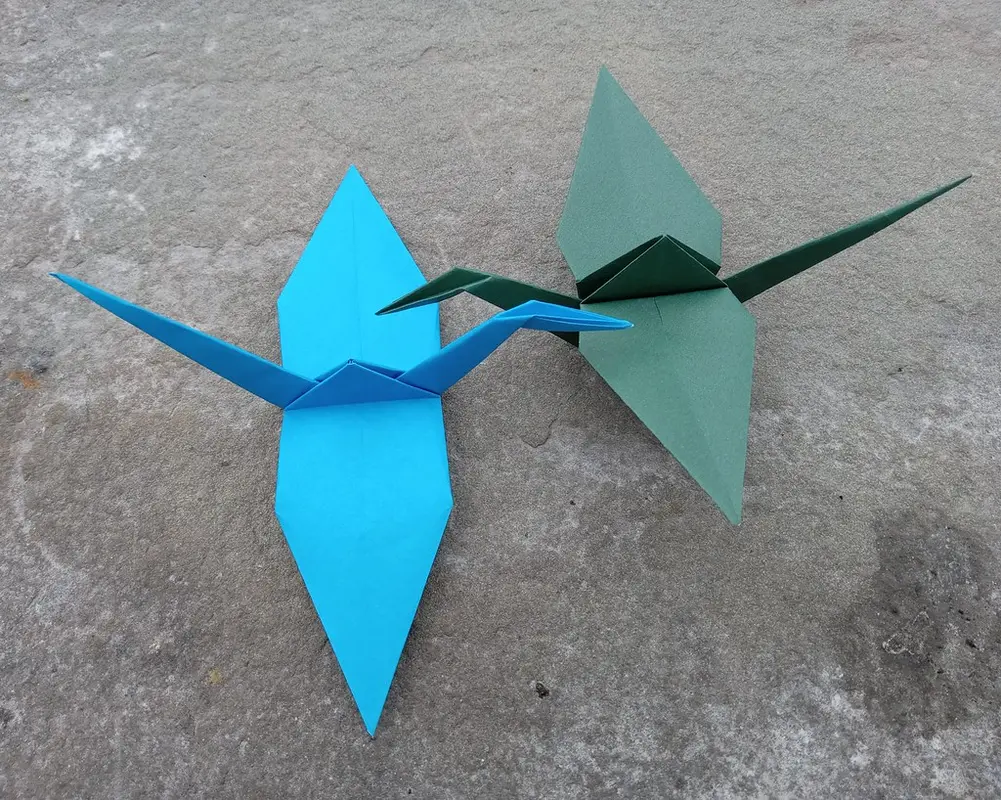
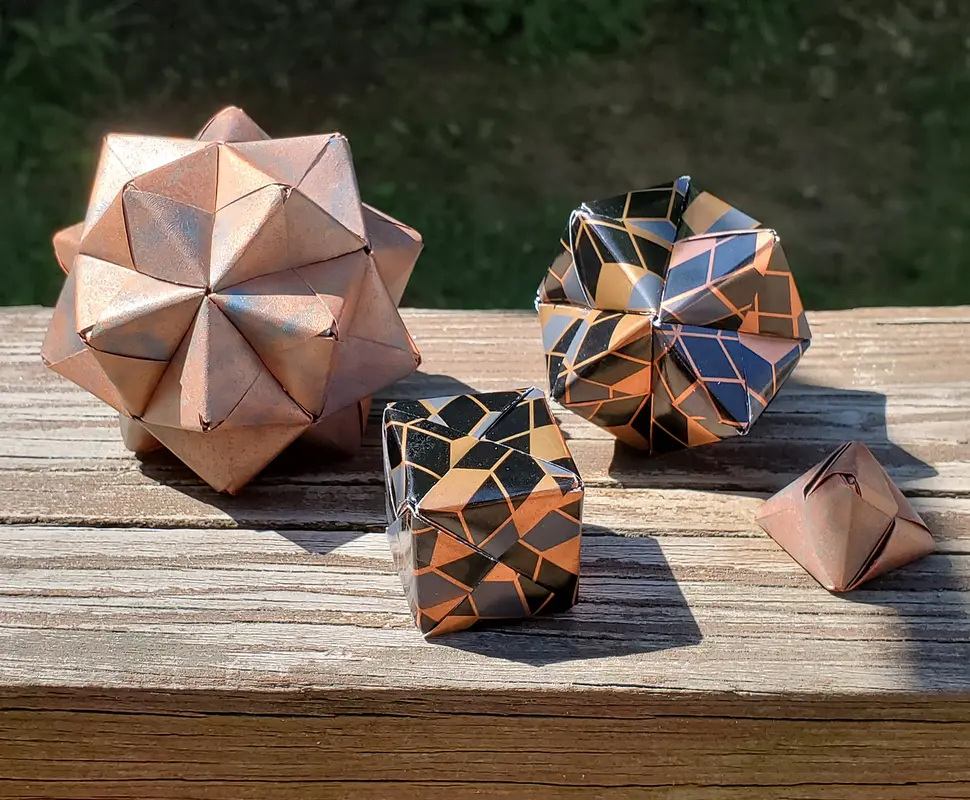
Photo Credit: Internet
A quick safety note worth mentioning: if a model calls for trimming paper down to a custom size before folding, always cut on a flat, stable surface and keep scissors or a paper cutter closed when not actively in use, especially with kids folding nearby.
Common Mistakes When Choosing a Model
A few sizing and difficulty missteps show up constantly among newer folders picking their next project.
- Judging difficulty by appearance alone. A simple-looking model can still hide a tricky reverse fold sequence.
- Jumping straight to modular origami. Multiple identical units demand more precision than most beginners expect.
- Ignoring paper size recommendations. Mismatched sizing turns an easy model into a genuinely frustrating one.
- Skipping the fewer-fold models first. Building comfort with short sequences makes longer diagrams far less intimidating later.
Frequently Asked Questions
How can you compare origami models by difficulty? Compare fold count, fold types involved, layer thickness, and base complexity, since these factors together determine real difficulty.
Which origami models are good for beginners? The paper cup, traditional crane, and simple box are solid starting points, using forgiving folds and standard 15 cm paper.
Which models use the fewest folds? The paper cup uses the fewest, at six to eight folds, followed closely by basic boats and envelope-style folds.
Which origami models require special paper? Wet-folded animals need elephant hide paper, while tessellations and large modular builds benefit from thin, consistent sheets.
How do paper size and model complexity affect folding time? Larger paper and simpler models fold faster, while smaller paper and complex, multi-layer models take noticeably longer to complete.
Final Thoughts
Choosing the right model doesn't have to be guesswork once you know what to compare. Start with low fold counts and standard paper, then let this chart guide you toward more complex models as your confidence and skill genuinely grow.
Ready to put this comparison chart into practice? Read the full origami guide for techniques and models worth trying next.


Leave a Reply