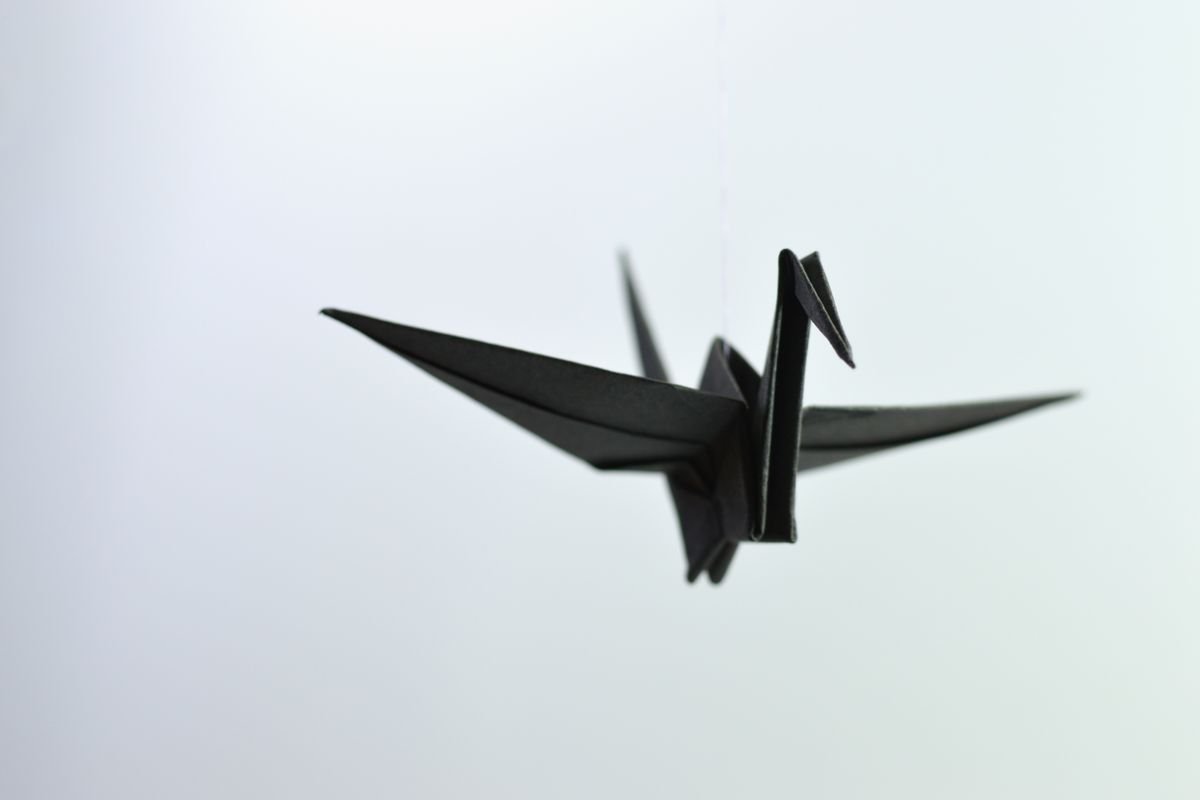
The paper crane is probably the most folded shape in the world, and almost everyone gets stuck at the exact same spot: the petal fold that turns a flat diamond into something with wings. If you've ever ended up with a lumpy, lopsided bird and no idea where it went wrong, this guide on how to fold an origami crane walks through every step slowly enough that the mistake actually gets caught before it wrecks the model.
This tutorial is Part of Getting Started with Origami, and it covers everything from picking the right paper to locking in that final wing shape.
A Little Background on the Paper Crane
The crane is one of the oldest and most recognized folds in Japanese paper art. It shows up in nearly every beginner book, every origami class, and every list of "folds you should learn first."
Part of that popularity comes from meaning. In Japan, the crane is a symbol of long life and good fortune, and folding a thousand of them, known as senbari, is a tradition tied to healing wishes and hope. The story of Sadako Sasaki, a young girl who folded paper cranes during her illness after World War II, is a big reason the crane became an international symbol of peace as well.
I've folded more cranes than I can count over the years, and I still remember how confusing that middle stretch felt the first few times. The paper looks like it's falling apart right before it becomes a bird, and that's normal. Trust the process, and don't panic if step six looks like a mess.

Photo Credit: Ron Lach
What You Need for This Origami Crane Tutorial
You don't need much to get started, which is part of why the crane is such a common first project.
|
Item |
Why You Need It |
|
Square origami paper (kami) |
Standard size and crisp folds make early attempts easier |
|
Bone folder (optional) |
Sharpens creases for a cleaner, tighter final shape |
|
Flat, hard surface |
Keeps folds even and prevents warped edges |
|
Ruler and pencil |
Useful if you're trimming regular paper into a square |
|
Diagram reference or app |
Helpful backup if you lose your place mid-fold |
If you only have regular printer paper on hand, you can still fold a crane. Just be careful trimming it into a square with scissors, keep your fingers clear of the blade, and use a ruler to guide a straight cut rather than eyeballing it. Printer paper is thicker than kami, so your final folds may look slightly less sharp, but the shape will still come out right.
How to Fold an Origami Crane: Step-by-Step Instructions
Set your paper white side up on a flat surface before you begin. These steps assume a standard 6 inch square sheet, which is the easiest size for beginners.
- Fold corner to corner. Fold the square in half diagonally to make a triangle, then unfold. Repeat with the other two corners to form an X crease across the paper.
- Flip and fold edge to edge. Turn the paper over, then fold it in half top to bottom, unfold, and fold left to right, unfold again. You should now have four creases crossing in the center.
- Collapse into a preliminary base. Using the creases you just made, push the sides inward so the paper collapses into a smaller square shape with four flaps, points facing outward. This is called the preliminary base, and it's the foundation for a huge number of origami models, not just the crane.
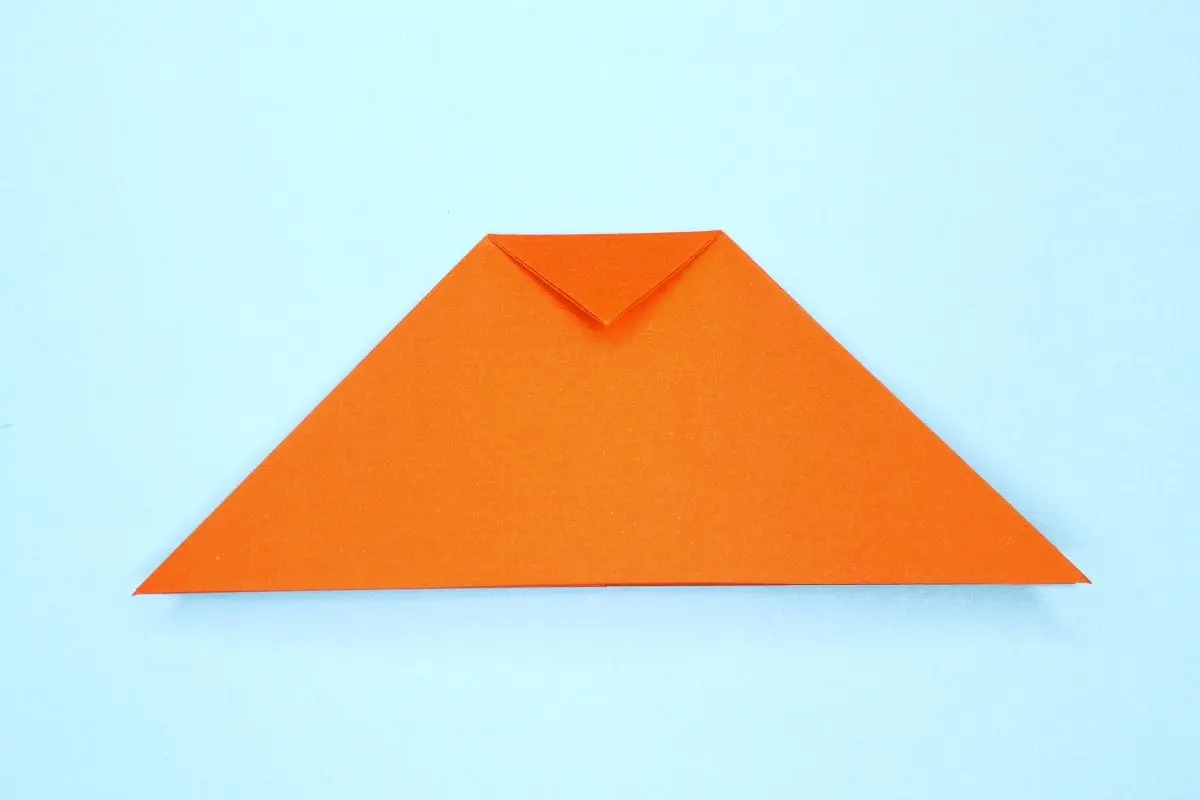
- Fold the top flaps to the center. With the open point facing up, fold the left and right edges of the top layer in toward the middle crease, so the shape narrows into a kite form.
- Fold the top triangle down, then unfold everything from step 4. This creates a crease pattern you'll use in the next step to lift the paper into place.
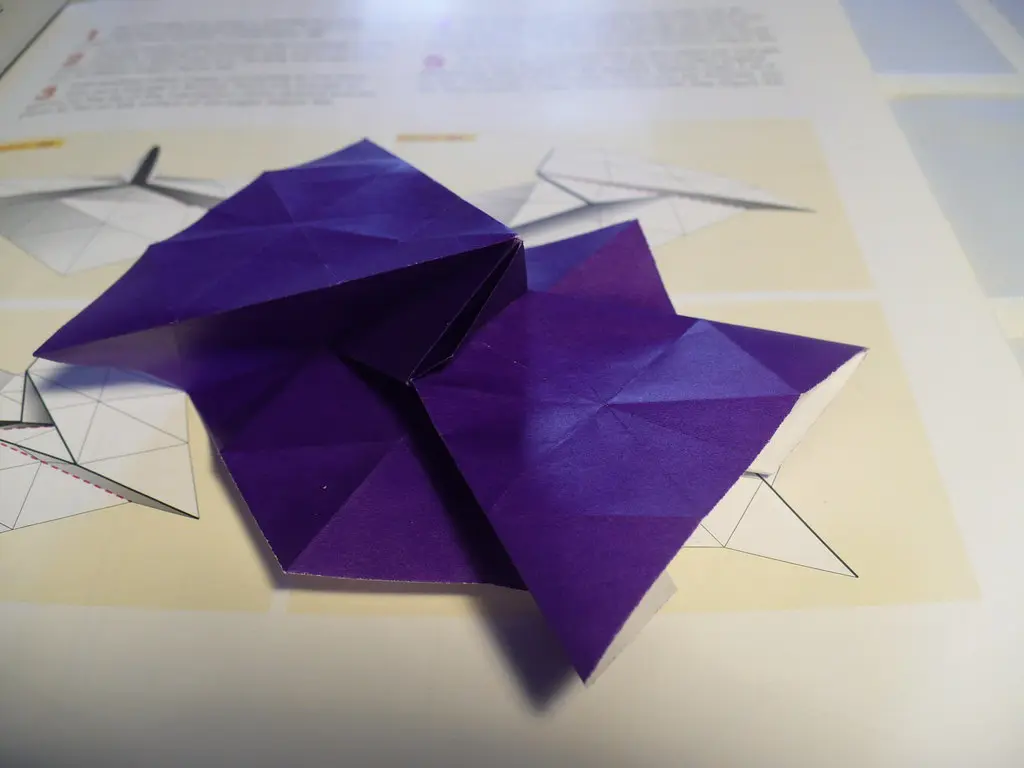
- Perform the petal fold. Lift the bottom point of the top layer, using the creases you just made to guide the paper upward while the sides fold inward. This is the step that trips up most beginners, so go slowly and let the existing creases do the work instead of forcing new ones.
- Flip the model and repeat steps 4 through 6 on the other side. Once finished, you'll have what's called a bird base, a narrow diamond shape with four points.
- Fold the bottom edges to the center on both sides. This narrows the two bottom legs of the diamond, front and back, into a thinner column shape.
- Fold one point up to form the neck. Choose one of the narrow bottom points and fold it upward along the model.
- Reverse fold the tip to make the head. Gently open the very tip of the neck you just folded and tuck it back down into itself, creating a small beak shape. This is called an inside reverse fold.
- Fold the other bottom point up to form the tail, angled slightly for balance.
- Fold down the wings. On each side, fold the top edge of the body downward to create the wings, angling them out from the center body line.
- Gently pull the wings apart and shape the body. Hold the base and pull the head and tail slightly outward so the model puffs up into its final 3D shape.
That's the full traditional paper crane, and once you've done it once or twice, your hands start remembering the sequence without needing the diagram in front of you.
Pro Tips and Common Mistakes to Avoid
A few habits make a real difference in how clean your finished crane looks.
- Crease firmly on the first pass. Weak, wobbly creases are the biggest reason petal folds collapse unevenly later on.
- Line up corners exactly before folding. A crane that's slightly off-square at step one stays off-square through every later step.
- Don't rush the petal fold. This is where most beginners force the paper instead of letting the existing creases guide it, which leads to torn or crooked layers.
- Use a bone folder for sharp lines. Running it along each crease after folding gives a noticeably cleaner final shape.
- Keep your workspace clear of crumbs or dust. Small debris under the paper throws off flat, even folds without you realizing it.
- If trimming paper to size, cut slowly and keep fingers away from the blade path. A steady, guided cut matters more than a fast one.
As folders often say, the crease you rush now is the crease that ruins your model three steps later.
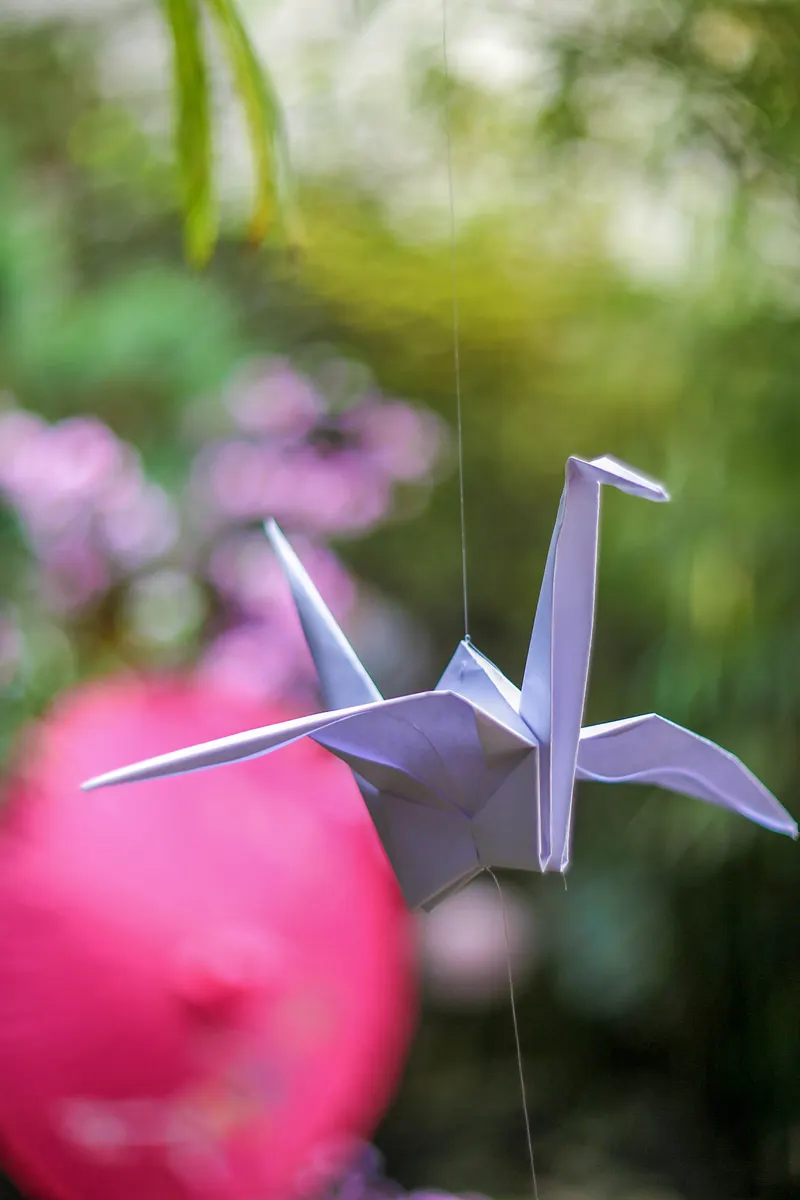
Photo Credit: Rodolfo Clix
If some of these fold names still feel unfamiliar, it helps to review Basic Origami Folds Every Beginner Should Know before attempting the crane again. Preliminary bases, petal folds, and reverse folds show up constantly across other models too, so learning them once pays off many times over.
How Many Folds Does a Paper Crane Take?
A traditional crane uses around 20 distinct folds from start to finish, though the exact count depends on how you break down each step. Some are simple valley folds, others are the more advanced reverse and petal folds covered above.
That number sounds like a lot at first, but many of those folds repeat the same motion on different corners of the paper. Once you've folded a few cranes, the sequence starts to feel more like a rhythm than a list of individual steps.
Origami Diagrams Can Help If You Get Lost
Written instructions only go so far with a fold this detailed, especially around the petal fold and reverse fold steps. Most origami books and tutorials use standardized diagram symbols, arrows, and dotted lines, to show exactly where and how each fold happens.
If you're not familiar with reading those symbols yet, How to Read Origami Diagrams & Symbols breaks down what each arrow and line type actually means. It's a small investment of time that makes every future model, not just the crane, much easier to follow.
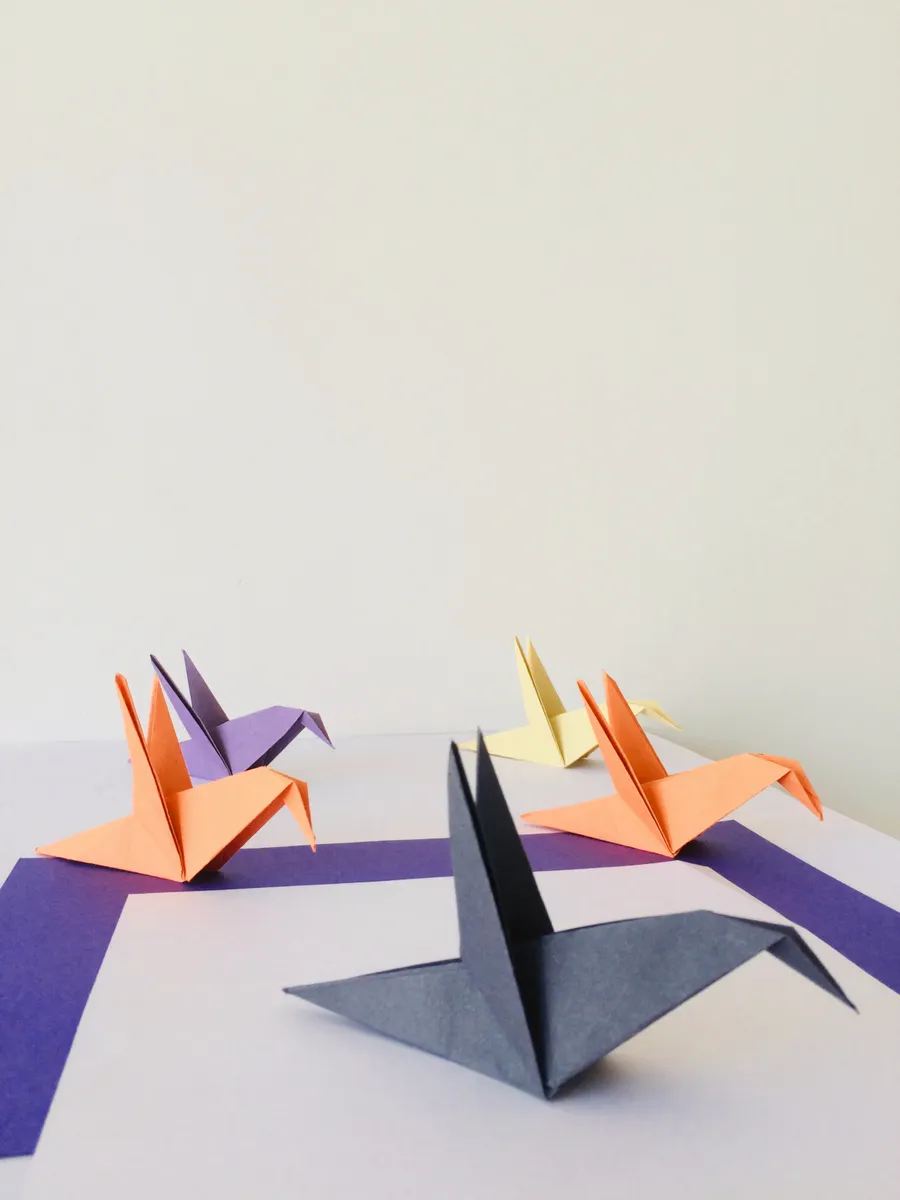
Photo Credit: Capped X
Crane vs Other Beginner-Friendly Folds
If you're deciding what to fold first, here's how the crane compares to a few other common beginner projects.
|
Model |
Difficulty |
Approx. Folds |
Time to Complete |
|
Paper crane |
Moderate |
~20 |
10 to 15 minutes |
|
Origami box |
Easy |
~10 |
5 to 8 minutes |
|
Simple flower |
Moderate |
~15 |
8 to 12 minutes |
|
Paper boat |
Easy |
~8 |
3 to 5 minutes |
The crane sits right in the middle. It's harder than a basic box, but it teaches folds you'll reuse in dozens of other models, which makes it a smart early project even though it takes a bit more patience.
Frequently Asked Questions
Is an origami crane easy for beginners? It's moderate, not beginner-easiest. The folds up through the bird base are simple, but the petal fold and reverse fold near the end take a bit more practice to get clean.
What size paper is best for an origami crane? A 6 inch square is the most beginner-friendly size. Anything smaller makes the middle folds fiddly, while larger paper, around 8 to 10 inches, is easier to see clearly while learning.
How many folds are needed to make a paper crane? Roughly 20 individual folds, counting valley folds, mountain folds, and the more advanced petal and reverse folds used to shape the head and wings.
What is the meaning of the origami crane? In Japanese culture, the crane represents long life, good fortune, and hope. Folding a thousand cranes, called senbazuru, is a tradition often tied to wishes for health or peace.
Why is the paper crane associated with peace? The connection largely traces back to Sadako Sasaki, a young girl who folded paper cranes during her illness after World War II. Her story helped turn the crane into a widely recognized peace symbol around the world.
Can you fold a crane from regular printer paper? Yes. Trim it into a square first using a ruler and scissors, cutting carefully and slowly. The folds will still work, though the final shape may look slightly less crisp than one folded from thinner origami paper.
Final Thoughts
The paper crane earns its reputation as an origami classic. It's just tricky enough to teach real skills, and just simple enough that most people can finish one in about ten minutes once the sequence clicks.
If you want to explore where to go from here, from other traditional folds to full modular projects, read the full origami guide for the complete roadmap.




Leave a Reply