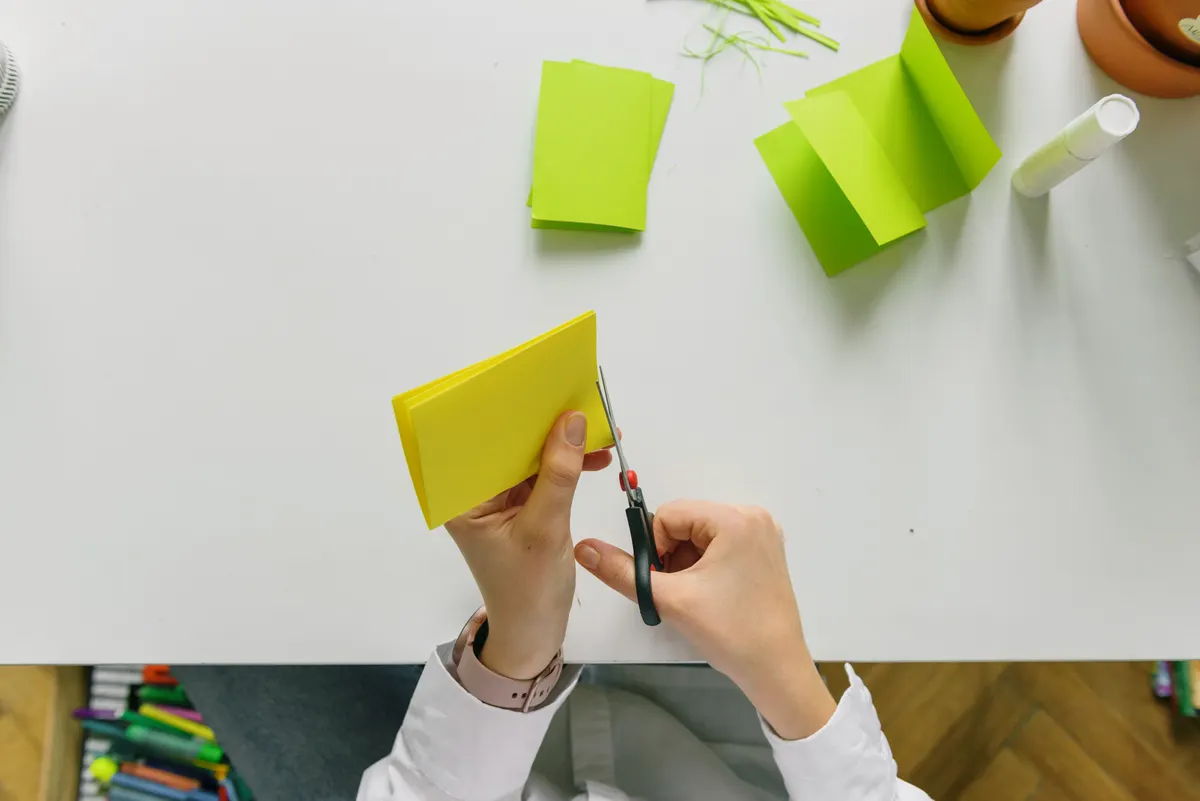
I once ruined a perfectly good crane because my kitchen table had a slight wobble I hadn't noticed. The fold looked fine at first glance, but that tiny shake in the surface threw off one crease, and the whole bird sat crooked forever. That's the moment I learned a proper origami folding space setup isn't optional, it's the difference between a clean model and one that quietly fights you the whole way through.
This guide is Part of Getting Started with Origami, and it walks through exactly what your space needs, no matter how small your home or budget is.
Why Your Workspace Matters More Than You Think
A lot of beginners assume any flat surface will do. In my experience, the surface, the light, and how organized your tools are all directly affect how clean your creases turn out.
Origami relies entirely on hand folds, no cutting or gluing, so your hands and the surface underneath the paper are doing all the work. A soft, uneven, or cluttered origami workspace makes that work harder than it needs to be, and it's usually the invisible reason a fold goes wrong halfway through.
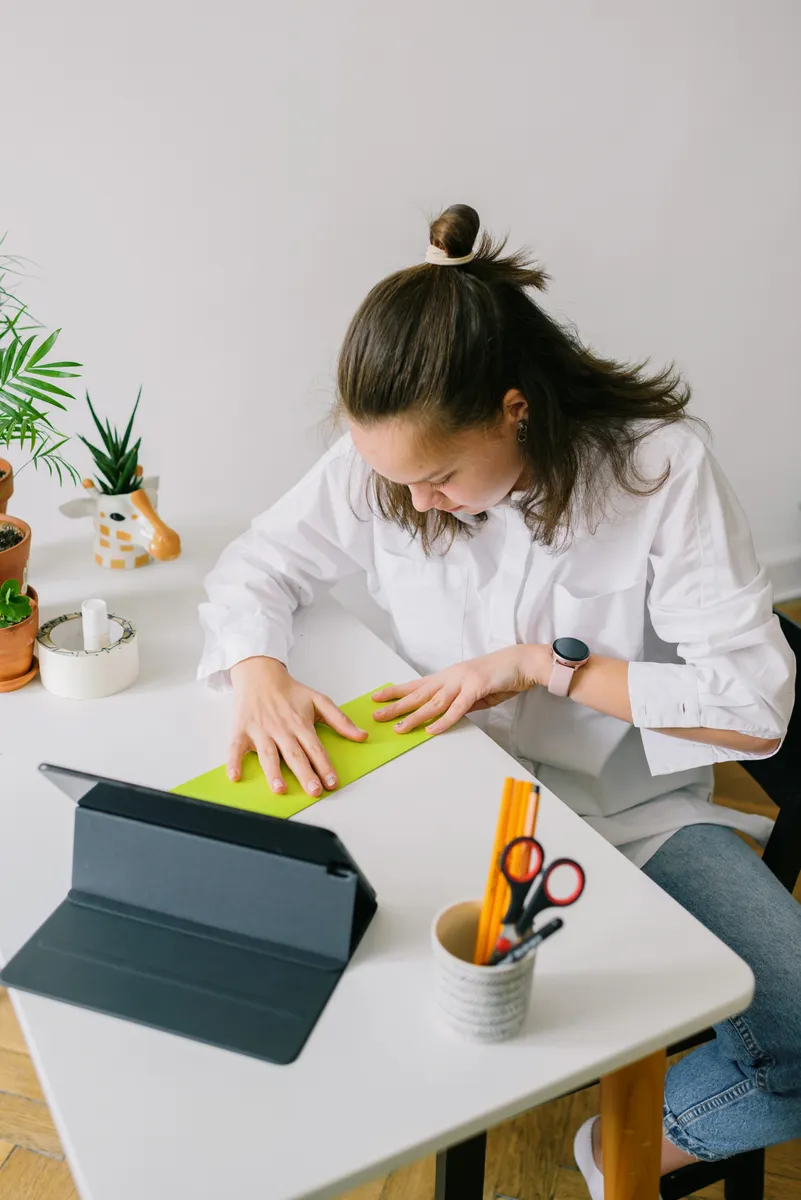
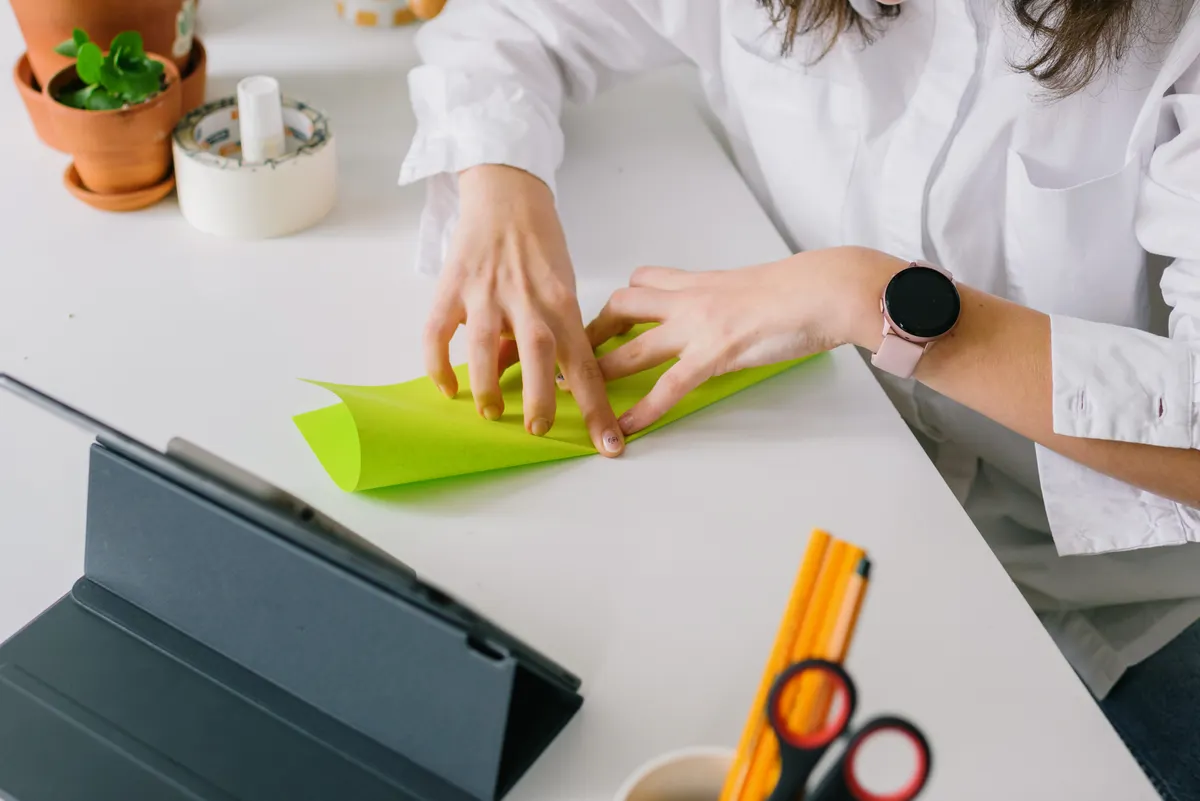
Photo Credit: Ksenia Chernaya
What You Need for a Good Origami Workspace
You don't need a dedicated craft room. You need a few specific things set up the right way. Here's what actually matters when you're figuring out where to fold origami.
|
Item |
Purpose |
Notes |
|
Hard, flat table |
Gives creases a firm edge to press against |
Avoid wobbly or textured tables |
|
Cutting mat or smooth board |
Protects the table and adds grip |
Optional but helpful for precise folds |
|
Bright, even lighting |
Lets you see faint crease lines |
Natural light or a desk lamp both work |
|
Storage box or folder |
Keeps paper flat and dust-free |
Prevents curling and bent corners |
|
Bone folder |
Sharpens creases cleanly |
Avoid pressing too hard on thin paper |
|
Small tray or dish |
Holds tweezers, rulers, and scraps |
Keeps small tools from getting lost |
If you're still gathering supplies, our Origami Starter Kit guide lists everything worth buying before you fold your first sheet.
How to Set Up Your Origami Folding Space, Step by Step
1. Pick a Hard, Flat Surface
Skip soft surfaces like beds, couches, or carpeted floors. Paper needs resistance to hold a sharp crease, and a soft surface absorbs that pressure instead of pushing back.
A wooden table, a hard plastic desk, or a smooth countertop all work well. If your only option is a slightly uneven surface, place a thin cutting mat or a hardcover book underneath your paper to even it out.
2. Clear at Least Two Feet of Space
You need more room than you'd expect, even for a single small sheet. Unfolding, flattening, and repositioning paper takes space, especially with larger models or modular pieces where several units sit out at once.
A workspace roughly two feet by two feet is enough for most projects. If you're building modular origami with many identical units, a slightly larger area keeps pieces from overlapping and getting mixed up.
3. Add Strong, Even Lighting
Shadows are the enemy of clean folding. A lot of crease lines are faint, and if your lighting is dim or coming from only one direction, you'll miss them until it's too late to fix easily.
Natural daylight from a window works great during the day. In the evening, a desk lamp positioned slightly above and in front of your hands gives the clearest view of every fold line.
4. Set Up Simple Storage
Loose paper curls, bends, and collects dust faster than you'd think. Keep your unfolded sheets flat inside a folder, a shallow box, or a large envelope, stored somewhere they won't get squished.
Group paper by size and color if you fold often. It sounds small, but hunting through a messy stack for one specific sheet wastes time and increases the chance you'll crease it by accident before you even start.
5. Keep Your Tools Within Reach
Set a small tray or dish near your folding surface for tweezers, a bone folder, a ruler, and any reference diagrams you're using. Reaching across the room mid-fold is a common way half-finished models get bumped and crushed.
If you're unsure which paper works best for which project, Origami Paper: Types & How to Choose breaks down weight, size, and finish so your workspace setup matches your paper choice.
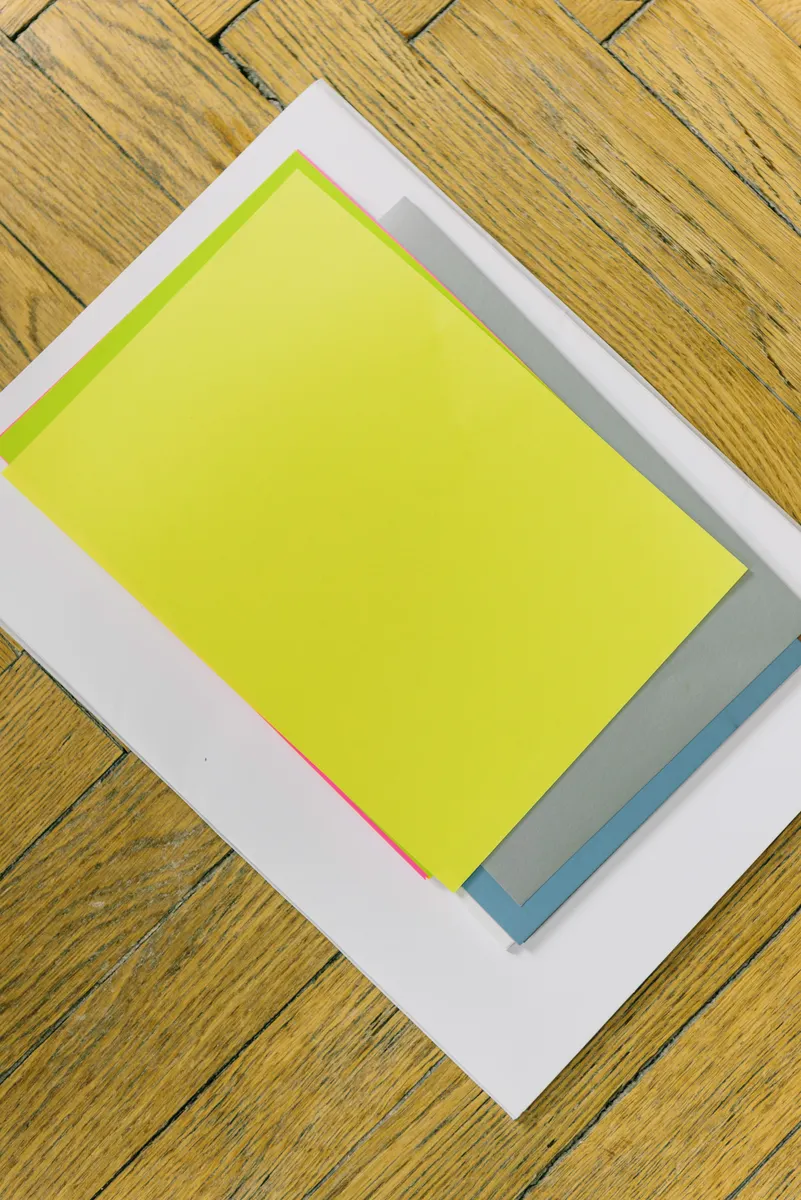
Photo Credit: Ksenia Chernaya
6. Handle Trimming Tools Safely
Some folders keep a paper trimmer nearby to cut sheets down to exact squares before folding begins. If you use one, always store the blade guard closed when it's not in use, and keep it well away from young kids working at the same table.
This isn't a constant risk during actual folding, since origami itself involves no cutting once you begin. But trimming setup steps deserve the same care as any other blade or tool in your craft space.
Pro Tips for a Better Folding Space
- Test your surface first. Press a ruler flat against it. If it rocks even slightly, fix it before you start folding.
- Avoid glossy, reflective surfaces under bright lamps, since glare makes faint creases hard to see.
- Keep water away from your paper stack if you also wet-fold, since a stray splash can ruin an entire folder of dry sheets.
- Don't fold on your lap. It feels casual, but the lack of a firm, flat base is one of the most common reasons beginner creases come out crooked.
- Label modular unit piles if you're building something with many identical pieces, so you're not second-guessing which stack is which mid-project.
A folder I learned early lessons from once told me the paper always shows you exactly where things went wrong, you just need a workspace clean and bright enough to actually see it.
Comparing Origami Workspace Setups
|
Setup Type |
Best For |
Space Needed |
Cost |
|
Kitchen table corner |
Casual, occasional folding |
Small |
Free |
|
Dedicated craft desk |
Regular practice, modular projects |
Medium |
Low to moderate |
|
Portable folding tray |
Travel or shared living spaces |
Small, flexible |
Low |
|
Full craft table with storage |
Frequent folders, tessellations |
Large |
Moderate to high |
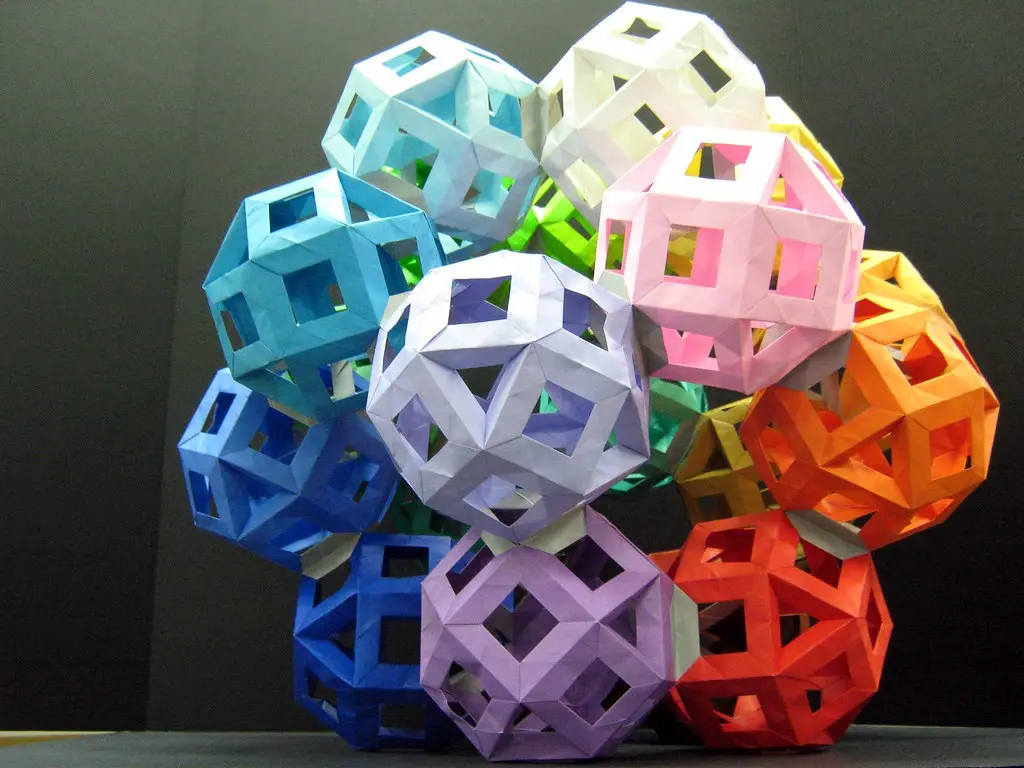
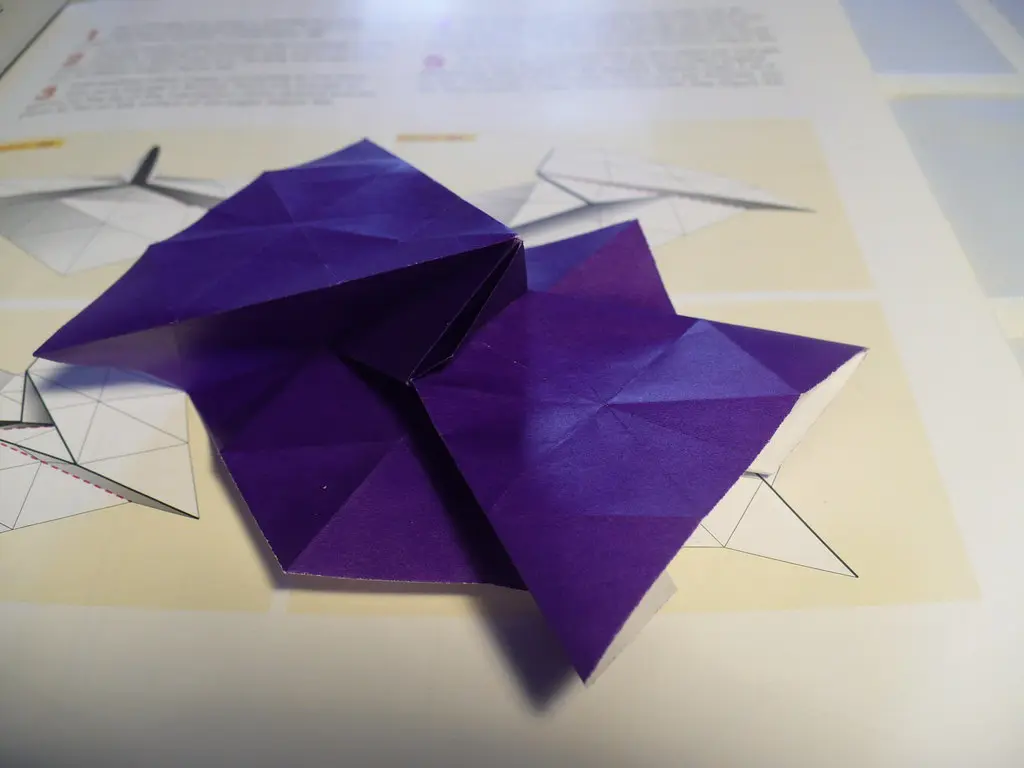
Photo Credit: Internet
Each setup works, as long as it keeps the three basics covered: a hard flat surface, strong even light, and tools within easy reach.
Frequently Asked Questions
What surface is best for folding origami? A hard, flat surface like a wooden table or smooth desk is best. Soft surfaces such as beds or carpet don't give paper enough resistance to hold a sharp crease.
Do you need a special table for origami? No special table is required. Any firm, flat surface works, though a slightly larger table helps once you start modular or multi-piece projects.
How much workspace do you need for paper folding? About two feet by two feet is enough for most single-sheet models. Larger or modular projects benefit from a bit more room to spread out pieces.
Should an origami workspace have good lighting? Yes, strong and even lighting is important. Faint crease lines are easy to miss under dim or uneven light, which can lead to folding mistakes.
How do you keep paper and tools organized? Store paper flat in a folder or shallow box to prevent curling, and keep small tools like tweezers and a bone folder in a tray near your folding surface.
Final Thoughts
A good origami folding space setup doesn't need to be fancy. It just needs a firm surface, enough light to catch every crease, and tools close enough that you're not interrupting your fold to go find them.
Get these basics right, and you'll notice fewer crooked models and a lot less frustration mid-fold. Read the full origami guide for the next steps once your space is ready to go.




Leave a Reply