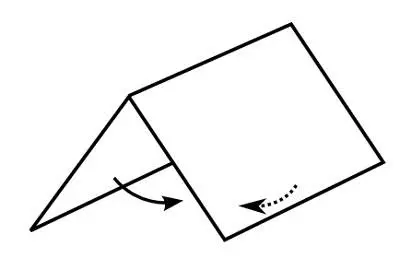
I once spent twenty minutes convinced my diagram was wrong, when really I'd just folded a mountain fold backward and turned it into a valley without noticing. That single mix-up is probably the most common beginner mistake in all of origami, and understanding valley fold and mountain fold correctly from day one saves you from repeating it over and over.
This piece is Part of Origami Techniques Explained, and it covers the two most fundamental folds in the entire craft, the ones every other fold eventually builds on.
Why These Two Folds Matter So Much
Almost every model you'll ever fold, from a simple boat to a complex modular star, is built entirely from combinations of these two folds. Learn them well, and diagrams stop feeling like a foreign language pretty quickly.
These are the first basic origami folds taught to every beginner, and for good reason. Once your hands understand the difference between pushing a crease down or pulling it up, more advanced folds like reverse folds and squash folds start making a lot more sense.
What Is a Valley Fold in Origami?
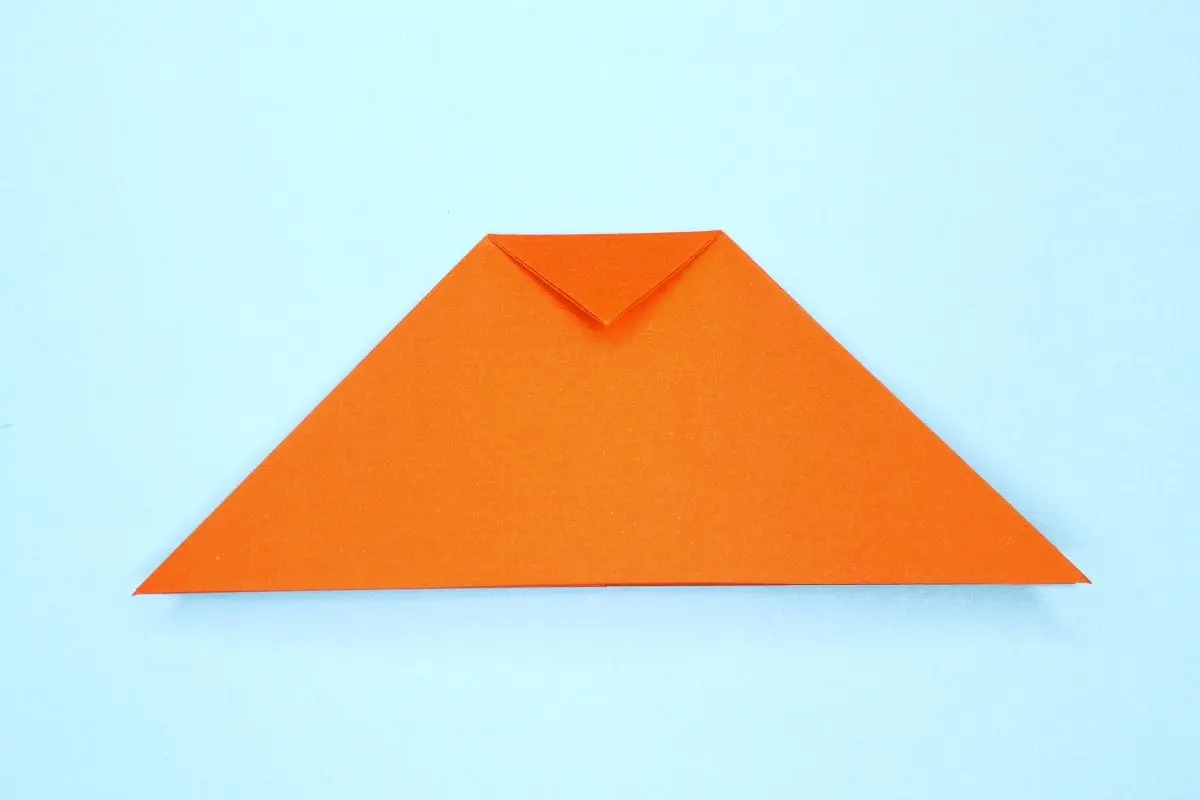
A valley fold is made by folding the paper toward you, so the crease dips downward like a small valley when the paper is opened slightly. The two edges come together on top, facing you, while the fold line sinks below.
It's the fold most people learn first, since it's the same motion used to fold a piece of paper in half the ordinary way. If you've ever folded a letter to fit an envelope, you've already made a valley fold without knowing its name.
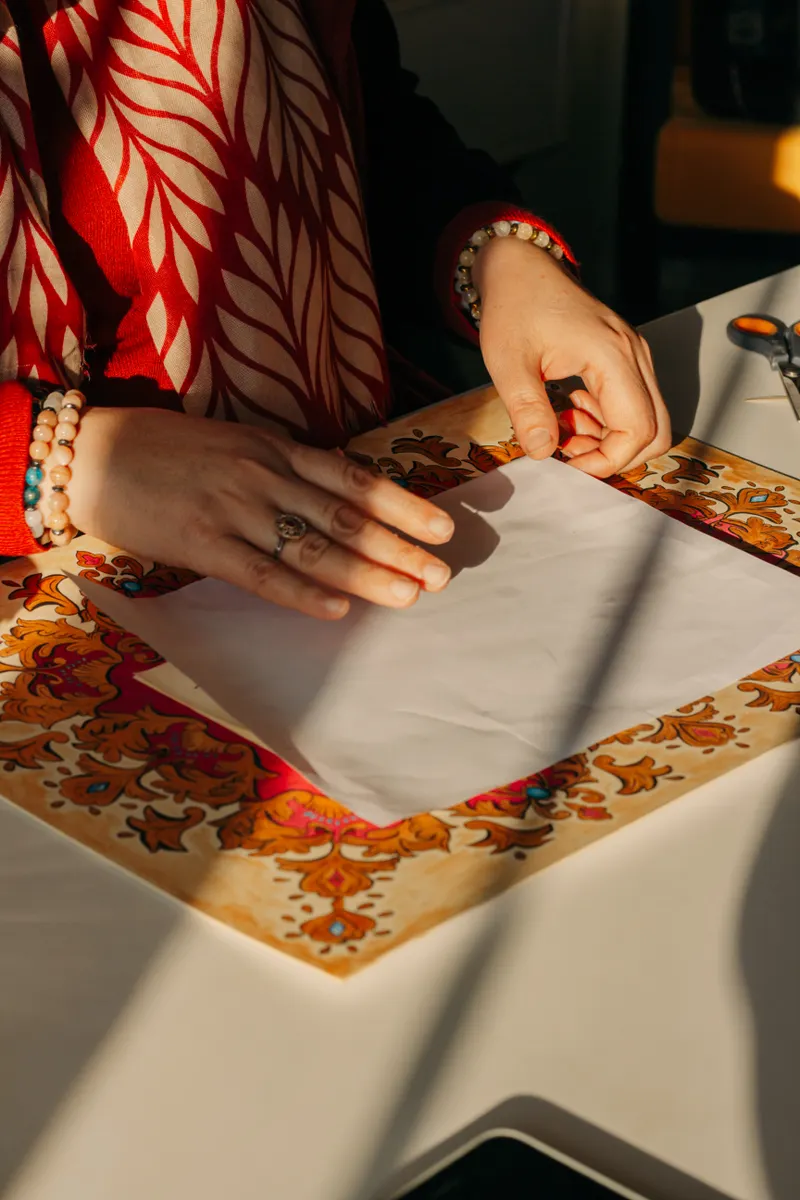
Photo Credit: Sedanur Kunuk
What Is a Mountain Fold in Origami?
A mountain fold is the exact opposite. You fold the paper away from you, so the crease pushes upward like a small peak when the paper is opened slightly. The two edges tuck behind the paper instead of meeting on top.
Many beginners find mountain folds a little trickier at first, simply because folding away from your body feels less natural than folding toward it. I always tell new folders to flip the paper over, make a valley fold instead, then flip it back. It creates the exact same mountain fold with a motion that feels more familiar.
What Is the Difference Between a Valley Fold and a Mountain Fold?
The core difference comes down to direction. A valley fold creases toward you and down, while a mountain fold creases away from you and up. Everything else about the physical motion is nearly identical.
Here's a simple way to remember it. Picture a real valley sinking down between two hills, and a real mountain rising up between two valleys. If the folded paper's crease points down into a dip, it's a valley fold. If it juts upward like a peak, it's a mountain fold.
|
Feature |
Valley Fold |
Mountain Fold |
|
Fold direction |
Toward you |
Away from you |
|
Crease shape |
Dips downward |
Peaks upward |
|
Common diagram line |
Dashed line |
Dash-dot line |
|
Beginner difficulty |
Easier, more natural |
Slightly trickier at first |
|
Everyday example |
Folding a letter |
Folding a paper tent shape |
How to Practice Valley and Mountain Folds, Step by Step
A little repetition with plain paper goes a long way before jumping into a full model. Here's a simple practice sequence I still use when teaching someone their very first folds.
- Take a square sheet of paper and lay it flat on a hard surface.
- Fold it in half toward you, pressing the crease flat with your fingers or a bone folder. This is your valley fold.
- Unfold it completely and flip the paper over.
- Fold it in half again toward you. Since you flipped the paper, this new crease is actually a mountain fold relative to the original side.
- Unfold and compare both creases side by side, noticing how one dips and the other peaks when the paper sits half open.
- Repeat five or six times until the motion feels automatic in both directions, without needing to flip the paper each time for the mountain fold.
Once both folds feel natural, try combining them. A simple paper fan, alternating valley and mountain folds in a strip, is a great way to feel the rhythm of switching between the two.
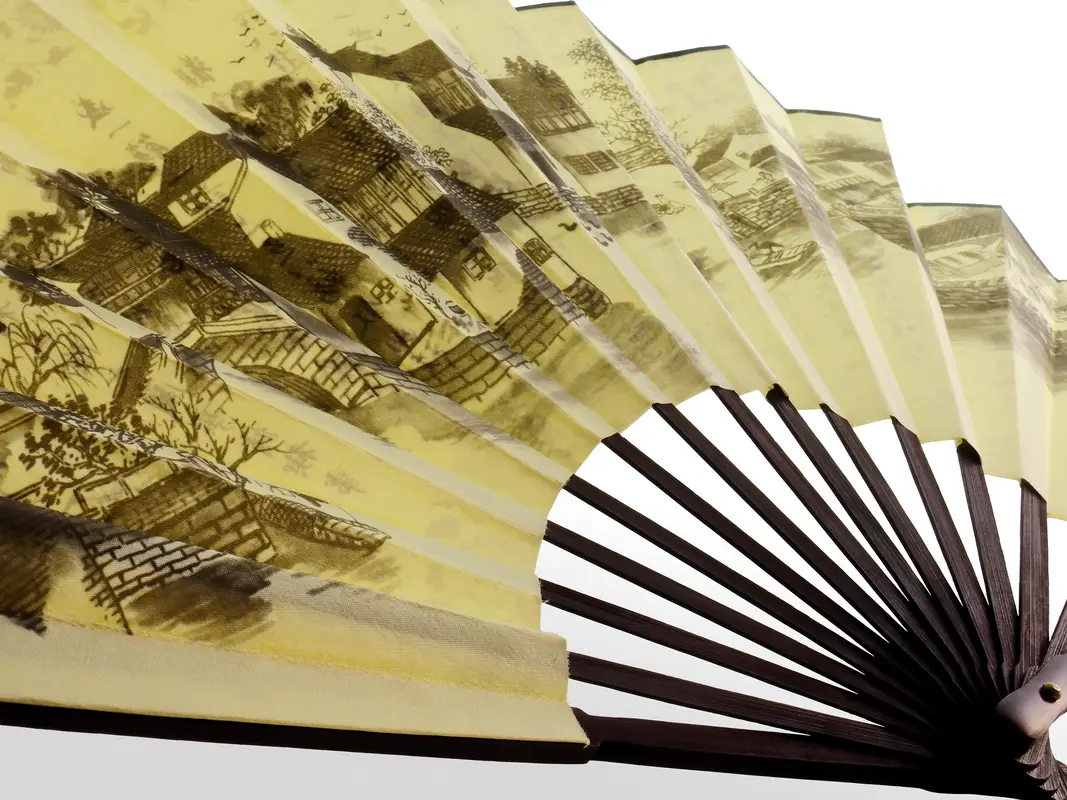
Photo Credit: Internet
How Are Valley and Mountain Folds Shown in Diagrams?
Origami diagrams use specific line styles so folders can tell the two folds apart at a glance, without any written instructions needed. A valley fold is almost always shown as a simple dashed line, while a mountain fold is shown as a dash-dot line, alternating a short dash with a small dot.
Small arrows usually accompany these lines too, showing which direction the paper should move. A solid arrow curving toward the fold line typically means valley, while an arrow with a small open loop at the end often signals a mountain fold.
If diagrams still feel confusing beyond just these two symbols, How to Read Origami Diagrams & Symbols breaks down the full set of standard marks used across nearly every published origami pattern.
Can a Crease Be Reversed From a Valley to a Mountain Fold?
Yes, and this happens constantly in real folding. Any crease can be reversed simply by folding it the opposite direction once it's already been creased. Since the paper already has a memory of that fold line, reversing it is usually much easier than making a brand new crease.
This reversal is actually the basis for more advanced techniques. Folds like the reverse fold and squash fold both rely on taking an existing valley or mountain crease and pushing it the opposite way to reshape part of the model. If you want to see this idea in action, Squash Fold Tutorial walks through exactly how a simple valley crease gets pushed and reshaped into a completely different fold.
Common Mistakes to Avoid
- Folding away from your body for a valley fold. This is the single most common mix-up, and it usually happens when a folder loses track of which side of the paper is facing them.
- Not pressing creases flat enough. A soft, rounded crease is much harder to identify later as either type, especially once several folds are layered together.
- Ignoring the diagram's line style. Skimming past the dashed versus dash-dot difference is an easy way to fold an entire section backward without realizing it.
- Working on a soft or wobbly surface. A firm, flat table makes it much easier to press a clean, sharp crease in the correct direction the first time.
- Rushing through practice folds. Slowing down on your first dozen or so valley and mountain folds builds muscle memory that saves time on every model afterward.
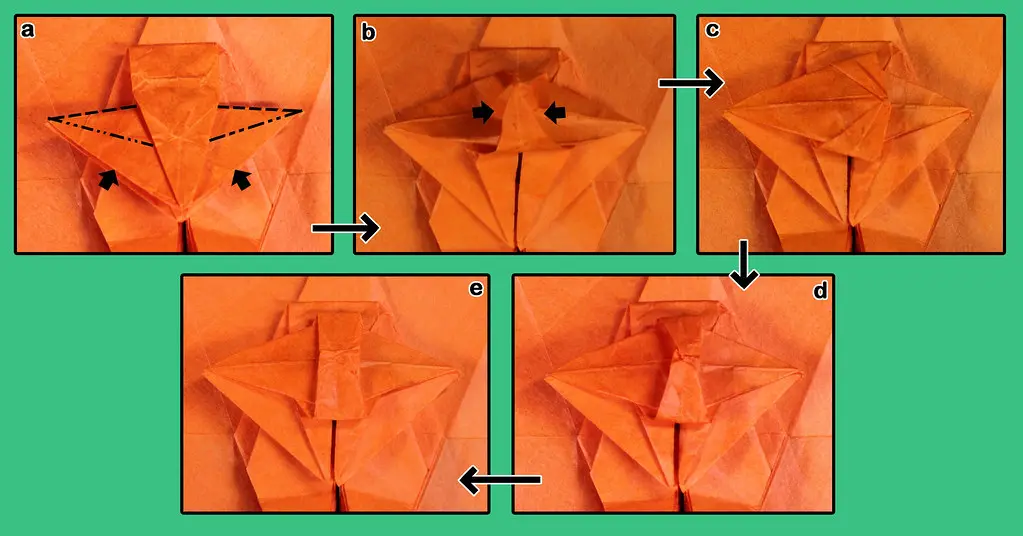
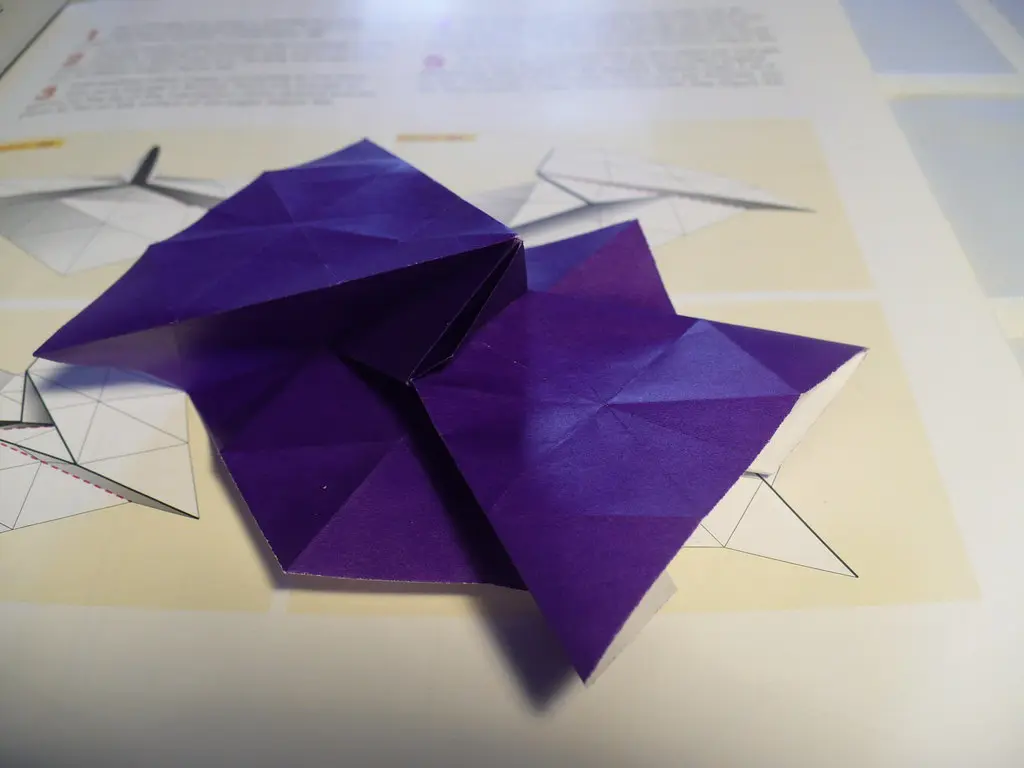
Photo Credit: Internet
A folding teacher I studied under years ago used to say the paper never lies about which way it was folded, it only confuses you if you stop paying attention to which side is facing up. That stuck with me more than almost anything else I learned early on.
Frequently Asked Questions
What is a valley fold in origami? A valley fold is made by folding the paper toward you, creating a crease that dips downward like a valley when the paper is partially opened.
What is a mountain fold in origami? A mountain fold is made by folding the paper away from you, creating a crease that peaks upward like a mountain when the paper is partially opened.
What is the difference between a valley fold and a mountain fold? The direction is the main difference. Valley folds crease toward you and down, while mountain folds crease away from you and up, though the physical motion is otherwise similar.
How are valley and mountain folds shown in diagrams? Valley folds are typically shown with a dashed line, while mountain folds use a dash-dot line. Arrows next to each line show which direction to fold the paper.
Can a crease be reversed from a valley to a mountain fold? Yes, any crease can be folded the opposite direction once it exists. This reversal is the basis for more advanced folds like the reverse fold and squash fold.
Final Thoughts
Valley and mountain folds are the two building blocks behind nearly everything in origami, and getting comfortable with both early on makes every diagram you look at afterward far less intimidating. Practice both directions until they feel automatic, and you'll start recognizing them instantly in even the most complicated fold patterns.
If you're ready to keep building your skills from here, Read the full origami guide for everything from basic folds to advanced modular and sculptural techniques.




Leave a Reply