I still remember the exact model that broke me the first time I tried a squash fold, a paper crane that ended up looking more like a crumpled napkin than a bird. It took me three tries and a much slower approach before that flap finally sat flat the way it was supposed to.
This tutorial walks through squash fold origami step by step, so you can skip that frustrating trial-and-error phase and get it right on your first real attempt.
This guide is Part of Origami Techniques Explained, so if you've already got valley and mountain folds down, you're ready for this next step.
What Is a Squash Fold in Origami?
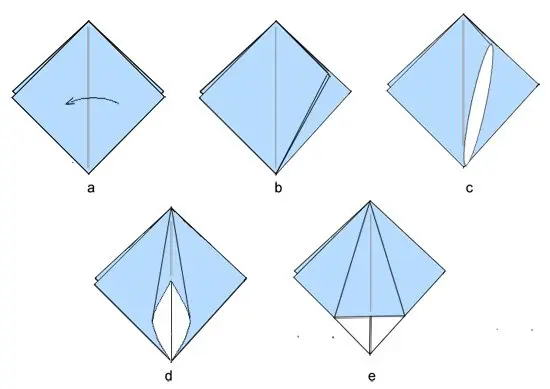
A squash fold takes a folded flap of paper and opens it up, then flattens it symmetrically into a new shape, usually a diamond or triangle. It's called a "squash" because you're literally squashing a 3D pocket of paper down into a flat 2D shape.
This fold shows up constantly in intermediate models, especially anything involving points, petals, or animal heads. It's one of the first techniques that separates true beginner folds from slightly more advanced work.
I've folded thousands of sheets over the years, and the squash fold was honestly one of the trickier moves to get comfortable with early on. Once it clicks though, it becomes second nature fast.
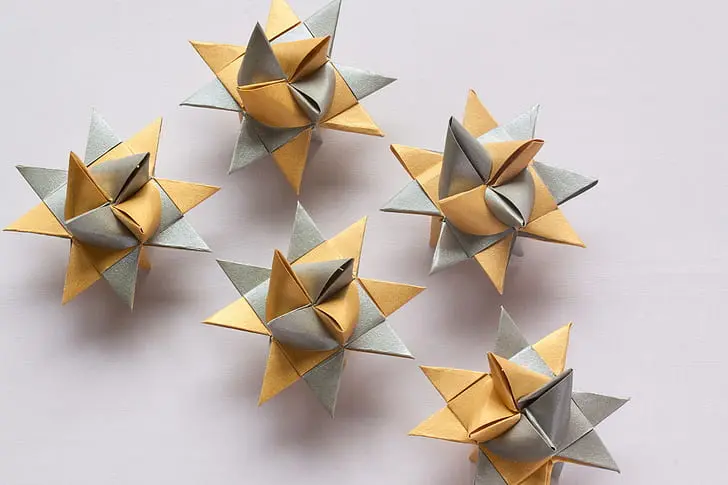
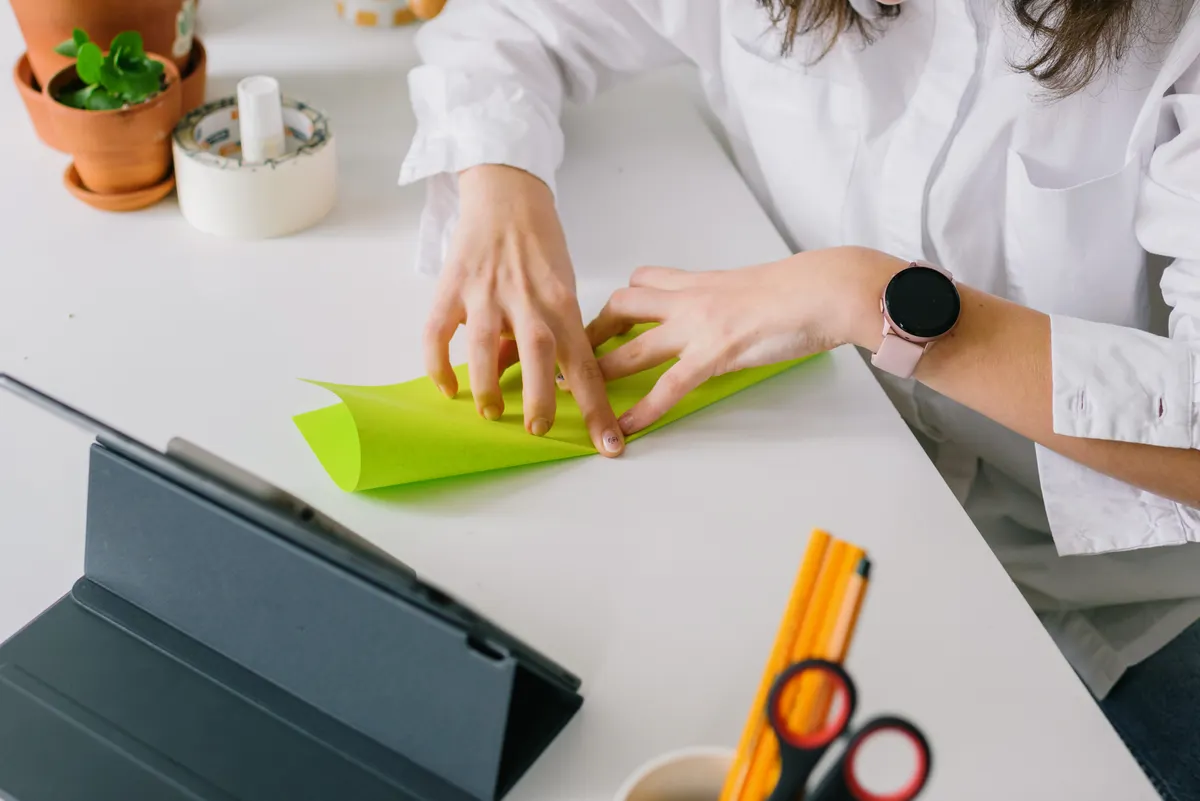
Photo Credit: Internet
What You Need Before You Start
You don't need anything fancy for this fold, just the basics you'd use for any standard model.
|
Item |
Why You Need It |
|
Square origami paper |
Kami paper works best for clean, crisp creases |
|
Flat, hard surface |
Gives you something firm to press creases against |
|
Patience |
This fold takes a few tries to feel natural |
Before attempting a squash fold, you should already be comfortable with basic valley and mountain folds. If those still feel shaky, the Valley Fold & Mountain Fold Explained guide is worth reviewing first.
How Do You Make a Squash Fold Accurately?
Here's exactly how the fold works, broken into clear, manageable steps.
- Start with a folded flap. Most squash folds begin from a preliminary base or a similar folded point sticking up from the paper.
- Open the flap slightly. Gently lift one layer of the flap away from the rest, creating a small pocket underneath.
- Find the center crease. Locate the existing crease line running down the middle of the flap you're opening.
- Press down evenly. Push the center crease flat while the sides spread out symmetrically, forming a diamond or triangle shape.
- Flatten completely. Run your finger firmly along all the new edges to lock the shape in place.
- Check for symmetry. Both sides of the flattened shape should mirror each other exactly. If one side looks larger, the flap wasn't opened evenly.
That symmetry check in step six matters more than beginners usually expect. A slightly uneven squash fold might look fine on its own, but it throws off every fold that comes after it.
Common Mistakes With the Squash Fold
A few habits cause most of the trouble here, and I've made every one of them myself at some point.
- Rushing the opening step. Pulling the flap open too fast tears delicate paper or creates a messy, uneven pocket.
- Ignoring the center crease. Skipping this reference point makes it nearly impossible to flatten the fold symmetrically.
- Pressing before checking alignment. Flatten too early and you'll lock in a lopsided shape that's hard to fix.
- Using paper that's too thick. Stiff paper resists opening cleanly, making the whole motion feel forced instead of smooth.
- Forcing the fold instead of guiding it. The paper should move naturally into position. If you're fighting it, something's misaligned.
As folders often say, the paper never lies. It only shows you exactly where a fold went wrong.
That's especially true with squash folds. An uneven result almost always traces back to that center crease not lining up correctly during step three.
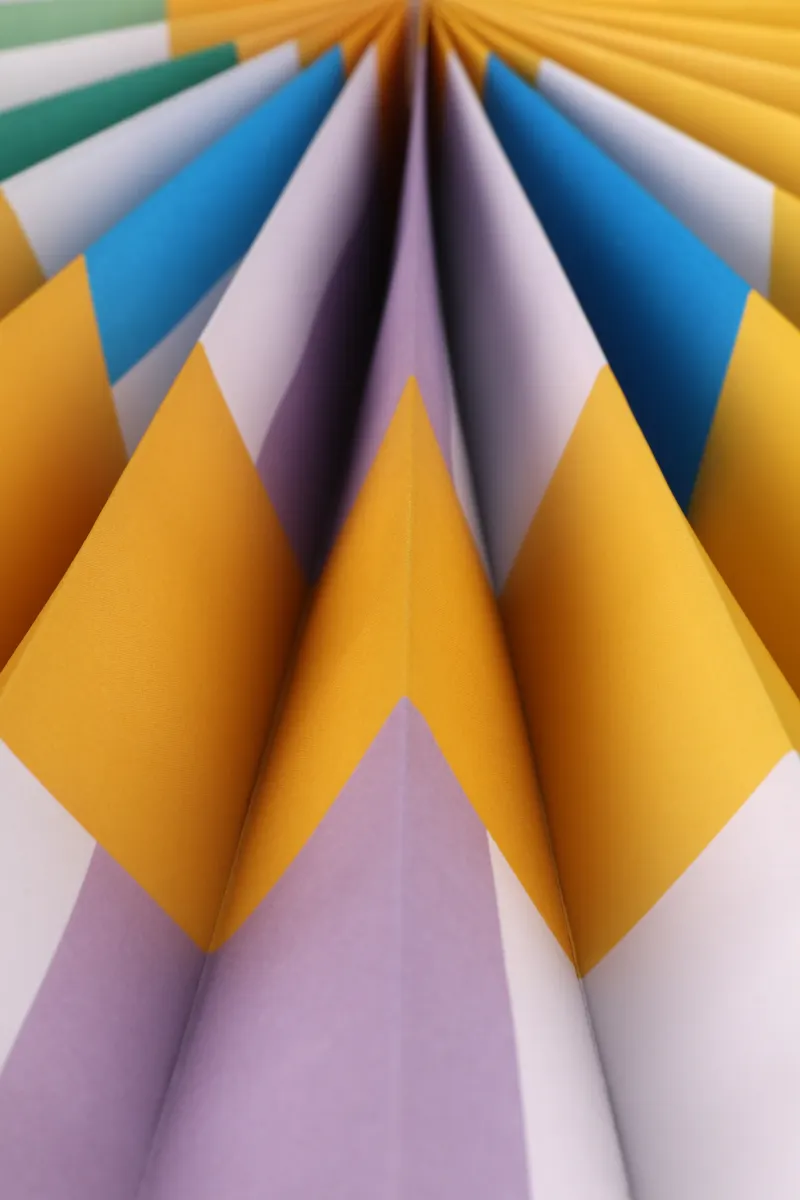
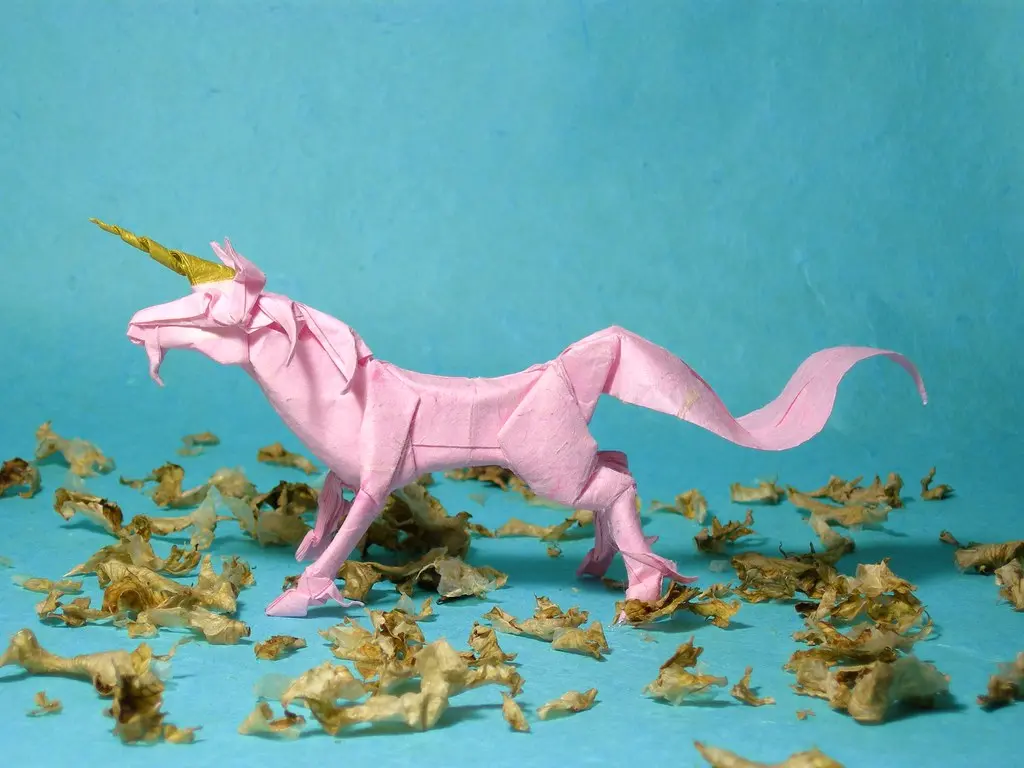
Photo Credit: Ann H
What Models Commonly Use a Squash Fold?
This fold shows up in plenty of models once you move past the absolute basics. Recognizing it in diagrams gets much easier once you've practiced it a few times.
Models that often include a squash fold:
- Traditional cranes, where it helps shape the head and tail points
- Flapping birds, a classic intermediate model built on similar structure
- Lilies and other flowers, where squash folds shape individual petals
- Animal faces, especially models with pointed ears or snouts
Learning these origami squash fold steps well pays off across a huge range of models, since this single technique repeats constantly once you start folding anything beyond beginner-level shapes.
What Is the Difference Between a Squash Fold and a Petal Fold?
This is where a lot of folders get confused, and honestly, the two techniques do look related at first glance. A squash fold opens and flattens a single flap into a symmetrical shape. A petal fold goes a step further, lifting one layer up and over to create a completely new point.
Think of the squash fold as flattening, and the petal fold as lifting. They often appear back to back in the same model, which is part of why beginners mix them up.
For a full walkthrough of how that second technique works, the Petal Fold Tutorial breaks it down with the same step-by-step approach used here.
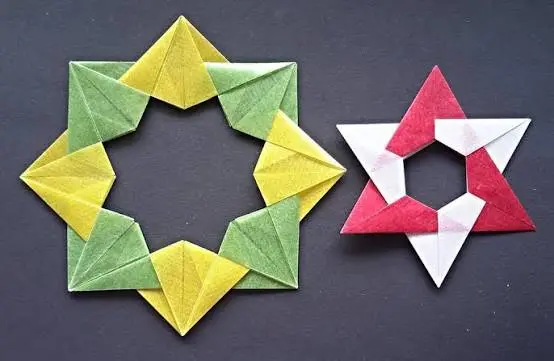
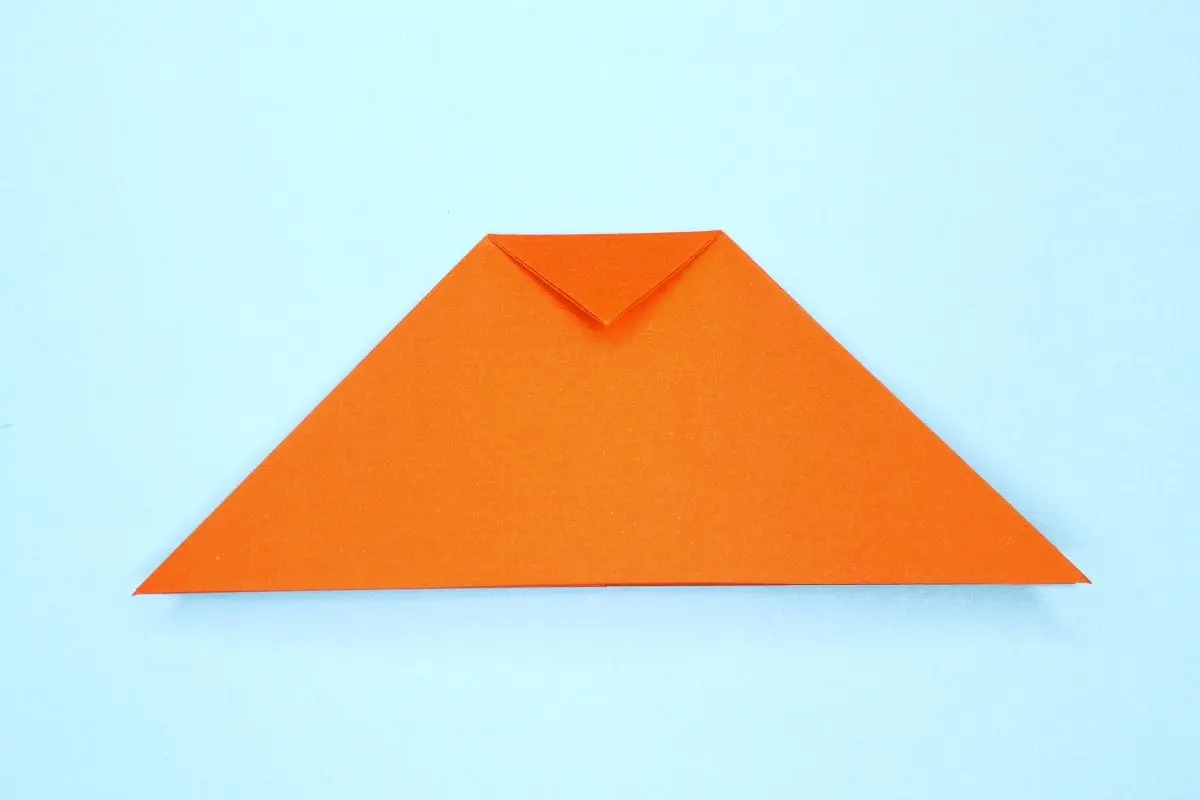
Photo Credit: Internet
Is the Squash Fold Suitable for Beginners?
It's a great early intermediate fold, though it's usually not the very first technique beginners learn. Once you're comfortable with basic valley and mountain folds, the squash fold is a natural next step.
How to know you're ready to try it:
- You can crease valley and mountain folds cleanly without hesitation
- You've folded at least a few simple beginner models successfully
- You're comfortable working with paper that has multiple layers
If those three feel solid, you're ready. Give yourself permission to practice this fold on scrap paper a few times before trying it inside a full model. That extra practice saves a lot of frustration partway through a project.
Frequently Asked Questions
What is a squash fold in origami? A squash fold opens a folded flap and flattens it symmetrically into a new diamond or triangle shape.
How do you make a squash fold accurately? Open the flap gently, find the center crease, then press evenly so both sides flatten symmetrically without one side larger than the other.
What models commonly use a squash fold? Traditional cranes, flapping birds, flowers like lilies, and animal faces with pointed features all commonly use this fold.
What is the difference between a squash fold and a petal fold? A squash fold flattens a flap symmetrically. A petal fold lifts one layer further to create an entirely new point.
Is the squash fold suitable for beginners? It works well as an early intermediate fold, best attempted once basic valley and mountain folds feel comfortable and consistent.
Final Thoughts
The squash fold takes a bit of practice to feel natural, but it opens the door to a huge range of models once it clicks. Practice it slowly on scrap paper first, and pay close attention to that center crease every time.
Ready to keep building your fold vocabulary? Read the full origami guide to see what other techniques come next.



Leave a Reply