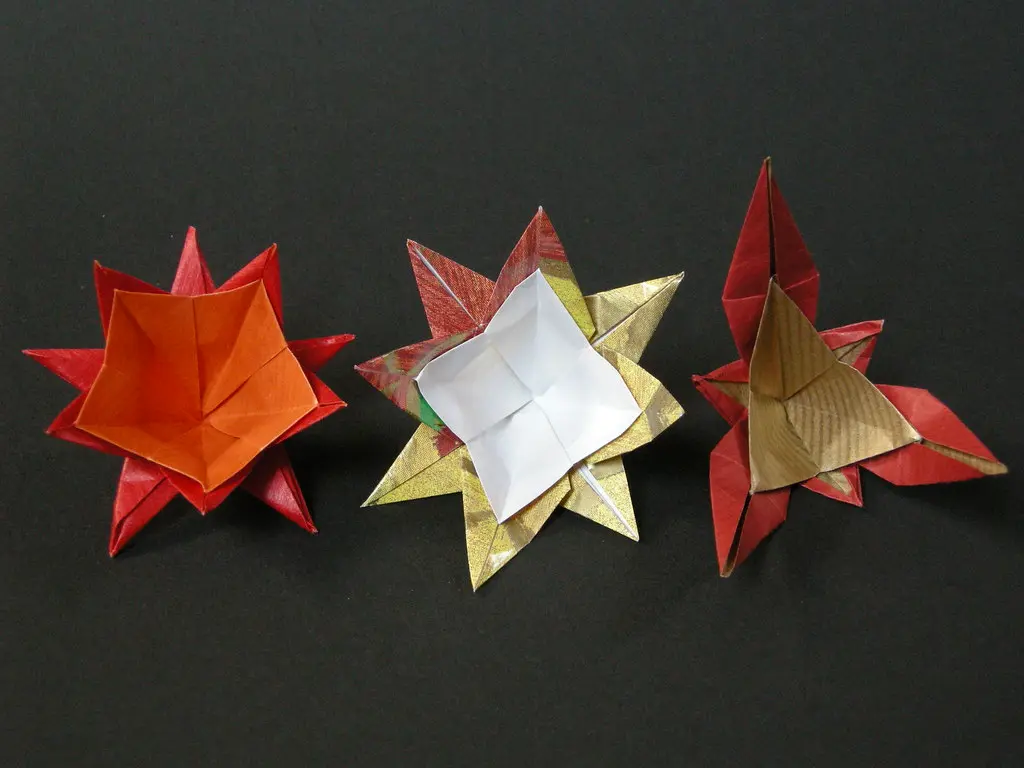
I still remember staring at a crane diagram years ago, completely stuck on one step that looked like nothing more than a confusing tangle of arrows and dotted lines. That step turned out to be a petal fold origami move, and once it clicked, half the traditional models I'd been avoiding suddenly felt possible.
This piece is Part of Origami Techniques Explained, and it walks through exactly how this one fold works, step by step, so it stops being the mystery move that stalls out so many beginner folders.
What Is a Petal Fold in Origami?
A petal fold is a technique where you lift one flap of paper upward while simultaneously folding the sides inward, causing the flap to narrow and stand up like a petal opening from a bud. It's not a single simple crease like a valley or mountain fold. It's a combination move that reshapes a whole section of the paper at once.
The name comes from exactly what it looks like when finished, a narrow, pointed shape rising up from a flatter base, similar to how a flower petal unfolds and lifts away from the stem. Once you've made one, the name makes a lot more sense than it does on paper.
This fold shows up constantly in traditional models, and it's considered one of the essential basic origami folds every intermediate folder needs to know, right alongside squash folds and reverse folds. Skipping it usually means skipping half the traditional model library too.
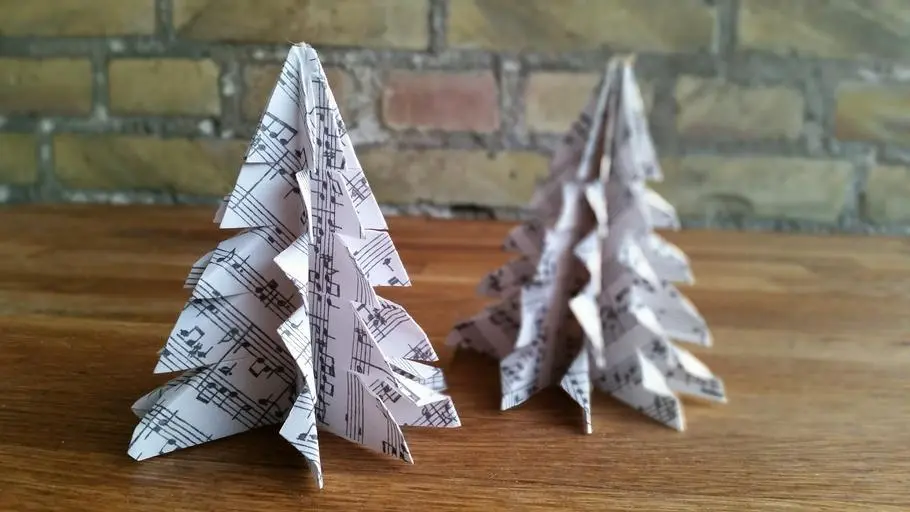
Photo Credit: Internet
Why the Petal Fold Trips Up So Many Beginners
Part of what makes this fold confusing at first is that it isn't one motion, it's several happening together. You're folding two side edges inward while also lifting a flap upward, and if those movements don't happen in roughly the right order, the paper just bunches up instead of settling into shape.
I've found that most beginners try to force the flap upward before the side folds are properly started, which causes the paper to resist and crease unevenly. Slowing down and separating the motion into clear stages, rather than trying to do it all in one quick movement, makes an enormous difference.
Materials and Tools for Practicing the Petal Fold
You don't need anything special to practice this fold, but a few specific items make learning it noticeably easier, especially while your hands are still getting used to the motion.
|
Item |
Purpose |
Notes |
|
Medium-weight kami paper |
Standard practice paper |
Holds creases without tearing during repeated attempts |
|
Square sheets, crisp edges |
Keeps the base symmetrical |
An uneven base throws off the whole fold |
|
Bone folder |
Sharpens creases before and after the fold |
Especially useful on the side folds |
|
Practice diagram or printed reference |
Visual guide for the fold sequence |
Following arrows step by step helps early on |
|
Small tray |
Holds practice sheets between attempts |
Keeps your workspace from getting cluttered |
How Do You Make a Petal Fold, Step by Step
Most petal folds start from a preliminary base or a waterbomb base, both of which are common starting points across traditional models. Here's the general sequence broken into clear stages.
- Start with your base folded and the flap you'll be reshaping facing up toward you.
- Fold the two bottom edges of that flap inward, bringing them toward the center crease line, similar to starting a squash fold but without flattening anything yet.
- Lift the bottom point of the flap upward, following the natural crease that runs along the center.
- Guide the point up and forward as the side edges continue folding inward, letting the paper narrow into a point as it rises.
- Flatten the new shape carefully, pressing along the new creases once the flap has settled into its narrow, upright position.
- Sharpen every new crease with a bone folder, since a soft petal fold tends to droop or open back up over time.
I always tell new folders to go slowly through steps three and four especially. That's the exact moment where the paper is being asked to move in two directions at once, and rushing it is the single most common reason a petal fold ends up crumpled instead of clean.
What Models Commonly Use a Petal Fold?
Once you've learned this fold, you'll start noticing it everywhere in traditional origami, especially in models based on the classic bird base.
- The traditional crane, where petal folds shape both wings from the bird base.
- Traditional flowers, particularly lilies and other pointed-petal designs, where the fold does exactly what its name suggests.
- Various animal models, including frogs and cranes' extended relatives, where narrow limbs or wings are built from this same technique.
- Certain modular units, where a petal-style fold helps create the pointed tabs used for locking pieces together.
If you want to build toward the crane specifically, understanding both the Squash Fold Tutorial and the petal fold together covers most of what that classic model actually requires.
What Is the Difference Between a Petal Fold and a Squash Fold?
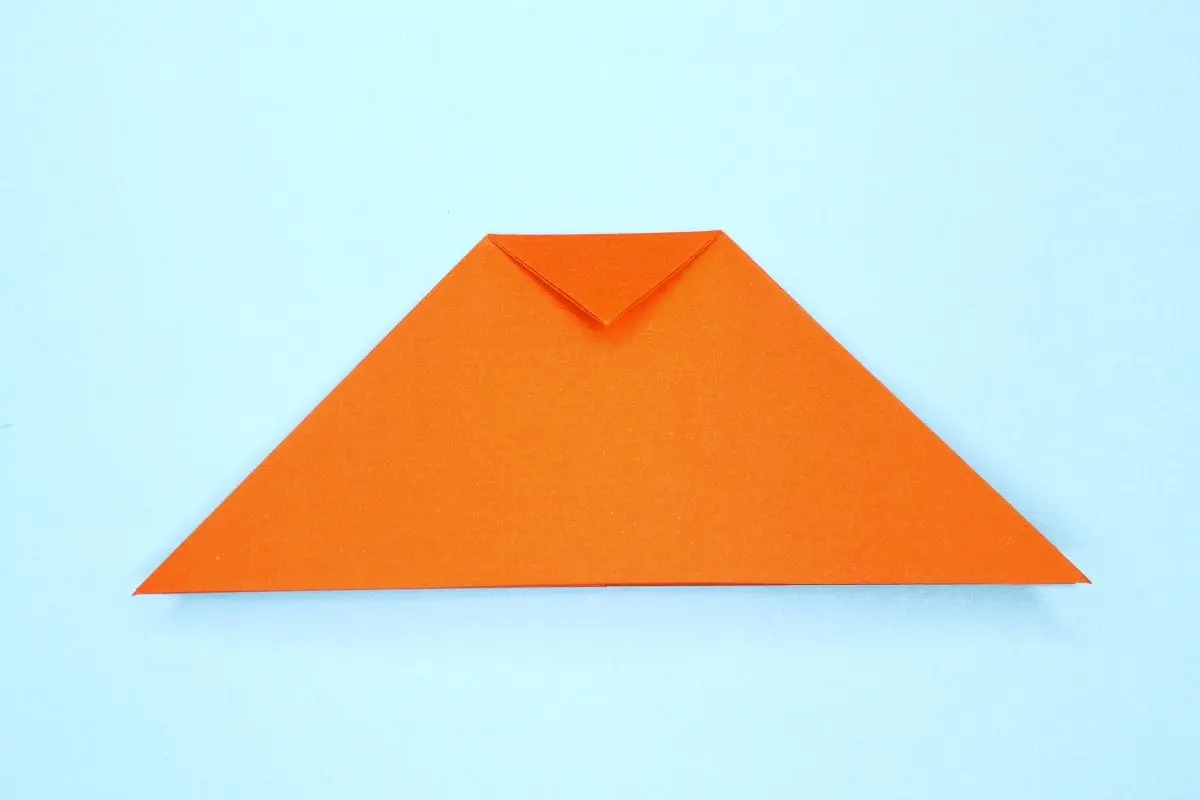
These two folds get confused often, partly because they sometimes appear in the same sequence within a single model. A squash fold opens up a pocket of paper and flattens it symmetrically into a new shape, usually a diamond or triangle, using a single spreading motion.
A petal fold does something different. Rather than opening and flattening a pocket, it narrows a flap by folding the sides inward while lifting the point upward, creating a raised, pointed shape rather than a flat symmetrical one. In short, a squash fold flattens outward, while a petal fold narrows and lifts.
In practice, many models use a squash fold first to prepare the paper, then follow it with a petal fold to shape the final pointed section. Learning to recognize which one a diagram is asking for is a big step toward reading traditional patterns confidently.
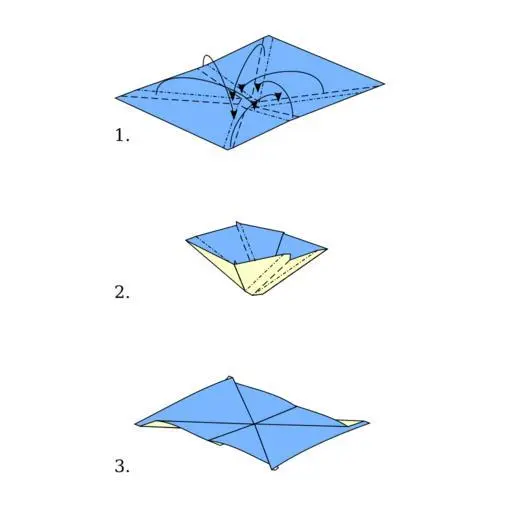
Photo Credit: Internet
Is the Petal Fold Difficult for Beginners?
It's often considered a step up from the very first folds beginners learn, but it's far from out of reach. Anyone comfortable with basic valley and mountain folds, plus a squash fold or two, usually has what they need to attempt a petal fold successfully within a practice session or two.
The real challenge isn't any single motion, it's coordinating several small movements together smoothly. I'd recommend practicing on plain scrap paper first, away from a full model, so a wobbly attempt doesn't derail a project you actually care about finishing.
A folding instructor I learned from used to say that the petal fold isn't hard, it's just three easy folds happening at the same time. Once I stopped trying to master it as one motion and instead thought of it as three small steps, it stopped feeling impossible.
Pro Tips for a Clean Petal Fold
- Pre-crease the side folds lightly before attempting the lift, so the paper already knows where it needs to go.
- Lift slowly, don't yank. Pulling the point up too fast often tears the paper right at the base of the flap.
- Keep your working surface flat and firm. A soft surface makes it much harder to press the new creases sharp once the fold is shaped.
- If it won't lie flat, don't force it. Unfold back to the base and check whether your side folds were even before trying again.
- Watch your fingertips near the point. Sharper paper edges, especially on heavier cardstock, can pinch or nick skin if you're pressing hard near a fresh crease.
- Practice on scrap paper first. A few throwaway attempts save a lot of frustration on a model you're hoping to keep.
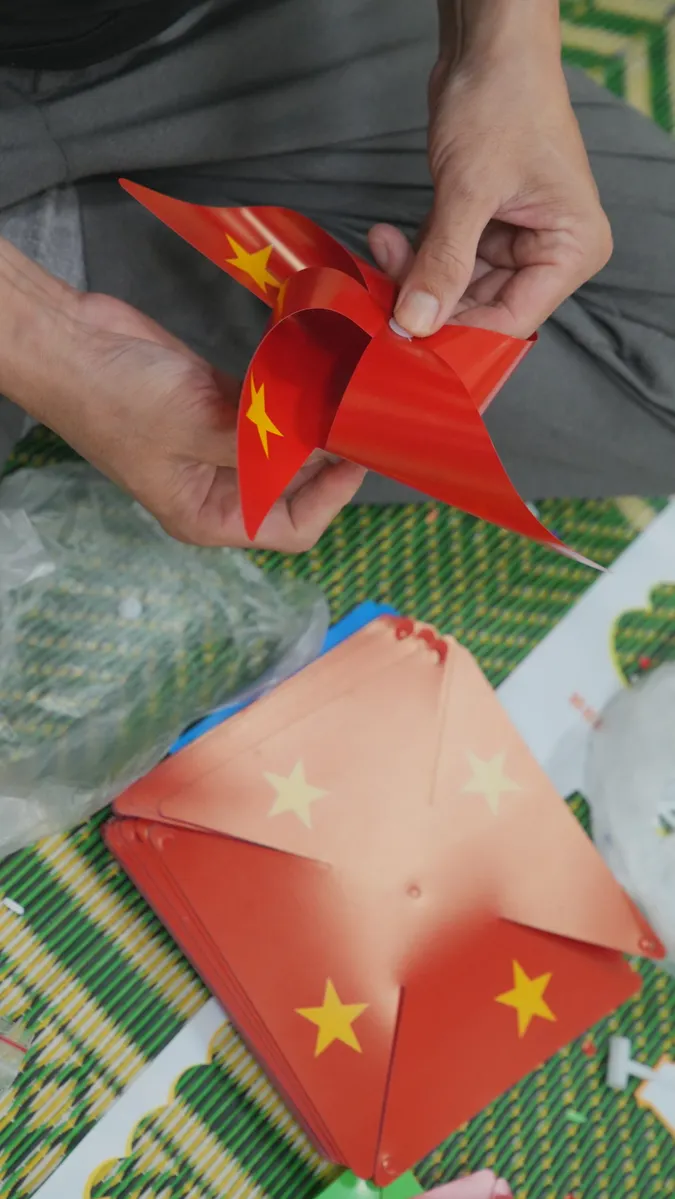
Photo Credit: VINVIVU ®
Comparing Petal Fold to Related Techniques
|
Feature |
Petal Fold |
Squash Fold |
Reverse Fold |
|
Core motion |
Narrow and lift |
Open and flatten |
Push crease inward or outward |
|
Typical result |
Pointed, raised shape |
Flat, symmetrical shape |
Repositioned flap or point |
|
Common in |
Cranes, flowers, animal limbs |
Bases, preparatory steps |
Necks, heads, legs |
|
Beginner difficulty |
Moderate, several steps at once |
Moderate, one spreading motion |
Moderate to advanced |
If a diagram calls for reshaping a point after your petal fold, it's often paired with a Reverse Fold Tutorial next, especially in models like the traditional crane where the head and tail both rely on that follow-up technique.
Frequently Asked Questions
What is a petal fold in origami? A petal fold is a technique where a flap of paper is narrowed by folding its sides inward while the point is lifted upward, creating a raised, pointed shape similar to a flower petal.
How do you make a petal fold? Start from a base with the flap facing up, fold the bottom edges inward, lift the point along its center crease, then flatten and sharpen the new creases once the shape settles into place.
What models commonly use a petal fold? The traditional crane, many origami flowers, and several animal models with wings or narrow limbs all rely on petal folds, usually shaped from a bird base or similar starting point.
What is the difference between a petal fold and a squash fold? A squash fold opens a pocket and flattens it into a symmetrical shape, while a petal fold narrows a flap and lifts it into a pointed, raised shape.
Is the petal fold difficult for beginners? It's a step up from basic folds but manageable once you're comfortable with valley, mountain, and squash folds. Practicing on scrap paper first makes learning it much smoother.
Final Thoughts
The petal fold looks intimidating in a diagram, but once you break it into three smaller motions, folding the sides, lifting the point, and flattening the result, it stops feeling like a mystery. Practice it a few times on scrap paper, and you'll start recognizing it instantly in the traditional models you've been putting off.
If you're ready to keep building your fold vocabulary, Read the full origami guide for everything from basic creases to advanced traditional and modular techniques.



Leave a Reply