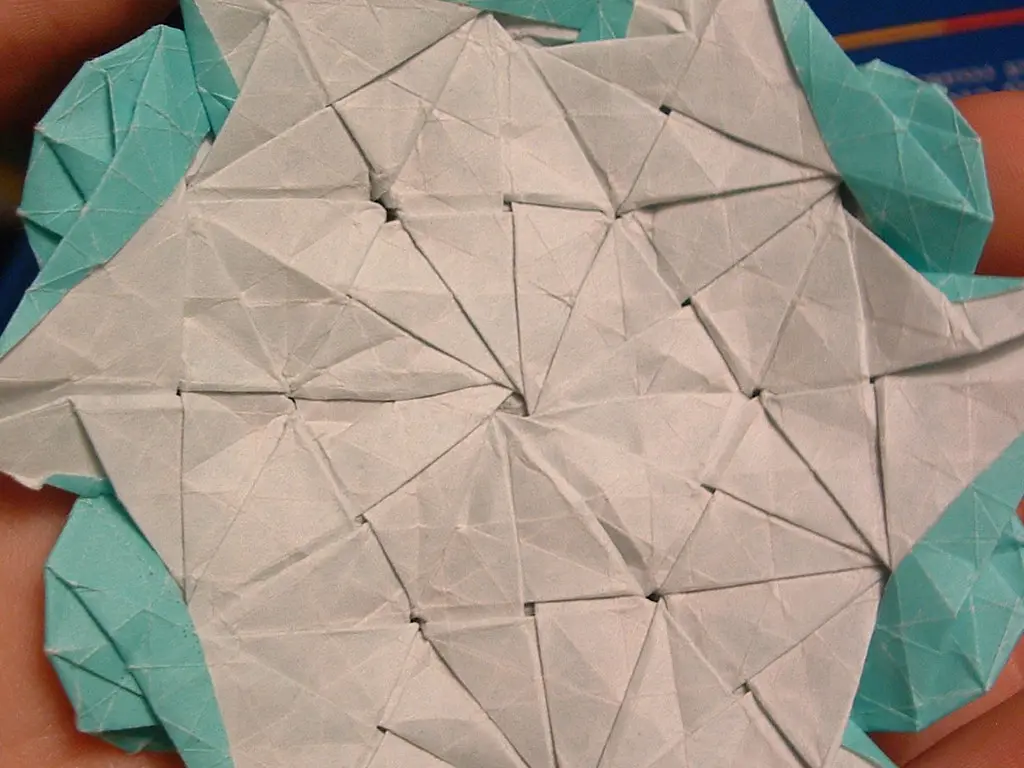
I folded my first dozen cranes without a single reverse fold, sticking to simple models because that one move looked too confusing to attempt. Then I finally tried it, tore two sheets figuring it out, and realized it's actually one of the more logical folds once you see what's really happening underneath.
This tutorial breaks down reverse fold origami completely, covering both the inside and outside versions so you can finally add sharp beaks, tails, and legs to your models with confidence.
This guide is Part of Origami Techniques Explained, so if you've got valley and mountain folds down already, you're in the right place.
What Is a Reverse Fold in Origami?
A reverse fold takes an existing flap or point and tucks it inward or wraps it outward along its own creases, changing its direction without adding new material. It's called "reverse" because you're essentially undoing part of a fold and redirecting it a different way.
This technique comes in two main versions, inside and outside, and both rely on creases you've already made earlier in the model. Nothing new gets folded here. You're just re-routing paper that's already there.
I've folded thousands of sheets over the years, and reverse folds were genuinely one of the techniques that took real practice to feel natural. Once it clicks though, it opens up a huge range of models that were out of reach before.
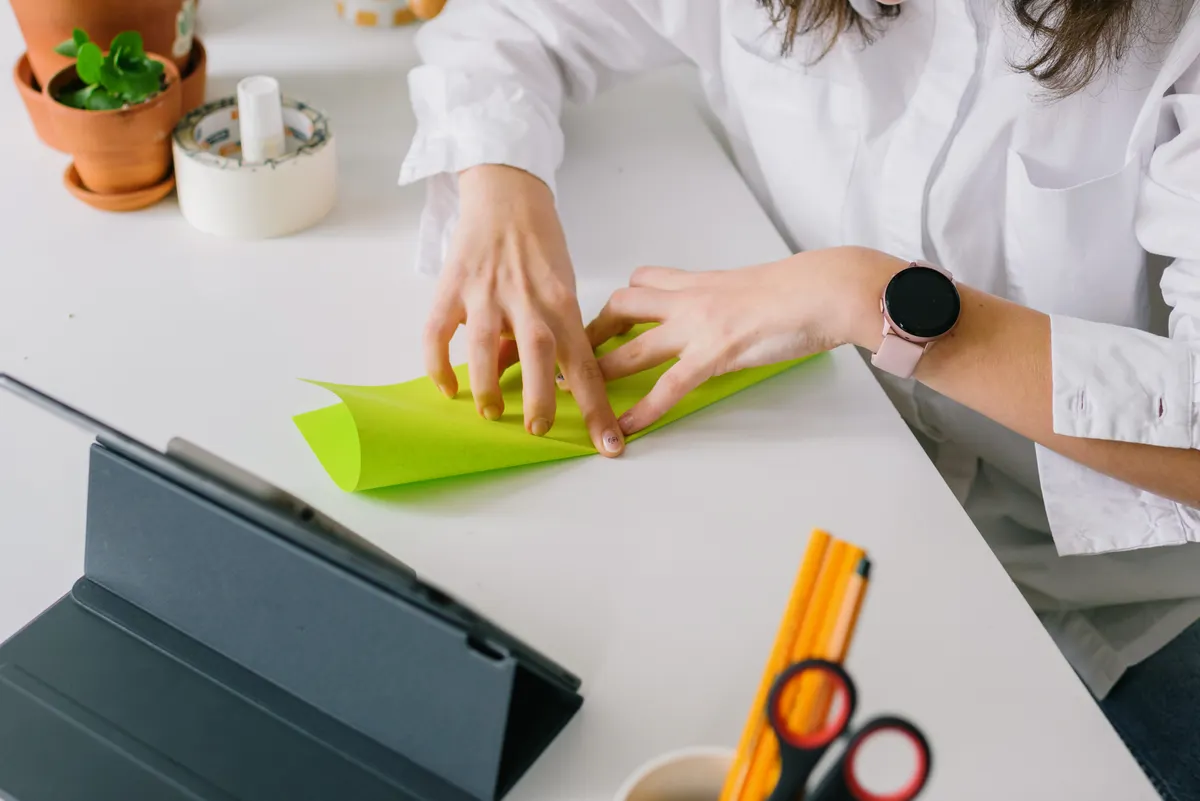
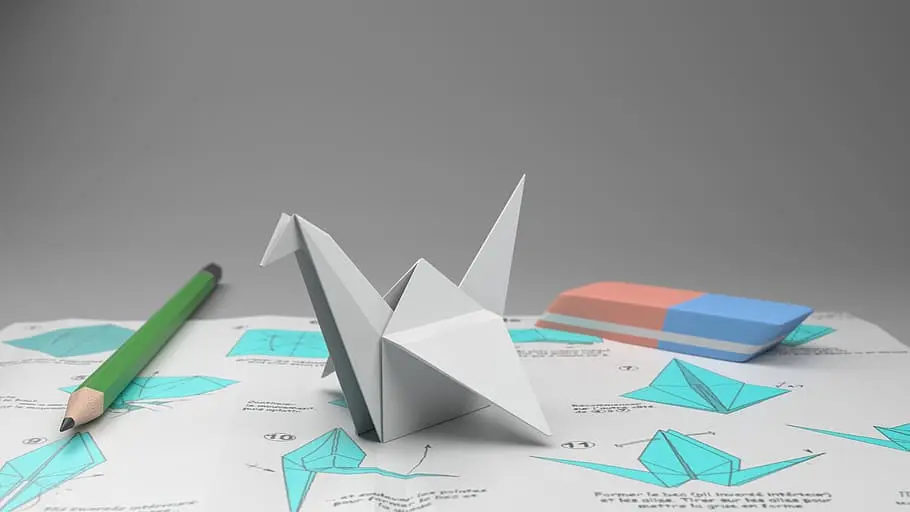
Photo Credit: Internet
What You Need Before You Start
Nothing fancy is required here beyond standard folding basics.
|
Item |
Why You Need It |
|
Square origami paper |
Kami paper creases cleanly and holds sharp lines |
|
Flat, hard surface |
Helps you press new creases firmly and accurately |
|
Pre-creased flap or point |
Reverse folds rely on existing creases, not new ones |
Before trying this technique, make sure you're comfortable with basic points and flaps, ideally from practicing a Rabbit Ear Fold Tutorial first, since both techniques deal with reshaping existing paper points.
What Is an Inside Reverse Fold?
An inside reverse fold tucks a point inward, between the layers of paper it's attached to. This is the version most people picture when they think of a crane's head or a bird's beak, since the point folds down and disappears inside the body.
Steps for an inside reverse fold:
- Pre-crease the point. Fold the tip forward and backward first, creating both a valley and mountain crease at the spot where you want it to bend.
- Open the layers slightly. Gently spread apart the two sides of the flap you're working with.
- Push the tip inward. Using the creases you just made, tuck the point down between the layers.
- Reverse the crease direction. The original mountain fold becomes a valley fold, and vice versa, as the paper flips inside.
- Flatten everything firmly. Press along all new edges so the reversed point sits cleanly inside the model.
That pre-creasing step in number one matters more than it looks. Skipping it means the paper has no guide for where to bend, and the reverse fold usually comes out crooked or refuses to sit flat.
What Is an Outside Reverse Fold?
An outside reverse fold works the opposite way, wrapping the point around the outside of the paper instead of tucking it inward. This version is common for tails, legs, or any point that needs to sit visibly on the outside of a model rather than hidden inside it.
Steps for an outside reverse fold:
- Pre-crease the point, just like the inside version, creating both fold directions at the bend point.
- Open the flap slightly to loosen the layers before reversing anything.
- Wrap the tip around the outside, pulling it over and around rather than tucking it inward.
- Let the creases flip naturally, following the same direction-swap as the inside version, just on the outer surface instead.
- Press the new shape flat, checking that the point sits smoothly against the outside layer.
The core motion is nearly identical to the inside version. The real difference is simply which direction the point ends up facing once it's reversed.
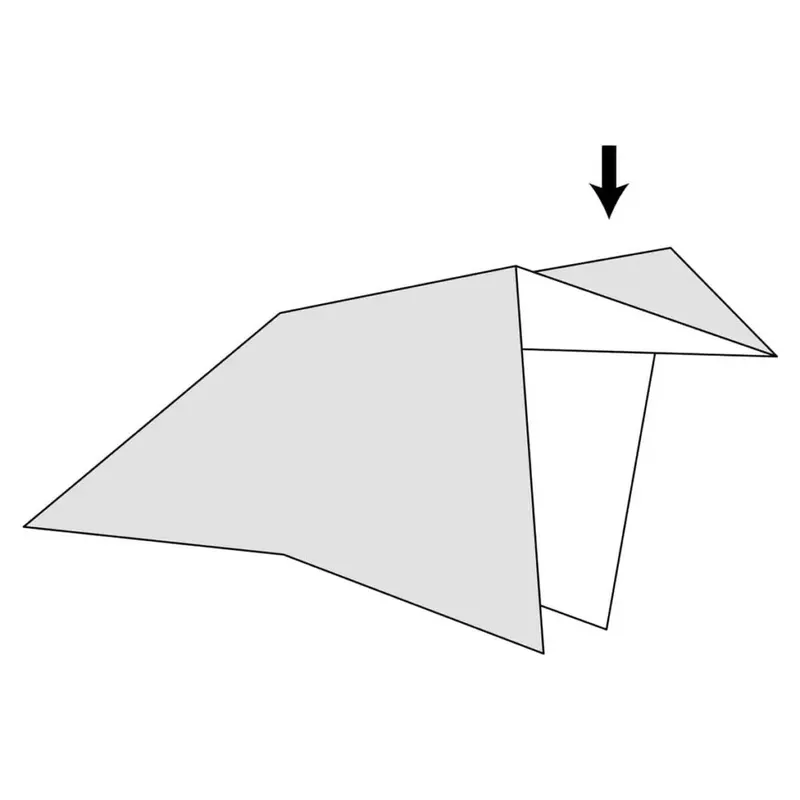
Photo Credit: Internet
What Is the Difference Between Inside and Outside Reverse Folds?
Both folds start from the same pre-creased point and follow a similar motion, but they finish in opposite directions. Here's a clear side-by-side breakdown.
|
Feature |
Inside Reverse Fold |
Outside Reverse Fold |
|
Direction of point |
Tucks inward, hidden between layers |
Wraps outward, visible on the surface |
|
Common use |
Crane heads, beaks, hidden joints |
Tails, legs, visible angled points |
|
Visual result |
Point disappears into the body |
Point becomes a new outer feature |
|
Difficulty |
Slightly easier to control |
Requires a bit more precision |
How to make a clean reverse fold, either version:
- Always pre-crease both directions before attempting the reverse itself
- Work slowly through the direction swap rather than forcing it in one motion
- Press firmly along every new edge once the point settles into place
As folders often say, the paper never lies. It only shows you exactly where a fold went wrong.
With reverse folds, that usually means a crooked point tracing straight back to a missing or uneven pre-crease from step one.
What Origami Models Commonly Use Reverse Folds?
This technique shows up constantly once you move past beginner-level models. Recognizing it in diagrams gets much easier with practice.
Models that often include reverse folds:
- Traditional cranes, where inside reverse folds shape the head and beak
- Foxes and dogs, using reverse folds for pointed snouts and tails
- Boats, where outside reverse folds shape the bow
- Birds with tails, relying on outside reverse folds for angled tail feathers
If you want to see this technique in a real, complete project, How to Fold an Origami Crane walks through the classic model where the inside reverse fold plays a starring role.
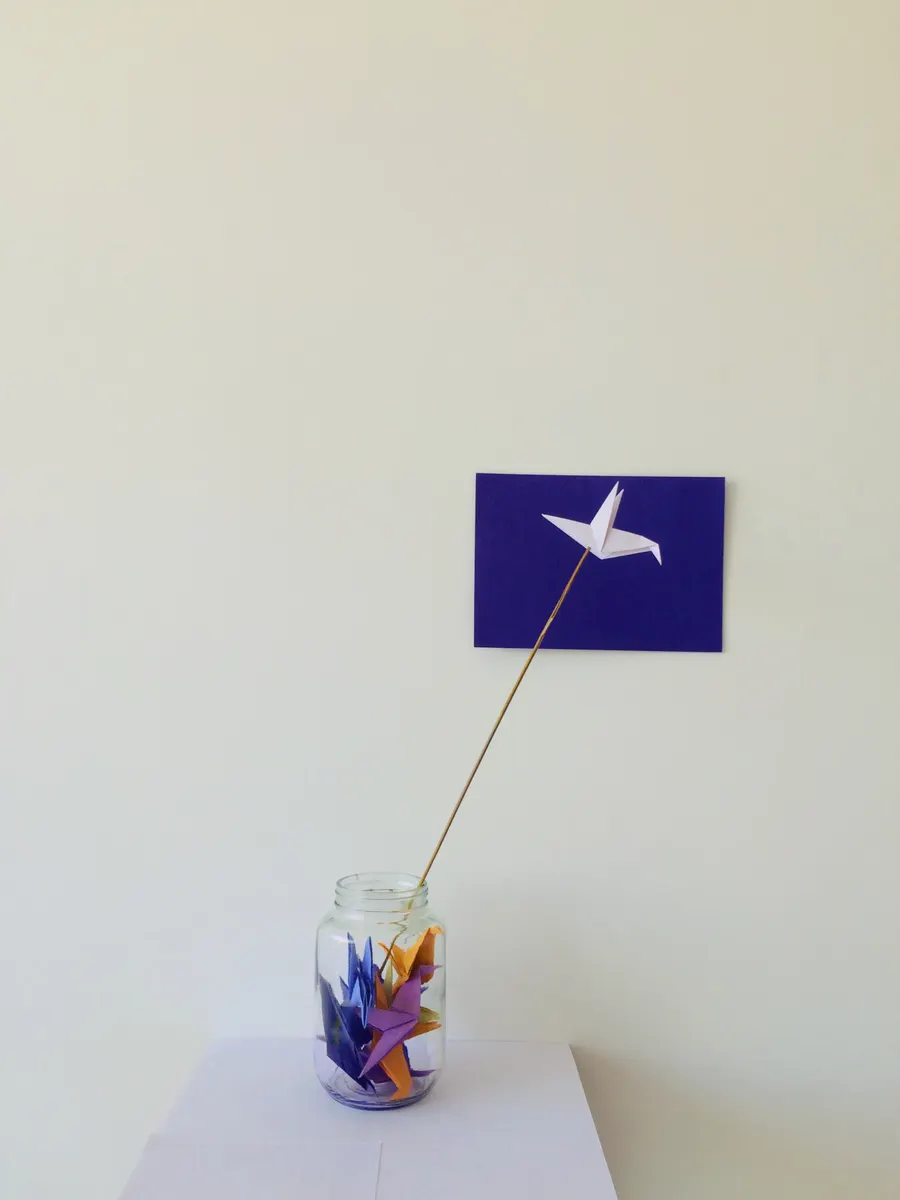
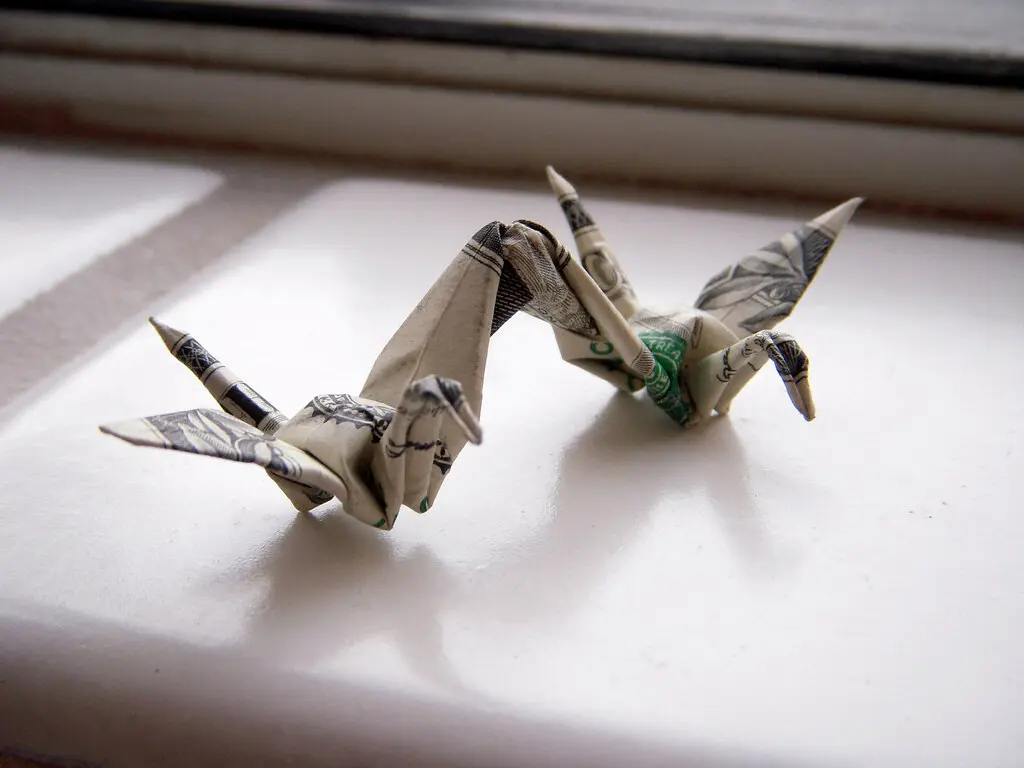
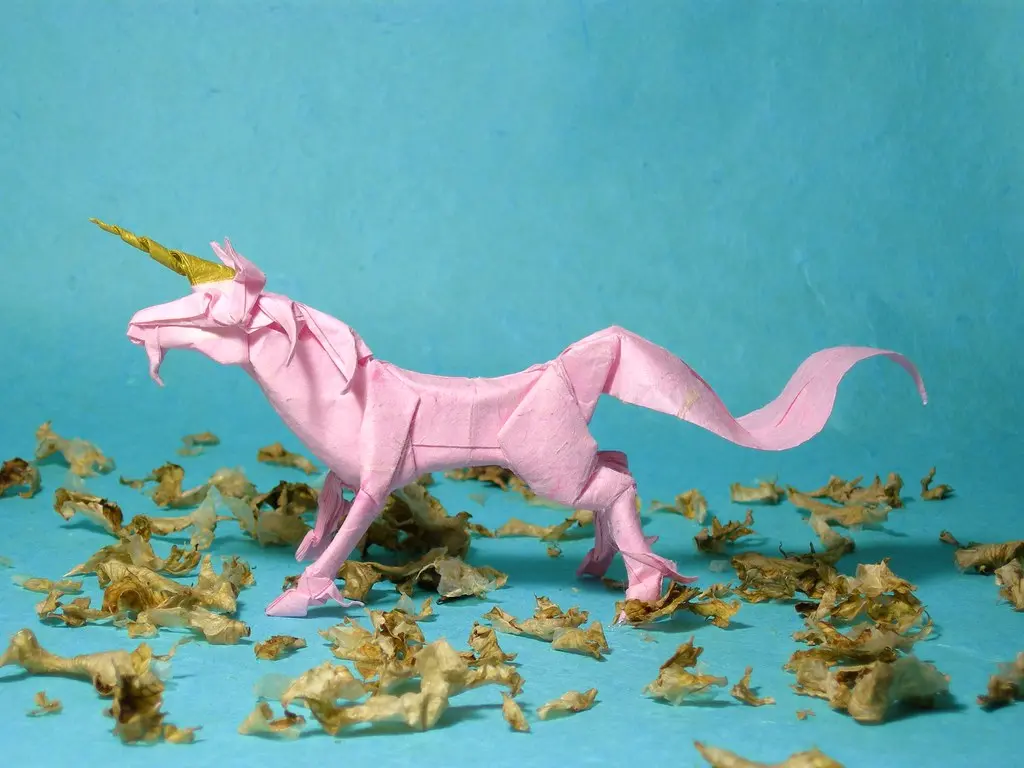
Photo Credit: Capped X
Common Mistakes With Reverse Folds
A few habits slow beginners down here, and I've run into every one of them myself.
- Skipping the pre-crease step. Without both fold directions already creased, the paper has no clear path to follow.
- Forcing the fold too fast. Rushing the direction swap often crumples the point instead of reversing it cleanly.
- Mixing up inside and outside. Double check which version a diagram calls for, since the arrows can look similar at a glance.
- Using paper that's too thick. Multiple layers get harder to reverse cleanly once paper resists bending easily.
- Not opening the flap enough. A flap that's still too closed makes the reverse motion feel stuck rather than smooth.
Frequently Asked Questions
What is a reverse fold in origami? A reverse fold takes an existing point and re-routes it inward or outward using creases already made earlier in the model.
What is an inside reverse fold? An inside reverse fold tucks a point inward between the layers of paper, commonly used for crane heads and beaks.
What is an outside reverse fold? An outside reverse fold wraps a point around the outside of the paper, often used for tails and visible angled features.
What is the difference between inside and outside reverse folds? Inside folds tuck the point inward and hide it between layers. Outside folds wrap the point around the surface, keeping it visible.
What origami models commonly use reverse folds? Traditional cranes, foxes, boats, and birds with tails are classic models that rely heavily on reverse fold techniques.
How do you make a clean reverse fold? Pre-crease both fold directions first, open the flap gently, then guide the point through the reversal slowly instead of forcing it.
Final Thoughts
Reverse folds take a little patience to feel natural, but once they click, entire categories of models suddenly open up. Practice both versions on scrap paper first, and always pre-crease before attempting the actual reversal.
Ready to keep building your folding skills? Read the full origami guide to see what other techniques come next.

Leave a Reply