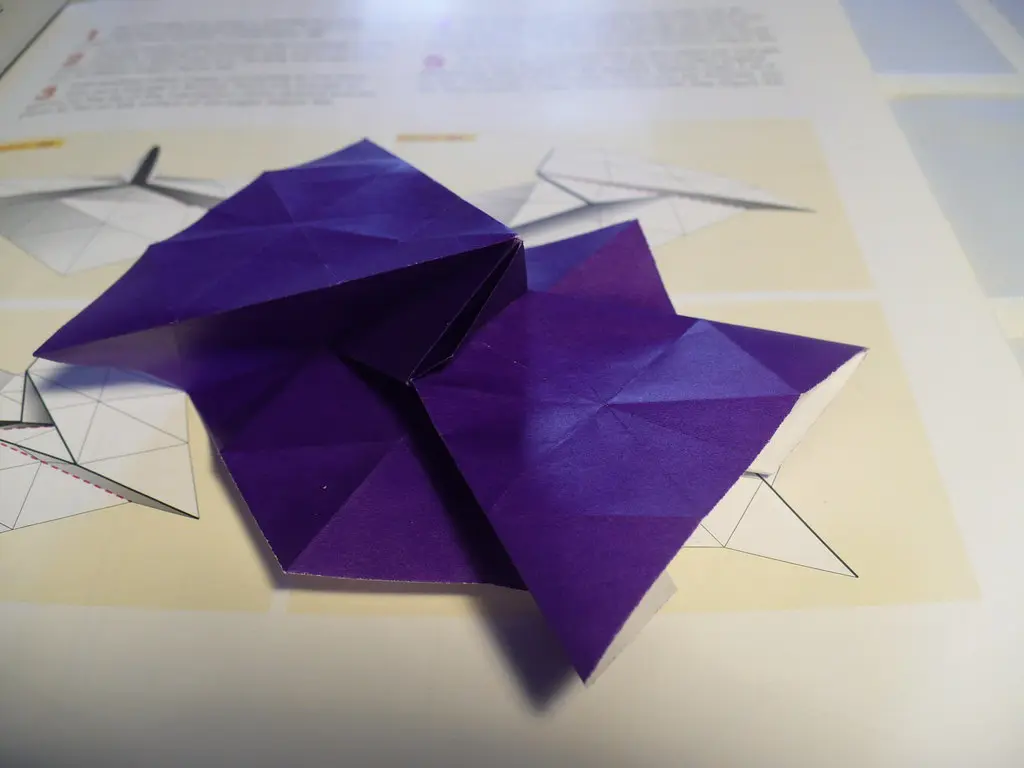
I named a fold after an animal before I even knew what it did, just because the finished shape reminded me of two little ears sticking up off a paper triangle. That's exactly what a rabbit ear fold origami move creates, and once you see it done once, the name makes perfect sense.
This piece is Part of Origami Techniques Explained, and it breaks down this fold step by step, since it's one of those techniques that looks intimidating in a diagram but turns out to be pretty logical once your hands know what to do.
What Is a Rabbit Ear Fold in Origami?
A rabbit ear fold is a technique where a triangular point of paper is pinched together along its existing creases and folded to one side, creating a narrow, upright flap that resembles a small ear standing away from the main body of the model. It relies on creases that are already there, rather than adding brand new fold lines from scratch.
The name comes directly from what the finished shape looks like, a thin, pointed flap standing up at an angle, similar to how a rabbit's ear sits upright and slightly off to the side. Once you've made one, that image sticks with you every time you see the fold in a diagram again.
This fold belongs on the same shelf as the petal fold and squash fold, all considered essential basic origami folds for anyone moving past beginner-level models. Traditional bases like the bird base and frog base both lean on this technique to shape their points.
Why the Rabbit Ear Fold Confuses New Folders
Part of the confusion comes from how much this fold depends on pre-existing creases. Unlike a simple valley or mountain fold, where you're making one clean new line, a rabbit ear fold asks you to use creases that were formed earlier in the model, sometimes several steps back.
Photo Credit: Internet
I've found that beginners often struggle here because they forget those earlier creases even exist, or they pressed them too lightly the first time around. If the guiding creases aren't sharp and clearly defined, the paper doesn't know which way to fold when you try to pinch the point together, and the whole shape ends up crooked or loose.
Materials and Tools for Practicing the Rabbit Ear Fold
Nothing fancy is required here, but a few specific items make the learning process smoother, especially while you're still training your fingers to recognize the right creases.
|
Item |
Purpose |
Notes |
|
Medium-weight kami paper |
Standard practice paper |
Holds creases without cracking during repeated tries |
|
Square sheets, crisp edges |
Keeps the base symmetrical |
An off-square base throws off the whole point |
|
Bone folder |
Sharpens the guiding creases before folding |
Critical for this fold specifically |
|
Printed diagram or reference |
Shows exact crease placement |
Helpful for tracking which lines to use |
|
Small tray or flat surface |
Keeps practice sheets organized |
Prevents mixing up partially folded attempts |
How Do You Make a Rabbit Ear Fold, Step by Step
Most rabbit ear folds start from a triangular point that already has two diagonal creases running through it, usually set up earlier in a base like the preliminary base or frog base.
- Locate the triangular point you'll be folding, and confirm it already has two diagonal creases crossing through its center.
- Sharpen those existing creases with a bone folder if they feel soft, since faint lines make this fold much harder to control.
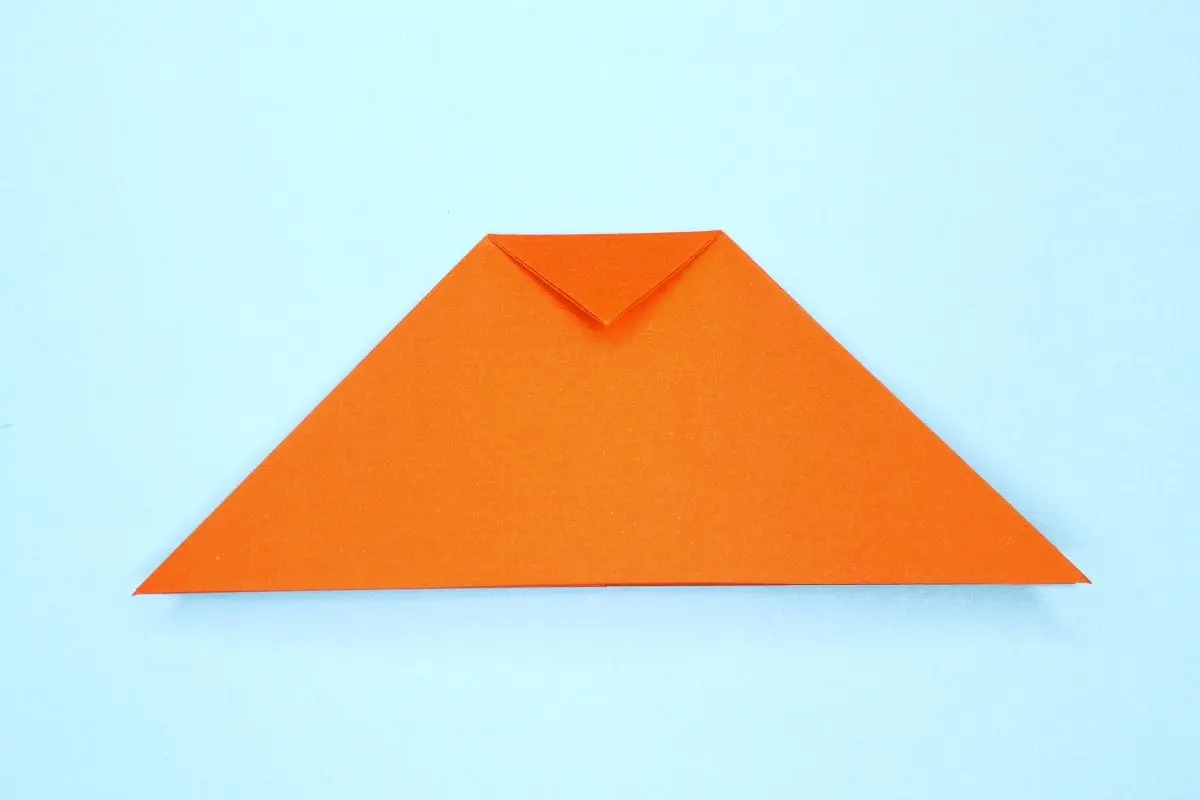
- Pinch the two outer edges of the point together, bringing them toward the center crease so the paper naturally wants to fold along the existing lines.
- Fold the pinched point over to one side, letting it lie flat against the main body of the paper rather than standing straight up.
- Flatten the new fold carefully, pressing along the base of the point where it now meets the body.
- Sharpen the final crease where the ear lies flat, since a loose fold here tends to pop back open over time.
I always slow down on step three with new folders especially. That's the moment where three creases are all being asked to cooperate at once, and rushing it is the most common reason the point ends up bunched instead of clean and narrow.
What Models Commonly Use a Rabbit Ear Fold?
Once you've learned this fold, you'll spot it constantly in traditional designs, especially anything built from a preliminary or frog base.
- Traditional frogs, where rabbit ear folds shape the narrow legs that give the model its jumping bounce.
- Various animal models, including foxes and other creatures with pointed ears or snouts.
- Certain flower designs, where a rabbit ear fold narrows petals or stems into a finer point.
- Some modular units, where the technique creates locking tabs from an existing triangular section.
If your next project also calls for hollowing out a point rather than folding it flat to one side, that's a related but different technique covered in Sink Fold Tutorial, which often shows up in the same models right alongside rabbit ear folds.
Photo Credit: Internet
How Is a Rabbit Ear Fold Different From a Petal Fold?
These two folds get mixed up often, especially since both create narrow, pointed shapes from a wider base of paper. A petal fold narrows a flap by folding the sides inward while lifting the point upward, creating a raised shape that stands up from the paper.
A rabbit ear fold works differently. It uses existing diagonal creases to pinch a triangular point together, then folds that entire pinched point over flat to one side, rather than lifting it upright. In short, a petal fold lifts and stands up, while a rabbit ear fold pinches and lays flat.
In practice, some models use both folds in sequence, first shaping a point with a rabbit ear fold, then lifting a different section with a petal fold later on. Recognizing which one a diagram calls for gets much easier once you've practiced both a few times.
Is a Rabbit Ear Fold Suitable for Beginners?
It sits a step above the very first folds most people learn, but it's absolutely reachable once you're comfortable with basic valley and mountain folds along with a preliminary base. Most folders pick up the motion within a practice session or two, especially with a clear diagram nearby.
The trickiest part isn't any single movement, it's remembering to check that your guiding creases are sharp before you attempt the pinch. I'd recommend practicing this fold on scrap paper first, away from a model you actually want to finish, so an early wobbly attempt doesn't cost you a project you're invested in.
A folding teacher I studied under once told me that a rabbit ear fold isn't really a new fold at all, it's just three old creases finally agreeing to work together. That reframing made the whole technique click for me almost instantly.
Pro Tips for a Clean Rabbit Ear Fold
- Sharpen your guiding creases first. Soft or faint pre-existing folds make the pinch much harder to control accurately.
- Pinch gently, don't yank. Forcing the point together too fast can tear the paper right at the base of the triangle.
- Work on a firm, flat surface. A stable surface makes it far easier to press the final flattened crease sharp and clean.
- Check both diagonal creases match. Uneven creases on either side of the point cause the fold to sit crooked once flattened.
- Watch your fingertips near sharp points. Heavier cardstock especially can leave a small nick if you press too hard near a fresh crease edge.
- Practice on scrap paper first. A few throwaway attempts save real frustration once you move to a model you're hoping to keep.
Photo Credit: Internet
Comparing Rabbit Ear Fold to Related Techniques
|
Feature |
Rabbit Ear Fold |
Petal Fold |
Reverse Fold |
|
Core motion |
Pinch and lay flat |
Narrow and lift |
Push crease inward or outward |
|
Typical result |
Flat, angled point |
Raised, pointed shape |
Repositioned flap or point |
|
Relies on existing creases |
Yes, heavily |
Sometimes |
Yes, always |
|
Common in |
Frogs, animal ears, some flowers |
Cranes, flowers, wings |
Necks, heads, legs |
|
Beginner difficulty |
Moderate, needs sharp pre-creases |
Moderate, several motions at once |
Moderate to advanced |
If your model asks for reshaping the flattened point after this fold, it's often followed by a Reverse Fold Tutorial, especially in animal models where legs or ears need a final directional adjustment.
Frequently Asked Questions
What is a rabbit ear fold in origami? A rabbit ear fold is a technique where a triangular point is pinched together along existing creases, then folded flat to one side, creating a narrow, angled flap.
How do you make a rabbit ear fold? Locate a triangular point with two diagonal creases, sharpen those creases, pinch the outer edges together, then fold the pinched point flat to one side and press it firmly in place.
What models commonly use a rabbit ear fold? Traditional frogs, several animal models with ears or narrow limbs, and some flower and modular designs all rely on this fold to shape pointed sections.
How is a rabbit ear fold different from a petal fold? A petal fold narrows a flap and lifts it upright, while a rabbit ear fold pinches a point using existing creases and folds it flat to one side instead of standing it up.
Is a rabbit ear fold suitable for beginners? Yes, once you're comfortable with basic folds and a preliminary base. The main challenge is making sure the guiding creases are sharp before attempting the pinch.
Final Thoughts
The rabbit ear fold looks tricky in a diagram, but it really just asks existing creases to finally work together in one smooth pinch and fold. Practice it a few times on scrap paper, keep those guiding creases sharp, and you'll start spotting this fold confidently in every frog, fox, or flower model that calls for it.
If you're ready to keep expanding your fold vocabulary, Read the full origami guide for everything from basic creases to advanced traditional and modular techniques.


Leave a Reply