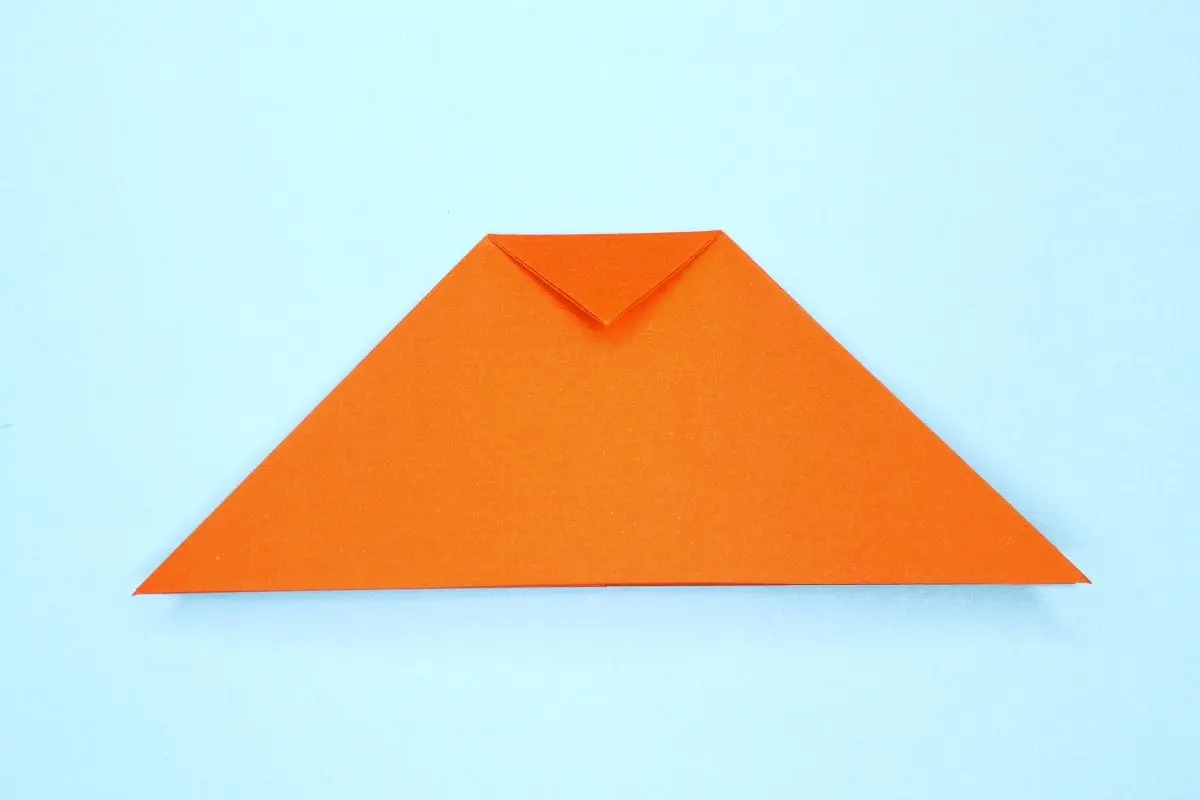
I avoided sink folds for almost a year of folding, quietly choosing models that skipped them because the diagrams looked like origami written in a foreign language. When I finally forced myself through one on a modular star point, I realized the fold itself wasn't scary, I just hadn't understood what the paper was actually doing.
This tutorial breaks down sink fold origami clearly, covering both the open and closed versions so that confusing diagram moment doesn't hold you back the way it held me back.
This guide is Part of Origami Techniques Explained, so if you've got the basics down already, you're ready for this next challenge.
What Is a Sink Fold in Origami?
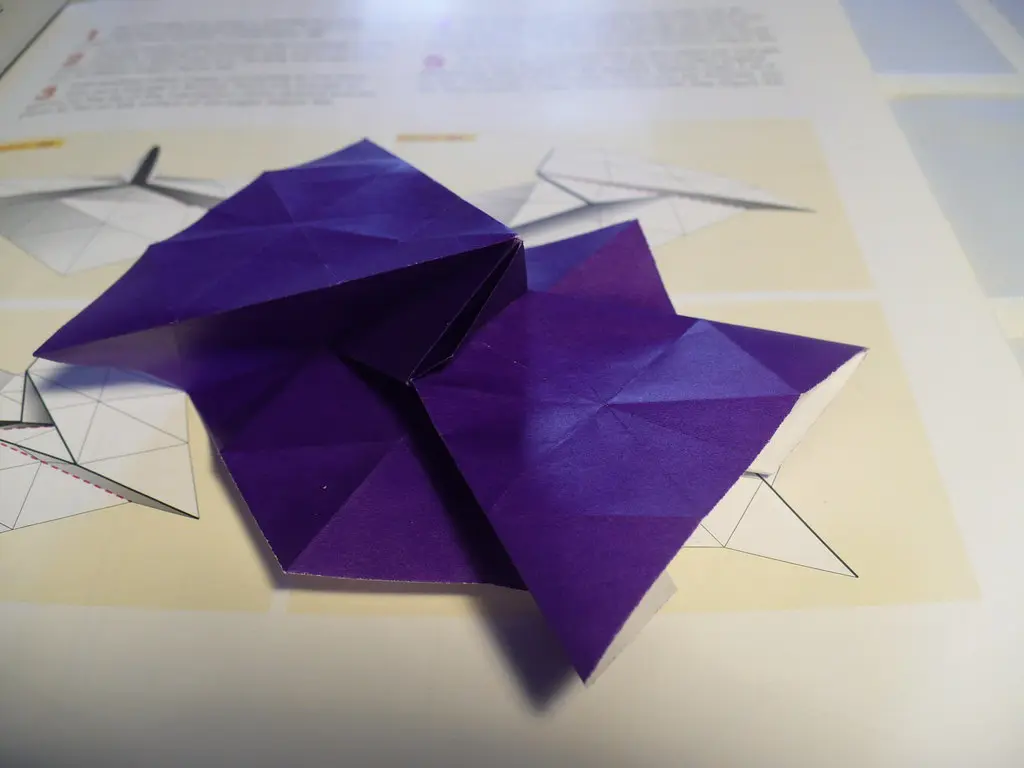
A sink fold pushes a point or corner of paper inward, inverting it so it disappears into the model instead of sticking out. Picture a pyramid tip getting pressed down and turned inside out, that's essentially what happens here.
This technique flips the direction of existing creases rather than adding new ones, similar in spirit to a reverse fold but working with a full point instead of a single flap. It's considered one of the more advanced basic folds, mostly because it requires manipulating several creases at once instead of just one.
I've folded thousands of sheets over the years, and sink folds were genuinely one of the last techniques I got comfortable with. It's less about difficulty and more about needing a clear mental picture of what's supposed to happen before your hands can make it happen.

Photo Credit: Саша Круглая
What You Need Before You Start
The tool list here is simple, though the paper choice matters more than usual.
|
Item |
Why You Need It |
|
Square origami paper |
Kami paper folds cleanly through multiple layers |
|
Flat, hard surface |
Helps press inverted creases firmly into place |
|
A model with a pre-folded point |
Sink folds always start from an existing folded tip |
Before attempting this fold, you should be comfortable reshaping paper points in general. The Rabbit Ear Fold Tutorial is a good warm-up, since it builds the same kind of point control you'll need here.
How Do You Perform an Open Sink Fold?
The open sink fold is the more beginner-friendly of the two versions, mainly because you can see and adjust the paper throughout the whole process.
Steps for an open sink fold:
- Pre-crease the point. Fold the tip inward along its existing crease lines to establish exactly where the sink will happen.
- Open the model at that point. Gently unfold the surrounding layers so the tip is fully exposed and accessible.
- Push the tip down and inward. Using the pre-creases as your guide, invert the point so it folds into itself.
- Reshape the surrounding paper. As the tip sinks inward, the layers around it will naturally reposition to close back around it.
- Flatten and re-close the model. Press everything back down firmly once the point has fully inverted.
Because the model is open during this whole process, you can actually watch the paper reshape itself in real time. That visibility is exactly why this version tends to click faster for beginners than the closed version does.
What Is the Difference Between an Open Sink and Closed Sink?
The closed sink fold accomplishes the same inversion, but without opening the model up first. This makes it significantly harder, since you're working blind, pushing and shaping paper you can't fully see while it's happening.
Here's a clear side-by-side comparison of the two approaches.
|
Feature |
Open Sink Fold |
Closed Sink Fold |
|
Model stays open during fold |
Yes |
No |
|
Visibility while folding |
Full view of the paper reshaping |
Limited, mostly done by feel |
|
Difficulty |
More beginner-friendly |
Noticeably harder |
|
Common use |
Learning the technique, simpler models |
Complex or modular models with tight folds |
Steps for a closed sink fold:
- Pre-crease thoroughly. This step matters even more here, since you won't be able to see the paper clearly once you start.
- Feel for the existing creases. Use your fingers to locate the fold lines through the closed layers.
- Push the point inward carefully. Apply gentle, steady pressure rather than forcing it in one motion.
- Let the paper guide itself. If the pre-creases are solid, the paper will naturally want to invert along those lines.
- Press flat once inverted. Check by feel that the point has fully sunk before flattening everything.
Most folders, myself included, learn the open version first and only attempt the closed version once that motion feels completely natural.
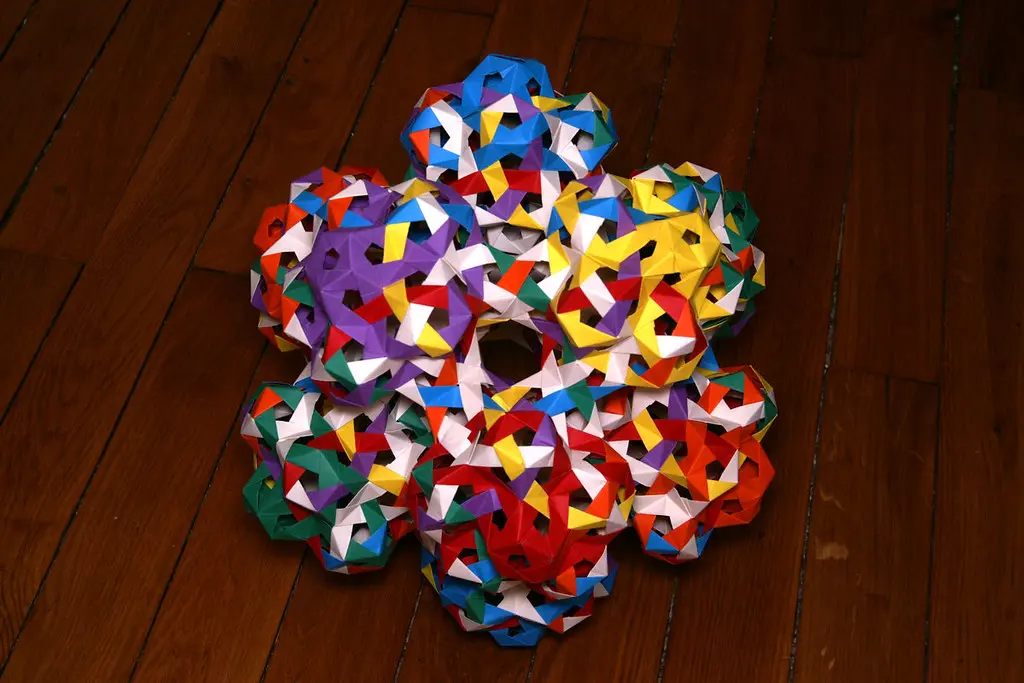
Photo Credit: Internet
Why Can Sink Folds Be Challenging for Beginners?
A few things make this technique trickier than most basic folds. First, it involves manipulating multiple layers and creases simultaneously instead of a single flap. Second, especially with the closed version, you're often working without a clear visual on what the paper is doing underneath.
As folders often say, the paper never lies. It only shows you exactly where a fold went wrong.
With sink folds, that usually means a lumpy, uneven result tracing straight back to pre-creases that weren't sharp or accurate enough before the sink began. Weak pre-creasing is genuinely the single biggest reason this fold goes wrong for beginners.
Common mistakes to avoid with sink folds:
- Skipping or rushing the pre-crease step. This fold depends entirely on accurate guide creases made beforehand.
- Forcing the paper closed too early. Let the layers settle naturally instead of cramming them flat before they're ready.
- Using paper that's too thick. Multiple layers resist inverting cleanly when the paper doesn't want to bend easily.
- Attempting the closed version first. Build confidence with the open sink fold before working blind on the closed one.
- Losing track of which crease goes which direction. Take a moment to double check mountain and valley lines before pushing the point inward.
For a broader reference on how sink folds fit alongside other foundational techniques, the Origami Base Folds Reference is worth bookmarking as you keep building your skills.
What Origami Models Use Sink Folds?
This technique shows up mostly in intermediate and advanced models, particularly ones with flattened tops or inverted points.
Models that often include sink folds:
- Waterbomb bases, where a flattened top point relies on this exact technique
- Modular stars, especially units that need a recessed center point
- Boxes with inset lids, using sink folds to create a clean, flush top
- Certain animal models, where a flattened snout or head shape depends on this fold
Once you've practiced the open sink fold a few times, you'll start recognizing it in diagrams almost instantly. It has a distinct look, usually shown as an arrow pointing straight down into the paper.
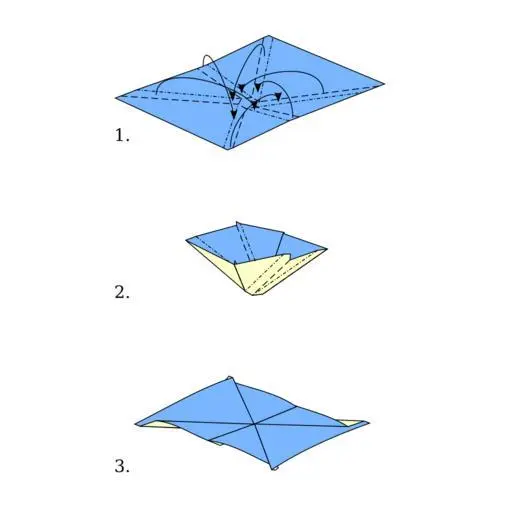
Photo Credit: Internet
How to Practice This Fold Successfully
Quick pointers to build real comfort with sink folds:
- Practice on scrap paper first, focusing only on the sink motion itself before attempting a full model
- Always pre-crease both directions clearly before opening the model up
- Work slowly through the open version several times before moving to closed sinks
Give yourself permission to take this one slow. It's genuinely one of the folds where rushing costs you more time than it saves.
Frequently Asked Questions
What is a sink fold in origami? A sink fold inverts a point or corner of paper inward, pushing it down and reshaping it so it disappears into the model.
How do you perform an open sink fold? Pre-crease the point, open the model to expose it, push the tip inward along the creases, then flatten and close the model back up.
What is the difference between an open sink and closed sink? An open sink is done with the model unfolded and visible. A closed sink is performed on a folded model, done mostly by feel.
What origami models use sink folds? Waterbomb bases, modular stars, boxes with inset lids, and certain animal models with flattened features commonly use sink folds.
Why can sink folds be challenging for beginners? They involve multiple creases at once, and the closed version requires working without a full view of the paper while folding.
Final Thoughts
Sink folds take patience, but they're far less mysterious once you've watched the open version happen with your own eyes. Practice slowly, pre-crease carefully, and don't rush straight to the closed version before you're ready.
Want to keep expanding your fold vocabulary? Read the full origami guide to see what other techniques come next.




Leave a Reply