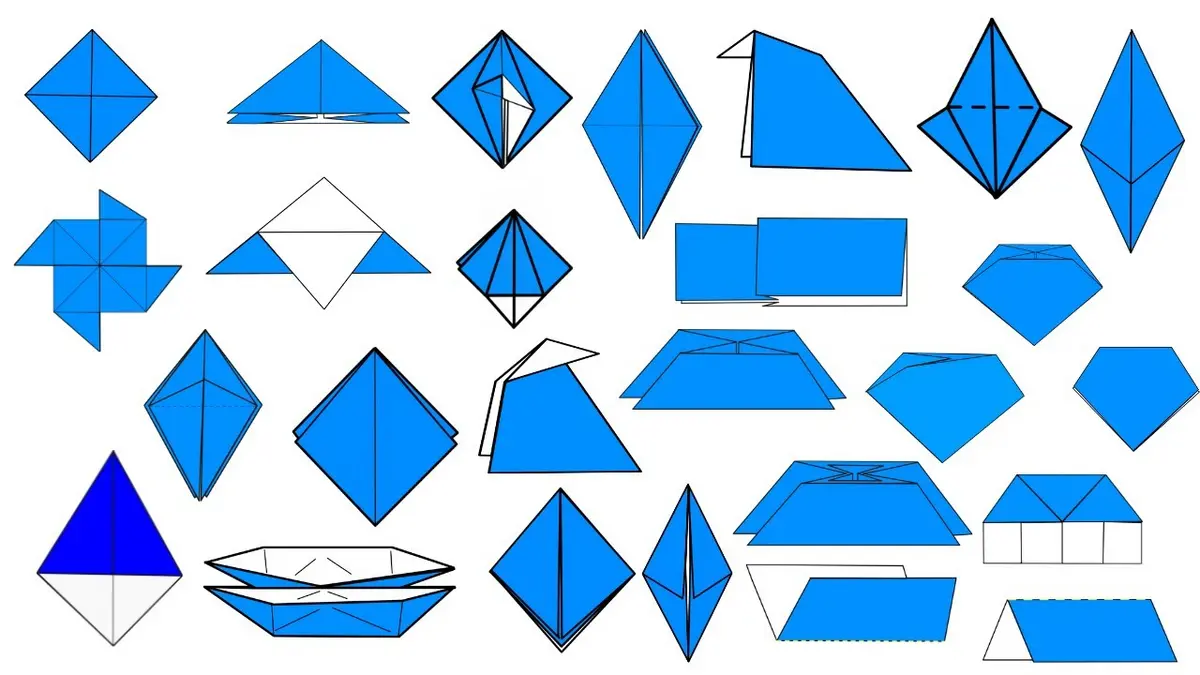
I still remember the first origami diagram that made me want to throw the paper across the room. It had arrows pointing every which way, a dotted line labeled "valley fold," and a word I'd never heard before: "squash fold." Learning origami terminology before you start folding saves you that exact headache, and it's the difference between staring at a diagram in confusion and actually finishing the model in front of you.
This glossary is Part of Origami Basics, and it covers the words and symbols you'll run into on almost every origami instruction sheet, whether it's a simple crane or a modular star.
Why Origami Terminology Trips Up Beginners
Most origami books and diagrams assume you already know the vocabulary. They'll say "pre-crease the diagonals" or "collapse into a bird base" without ever explaining what those words mean.
That gap is where a lot of beginners quit, not because folding is too hard, but because the instructions feel like a foreign language. Once you learn the core origami terms, the same diagrams that looked confusing suddenly make sense.
I've found that most of this folding jargon explained in plain English boils down to about twenty words. Learn those, and you can read almost any origami diagram in the world, even ones written in a language you don't speak.
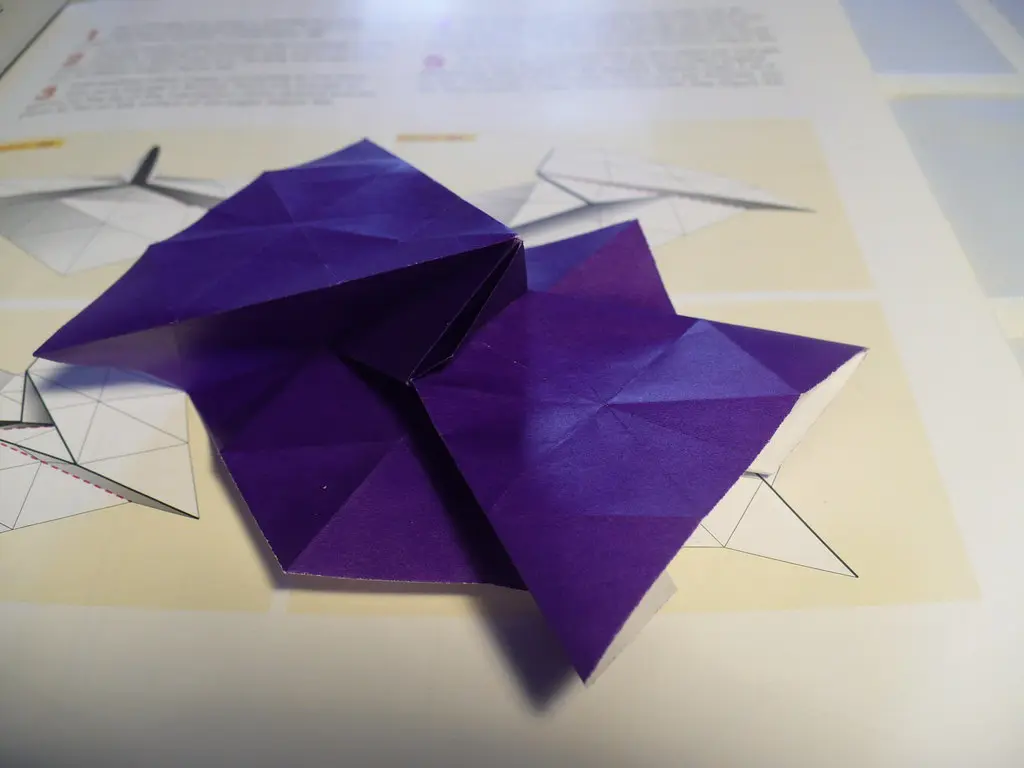
Photo Credit: Ar kay
Tools That Help You Learn the Language of Folding
You don't need much to start building your origami vocabulary. A few basic items make it easier to practice terms as you learn them.
|
Tool |
Purpose |
|
Origami paper (kami) |
Standard square paper for practicing folds and terms |
|
Bone folder |
Creates sharp, accurate creases so folds match diagrams |
|
Diagram book or printed chart |
Shows the standard folding symbols in context |
|
Pencil and scrap paper |
Lets you sketch crease patterns before folding real paper |
|
Ruler |
Helps you check that folds and bases are symmetrical |
A bone folder in particular changed how I fold. Pressing a crease flat with your fingernail works, but a bone folder gives you a clean, precise line every time, which matters once you start following crease patterns that require exact accuracy.
The Core Origami Terms You'll See Everywhere
Here are the terms that show up on almost every origami instruction sheet, explained in plain language.
Valley fold: You fold the paper toward you, so the crease dips down like a valley. On diagrams, it's usually shown as a dashed line.
Mountain fold: The opposite of a valley fold. You fold the paper away from you, so the crease pokes up like a mountain. Diagrams usually mark this with a dash-dot line.
Base: A base is a starting shape you fold before turning it into a specific model. Many traditional folds, like the crane or the flapping bird, start from the same base shape.
For a full breakdown of every base, symbol, and definition in one searchable spot, I lean on the Origami Glossary & Reference page whenever I forget a term mid-fold.
Crease pattern: This is a map of every fold line in a finished model, shown flat with no folding done yet. Advanced folders sometimes work backward from a crease pattern to figure out how a model was built.
Flap: Any loose or movable section of paper that isn't locked flat against the rest of the model. Wings, legs, and petals usually start as flaps.
Module: A single folded unit used in modular origami, where you fold several identical pieces and then fit them together without glue to build one larger shape.
Squash fold: You open a flap and press it flat, so it spreads out into a new symmetrical shape. This one trips up a lot of beginners the first few times they try it.
Petal fold: A fold that lifts one layer of paper up and over, often used to create the pointed petals or wings you see in flower and bird models.
Reverse fold: You tuck a section of paper inside itself, reversing the direction it points. This shows up constantly in traditional models like the crane's head and tail.

Photo Credit: Artem Podrez
Common Mistakes When Learning Origami Vocabulary
I've watched beginners stumble on the same handful of terms over and over. A few habits fix most of the confusion.
- Mixing up valley and mountain folds. If your model looks inside out compared to the picture, you probably flipped one of these.
- Skipping the pre-crease step. Many diagrams tell you to crease a line and unfold it before the real fold happens. Skipping this makes later steps much harder.
- Ignoring arrow direction. A small arrow on a diagram tells you which way to fold or tuck. Missing it is one of the most common reasons a model won't lock together right.
- Rushing past the base. If your base isn't accurate, every fold built on top of it will be off too. This is exactly the kind of mid-fold moment where a bad crease quietly wrecks the whole model.
- Forgetting that terms can vary slightly. Some books use "inside reverse fold" while others just say "reverse fold." The technique is usually the same even when the wording changes.
As one longtime folder in my local origami group likes to say, "You don't need to memorize every term at once. You just need to know enough to survive the next fold."
If a term still feels shaky after this section, cross-checking it against a full A-to-Z list helps it stick faster than re-reading the same paragraph twice. I keep the Origami Glossary A-Z open on my phone during longer folding sessions for exactly that reason.
Traditional Terms vs Modern Diagram Symbols
Origami vocabulary has grown over the decades, and older books sometimes describe folds differently than modern diagrams do. Here's a quick comparison to keep things clear.
|
Concept |
Traditional Wording |
Modern Diagram Symbol |
|
Fold toward you |
"Fold forward" |
Dashed line |
|
Fold away from you |
"Fold backward" |
Dash-dot line |
|
Repeat a fold |
Written instruction only |
Arrow with a loop |
|
Turn the paper over |
"Flip the model" |
Curved arrow icon |
|
Hidden fold layer |
Rarely labeled |
Dotted line under a flap |
This shift toward standardized symbols is part of why modern diagrams are easier to follow once you know the origami vocabulary behind them.
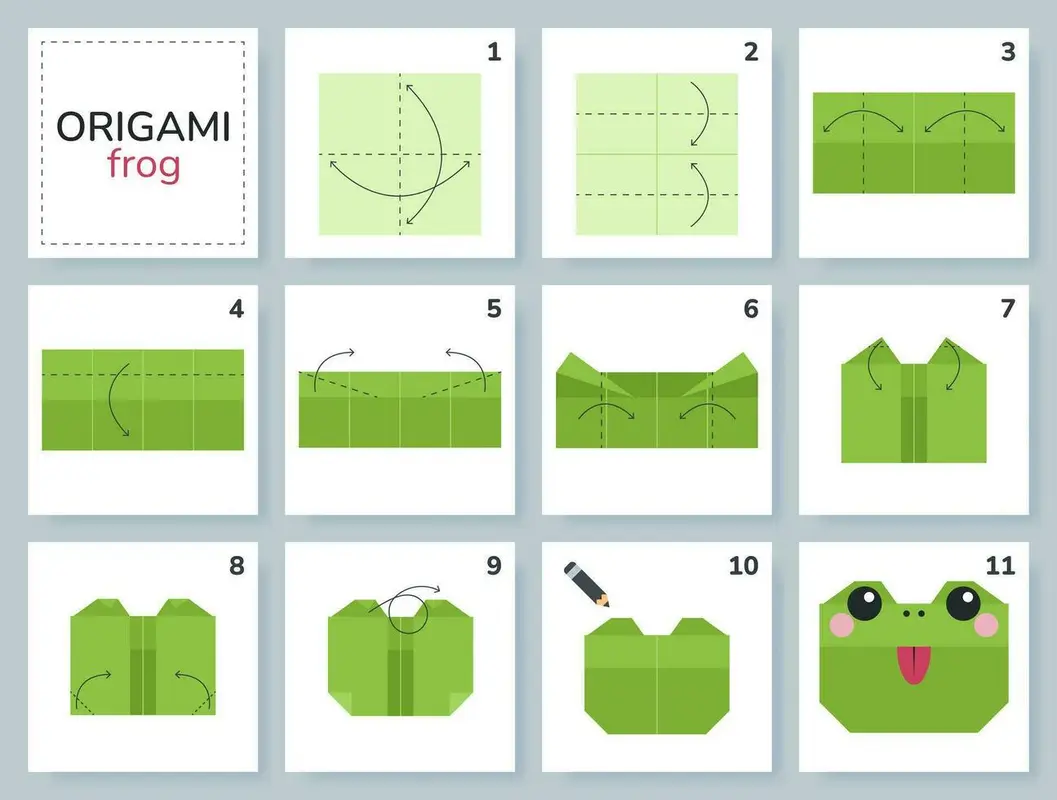
Photo Credit: Internet
Frequently Asked Questions
What is a valley fold in origami? A valley fold is when you fold the paper toward yourself, creating a crease that dips down like a valley. It's one of the two basic folds in origami.
What is a mountain fold in origami? A mountain fold is when you fold the paper away from yourself, so the crease sticks up like a mountain peak. Every other fold in origami is built from combinations of valley and mountain folds.
What does base mean in origami? A base is a common starting shape, like the bird base or waterbomb base, that many different models are built from. Learning a handful of bases lets you fold dozens of different designs.
What is a crease pattern? A crease pattern is a flat diagram showing every fold line in a model before any folding happens. It's mainly used by intermediate and advanced folders to study or design new models.
What is a flap in origami? A flap is any section of paper that can move independently from the rest of the model, like a wing, a leaf, or a tail. Flaps are what get shaped into final details through squash folds, petal folds, and reverse folds.
What is a module in origami? A module is one identical piece folded as part of modular origami, where multiple units interlock to form a larger 3D shape like a star or a geometric ball. No glue is used since the units hold together through tension and folded tabs.
What do common origami diagram symbols mean? Dashed lines usually mean valley folds, dash-dot lines mean mountain folds, and solid arrows show the direction to fold or push. Curved arrows typically mean you should flip or rotate the paper.
Final Thoughts
Once these terms click, origami diagrams stop feeling like a puzzle and start feeling like a map. You'll recognize a base the moment you see it, and you won't second-guess whether a line means fold toward you or away.
For the complete list of folds, symbols, and definitions in one place, read the full origami guide. It ties every term here back into the bigger picture of how origami actually works, sheet by sheet.





Leave a Reply