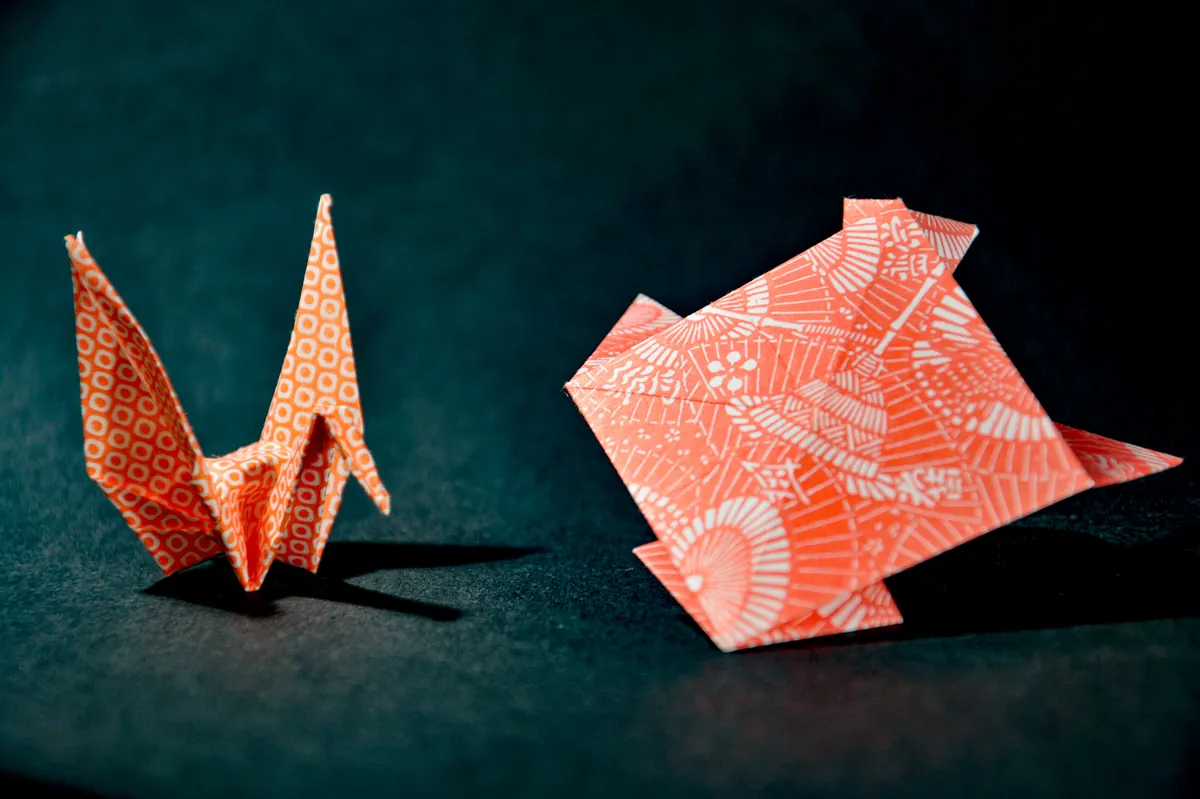
I've watched more beginners quit origami over one bad squash fold than any other single mistake. It's almost always the same story: they skip the basics, jump straight into a fancy crane or lily, and then wonder why nothing lines up by step twelve.
That's why this guide exists. Learning the basic origami folds first isn't busywork. It's the difference between fighting your paper and actually enjoying the craft.
This article is Part of Getting Started with Origami, and it covers the seven folds that show up in almost every model you'll ever fold, from a simple paper cup to a complex modular star.
Why These Folds Matter So Much
Every origami model, no matter how complicated it looks, is built from a small handful of repeated moves. Once you know these moves cold, you stop reading diagrams one confusing line at a time and start recognizing patterns instead.
I've folded thousands of sheets over the years, from wobbly first cranes to modular stars that took a full evening to lock together. The models never got easier because the folds changed. They got easier because I stopped having to think about the folds at all.
Think of this list as your beginner origami folds list, the core moves worth practicing until your hands just know them. Master these seven, and most diagrams stop feeling like a foreign language.
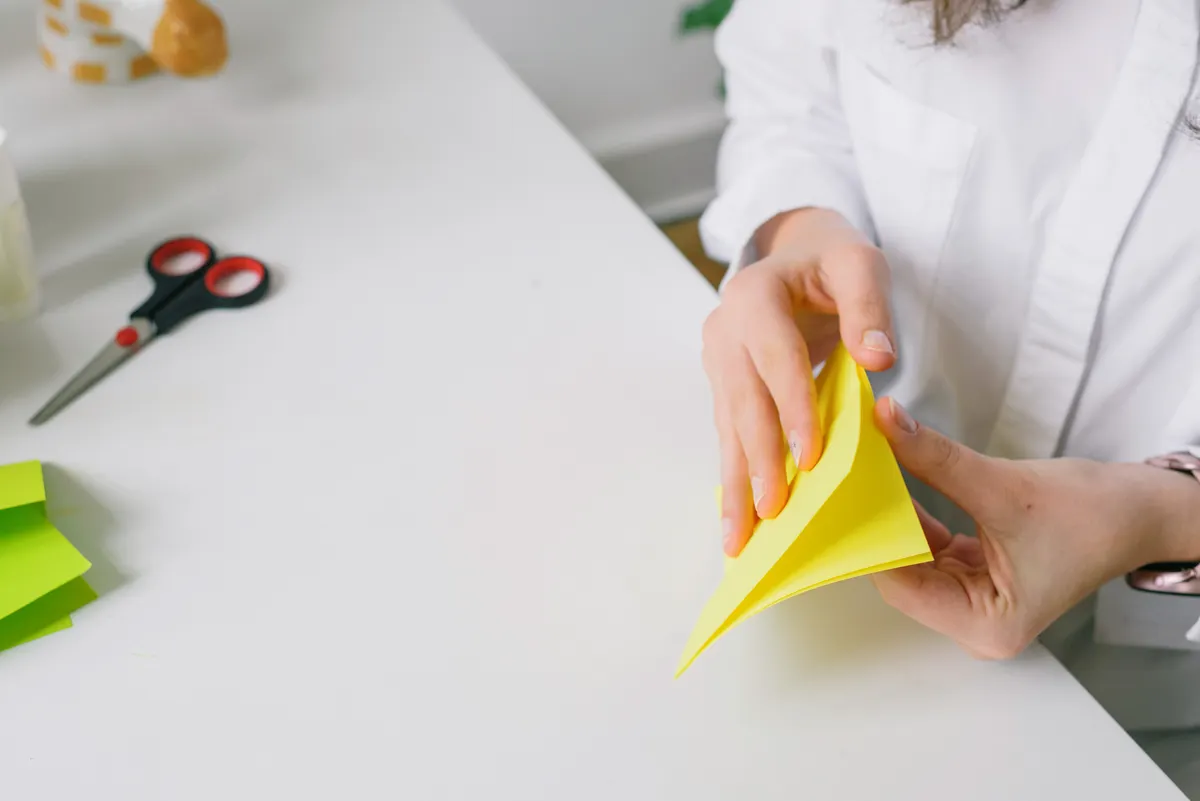
Photo Credit: Ksenia Chernaya
What You Need Before You Start
You don't need much to practice these folds, which is part of what makes origami such an easy hobby to pick up.
|
Item |
Why It Matters |
|
Origami paper (kami) |
Thin enough to hold sharp, clean creases |
|
Flat, hard surface |
Keeps folds even instead of warped |
|
Bone folder (optional) |
Presses creases flat and precise |
|
Ruler (optional) |
Helps line up folds while you're still learning |
Skip regular printer paper for this practice, if you can. It's thicker than real origami paper, and it tends to spring back instead of holding a crisp line, which makes it harder to tell if you're actually folding correctly.
The Two Folds That Start Everything
Before touching anything fancier, every folder needs to master these two moves. Almost every other fold on this list is really just a variation or combination of these two.
1. Valley Fold
A valley fold is the most basic fold in origami. You fold the paper toward you, so the crease dips down like a small valley when you look at it from the side.
To make one, bring the bottom edge of the paper up to meet the top edge, then press the crease flat. In most diagrams, a valley fold is shown as a dashed line, sometimes with small arrows pointing toward the fold.
2. Mountain Fold
A mountain fold is the exact opposite. Instead of folding toward you, you fold the paper away from you, so the crease sticks up like a small mountain peak.
The easiest way to practice this is to flip your paper over, make a valley fold, then flip it back. That's technically a mountain fold from the original side. Diagrams usually show mountain folds as a dash-dot-dash line, which helps you tell it apart from a valley fold at a glance.
For a deeper breakdown of these two folds with more visual detail, the Valley Fold & Mountain Fold Explained guide walks through both step by step.
The Next Four Folds to Learn
Once valley and mountain folds feel natural, these next few build directly on top of them. They show up constantly once models get slightly more advanced than a basic box or cup.
3. Pleat Fold
A pleat fold is simply a valley fold and a mountain fold done right next to each other, creating a small accordion-style pleat in the paper. Think of it like the folds in a paper fan.
Pleats are common in models that need extra thin sections, like wings, tails, or legs. The trick with pleats is making sure both creases are sharp and evenly spaced, since a sloppy pleat throws off the whole shape once you flatten it.
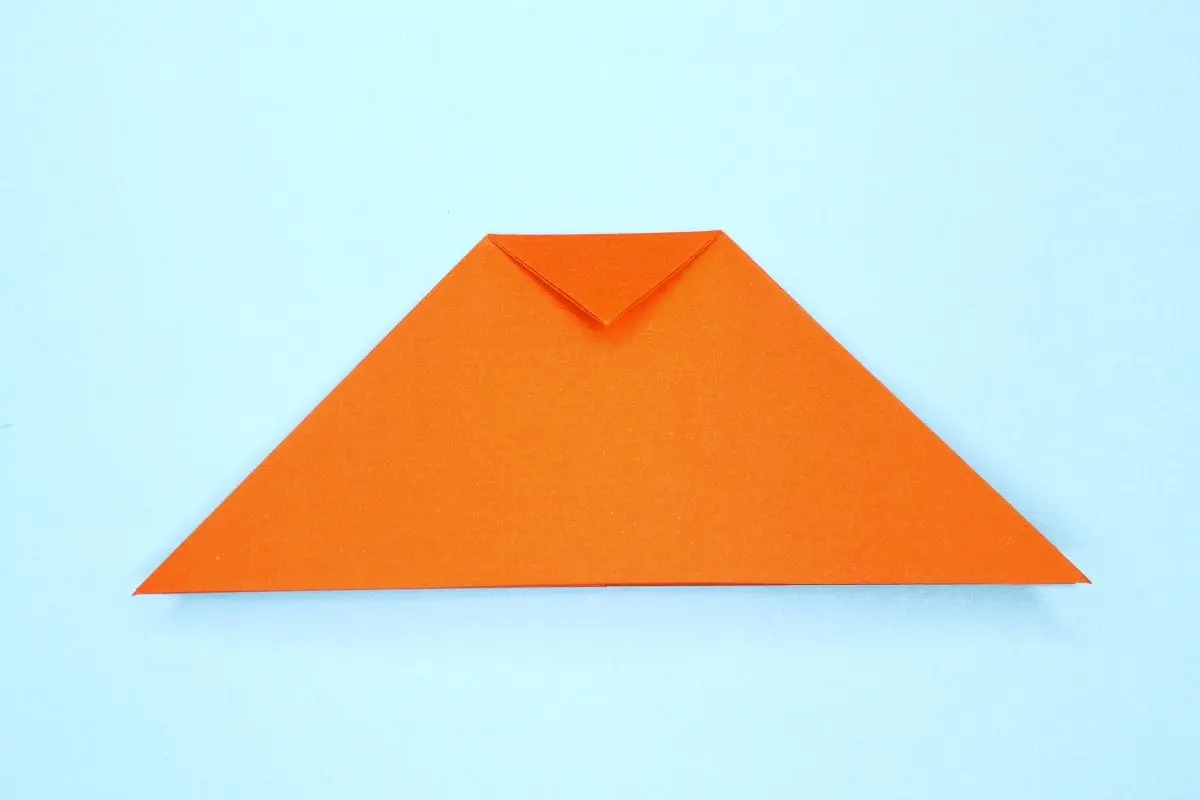
4. Squash Fold
A squash fold takes a raised point or flap and presses it flat, spreading it open into a symmetrical shape. It looks tricky in diagrams, but it's really just opening a pocket of paper and flattening it evenly on both sides.
Here's the general process:
- Lift the flap you're about to squash.
- Open it up like a little pocket.
- Press down along the center, spreading the paper evenly to both sides.
- Flatten the whole shape so it lies symmetrical.
This one trips up a lot of beginners because it's easy to squash unevenly, leaving one side bigger than the other. If your squash fold looks lopsided, unfold it and try again slowly. Rushing this step is the most common reason a model looks crooked several steps later.
For a full walkthrough with more detail than we have room for here, check out the Squash Fold Tutorial, which breaks the motion down piece by piece.
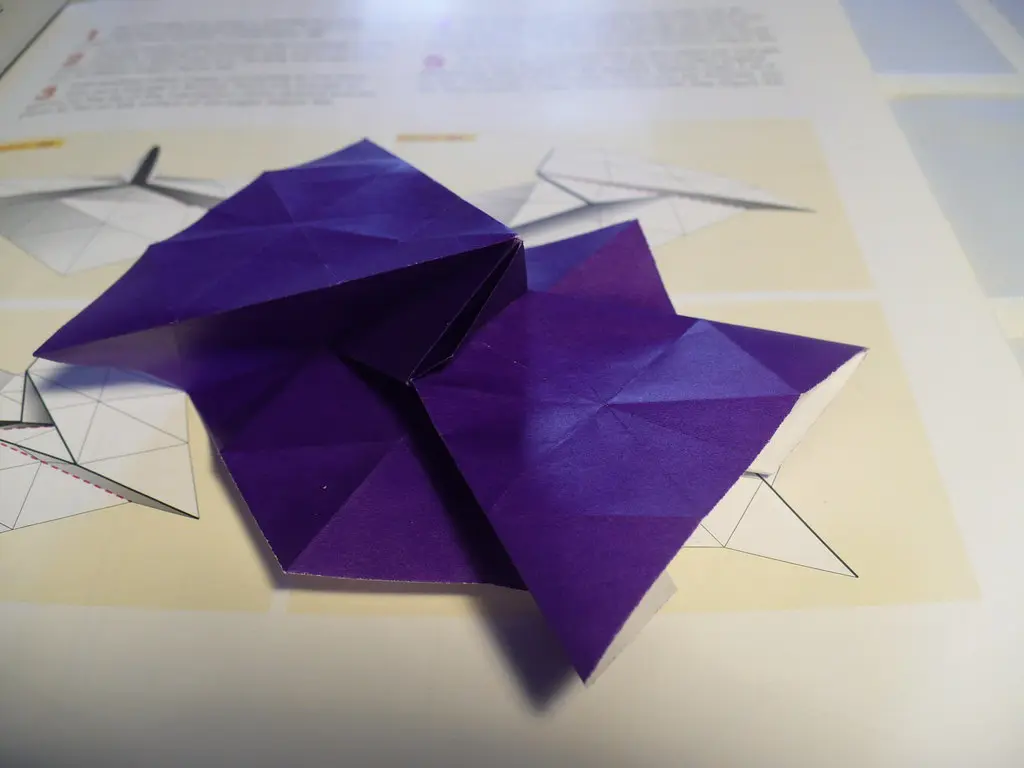
5. Petal Fold
A petal fold builds directly on the squash fold. After squashing a flap flat, you lift one edge up along a new crease, which causes the paper to swing upward like an opening petal.
This fold is exactly what gives the traditional paper crane its wings and the classic paper lily its petals. It's one of the trickiest folds on this list for beginners, mostly because it involves lifting and folding paper that's already been folded several times before.
As folders often say, the paper never lies. It only shows you exactly where a fold went wrong.
That quote applies directly here. If your petal fold won't lie flat, it usually means an earlier crease wasn't sharp enough, not that you're doing something wrong right now.

Photo Credit: Ann H
6. Inside Reverse Fold
An inside reverse fold tucks a point of paper inward, reversing its direction so it folds back inside the model instead of sticking out. This is the exact fold that turns a flat paper crane's tail into a pointed head and beak.
To do it, you open the layers slightly at the point you want to reverse, then push that point inward along existing creases, letting the paper fold itself back inside out. It sounds confusing written out, but it clicks fast once you feel the paper naturally want to fold that way.
7. Outside Reverse Fold
An outside reverse fold is almost the same move, except the point folds around the outside of the model instead of tucking inside it. You'll see this used for things like a crane's beak in certain versions, or any point that needs to wrap around rather than disappear inward.
The main difference between inside and outside reverse folds comes down to which direction the paper travels, inward and hidden, or outward and visible. Both rely on pre-creasing the paper well before attempting the reverse, so don't skip that step if a diagram tells you to fold and unfold first.
Common Mistakes Beginners Make
A few habits separate folders who get frustrated early from folders who stick with the hobby. I've made every single one of these mistakes myself, more than once.
- Rushing the crease. A soft, rounded fold instead of a sharp one causes problems several steps later, especially with squash and petal folds.
- Skipping pre-creases. Many diagrams ask you to fold and unfold a line before shaping it. Skipping this step makes reverse folds much harder to execute cleanly.
- Using paper that's too thick. Regular printer paper bulks up fast once you're folding through multiple layers, making precise shapes nearly impossible.
- Forcing a fold that won't lie flat. If a fold resists, stop and check an earlier step instead of pushing harder. Forcing it usually tears the paper or wrecks the crease pattern.
- Not flattening completely. A half-pressed crease looks fine in the moment but causes shapes to warp once the model is finished.
One small safety note worth mentioning: if you're using a bone folder or any scoring tool to sharpen creases, keep your fingers clear of the edge you're pressing along. It's a low-risk tool overall, but a slip on thin paper can still nick a fingertip if you're pressing too hard, too fast.
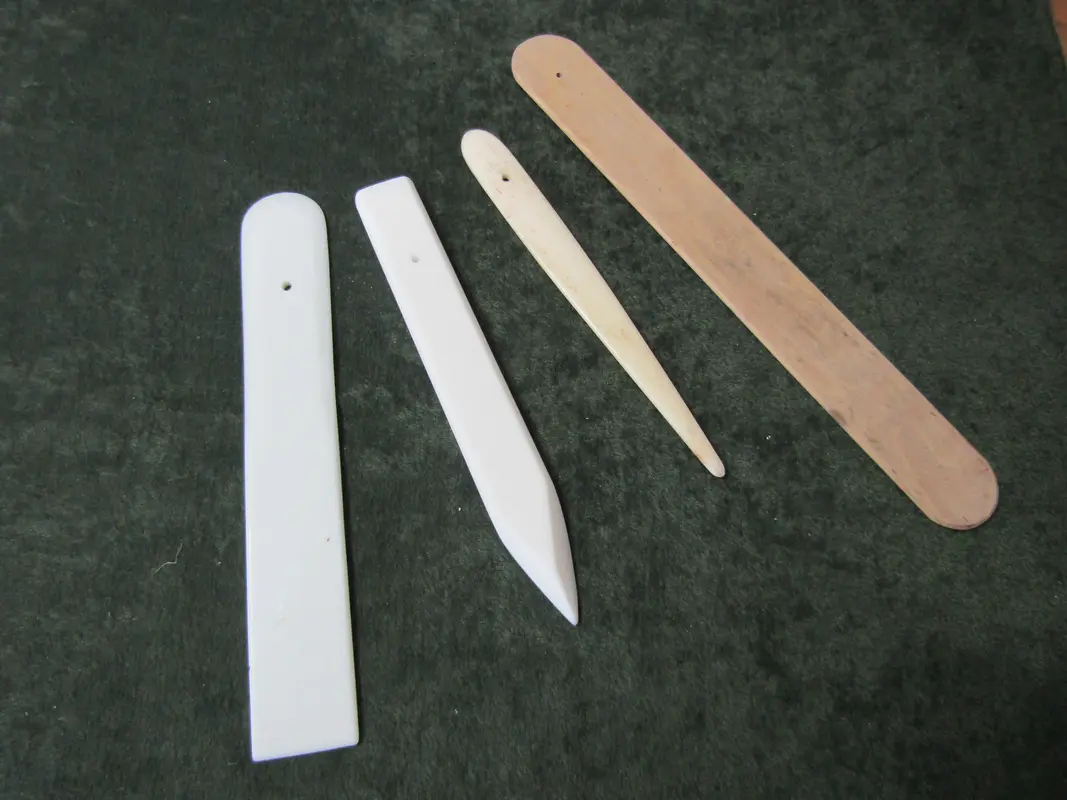
Photo Credit: Internet
Quick Comparison of the Seven Folds
Here's a simple side-by-side look at all seven essential origami folds, so you can see how they relate to each other at a glance.
|
Fold |
Difficulty |
Builds On |
|
Valley fold |
Beginner |
None, starting point |
|
Mountain fold |
Beginner |
Valley fold |
|
Pleat fold |
Beginner |
Valley and mountain fold |
|
Squash fold |
Intermediate |
Valley fold |
|
Petal fold |
Intermediate |
Squash fold |
|
Inside reverse fold |
Intermediate |
Pre-creasing |
|
Outside reverse fold |
Intermediate |
Inside reverse fold |
Notice how nearly every fold on the list traces back to that first valley fold. That's exactly why beginners should never skip straight to reverse folds or petal folds without practicing the basics first.
Frequently Asked Questions
What are the basic origami folds to learn first? Start with the valley fold and mountain fold. Every other fold on this list is a variation or combination of those two moves.
What is a valley fold? A valley fold is when you fold the paper toward you, creating a crease that dips inward like a small valley.
What is a mountain fold? A mountain fold is the opposite of a valley fold. You fold the paper away from you, so the crease points upward like a peak.
What is a pleat fold? A pleat fold is a valley fold and mountain fold placed right next to each other, creating a small accordion-style fold in the paper.
What is a squash fold? A squash fold takes a raised flap and presses it flat, spreading it open symmetrically on both sides.
What is a petal fold? A petal fold lifts one edge of a squashed flap upward along a new crease, causing it to swing open like a petal. It's the fold that shapes wings and petals in classic models.
What is an inside or outside reverse fold? An inside reverse fold tucks a point inward, folding it back inside the model. An outside reverse fold does the same motion but wraps the point around the outside instead.
Final Thoughts
These seven folds cover almost everything you'll run into as a beginner, and most complex models are really just these moves repeated and combined in new ways. Practice them slowly on scrap paper before jumping into a full diagram, and don't worry if your first few attempts look a little rough.
Once these feel natural in your hands, you're ready to explore everything else the craft has to offer. Read the full origami guide to see where these basic folds can take you next.




Leave a Reply