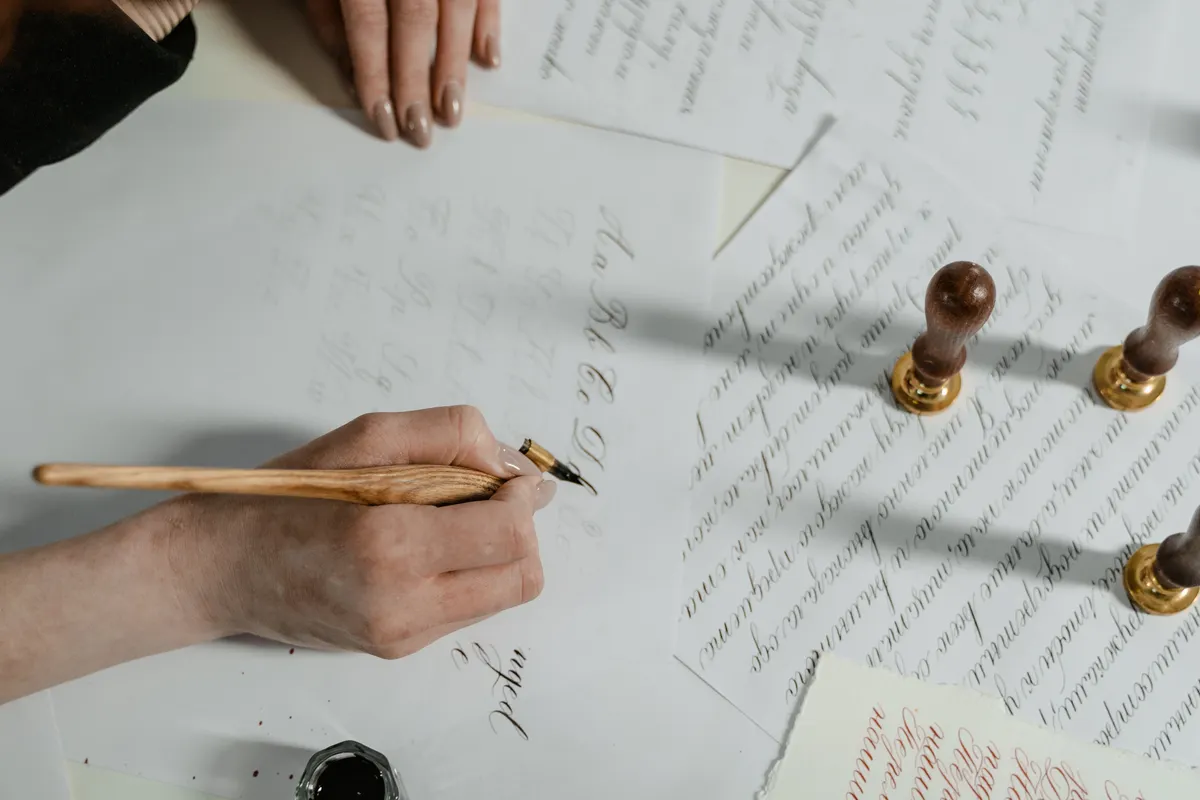
The first time I picked up a ruling pen, I expected it to behave like every other nib in my kit, and instead it dragged ink across the page in these rough, textured lines that felt almost out of control. Ruling pen calligraphy works completely differently from anything else in this hobby, and once I stopped fighting that difference, it became one of my favorite tools for loose decorative work.
This guide is part of the Calligraphy Materials & Tools Guide, and it covers what a ruling pen actually does, how to load it correctly, and whether it belongs in a beginner's toolkit.
What Is a Ruling Pen in Calligraphy
A ruling pen is a drafting tool, originally built for drawing precise technical lines, that calligraphers repurposed as a decorative flourish tool for expressive, textured lettering. It has two adjustable metal blades that pinch together, holding a small amount of ink between them rather than using a slit like a traditional nib.
Unlike a pointed pen, which needs an oblique holder to hit the correct slant, a ruling pen usually sits in a simple straight holder. If you have not yet looked into that side of the toolkit, Oblique Pen Holders Explained covers how that different setup works for pointed nibs.
Background on Why Calligraphers Use Ruling Pens
Ruling pens were never designed with lettering in mind, which is exactly what makes them interesting for decorative work. The gap between the two blades can be adjusted wider or narrower, changing the line width, but the ink flow itself stays a little unpredictable no matter how careful you are.
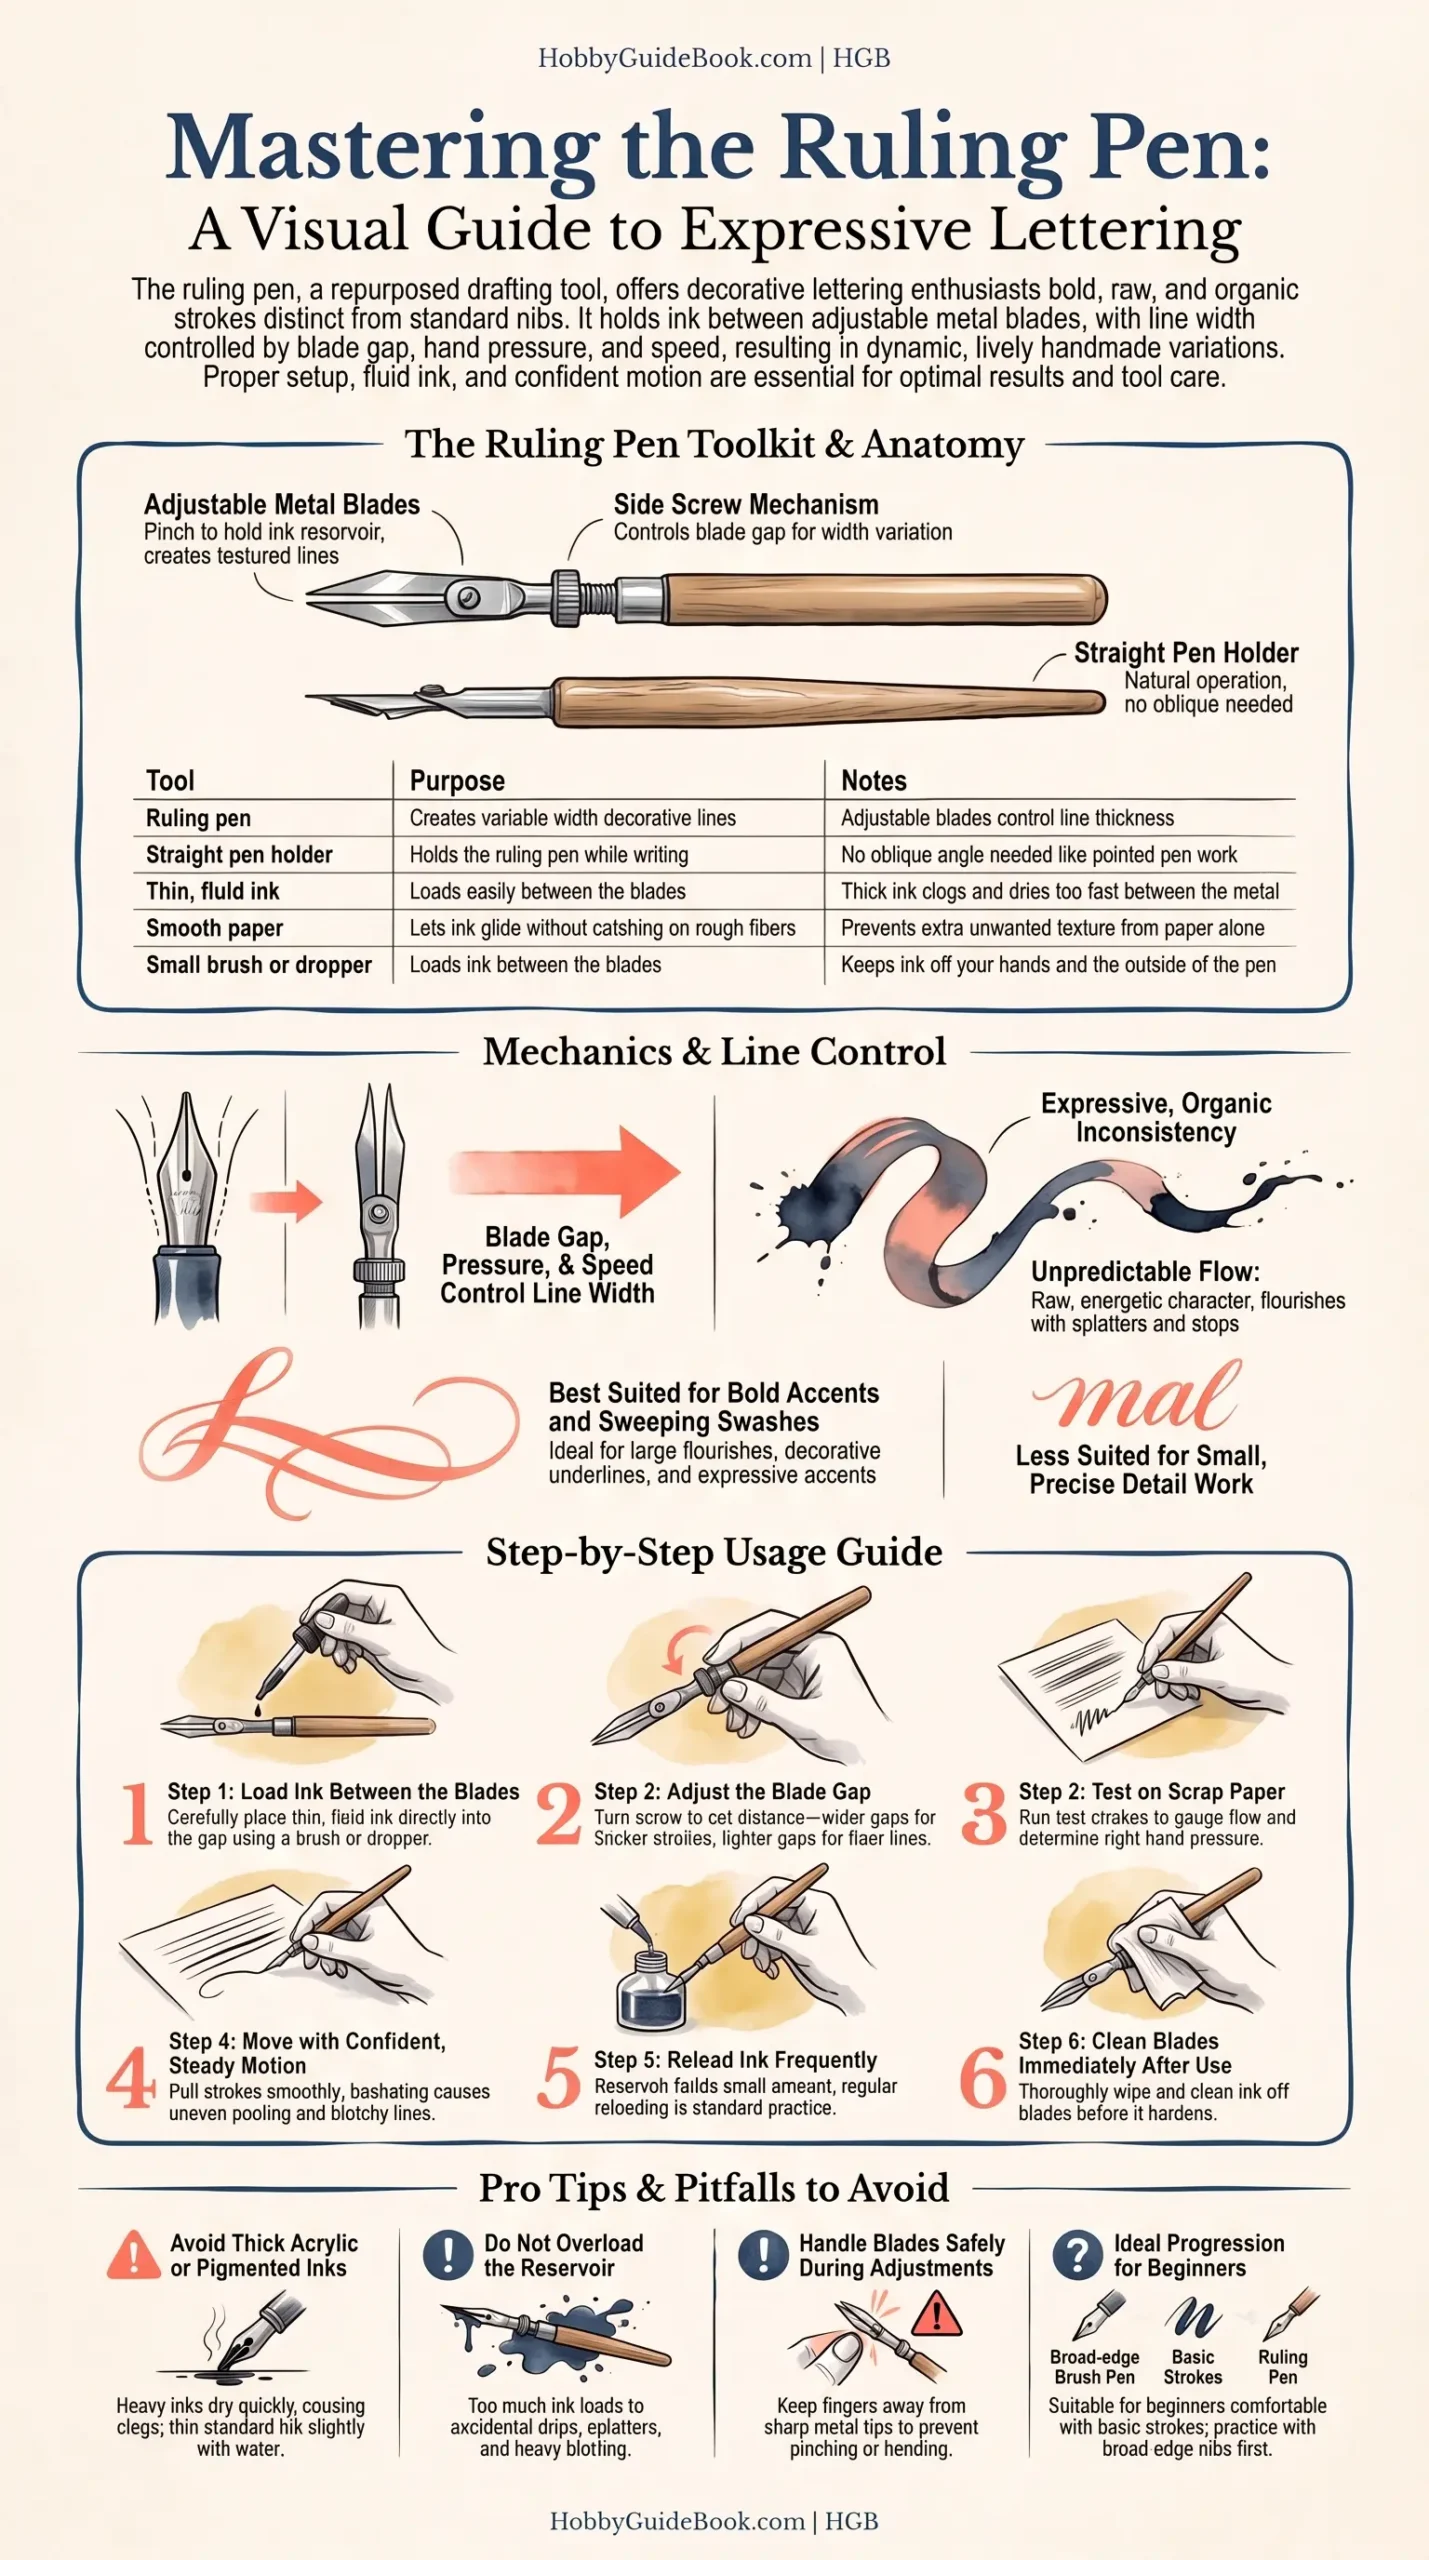
Photo Credit: Hobby Guidebook Editorial
That unpredictability is the whole appeal. I have found that ruling pens produce a rougher, more organic texture than any dip nib, since the ink runs out mid stroke or splatters slightly at speed, giving flourishes a raw, energetic look that feels handmade in a way controlled nibs rarely achieve.
Tools for Working with a Ruling Pen
|
Tool |
Purpose |
Notes |
|
Ruling pen |
Creates variable width decorative lines |
Adjustable blades control line thickness |
|
Straight pen holder |
Holds the ruling pen while writing |
No oblique angle needed like pointed pen work |
|
Thin, fluid ink |
Loads easily between the blades |
Thick ink clogs and dries too fast between the metal |
|
Smooth paper |
Lets ink glide without catching on rough fibers |
Prevents extra unwanted texture from paper alone |
|
Small brush or dropper |
Loads ink between the blades |
Keeps ink off your hands and the outside of the pen |
What Is a Ruling Pen Used for in Decorative Lettering
A ruling pen is used in decorative lettering mainly for bold flourishes, loose expressive strokes, and textured accents that would look too rigid if made with a standard nib. Many calligraphers reach for it specifically when a piece needs a rougher, more energetic feel alongside more traditional, controlled lettering.
Handle the metal blades carefully when adjusting them, since the tips are thin and can pinch fingers if the screw mechanism is tightened while your hand is still positioned between them.
How Does a Ruling Pen Create Variable Width Strokes
A ruling pen creates variable width strokes through pressure and blade spacing rather than through flexible tines like a pointed nib uses. Widening the gap between the two blades produces a thicker line, while pressing harder or moving faster changes how much ink releases onto the page at any given moment.
This ruling pen technique takes some getting used to, since the pen does not respond the same predictable way twice, and that inconsistency is part of what gives finished pieces their loose, handmade character.
"Some tools are meant to be controlled, and some are meant to be worked with." That advice gets repeated often among decorative lettering artists, and a ruling pen firmly belongs in that second group.
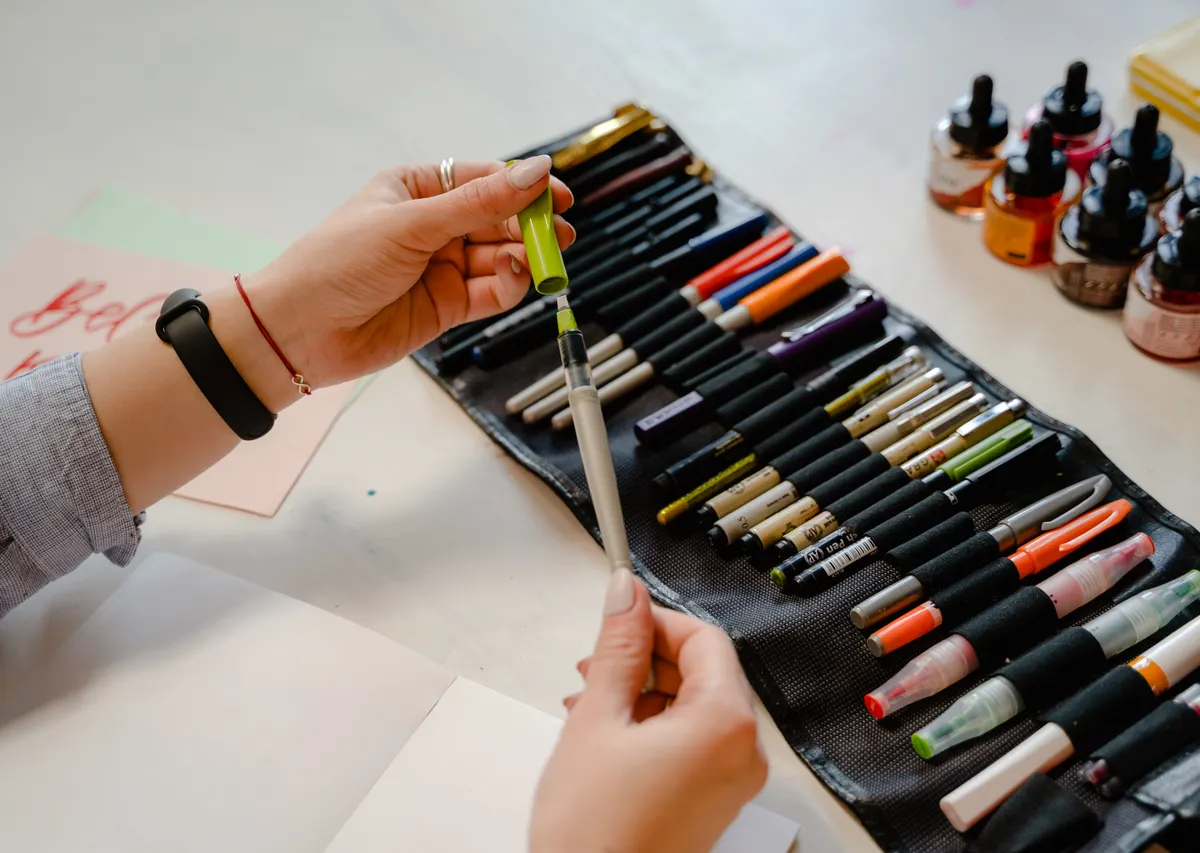
Photo Credit: Antoni Shkraba
Is a Ruling Pen Suitable for Beginners
A ruling pen is suitable for beginners who already feel comfortable with basic strokes, though it is not usually the first tool anyone should pick up. Its unpredictable ink flow can be genuinely confusing before you have a feel for how much pressure and ink load actually changes the result.
Beginners just starting out are better served practicing with a broad-edge nib or brush pen first, then trying a ruling pen once basic control feels steady.
What Ink Consistency Works Best with a Ruling Pen
Thin, fluid ink works best with a ruling pen, since thicker inks tend to clog between the blades or dry out before a full stroke is finished. Standard bottled calligraphy ink, thinned slightly with water if needed, usually flows well enough to load and release smoothly.
Avoid using thick acrylic or heavily pigmented ink straight from the bottle, since it can dry between the blades quickly and become difficult to clean out afterward.
What Types of Lettering and Flourishes Can Be Made with a Ruling Pen
A wide range of lettering and flourishes can be made with a ruling pen, especially bold accent strokes, decorative underlines, and loose expressive swashes added around more traditional lettering. It is less suited to small, precise letterforms, since the blade gap and ink flow both favor larger, sweeping motion over tight detail work.
Once you are comfortable with the pen itself, Calligraphy Flourish Types Reference is a useful next stop for learning specific flourish shapes to practice.
Step-by-Step Guide to Using a Ruling Pen
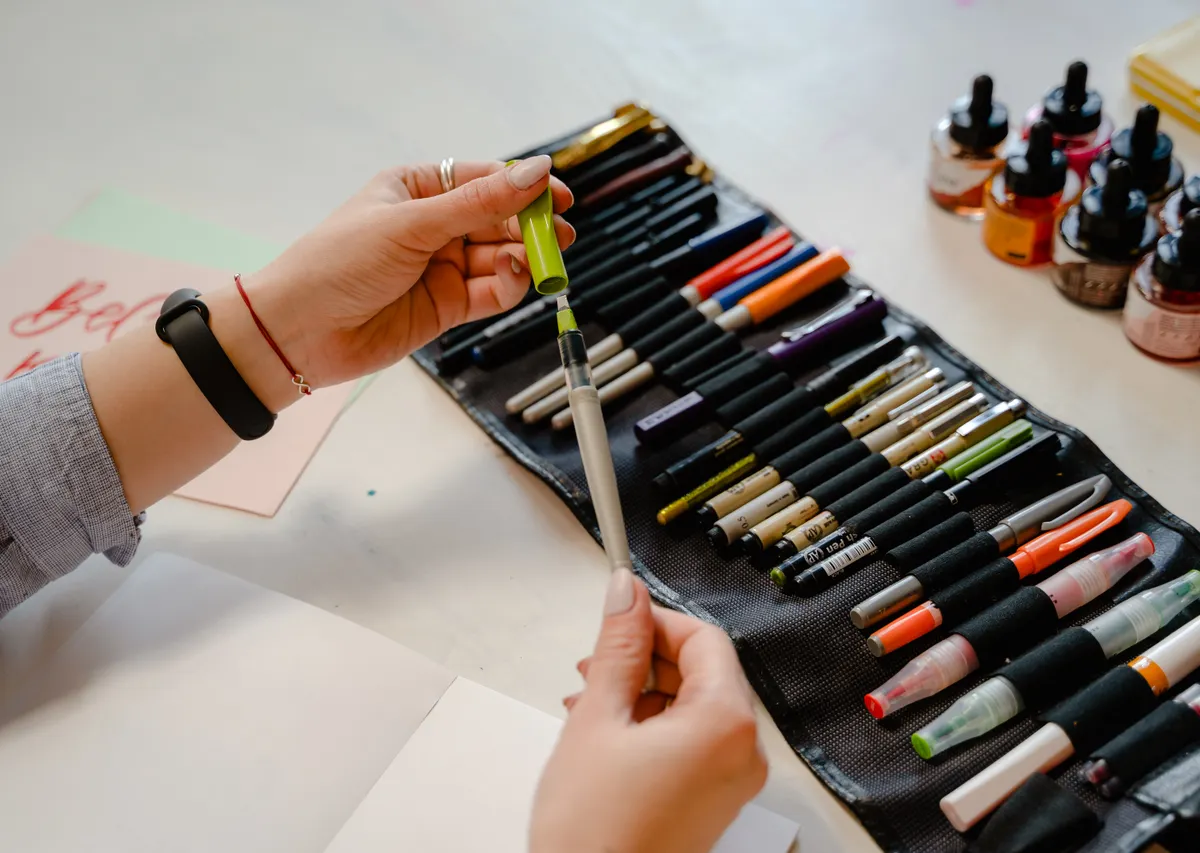
- Load ink between the blades. Use a small brush or dropper to place ink carefully between the two metal tips.
- Adjust the blade gap. A wider gap makes thicker lines, while a narrower gap keeps strokes finer.
- Test on scrap paper first. Ink flow varies, so a few practice strokes reveal how much pressure to use.
- Move with confident, steady motion. Hesitating mid stroke often causes uneven, blotchy lines.
- Reload ink as needed. The pen holds only a small amount, so frequent reloading is normal.
- Clean the blades after each session. Dried ink between the blades is difficult to remove once hardened.
Pro Tips and Common Mistakes to Avoid
- Do not overload the pen with ink. Too much between the blades causes drips and blotting.
- Avoid thick ink straight from the bottle. Thin it slightly for smoother, more consistent flow.
- Do not expect perfectly even lines. The rough, varied texture is the actual appeal of this tool.
- Watch the blade tips when adjusting the screw. Careless handling can pinch fingers or bend the metal.
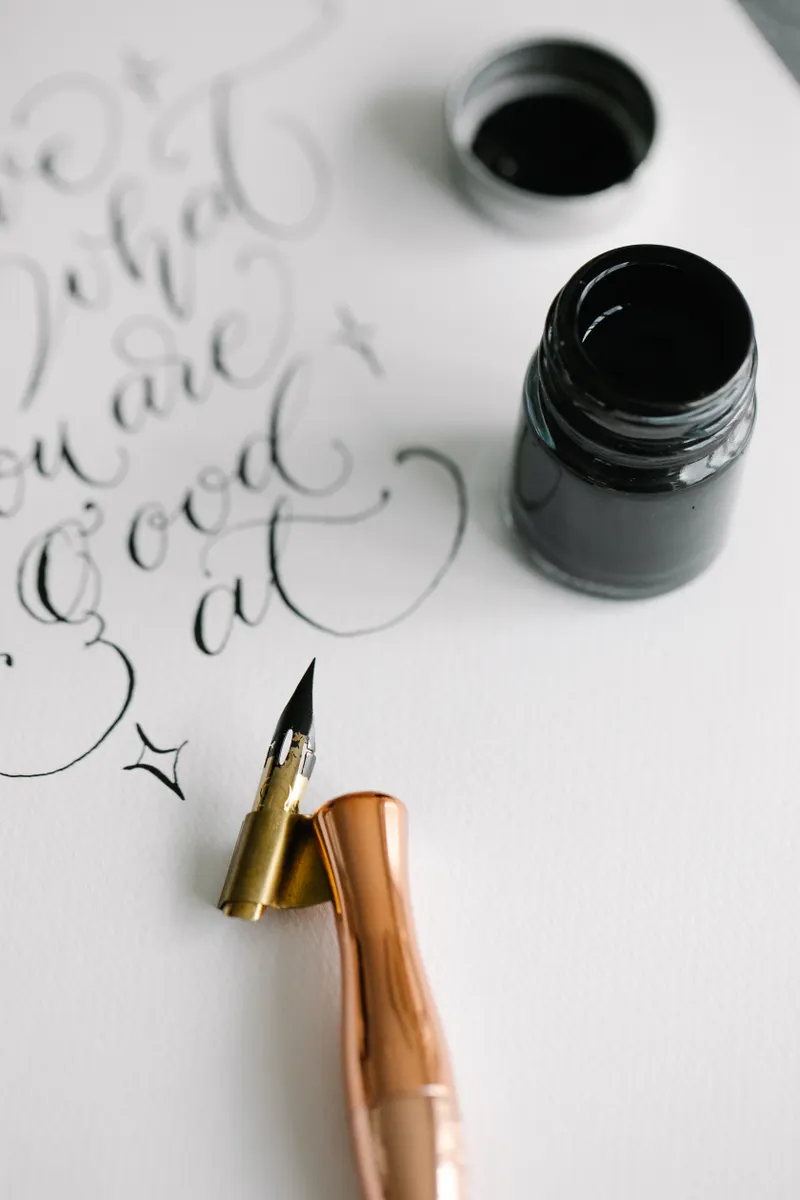
Photo Credit: Katya Wolf
Frequently Asked Questions
What is a ruling pen used for in decorative lettering? It creates bold, textured flourishes and accent strokes that look rougher and more expressive than standard nibs.
How does a ruling pen create variable width strokes? Blade spacing and pressure control line thickness, rather than flexible tines like a pointed nib uses.
Is a ruling pen suitable for beginners? It works best for those already comfortable with basic strokes, since ink flow is unpredictable at first.
What ink consistency works best with a ruling pen? Thin, fluid ink flows best, since thicker ink clogs the blades and dries out too quickly.
What types of lettering and flourishes can be made with a ruling pen? Bold accent strokes, decorative underlines, and loose sweeping flourishes suit this tool best.
Working with the Unpredictable
A ruling pen rewards a slightly looser hand than most calligraphy tools ask for, and that rough, unpredictable texture is exactly why so many decorative lettering artists keep one nearby. Load it carefully, expect a few messy test strokes, and let its rougher character become part of your style rather than something to fight.
For everything else this hobby covers, from tools to strokes to full scripts, read the full calligraphy and hand lettering guide.





Leave a Reply