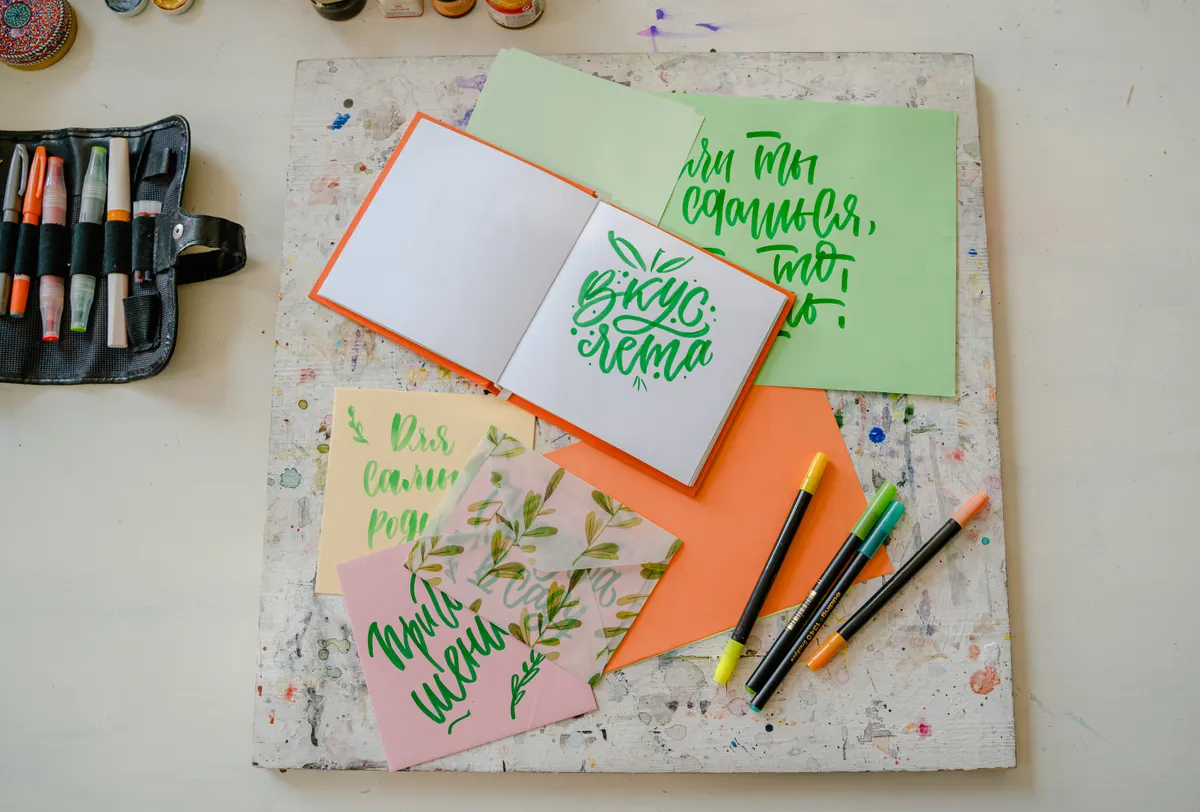
I remember finishing my first solid alphabet and thinking I had basically arrived, only to open a multi line quote piece and realize spacing an entire paragraph is a completely different skill. Advanced calligraphy projects ask for more than steady letterforms, they ask for planning, layout thinking, and patience across pieces that can take hours rather than minutes.
This guide is part of Calligraphy & Lettering Project Ideas for Every Skill Level, and it covers what projects make sense once the basics feel solid, how to plan bigger compositions, and how to prepare finished pieces for display or sale.
What Are Advanced Calligraphy Projects
Advanced calligraphy projects are pieces that move beyond single words or short phrases into complex calligraphy pieces involving full paragraphs, layered compositions, or combined techniques like flourishing and illustration. These projects usually take multiple sessions and require planning the layout before any ink touches the page.
What separates these from beginner work is not just difficulty of the strokes themselves. It is the added layer of composition, deciding how lines relate to each other, where negative space sits, and how the whole piece reads as one unit rather than a string of separate words.
Background on Why This Stage Feels Different
I have found that the jump from basic to advanced calligraphy catches a lot of people off guard, since letterform skill alone does not prepare you for layout decisions. A single word can look great with almost no planning. A full page cannot.
Years into this hobby, I can usually tell within a stroke or two whether someone has moved past fighting their pen into actually working with it, and that shift is exactly what makes advanced projects possible. Once the pen stops feeling like an obstacle, there is finally enough attention left over to think about composition.

Photo Credit: Hobby Guidebook Editorial
Tools for Advanced Calligraphy Projects
|
Tool |
Purpose |
Notes |
|
Dip pen with multiple nib sizes |
Allows varied line weight across a piece |
Broad edge nibs suit different scripts than pointed nibs |
|
Layout or tracing paper |
Plans composition before final ink |
Saves your good paper from repeated erasing |
|
Ruler and light pencil |
Maps guidelines for multi line work |
Essential once a piece has more than one line of text |
|
Quality ink in multiple colors |
Adds depth to layered or illustrated pieces |
Test flow on scrap paper before committing |
|
Fixative or sealant spray |
Protects finished pieces meant for display |
Use in a ventilated space to avoid fume buildup |
What Projects Are Suitable After Mastering Basic Calligraphy
Multi line quotes, personal name pieces with added flourishing, and small illustrated lettering combinations all suit someone who has mastered basic calligraphy and wants a next step. These projects still use the same core letterforms you already know, just applied across more space and with more planning involved.
Choose a project slightly harder than your last one, not several steps ahead, since jumping too far too fast usually leads to frustration rather than steady growth.
What Advanced Techniques Can Be Used for Large Calligraphy Pieces
Varying line weight, layering multiple ink colors, and incorporating flourished capitals are common techniques used across larger, more expert lettering projects. These techniques add visual interest without requiring an entirely new skill set, since they build directly on pen control you likely already have.
Flourishing in particular tends to open up once basic letterforms feel automatic, and Copperplate Flourishing is worth exploring if that pointed pen style already feels familiar to you.
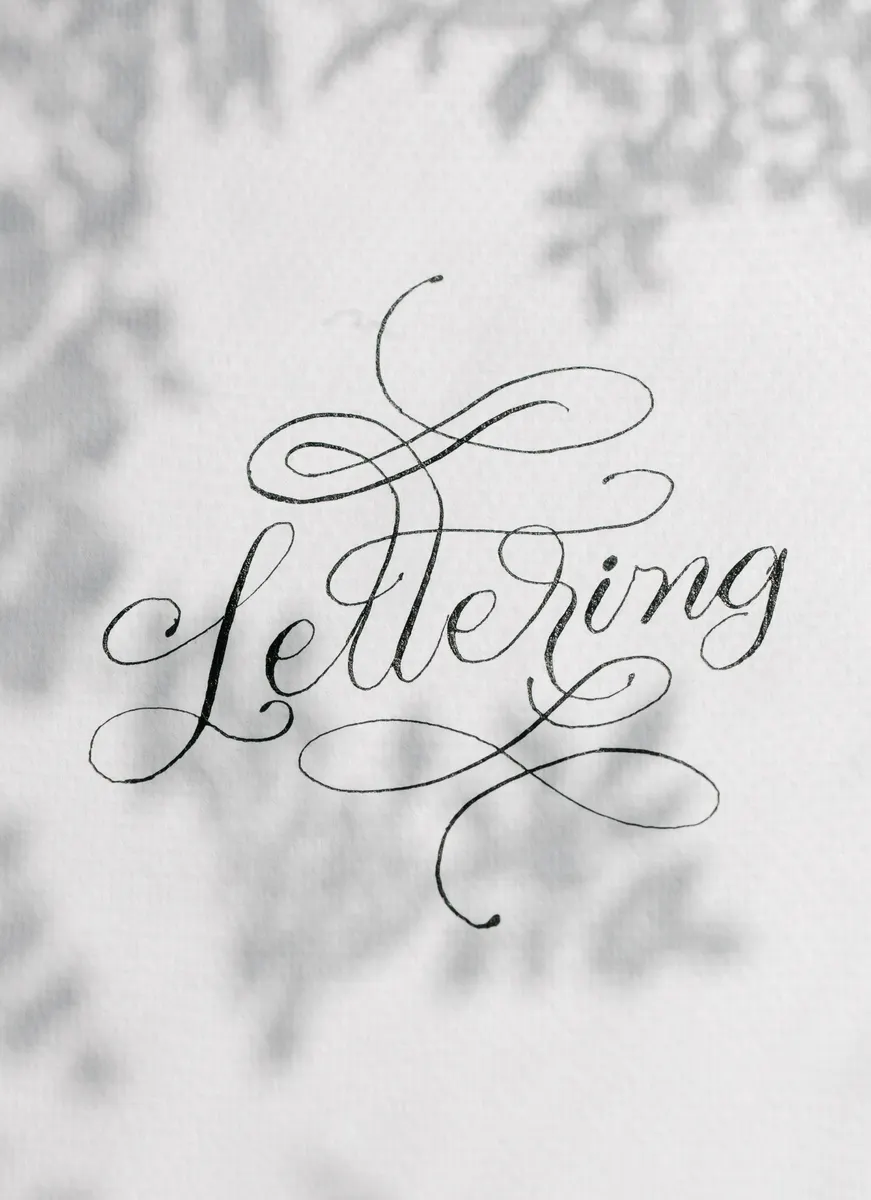
Photo Credit: Katya Wolf
How Do You Plan a Complex Multi Line Composition
Planning a multi line composition starts with a rough thumbnail sketch, mapping where each line of text sits before any real lettering begins. Working out line spacing, overall balance, and where flourishes or decoration might fit on scrap paper first prevents wasted attempts on your final surface.
Leave more space between lines than feels necessary at first, since ascenders and descenders often need more room than beginners initially expect.
"A composition succeeds or fails before the pen ever touches good paper." That advice gets repeated often among experienced letterers, and it becomes obvious the first time a rushed layout falls apart halfway through.
Which Advanced Projects Combine Lettering with Illustration or Ornament
Botanical wreaths around a central word, decorative borders framing a quote, and illustrated recipe or family history pieces all combine lettering with illustration or ornament in ways that suit intermediate to advanced skill levels. These projects reward patience, since the illustration work often takes as long as the lettering itself.
For a different flourishing tradition worth exploring alongside Copperplate, Spencerian Flourishing offers a softer, more looping style that pairs well with botanical or nature themed pieces.
How Can Advanced Calligraphy Work Be Prepared for Display or Sale
Advanced calligraphy work should be fully dried, lightly sealed if needed, and matted or framed using acid free materials to prevent yellowing over time. Pieces intended for sale also benefit from consistent sizing, since standard frame dimensions make it easier for buyers to display work without extra cost.
Photograph finished pieces in natural light before framing, since good documentation matters whether the piece is headed for sale, a portfolio, or simply your own records.
Step-by-Step Guide to an Advanced Calligraphy Project
- Choose a project slightly beyond your last one. Steady growth beats an overwhelming leap.
- Sketch a rough thumbnail layout first. Map line placement before touching final paper.
- Test ink colors and nib sizes on scrap paper. Confirm flow and line weight before committing.
- Pencil in light guidelines for every line of text. This keeps spacing even across a larger piece.
- Letter the main text before adding flourishes. Decoration is easier to plan around finished words.
- Let the full piece dry completely. Larger pieces with more ink need extra drying time.
- Seal and prepare for display if needed. Use ventilated space and acid free framing materials.
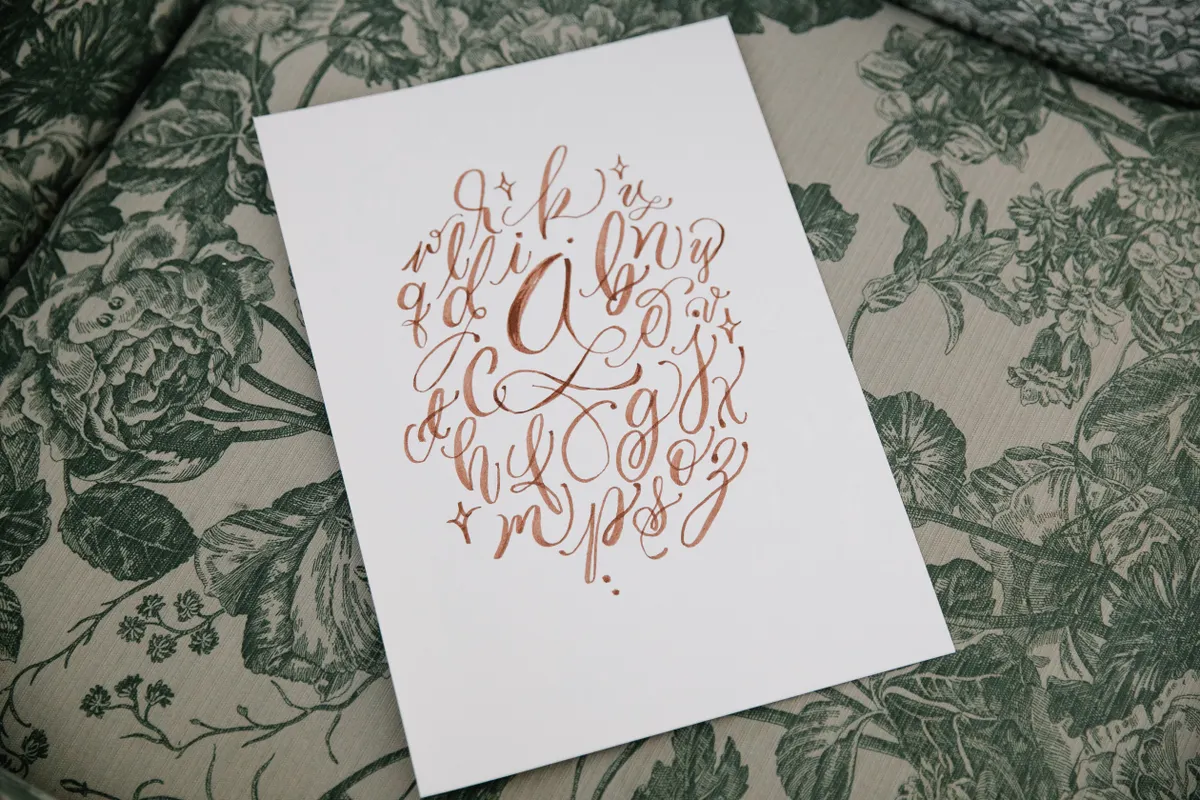
Photo Credit: Katya Wolf
Pro Tips and Common Mistakes to Avoid
- Do not skip the thumbnail sketch stage. This is one of the most common reasons complex pieces fall apart.
- Avoid cramming lines too close together. Ascenders and descenders need more breathing room than expected.
- Do not rush flourishing before the base lettering feels solid. Shaky flourishes usually mean the fundamentals need more practice first.
- Work in ventilated space when using fixative spray. This keeps fumes from building up during longer sealing sessions.
Frequently Asked Questions
What projects are suitable after mastering basic calligraphy? Multi line quotes, flourished name pieces, and small illustrated lettering combinations work well.
What advanced techniques can be used for large calligraphy pieces? Varying line weight, layering ink colors, and adding flourished capitals all suit larger compositions.
How do you plan a complex multi-line calligraphy composition? Sketch a rough thumbnail layout first, mapping spacing and balance before final lettering begins.
Which advanced projects combine lettering with illustration or ornament? Botanical wreaths, decorative borders, and illustrated recipe or history pieces all combine well.
How can advanced calligraphy work be prepared for display or sale? Seal if needed, use acid free framing materials, and photograph the piece in natural light.
The Next Real Step
Advanced calligraphy projects ask more of your planning than your pen, and that shift is what makes this stage genuinely exciting once the fundamentals feel steady. Pick one project slightly past your comfort zone, sketch before you letter, and let the composition come together with the same patience you gave your first alphabet.
For everything else this hobby covers, from tools to strokes to full scripts, read the full calligraphy and hand lettering guide.




Leave a Reply