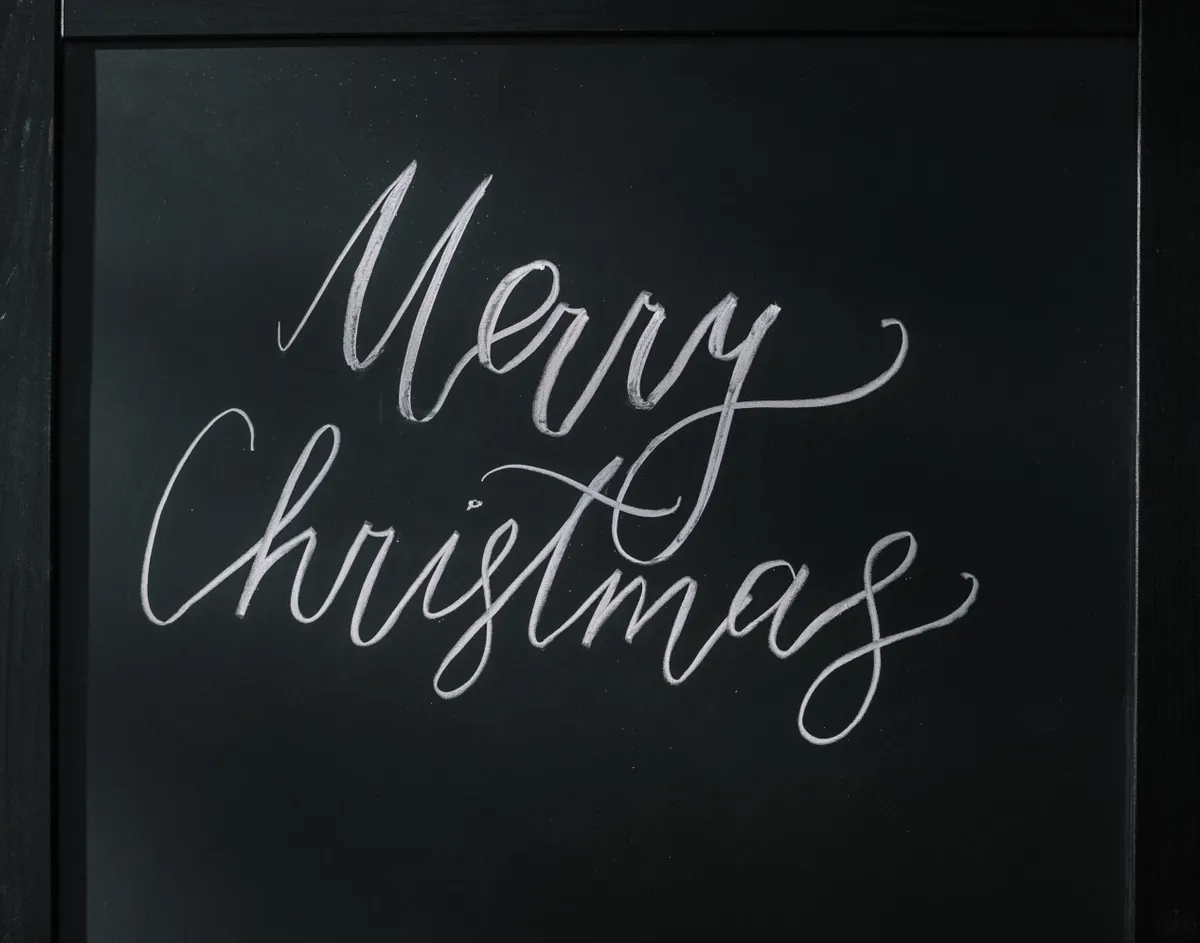
You walk past a cafe, and the menu board stops you. The letters are bold, a little uneven, and full of life, and you wonder how anyone writes like that with a stick of chalk. Chalk lettering looks hard, but it follows the same simple rules as any hand lettering, plus a few tricks of its own.
This guide is part of Calligraphy Scripts & Lettering Styles Explained. You will learn what chalk lettering is, which chalk and surface to pick, how to get clean edges and thick and thin lines, and how to plan and erase a design.
I still have the first alphabet sheet I ever filled in, ink blotches and all. Chalk taught me something that sheet never did: you can wipe a mistake away and try again, and that makes it a relaxed way to practice.
What Is Chalk Lettering?
Chalk lettering is hand lettering drawn with chalk, usually on a dark board. Each letter is built stroke by stroke, often with thick and thin parts, and often with extra touches like shadows, borders, and small drawings. It is also called chalkboard lettering or the chalk hand lettering style.
It is closer to drawing letters than to writing them quickly. That is because chalk leaves a soft, powdery line that is easy to smudge, so most people slow down and build each letter on purpose.
|
Feature |
Chalk lettering |
|
Tool |
Chalk sticks, or liquid chalk markers |
|
Surface |
Chalkboards, slate, and chalk-friendly boards |
|
Look |
Soft, hand-drawn, high contrast on dark |
|
Strokes |
Built up, with thick and thin parts |
|
Big plus |
Easy to erase and redo |
You do not need a special script. People use many styles in chalk, including brush-style letters, simple block capitals, and serif or sans serif forms. If you know a style already, you can bring it to the board. If you are new to brush-style lettering, brush lettering is a helpful place to build the pressure habits.
Chalk lettering also feels different from painted lettering methods. If you are curious about the painted side of the hobby, watercolor lettering uses brushes and paint instead, with a very different feel.
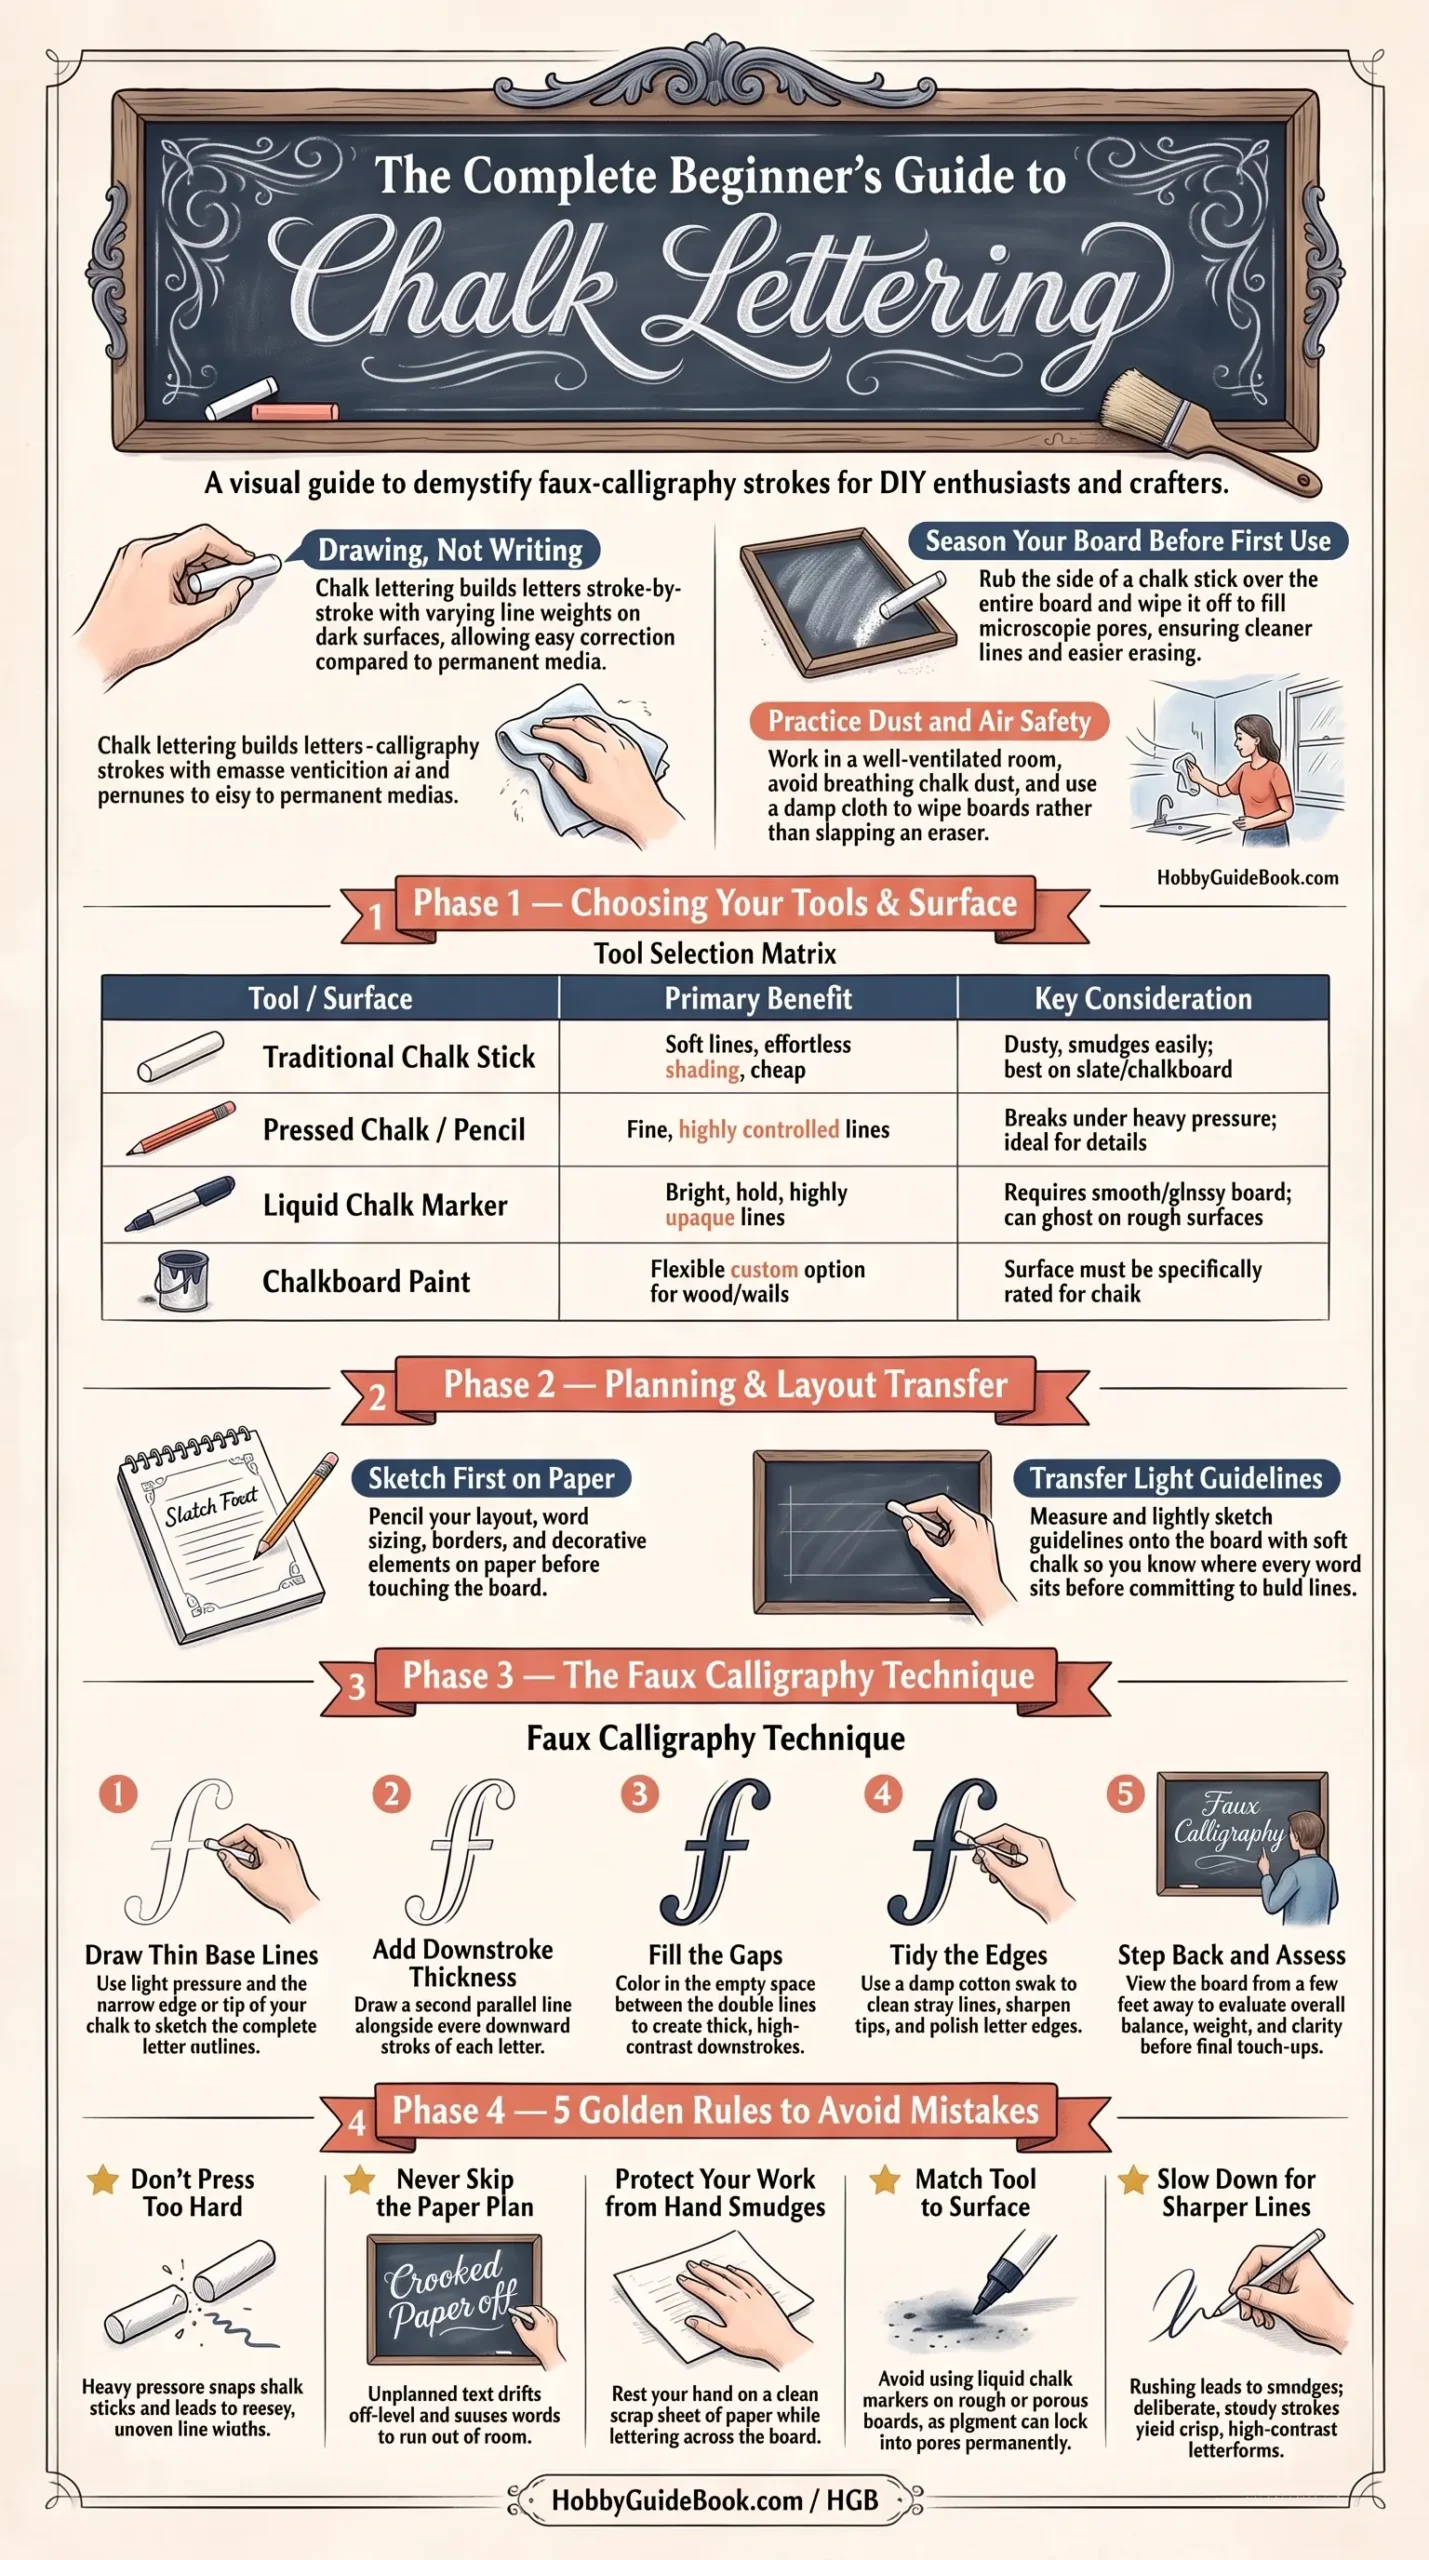
Photo Credit: Hobby Guidebook Editorial
What Chalk or Chalk Marker Works Best?
There is no single best choice. It depends on how permanent you want the result, and how much dust you can live with.
|
Tool |
Good for |
Keep in mind |
|
Traditional chalk stick |
Soft lines and shading |
Dusty, smudges easily |
|
Pressed chalk or chalk pencil |
Fine, controlled lines |
Breaks if pressed hard |
|
Liquid chalk marker |
Bright, bold, opaque lines |
Works best on the right surface |
Traditional chalk is a good place to start because it is cheap, and mistakes wipe away easily. Chalk markers give brighter lines with less dust. The chalk markers and chalk pens page covers them in more detail.
Chalk dust can irritate your nose and lungs. Work in a room with fresh air, avoid breathing the dust, and wipe the board with a damp cloth instead of slapping the eraser. If you use markers, follow the label, and use them in a ventilated space.
What Surface Is Best for Chalk Lettering?
The surface changes everything. A real chalkboard or slate gives you a smooth, dark base. Chalkboard paint on wood or a wall works too, if the paint is made for chalk.
- Chalkboard or slate: best for traditional chalk, and easy to clean.
- Chalkboard paint: a flexible option for signs and walls.
- Glossy or sealed boards: usually better for liquid chalk markers.
- Rough or porous surfaces: can hold on to marker, so test a small corner first.
Before you start on a new board, many people "season" it. That means rubbing the side of a chalk stick over the whole surface, then wiping it off. It fills in tiny pores so your first lines look cleaner. Instructions vary by board, so check the maker's directions.
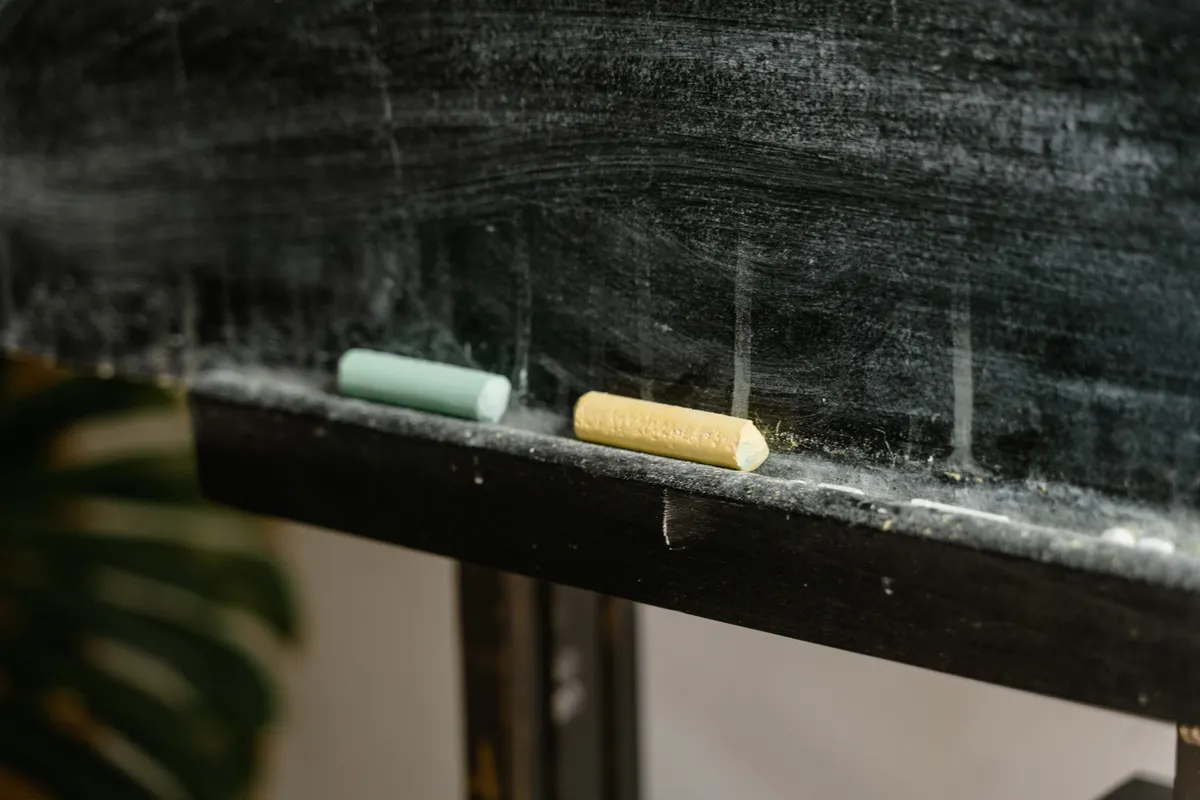
Photo Credit: MART PRODUCTION
How Do You Create Clean Edges and Thick and Thin Strokes?
Clean edges come from a sharp tool and a steady hand. Turn your chalk as you write so it keeps a fresh edge, and use the narrow edge for thin lines and the wider side for thick ones. For markers, the tip is already shaped, so go slowly.
- Draw the thin lines first. Use the tip or edge of the chalk with light pressure.
- Add thickness to downstrokes. Draw a second line next to each downstroke.
- Fill the gap. Color in the space between the two lines.
- Clean the edges. Use a damp cotton swab to tidy stray lines.
- Step back and check. Look from a few feet away.
This method, drawing a double line and filling it in, is often called faux calligraphy. It gives you a thick and thin look even if the tool cannot flex. The full step-by-step process is in chalk lettering technique.
Draw it light, then draw it bold.
It is a simple habit with a big payoff. Light first lines are easy to fix, and bold final lines only happen once you are sure.
How Do You Plan and Erase a Chalk Lettering Design?
Plan on paper first. Sketch your words in pencil, work out the size, and decide where the border or drawings go. Then copy the layout to your board with light chalk lines, measuring so the text sits level.
Some people mark guide lines with a ruler and light chalk. Others sketch the whole layout first, then trace the final lines. Either method works. The goal is the same: you want to know where every word goes before you press hard.
How to Erase It
Dry chalk can usually be wiped away with a soft eraser or a slightly damp cloth. Liquid chalk markers often need a damp cloth, and they may leave a faint shadow on some surfaces. Test a small spot first, and follow the marker maker's directions.
Clean the board when you finish, so old lines do not set into the surface over time.
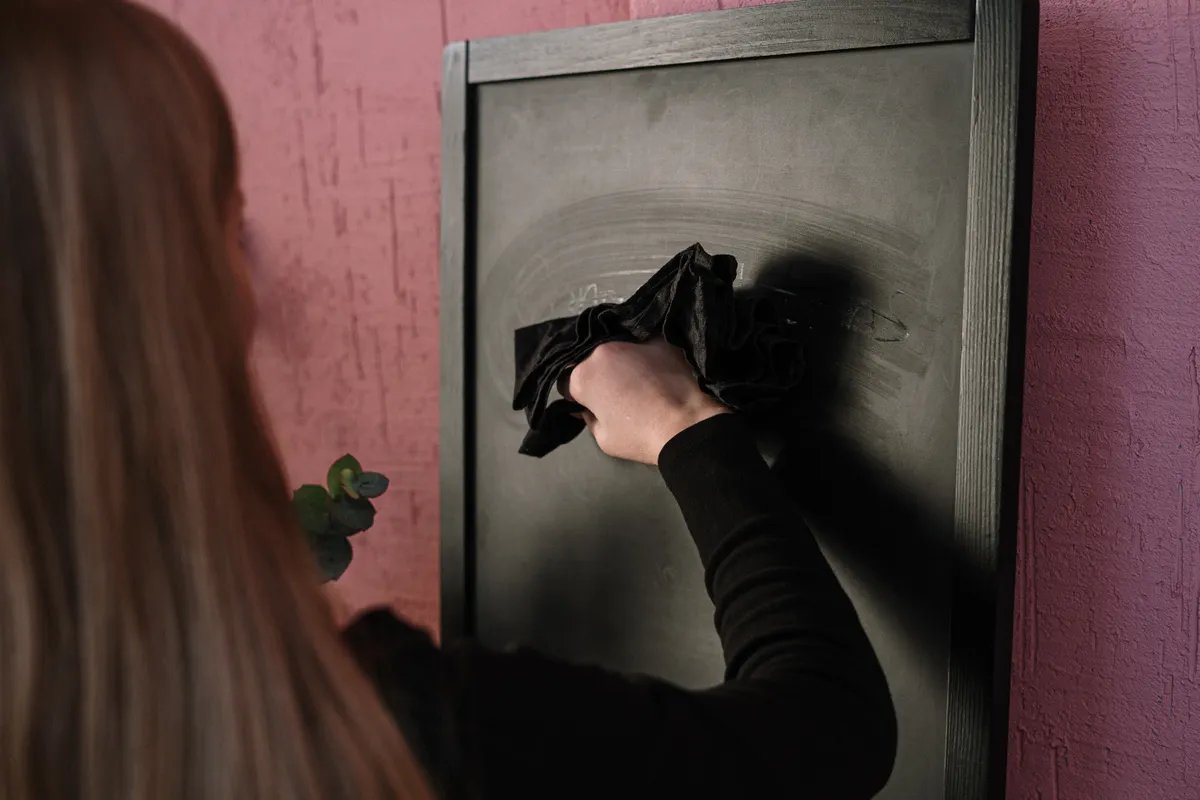
Photo Credit: cottonbro studio
Where Chalk Lettering Is Used
You will see chalk lettering on cafe menus, shop signs, wedding boards, classroom walls, and home decor. It suits short, eye-catching messages, where bold letters and a little decoration do most of the work. It is also a friendly way to practice layout, since you can wipe the board and move a word without wasting paper. Many people use chalkboard lettering to practice spacing and size before they try a permanent piece. If you want to try a full project, chalkboard sign projects walks through ideas.
Common Mistakes to Avoid
- Pressing too hard. Chalk breaks, and lines get thick and messy.
- Skipping the plan. Letters drift, and words end up crooked.
- Smudging with your hand. Rest your hand on a clean scrap of paper.
- Using the wrong surface. A marker on a rough board may not wipe clean.
- Rushing. Slow, steady lines look cleaner.
Frequently Asked Questions
What is chalk lettering?
It is hand lettering drawn with chalk or chalk markers, usually on a dark board, with thick and thin strokes.
What chalk or chalk marker works best for lettering?
Traditional chalk is cheap and forgiving. Liquid chalk markers give bright lines with less dust.
What surface is best for chalk lettering?
A chalkboard or slate is a classic choice. Sealed or glossy boards often suit markers.
How do you create clean edges and thick-and-thin strokes?
Keep your chalk sharp, draw a second line next to each downstroke, fill the gap, and tidy edges with a damp swab.
How do you plan and erase a chalk lettering design?
Sketch it on paper first, copy it to the board with light lines, and erase with a soft eraser or damp cloth.
Start With One Word
You do not need a large board. Pick a short word, plan it on paper, and draw it once in light chalk. One real attempt teaches more than reading about it.
When you are ready for the bigger picture, read the full calligraphy & hand lettering guide.



Leave a Reply