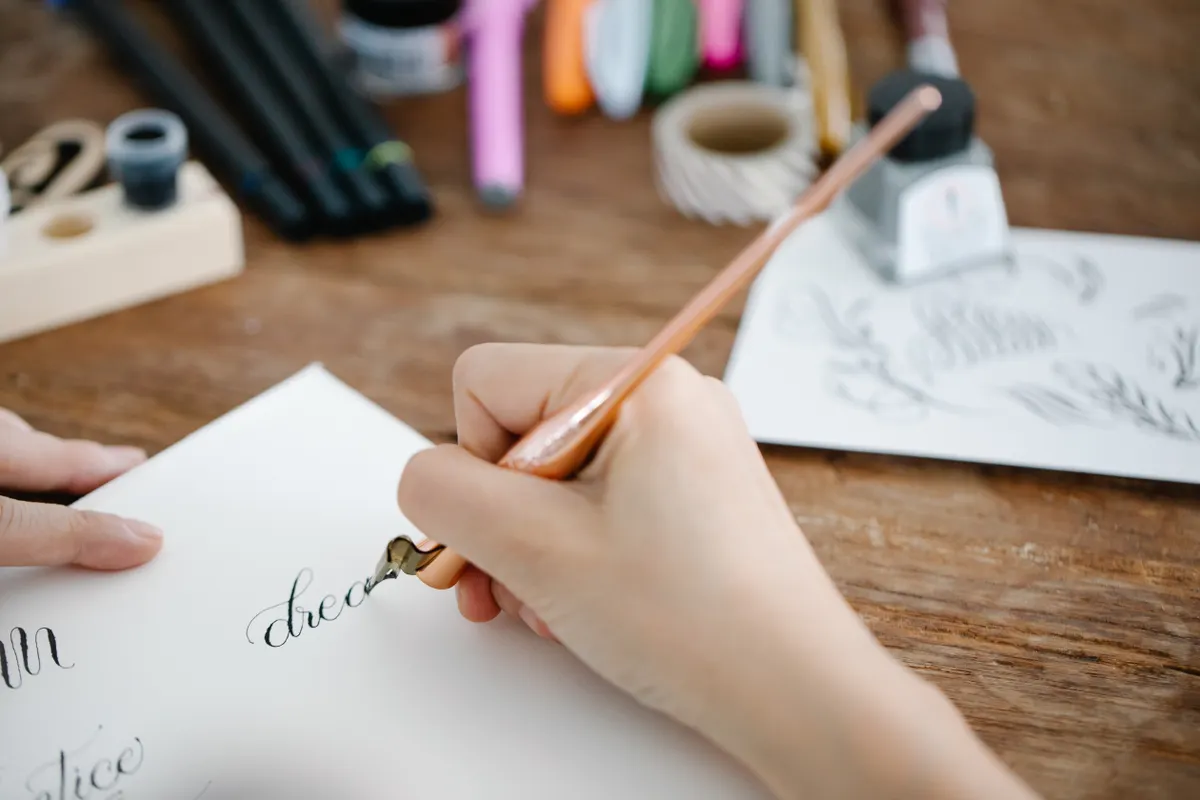
Most beginners try to write a whole Copperplate word on day one, and the letters lean every which way. The fix is slower and much calmer. Copperplate lowercase letters are built from a handful of repeating strokes, so once those feel steady, the alphabet falls into place.
This guide is part of Copperplate Calligraphy. You will see which strokes build each letter, a sensible learning order, the tricky letters, and how to keep slant and spacing even.
I remember the exact week my downstrokes stopped shaking. After that, the small letters came faster than I expected, because I was no longer fighting the pen.
Copperplate Lowercase Letters: What This Covers
Copperplate is written with a flexible pointed pen, not a flat broad-edge one. You press on downstrokes to open the nib and make thick lines, and you lift on upstrokes for thin hairlines. Lowercase letters are also called minuscule letters, and this page is about practicing them.
Two settings hold the whole alphabet together. The first is slant, which is how far the letters lean. A common slant is about 55 degrees from the baseline, though teachers and books differ. The second is height, often described as a ratio between the small letters, the tall ones, and the tails.
|
Setting |
Common starting point |
|
Tool |
Pointed pen with a flexible nib |
|
Slant |
About 55 degrees |
|
Pressure |
Press on downstrokes, release on upstrokes |
|
Height ratio |
Often about 2 : 1 : 2 for tall, small, and tail parts |
|
Guidelines |
Baseline, small-letter line, and slant lines |
Use these as a starting point. If your model sheet says something different, follow the sheet for that version of the script.

Photo Credit: Hobby Guidebook Editorial
The Basic Strokes Behind Every Letter
Names vary from book to book, but most lowercase letters use these shapes:
- Straight downstroke: a slanted line with even weight.
- Oval: the egg-shaped base of letters like a, d, and g.
- Underturn: a U-shaped curve, used in u and i.
- Overturn: an upside-down U, used in n and m.
- Loops: the rounded tall and tail parts of l, h, and g.
Slow, careful drills of these shapes pay off more than extra pages of whole letters. They also help you check pressure, which is where most shaky lines begin.
Step-by-Step Practice
Here is a way to work through the alphabet without feeling lost. Spend a few days on each step, and move on when your rows look steady.
- Draw your guidelines. Mark a baseline, a small-letter line, and slant lines in pencil.
- Practice pressure lines. Make thick downstrokes and thin upstrokes in a row.
- Learn the simple letters first. Start with i, u, w, and t, which use straight strokes and underturns.
- Move to the oval letters. Try o, a, d, g, q, and c, all built on the oval.
- Add the overturn letters. Work on n, m, h, b, p, r, v, x, and y.
- Finish with the looped and tricky ones. Take your time with l, e, k, f, s, j, and z.
- Write short words. Check spacing and slant across the whole word.
This is one common order, not the only one. Some teachers group the letters differently, so adjust to match your guide sheet.
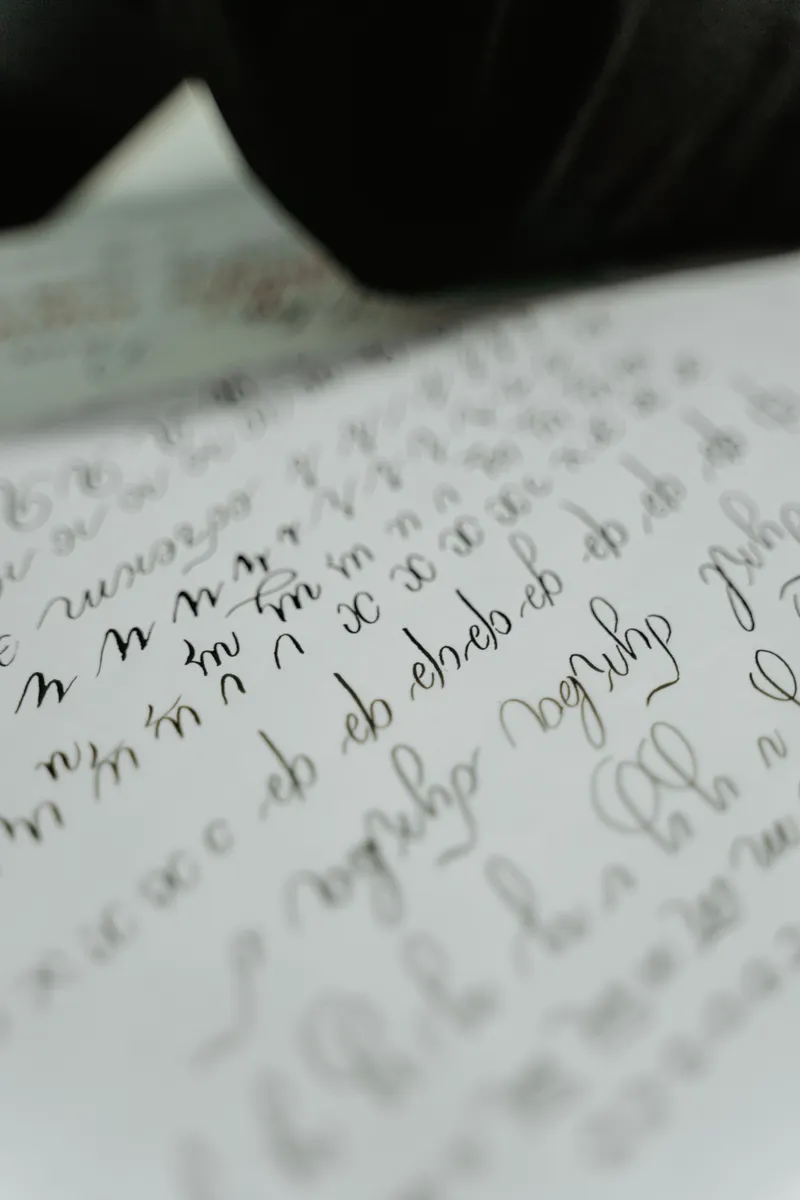
Photo Credit: MART PRODUCTION
Which Letters Are Hardest?
Many learners find r, s, k, f, and z the trickiest, because they mix several curves in a small space. Tall looped letters like l and f also take patience, since the loop needs smooth, even curves. Do not worry if your favorites are different. Everyone has a few stubborn letters.
When a letter fights you, break it into its strokes. Draw each part alone, then join them slowly.
How to Keep Slant and Spacing Consistent
Slant lines are your best friend. Rule them across the page, and let every downstroke follow one. After a row, hold a ruler along the lean of your first letter and compare the rest.
For spacing, aim for even white space between letters, not even distance between their edges. Round letters sit a little closer together than straight ones. Squint at the row from arm's length, and uneven gaps pop out.
Turn your paper so downstrokes run straight toward your body. Many writers do this, and it keeps your hand moving in a natural line. Keep the page steady once you find the angle.
Pointed nibs are sharp, so keep the tip away from your fingers and cover it when you are done. Ink stains too, so protect your desk and sleeves.

Photo Credit: Iago Gleison
Common Uses
Lowercase Copperplate shows up in names, quotes, envelope addresses, and invitations. Most of any piece is lowercase, so this is where your page will win or lose. Capitals are added once the small letters are steady, and numbers come after that. The Copperplate uppercase letters page covers capitals, and Copperplate numerals covers the numbers.
Common Mistakes to Avoid
- Pressing on upstrokes. The nib can catch the paper and spatter ink.
- Changing slant mid-word. Rule your slant lines, and follow them.
- Gripping too tight. A squeezed pen makes shaky lines.
- Rushing. Slow strokes teach your hand more than fast ones.
Master the stroke, and the letter takes care of itself.
That is a good rule for small letters. A clean oval or overturn shows up again and again.
Frequently Asked Questions
What order should Copperplate lowercase letters be learned in?
One common order is simple letters first (i, u, w, t), then oval letters (o, a, d, g, q, c), then overturn letters (n, m, h, b, p, r, v, x, y), and finally the looped and tricky ones.
Which Copperplate lowercase letters are most difficult?
Many learners find r, s, k, f, and z hardest, along with tall looped letters like l and f.
How do you maintain consistent slant and spacing?
Rule slant lines on the page, check rows with a ruler, and aim for even white space between letters.
What basic strokes form Copperplate lowercase letters?
Straight downstrokes, ovals, underturns, overturns, and loops.
Start With One Row
You do not need the whole alphabet at once. Rule your slant lines, make one clean row of i, and build from there.
When you are ready for the bigger picture, read the full calligraphy & hand lettering guide.




Leave a Reply