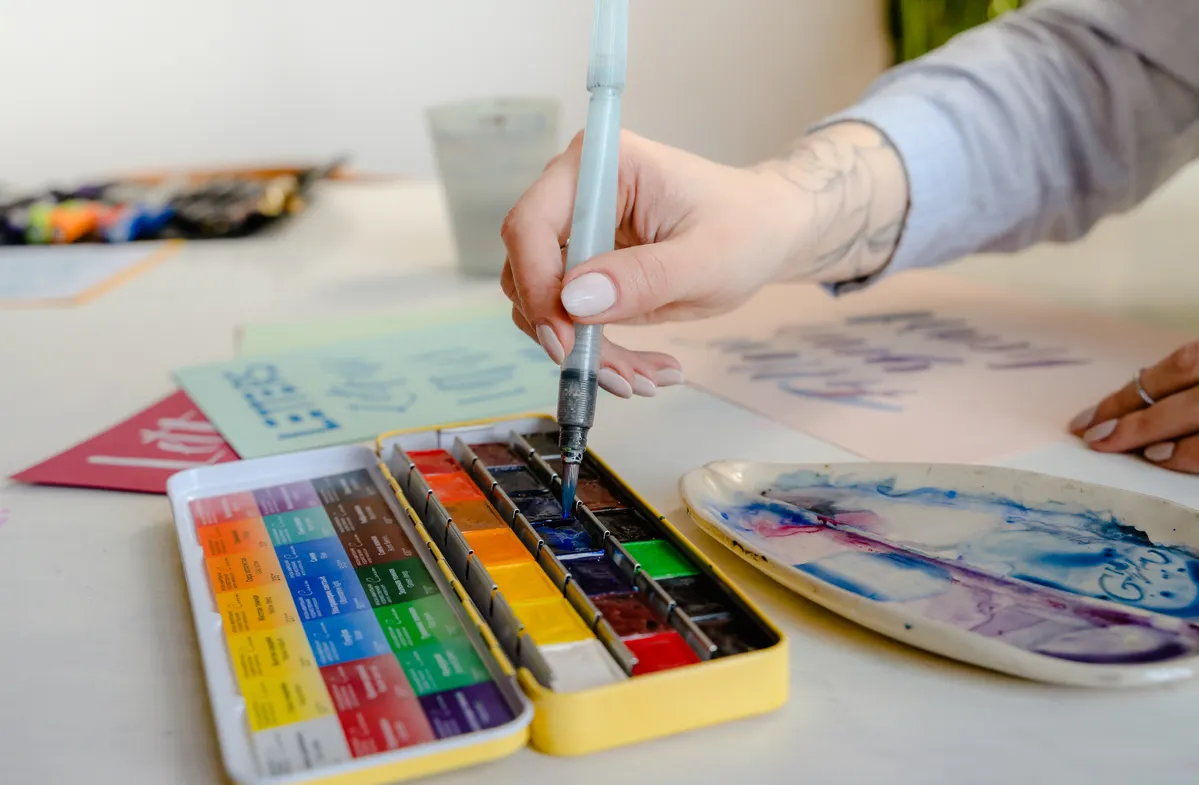
A single wet stroke of color can bloom softly at the edges and dry into something no marker can copy. That is the pull of watercolor lettering: your words carry color, light, and a little bit of chance. It looks fancy, but the basics are friendly to beginners.
This guide is part of Calligraphy Scripts & Lettering Styles Explained. You will learn what the style is, which paper and brush to start with, how to make thick and thin strokes, and how it differs from brush pen work.
I still have the first alphabet sheet I ever filled in, ink blotches and all. Watercolor reminded me of those blotches, except now the surprises are on purpose, and sometimes they are the best part.
What Is Watercolor Lettering?
Watercolor lettering means forming letters with watercolor paint and a brush. You press to make thick lines and lift to make thin ones, much as you would with a brush pen. The difference is that paint and water add soft edges, color shifts, and blends.
People sometimes call it watercolor brush lettering. They also mix it with other tools, like fine pens, pencils, or metallic ink, which is where the term mixed media lettering comes in. Names overlap in this hobby, so do not worry if you see more than one label for similar work.
|
Feature |
Watercolor lettering |
|
Tool |
Round brush or water brush, plus watercolor paint |
|
Thick lines |
Made by pressing the brush down |
|
Thin lines |
Made with the tip, using light pressure |
|
Look |
Soft, colorful, with blended edges |
|
Surface |
Watercolor paper, which handles water well |
|
Common uses |
Cards, art prints, journals, gift tags |
Because it uses water, the paint moves a little on its own. That is part of the charm, and also the main thing to learn to control. A wetter brush gives softer, bleeding edges. A drier brush gives sharper, cleaner lines.
You can also mix colors right on the page. Touch a second color into a wet letter, and the two will blend. Blending is a fun skill to explore once your basic strokes are steady.
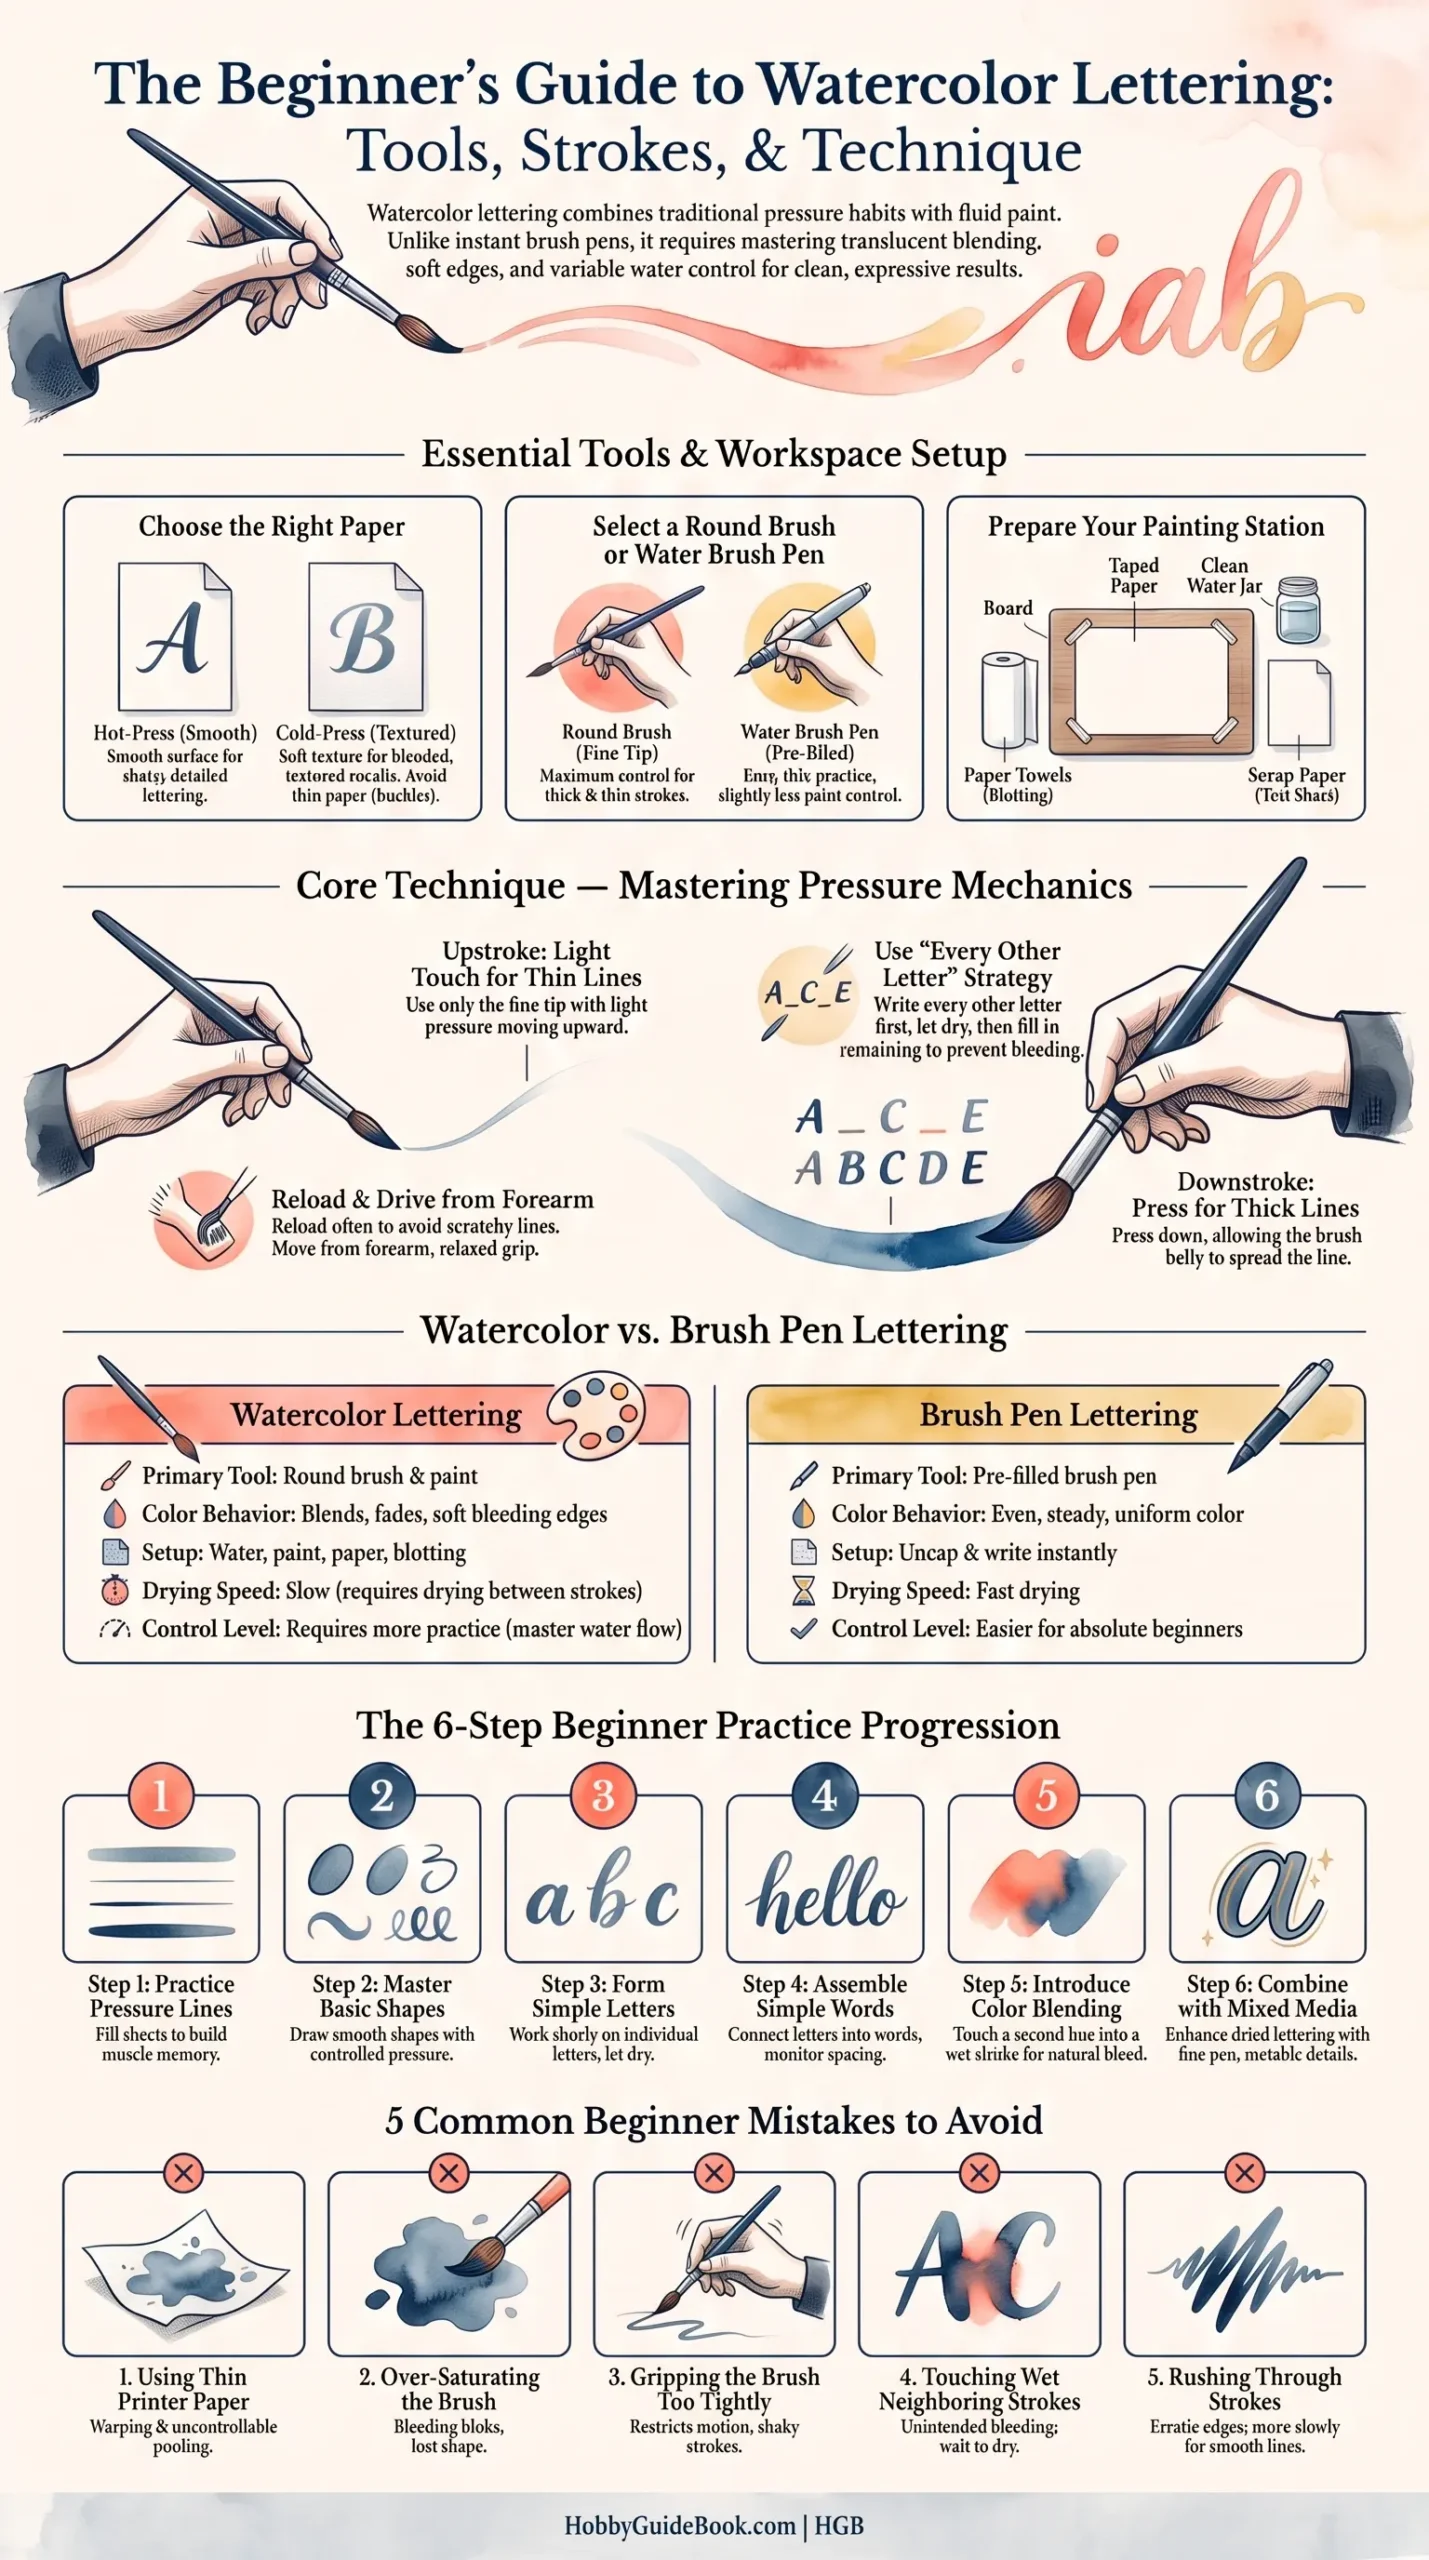
Photo Credit: Hobby Guidebook Editorial
What Paper and Brush Work Best for Watercolor Lettering?
Paper matters more than most beginners expect. Thin printer paper buckles and tears when wet. Watercolor paper is made to hold water, so it stays flat and keeps your lines crisp.
|
Item |
Good for |
Keep in mind |
|
Cold-press watercolor paper |
Soft, textured results |
The bumpy surface can roughen thin lines |
|
Hot-press watercolor paper |
Smooth, sharper lettering |
Paint dries and moves faster |
|
Round brush with a fine tip |
Thick and thin strokes |
Needs a clean point |
|
Water brush pen |
Easy, tidy practice |
Less paint control than a regular brush |
Smooth paper is often easier for lettering, because the brush glides. Still, many people like the look of cold-press paper, so try both on a small sheet. Test a small sheet of each before you buy a large pad.
For a brush, pick a round one with a fine tip that springs back into a point. You do not need to buy an expensive one. Rinse it well, and shape the tip with your fingers before you set it down to dry. Any basic watercolor set, in tubes or pans, is enough to start.
Safety is simple here. Wash your hands after painting, keep paints away from food, and never put a brush in your mouth. Check the paint label if you are unsure about a pigment.
Set up before you paint. Tape the paper's edges to a board so it stays flat, keep one jar of clean water for rinsing, and keep a paper towel nearby to blot extra water from the brush. A scrap sheet beside your work lets you test the paint and the wetness of the brush before each word.
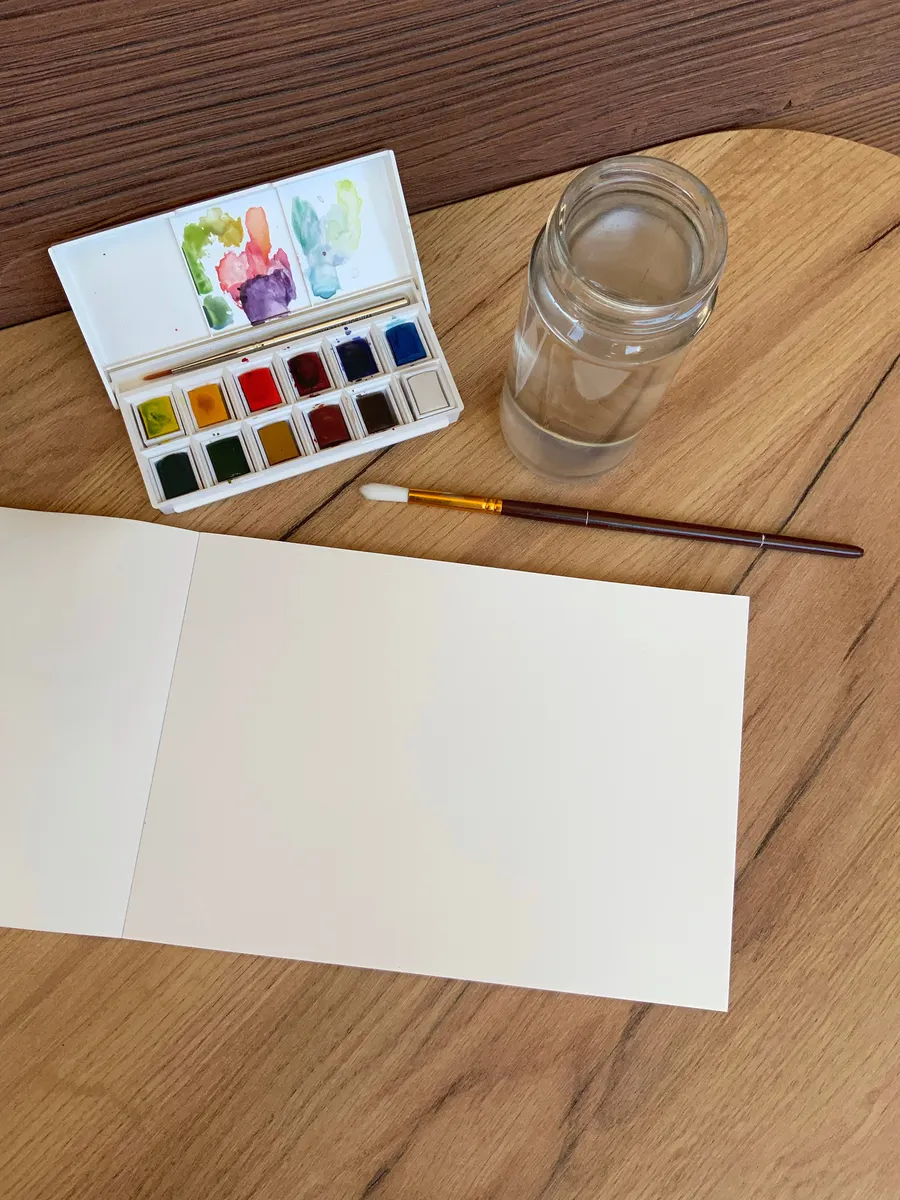
Photo Credit: Marharyta Shtyfura
How Do You Create Thick and Thin Strokes?
The rule is the same as for other brush work: thick on the way down, thin on the way up. The brush simply adds water to the mix.
- Load the brush. Dip it in paint, and test the stroke on scrap paper.
- Start with a light touch. Use only the tip for a thin upstroke.
- Press for the downstroke. Let the belly of the brush spread the line.
- Lift as you finish. The stroke tapers, and the edge stays clean.
- Reload often. A dry brush makes broken, scratchy lines.
Work slowly, and move from your forearm. A relaxed grip also helps, since watercolor shows every shake. Practice straight lines before letters, and follow the same pressure habits you would use with a brush pen.
Let the water do half the work.
It is a good reminder. If you fight the paint, edges look rough. If you give it time, the line often settles on its own.
If a stroke goes wrong, do not scrub at it. Let it dry, then decide whether it looks like a mistake or a feature. Many soft, uneven edges end up looking intentional once the whole word is finished.
How Is Watercolor Lettering Different From Brush Lettering?
They share the same pressure habits, and many people learn one after the other. The main differences are the tool and the way the color behaves.
|
|
Watercolor lettering |
Brush pen lettering |
|
Tool |
Brush and paint |
Pen with a brush tip |
|
Color |
Blends and fades |
Even and steady |
|
Setup |
Water, paint, paper |
Uncap and write |
|
Drying |
Slow, and it can bleed |
Fast |
|
Control |
Needs more practice |
Easier at the start |
Neither is better in every way. The watercolor lettering vs brush lettering page compares them side by side, which helps if you are deciding where to start.
One thing the table cannot show is timing. With a brush pen, you can write a whole word in one go. With paint, a wet letter can run into its neighbor, so many people write every other letter first, let them dry, and fill in the gaps. It slows you down, but it keeps the edges crisp.
Photo Credit: Ravi Kant
Is Watercolor Lettering Suitable for Beginners?
Yes, with patience. It has more setup than a brush pen, and the water takes some getting used to. But mistakes often look like style, and you can paint over dried areas for effect.
Start with one color, a few drops of water, and a few large practice sheets. You will learn faster once you stop worrying about each letter.
A Simple Learning Path
- Practice pressure lines. Make thick and thin strokes in a row.
- Learn the basic shapes. Ovals, curves, and loops.
- Write simple letters. Go slowly, and let each stroke dry.
- Try a word. Watch the spacing between letters.
- Add a second color. Touch it into a wet stroke.
- Combine with a fine pen. Add outlines or small details.
When you are ready for the full process, watercolor lettering technique goes through it in order. Short sessions of 15 to 20 minutes work well, since paint dries and tires your hand.
Common Mistakes to Avoid
- Using thin paper. It warps, and the paint pools.
- Too much water. Letters bleed and lose their shape.
- Gripping tight. A squeezed brush makes shaky lines.
- Touching wet paint. Wait for strokes to dry before you overlap them.
- Rushing. Slow strokes look cleaner.
Where Watercolor Lettering Is Used
It shows up on greeting cards, wedding signs, art prints, journal pages, and gift tags. It suits short words and quotes, where color can add a little mood.
Frequently Asked Questions
What is watercolor lettering?
It is lettering made with watercolor paint and a brush, using pressure to make thick and thin lines.
What paper and brush work best for watercolor lettering?
Watercolor paper and a round brush with a fine tip. Smooth paper is often easier at the start.
How do you create thick and thin watercolor lettering strokes?
Press down for thick downstrokes, and use only the tip for thin upstrokes. Reload the brush often.
How is watercolor lettering different from brush lettering?
Watercolor uses paint and water, so color blends and dries slowly. Brush pens are neater and faster to start.
Is watercolor lettering suitable for beginners?
Yes, with patience. Start with one color and large practice sheets.
Start With One Wet Stroke
You do not need a full paint set. Pick one color, wet your brush, and draw a few thick and thin lines to see how the paint behaves.
When you are ready for the bigger picture, read the full calligraphy & hand lettering guide.



Leave a Reply