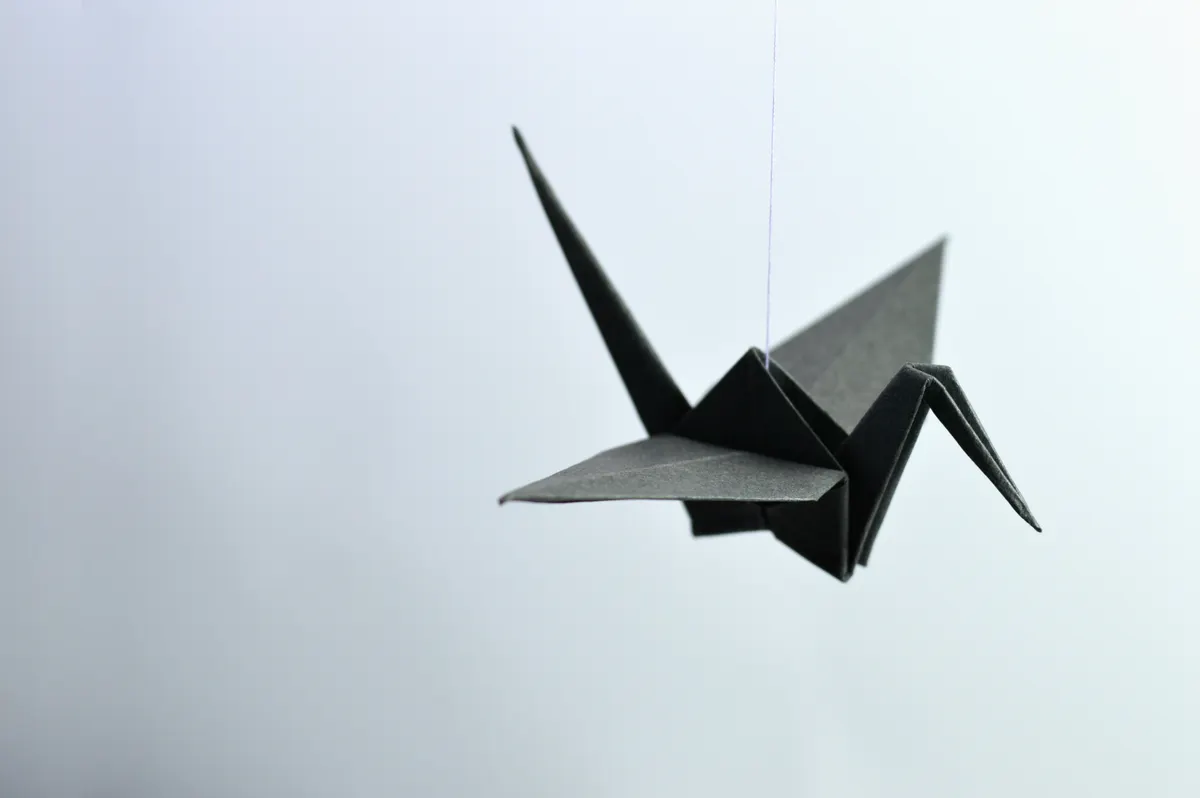
I spent an embarrassing amount of time on my first bird's neck, folding and unfolding the same spot until the paper finally gave up and tore right at the crease. That frustrating spot is almost always a crimp fold origami step, and once you understand how this fold actually works, that exact kind of failure mostly disappears.
This tutorial is Part of Origami Techniques Explained, and it covers exactly what a crimp fold is, how to make one accurately, which models rely on it, and how it compares to the reverse fold it often gets confused with.
What Is a Crimp Fold in Origami?
A crimp fold is a technique that combines two reverse folds worked together on a single point, shifting its angle while narrowing it slightly at the same time. It's most commonly used to shape necks, legs, and beaks, giving a flat point more of a bent, lifelike angle instead of a straight, stiff line.
I've found that beginners often confuse the crimp fold with a simple reverse fold, since both involve tucking paper inward along existing creases. The difference is that a crimp fold uses two folds working in opposite directions on the same point, which is what creates that subtle zigzag shape rather than a single clean bend.
This technique sits solidly in intermediate territory, not because any single fold is hard, but because getting both reverse folds to line up cleanly at once takes a bit of practice.
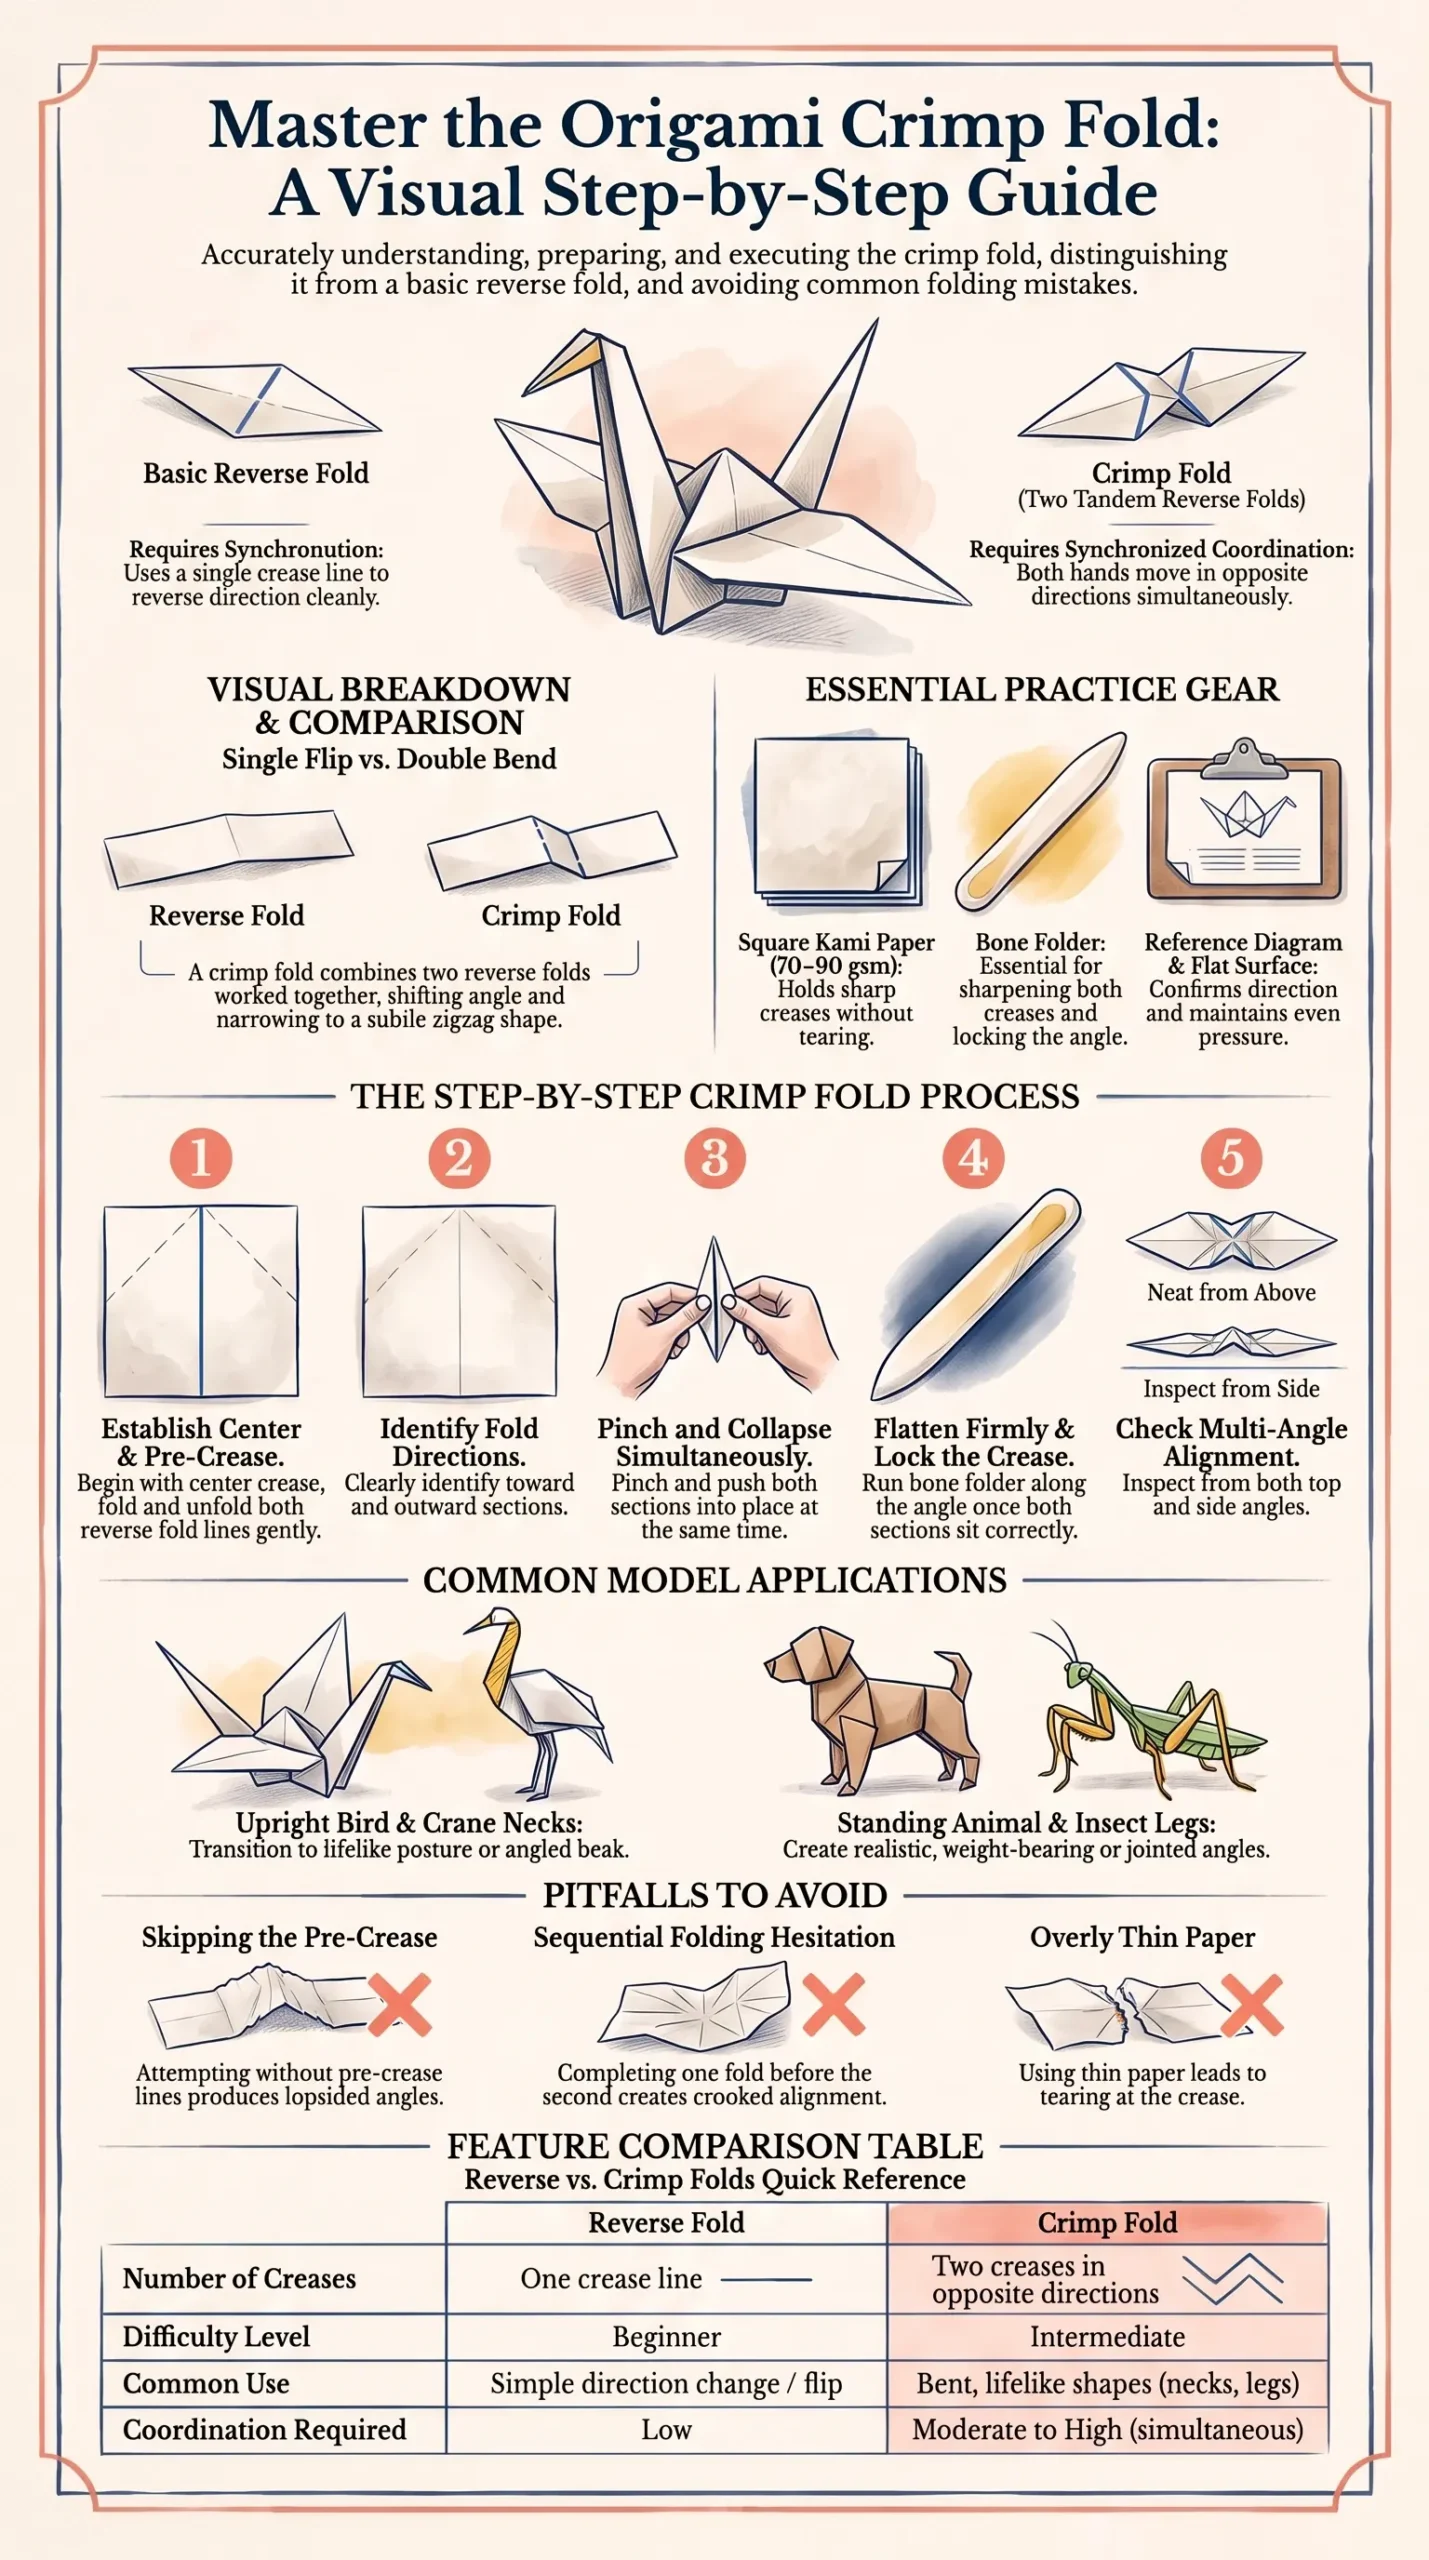
Photo Credit: Hobby Guidebook Editorial
Tools and Materials for Practicing the Crimp Fold
You don't need much to work through crimp fold practice, but a few specific items make a real difference.
|
Item |
Purpose |
|
Square origami paper (kami, 70-90 gsm) |
Standard weight that holds creases without tearing at the crimp point |
|
Bone folder |
Sharpens both reverse creases cleanly for a crisp final angle |
|
Extra practice sheets |
Lets you repeat the crimp fold several times before attempting it in a full model |
|
Reference diagram with fold direction symbols |
Confirms which way each reverse fold should tuck |
|
Flat, hard surface |
Keeps pressure even across both folds during the crimp |
How Do You Make a Crimp Fold Accurately?
Getting a crimp fold to sit cleanly comes down to preparing your creases carefully before you attempt the actual fold. Rushing straight into the crimp without pre-creasing is one of the fastest ways to end up with a lopsided point.
- Start with a point that already has a defined center crease, usually already established from earlier folds in your model.
- Pre-crease both reverse fold lines first, folding and unfolding gently so the paper knows which direction each section should move.
- Identify which section needs to fold inward and which needs to fold outward, since the crimp only works correctly if both reverse folds run in opposite directions.
- Pinch the point gently at the desired crimp location, guiding the paper to begin collapsing along your pre-creased lines.
- Push both sections into place simultaneously, rather than folding one reverse fold completely before starting the second.
- Flatten the crimp firmly once both sections sit correctly, running a bone folder along the new angle to lock it in.
- Check the angle from multiple sides, since a crimp fold that looks fine from directly above can still be uneven when viewed from the side.
Here are the origami crimp fold steps condensed into a mental checklist worth repeating on scrap paper until it feels automatic. Precrease, identify direction, pinch, collapse both sides together, then flatten.
What Models Commonly Use a Crimp Fold?
Crimp folds show up constantly once you start looking for them, especially in animal models where a limb or neck needs a natural bend rather than a straight line.
- Traditional crane variations sometimes use a crimp fold at the neck for a more upright, lifelike posture.
- Four-legged animal models, like dogs or horses, often crimp the legs slightly to suggest a standing, weight-bearing angle.
- Insect models frequently rely on crimped legs to create the bent, jointed look real insect legs have.
- Bird models with detailed beaks sometimes use a small crimp near the tip for a slightly open or angled beak shape.
Photo Credit: https://kaboompics.com/
If you haven't worked through the more foundational fold types yet, it's worth backing up first. Basic Origami Folds Every Beginner Should Know covers valley folds, mountain folds, and simple reverse folds, all of which the crimp fold builds directly on top of.
How Is a Crimp Fold Different from a Reverse Fold?
A standard reverse fold tucks or flips a single point in one direction, using one crease line to change that point's angle. It's a single, straightforward movement once the crease is prepared correctly.
A crimp fold uses two reverse folds working together on the same point, moving in opposite directions to create a bend rather than a simple flip. Think of a reverse fold as changing a point's direction once, while a crimp fold changes it twice in quick succession, creating that subtle zigzag shape.
A folding instructor I once learned from during a technique workshop described the crimp fold as a reverse fold's more coordinated sibling, since it asks both hands to commit to opposite movements at the exact same moment rather than one at a time. That description stuck with me, since hesitating halfway through a crimp is exactly what causes the point to sit crooked.
Is the Crimp Fold Difficult for Beginners?
The crimp fold sits at a moderate difficulty level, not something to attempt on your very first origami project, but manageable once you're comfortable with basic reverse folds. Most folders pick it up within a handful of practice attempts on scrap paper.
The main challenge isn't understanding the concept, it's coordinating both reverse folds to happen together instead of one after the other. That coordination usually clicks after four or five repeated tries, especially if you slow down and pre-crease thoroughly beforehand.
Common Mistakes When Learning the Crimp Fold
A few habits consistently trip up folders working through this technique for the first time.
- Skipping the pre-crease step. Attempting the crimp fold cold, without establishing both reverse fold lines first, almost always leads to an uneven angle.
- Folding one reverse fold completely before starting the second. This creates tension in the paper that makes the second fold harder to align correctly.
- Using paper that's too thin at the crimp point. Thin paper can tear right at the fold intersection, especially on models where the crimp happens near an already thin point like a beak.
- Rushing the flattening step. A crimp that isn't pressed firmly enough tends to spring back open slightly, softening the angle you worked to create.
- Not checking the angle from the side. A crimp fold can look correct from above while still sitting crooked when viewed from a different angle.
Once the crimp fold feels comfortable, the pleat fold is a natural next technique to add to your toolkit, since it also relies on precise, coordinated creases. Pleat Fold Tutorial walks through that technique step by step, building on many of the same precision habits the crimp fold teaches.

Photo Credit: Capped X
Comparing the Crimp Fold to the Reverse Fold
|
Feature |
Reverse Fold |
Crimp Fold |
|
Number of creases used |
One |
Two, working in opposite directions |
|
Difficulty level |
Beginner |
Intermediate |
|
Common use |
Simple direction change |
Bent, angled shapes like necks and legs |
|
Coordination required |
Low |
Moderate to high |
Frequently Asked Questions
What is a crimp fold in origami? A crimp fold combines two reverse folds on a single point, shifting its angle to create a bent, lifelike shape rather than a straight line.
How do you make a crimp fold accurately? Pre-crease both reverse fold lines first, then collapse both sections together at the same time rather than one after the other, and flatten firmly.
What models commonly use a crimp fold? Crane variations, four-legged animals, insects, and bird models with detailed beaks all frequently rely on crimp folds to shape necks, legs, and beaks.
How is a crimp fold different from a reverse fold? A reverse fold changes a point's direction once using a single crease, while a crimp fold uses two opposing creases to create a bend rather than a single flip.
Is the crimp fold difficult for beginners? It's moderate difficulty, best attempted after mastering basic reverse folds, and most folders get comfortable with it after four or five practice repetitions.
Final Thoughts
The crimp fold looks intimidating on a diagram, but it's really just two familiar reverse folds asked to work together at once. Practice it a few times on scrap paper, and that stubborn neck or leg that used to fight you will finally sit right.
If you're ready to explore the rest of what this hobby has to offer, Read the full origami guide for everything from paper choices to techniques across every skill level.





Leave a Reply