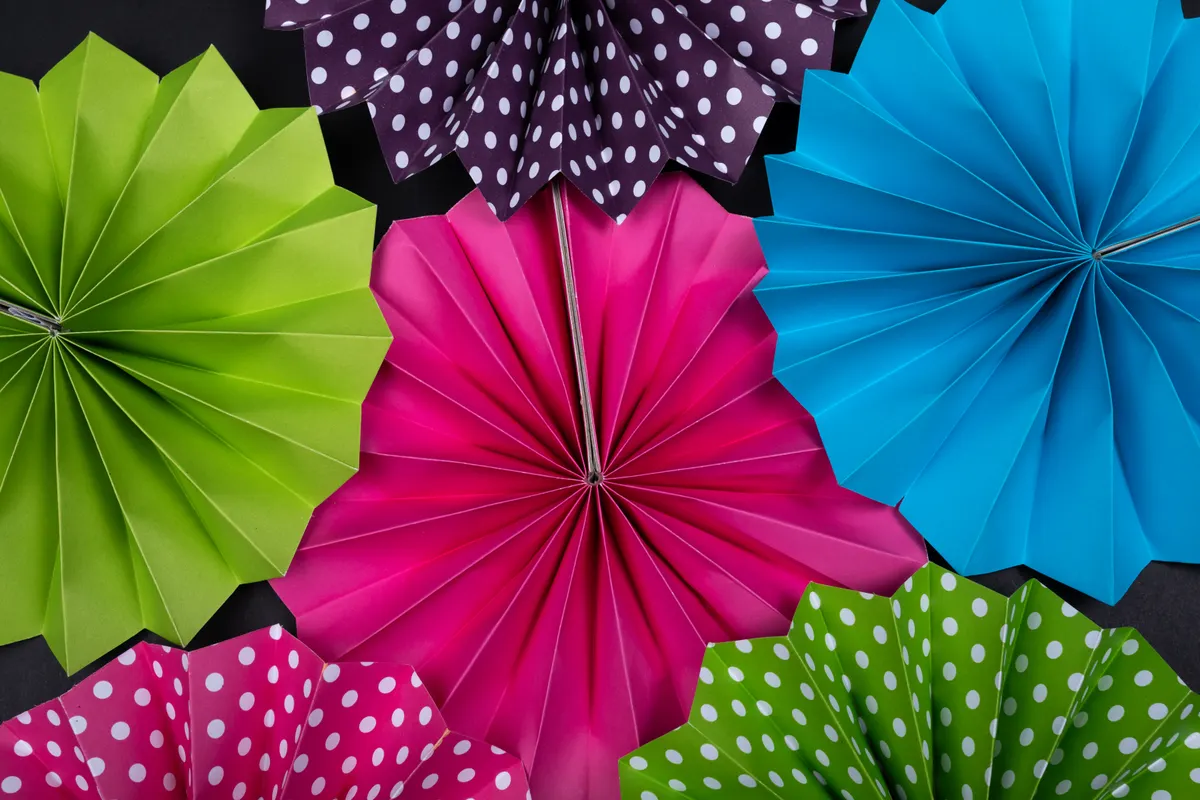
The first curved fold I ever attempted looked less like art and more like a paper cup someone had sat on. I kept trying to force straight-crease habits onto a line that was never meant to be sharp, and the paper just fought back the whole time. That struggle is exactly why curved-fold origami deserves its own explanation, separate from the straight creases most folders learn first.
This piece is Part of Origami Techniques Explained, and it's written for folders who are comfortable with basic mountain and valley folds and are ready to try something that behaves completely differently in your hands.
What Is Curved-Fold Origami?
Curved-fold origami is a folding style built around smooth, curving crease lines instead of the straight lines used in traditional folds like cranes or boxes. Rather than pressing paper flat along a hard edge, you're coaxing it into a gentle bend that holds its shape without ever creating a sharp line.
The result is paper that looks less like it was folded and more like it was molded, with soft ripples, cones, or spiraling curves instead of flat triangles and points. It's a completely different visual language from traditional origami, even though the underlying material and hand-folding rules stay the same.
I think of curved folds as origami's answer to sculpture. There's no gluing or cutting involved, same as always, but the finished pieces often look closer to something you'd find in a gallery than a paper crane on a shelf.
How Is a Curved Crease Different From a Straight Crease?
This is the part that trips up almost everyone coming from traditional folding, myself included. A straight crease is created with one clean, direct motion, pressing the paper firmly along a ruler-straight line until it holds a sharp angle.
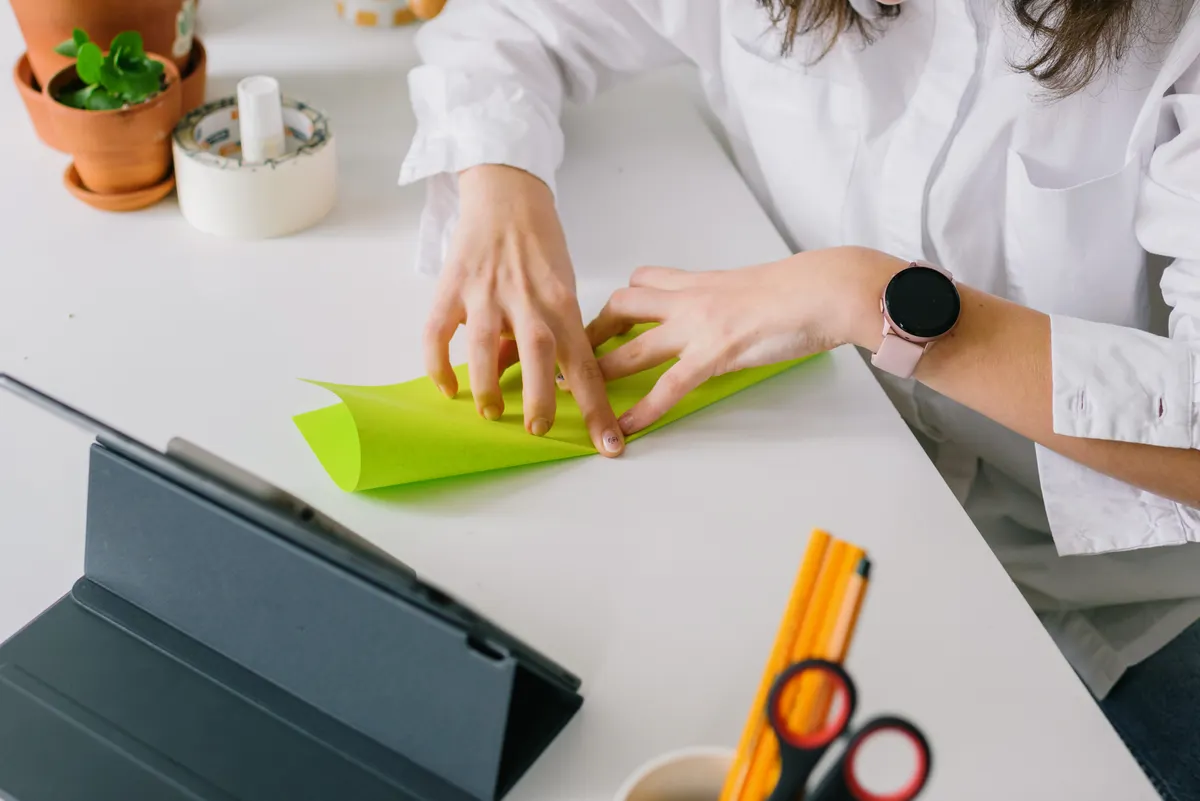
A curved crease origami line works completely differently. Instead of one firm press, you're guiding the paper along a gentle arc, often using your fingers or a rounded tool to coax the fibers into bending smoothly rather than snapping into a hard angle. The paper resists this at first, since its natural fibers want to fold straight, not curve.
Here's the key difference in practice. Straight creases lock into position almost instantly once pressed. Curved creases need to be worked gradually, often folded and unfolded several times with light pressure before the paper accepts the curve as its new resting shape.

Photo Credit: Landiva Weber
What Shapes Can Curved Folds Create?
Curved folds open up a completely different visual range than straight folding does. Once the paper accepts a curved crease, it naturally wants to pull into three-dimensional forms rather than staying flat.
- Cones and spirals, created from a single curved crease pulling the paper into a twisting, funnel-like shape.
- Rippling waves, made from several parallel curved creases that cause the paper to undulate like fabric.
- Domed or bowl shapes, formed when curved creases pull inward from multiple directions at once.
- Organic, flowing sculptures, often free-standing pieces that use several curved creases together for a shape with no flat surfaces at all.
In my experience, cones are the easiest starting shape, since they only need one continuous curved crease to work. Once that first curve holds its shape reliably, the more complex layered forms start to make a lot more sense.
Materials and Tools for Curved-Fold Origami
Curved folding puts different demands on paper than straight folding does, since the paper needs to bend smoothly without cracking along the curve. A few specific supplies make this much easier to manage.
|
Item |
Purpose |
Notes |
|
Heavier paper (140gsm or higher) |
Holds a curved shape without collapsing |
Thin paper often springs back flat |
|
Round-tipped folding tool |
Guides the curve without creasing sharply |
A dull embossing tool works well |
|
Large sheets |
Gives room for gradual, sweeping curves |
Small paper makes smooth arcs harder |
|
Spray bottle with water |
Softens fibers for stubborn curves |
Light misting only, never soak the sheet |
|
Flat weights or clips |
Holds a curve in place while it sets |
Helps the paper "remember" the new shape |
If a stubborn curve just won't hold, a related technique called Wet-Folding Technique uses lightly dampened paper to help fibers bend more cooperatively, and it pairs especially well with curved-fold projects.
How to Fold a Simple Curved Cone, Step by Step
A basic cone shape is the best entry point into curved folding, since it only requires one continuous curve and gives clear, visible feedback on whether you're doing it correctly.
- Choose a heavier square sheet. Thin paper tends to flatten back out before the curve can set properly.
- Lightly mark your curve with a pencil, using a round object like a cup or plate as a guide instead of a straight ruler.
- Score the curve gently first, running a round-tipped tool along the pencil line with light, even pressure rather than a hard press.
- Bend the paper slowly along the score line, working in small sections rather than trying to curve the whole line in one motion.
- Repeat the gentle bend several times, since curved creases often need multiple light passes before the paper holds the shape on its own.
- Shape the cone by hand, bringing the two edges of the curve together and adjusting the overlap until the cone sits evenly.
- Hold or clip the shape briefly while the paper settles, especially if you're working in a slightly humid room where paper stays more flexible longer.
What Is Curved-Fold Origami Used For?
Beyond standalone art pieces, curved folding shows up in some surprisingly practical places. Architects and product designers sometimes borrow curved-fold principles when developing flexible packaging or structural panels that need to bend without breaking.
In the craft world specifically, curved folds are most often used for sculptural displays, decorative bowls, and freestanding art pieces rather than functional models like boxes. It's less about building something useful and more about exploring what paper can do when it isn't forced into flat, angular shapes.
I've also seen curved folds combined with other advanced techniques for striking hybrid results. If you enjoy the geometric precision side of folding as much as the sculptural side, Tessellation Origami explores a related but distinct approach, using repeated straight creases instead of curves to build pattern rather than form.
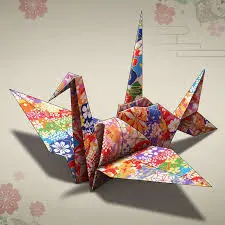
Photo Credit: Internet
What Paper Works Well for Curved Folds?
Paper choice matters more here than in almost any other origami style. Curved creases need paper that bends smoothly without cracking, which rules out a lot of standard lightweight origami sheets right away.
Heavier paper, generally 140gsm or above, holds a curve far better than thin kami paper, which tends to spring back flat or crack along the fold line under repeated bending. Watercolor paper is a popular choice among curved-fold folders specifically because it has enough fiber strength to bend gradually without tearing.
Avoid foil-backed or heavily coated paper for curved work. The coating resists gradual bending and tends to crack visibly along the curve, which ruins the smooth, unbroken line that makes curved-fold pieces look intentional rather than damaged.
Is Curved-Fold Origami Difficult to Learn?
It's a different kind of difficult, not necessarily a harder one. The individual technique, gently working a curve into paper, is something most people can learn in an afternoon. What makes curved folding genuinely challenging is unlearning the instinct to press hard and fold fast, which is exactly how most of us were taught to fold in the first place.
A beginner with steady, patient hands can absolutely pick up curved folding. The real hurdle is trusting a slower process, since curved creases often need several light passes instead of one firm press, and rushing that step is the most common reason a curve refuses to hold.
A sculptor friend of mine who works mostly in paper once told me that curved folds aren't about forcing the paper into a new shape, they're about convincing it. That single word, convincing, changed how I approach every curve I fold now.
Pro Tips for Curved-Fold Origami
- Work slowly on your first several curves. Rushing the initial score almost always results in an uneven or cracked line.
- Use a rounded tool, never a sharp blade edge, since anything too sharp can accidentally cut partway through the paper instead of just scoring it.
- Fold in a slightly humid space if possible. Very dry air makes paper stiffer and more likely to crack along a curve.
- Test scrap paper first when trying a new paper weight, since you'll quickly see whether it bends smoothly or resists before committing to a full sheet.
- Handle heavier paper carefully near the edges. Thicker stock can leave a papercut faster than thin kami, so keep fingers moving along flat sections rather than sliding across a fresh-cut edge.
- Let curves rest before adjusting them further. Paper often needs a few minutes to settle into a new curve before you can tell if more shaping is actually needed.
Comparing Curved-Fold Origami to Straight-Fold Origami
|
Feature |
Curved-Fold Origami |
Straight-Fold Origami |
|
Crease type |
Smooth, gradual arcs |
Sharp, direct lines |
|
Folding motion |
Slow, repeated light passes |
One firm press |
|
Best paper weight |
Heavier, 140gsm or more |
Thin to medium |
|
Typical result |
Sculptural, organic shapes |
Recognizable flat figures |
|
Learning curve |
Different technique, not harder |
Familiar to most beginners |
|
Common examples |
Cones, domes, rippling waves |
Cranes, boxes, flowers |
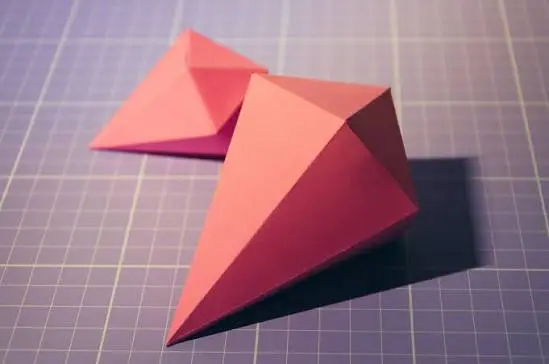
Photo Credit: Internet
Frequently Asked Questions
What is curved-fold origami? Curved-fold origami is a folding style that uses smooth, curving crease lines instead of straight ones, creating sculptural shapes like cones, domes, and rippling forms from a single sheet of paper.
How is a curved crease different from a straight crease? A straight crease is pressed firmly in one motion and holds instantly. A curved crease needs several light, gradual passes to guide the paper into a smooth arc without cracking.
What shapes can curved folds create? Curved folds can create cones, spirals, rippling waves, domed bowls, and freestanding organic sculptures, all without any flat, angular surfaces.
What is curved-fold origami used for? It's used mainly for sculptural art pieces and decorative displays, and it occasionally influences practical design fields like architecture and flexible packaging.
What paper works well for curved folds? Heavier paper, generally 140gsm or above, like watercolor paper, works best since it bends smoothly without cracking. Thin or foil-backed paper tends to spring back or crack along the curve.
Is curved-fold origami difficult to learn? It's not necessarily harder than straight folding, but it requires a different, more patient approach. The main challenge is slowing down and letting curves form gradually instead of forcing a fast, firm fold.
Final Thoughts
Curved-fold origami asks you to slow down and let the paper bend on its own terms, which feels strange at first if you've only folded straight lines before. Start with a simple cone, be patient with the curve, and you'll start to see why so many folders eventually fall for this softer, more sculptural side of the craft.
If you're ready to explore more of what folded paper can become, Read the full origami guide for everything from straight-fold basics to curved, modular, and tessellation techniques.



Leave a Reply