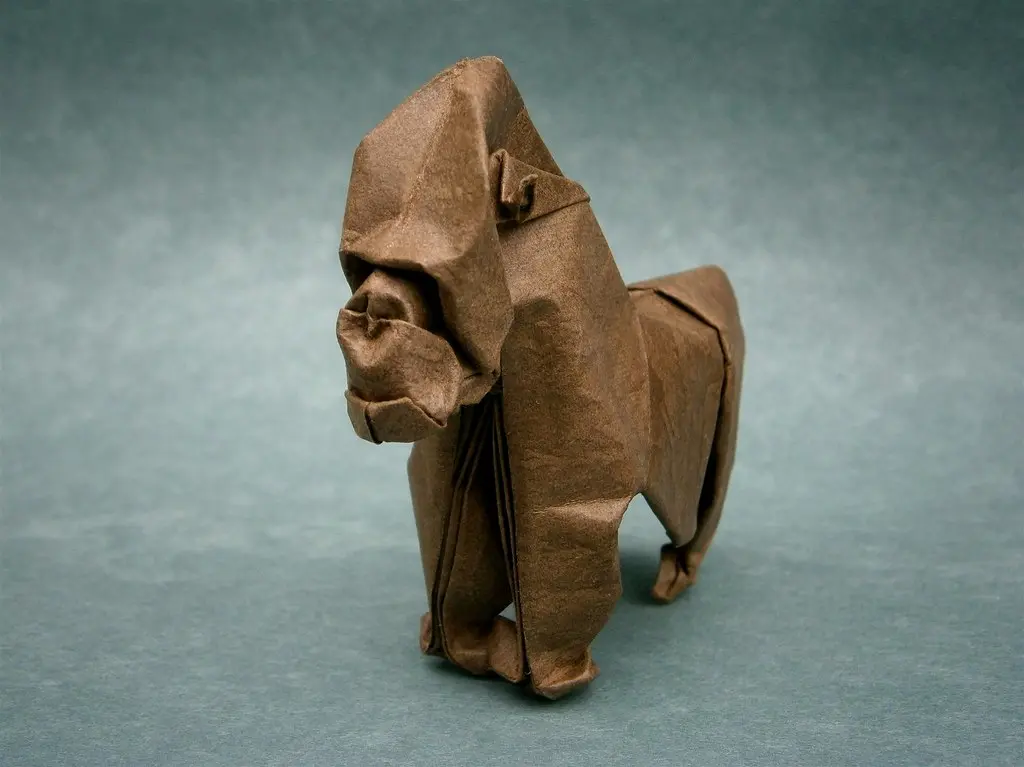
The first time I dampened a sheet of paper before folding it, I was convinced I'd ruined it. Instead, that soggy square turned into the softest, most lifelike elephant I'd ever made, with curves that dry paper simply can't produce.
That's the whole appeal of the wet-folding technique, and this guide walks through exactly how it works, what paper to use, and when it's actually worth the extra effort.
This article is Part of Origami Techniques Explained, so if you're comfortable with basic folds already, you're ready for this one.
What Is Wet-Folding in Origami?
Wet-folding is a technique where you lightly dampen paper before folding it, instead of working with it completely dry. The moisture makes the paper more flexible, allowing softer, rounded curves instead of the sharp, angular creases you get with standard dry folding.
Once the model dries completely, the paper stiffens back up and holds its new shape, curves included. It's a completely different feel from regular folding, and it opens up a style of model that flat creases just can't achieve.
I've folded thousands of sheets over the years, from wobbly first cranes to modular stars that took a full evening to lock together, but wet-folding was the first technique that genuinely changed how a finished model could look. Animals especially benefit, since real bodies rarely have sharp, flat edges.
Why Is Paper Dampened for Wet-Folding?
Dry origami paper resists gentle curves. It wants to hold flat, straight creases, which is perfect for geometric models but limiting for anything meant to look organic or rounded.
Dampening the paper temporarily softens its fibers, letting you shape gentle curves by hand instead of forcing sharp lines. As the paper dries, those fibers set back into a firmer structure, locking the curved shape in place.
This is really the core idea behind wet fold origami. You're not just folding anymore, you're sculpting the paper slightly while it's flexible, then letting it harden into that new form.
What You Need Before You Start
Wet-folding requires a few extra supplies beyond standard dry folding. Here's what actually matters.
|
Item |
Why You Need It |
|
Thick origami paper or watercolor paper |
Holds moisture without falling apart |
|
Spray bottle or damp sponge |
Controls how much water you apply |
|
Clean, flat surface |
Keeps the model steady while it dries |
|
Patience (several hours) |
Models need real time to dry and set |
Notice that regular thin kami paper isn't on this list. It's simply too delicate for wet-folding, which brings up one of the most important parts of this whole technique.
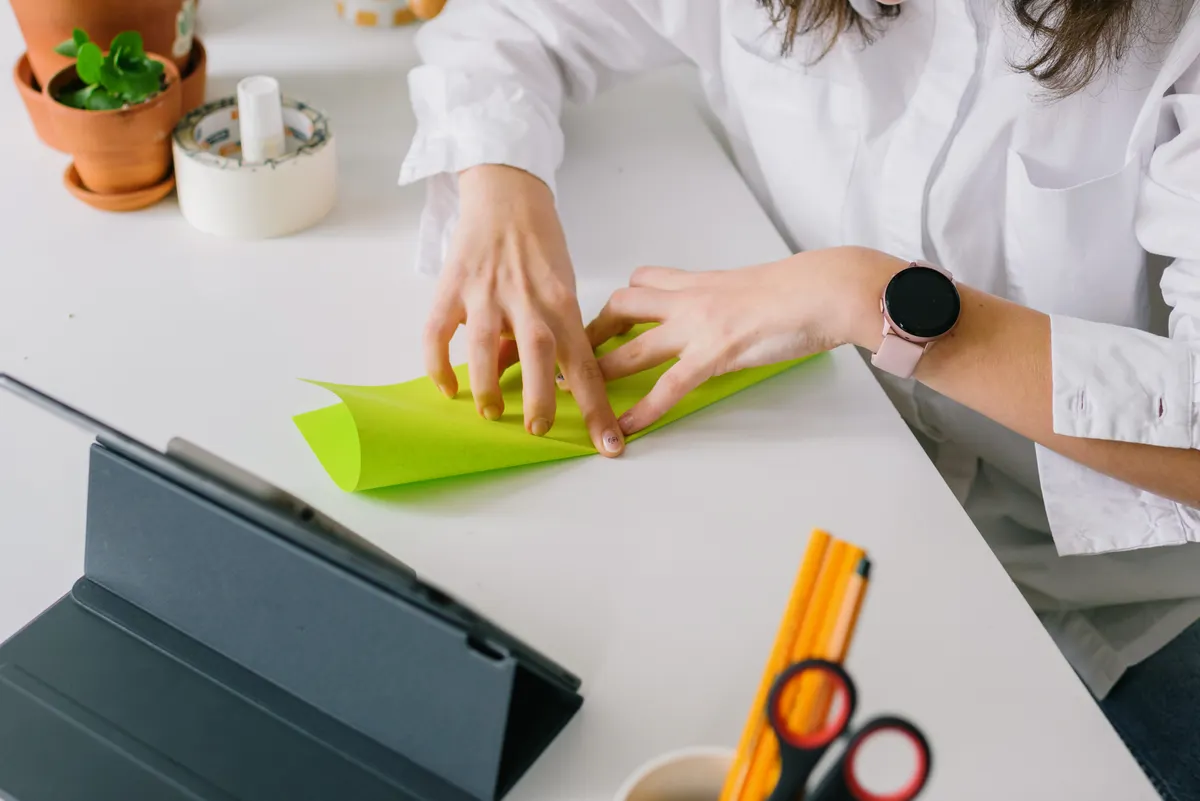
Photo Credit: Ron Lach
What Kinds of Paper Work Best for Wet-Folding?
Not all origami paper can handle moisture. Thin kami paper, the kind most beginners start with, tends to tear or fall apart when dampened, since it wasn't designed to hold water at all.
Wet-folding calls for thicker, sturdier paper instead. Watercolor paper and specialty wet-fold paper both work well, since they're built to absorb some moisture without weakening completely.
Best options for wet-folding:
- Watercolor paper (140lb or heavier holds up especially well)
- Elephant hide paper, a specialty paper made specifically for this technique
- Thick, high-quality kami in some cases, though results vary by brand
For a full comparison of paper types and which brands folders trust most for this technique, the Origami Paper for Wet-Folding guide breaks it down in more detail.
How Wet Should the Paper Be?
This is where a lot of beginners get it wrong, and honestly, I did too on my first few attempts. The paper should be lightly damp, never soaked.
Too much water weakens the paper's structure and can cause it to tear or lose its shape entirely once you start folding. Too little water barely softens the fibers, and you end up fighting the paper the same way you would with dry folding.
Follow these steps to dampen paper correctly:
- Fill a spray bottle with clean water, or lightly wet a sponge.
- Mist the paper evenly on both sides, or wipe gently with the damp sponge.
- Let it sit for about a minute so moisture spreads through the fibers.
- Test flexibility by gently bending a corner. It should feel soft, not fragile.
- Begin folding immediately, working steadily before the paper starts drying out.
If the paper feels wet to the touch or looks shiny with moisture, that's too much. You're aiming for a texture closer to a slightly damp towel, cool and flexible but not dripping.
As folders often say, the paper never lies. It only shows you exactly where a fold went wrong.
That applies here too. If your paper tears mid-fold, it's almost always a sign you used too much water or paper that wasn't sturdy enough for the technique.
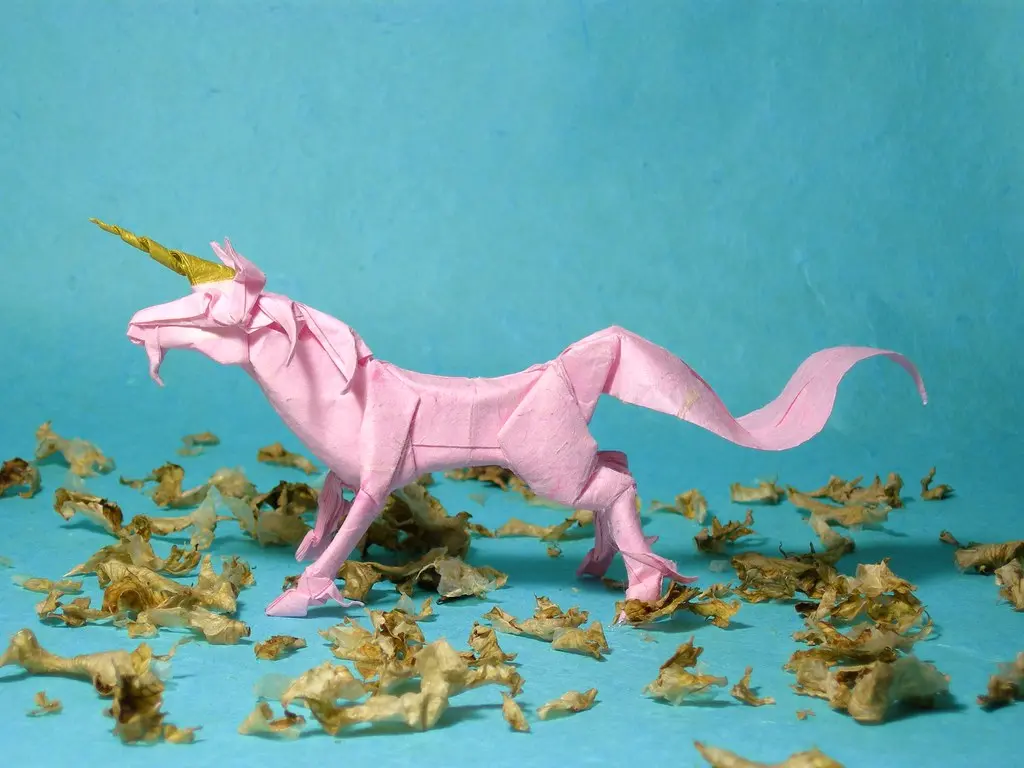
Photo Credit: Mathias Reding
What Types of Models Benefit From Wet-Folding?
Wet-folding isn't necessary for every model, and honestly, using it on the wrong project just adds extra time for no real benefit. It shines specifically on models that need soft, rounded, lifelike shapes.
Models that benefit most:
- Animals, especially mammals with rounded bodies like elephants, bears, or horses
- Flowers, where natural curves make petals look more realistic
- Sculptural or display pieces, meant to be viewed rather than handled often
Models that don't need it:
- Geometric shapes and boxes, which rely on sharp, flat creases
- Modular origami units, since curves can interfere with how pieces lock together
- Simple beginner folds, where the extra drying time isn't worth it yet
If you're curious about another technique that plays with curves in a completely different way, Curved-Fold Origami uses scored curves instead of moisture to achieve a similar rounded effect.
Does Wet-Folding Make Models Hold Their Shape Better?
Yes, and this surprises a lot of beginners. Once a wet-folded model dries completely, the paper actually becomes firmer and more rigid than it was before folding.
That's because the fibers reset as they dry, locking into whatever shape you held them in. A well wet-folded model can hold a delicate curve for years without collapsing, something dry-folded paper struggles with over time, especially in humid environments.
This is exactly why serious display pieces, the kind you see in galleries or competitions, often rely on this origami wet folding tutorial approach rather than standard dry techniques.
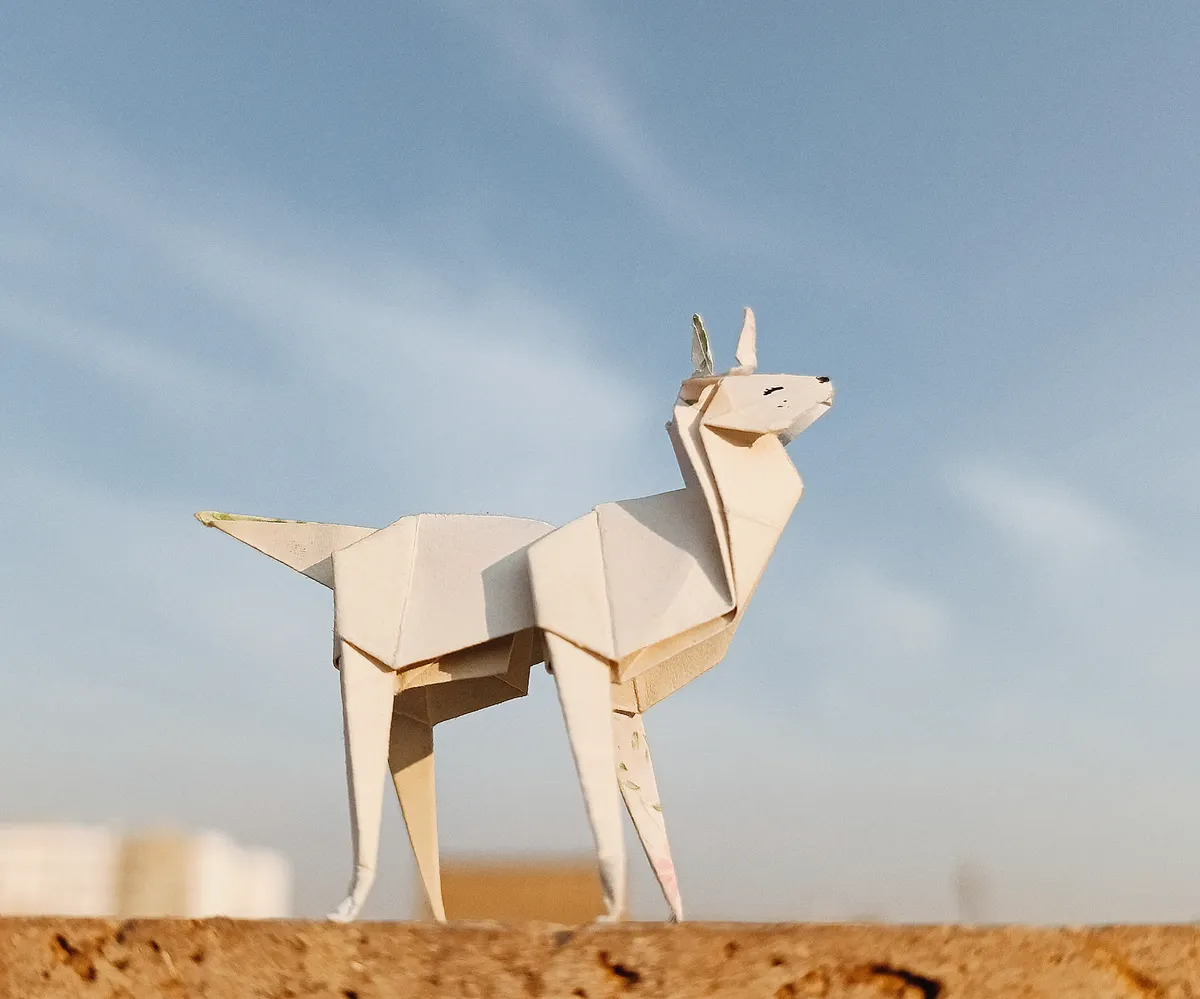
Photo Credit: bahar 𓆰
Common Mistakes With Wet-Folding
A few habits trip up beginners trying this technique for the first time.
- Using paper that's too thin. Regular kami often can't handle moisture without tearing.
- Oversaturating the paper. Too much water weakens fibers instead of just softening them.
- Folding too slowly. Paper starts drying the moment it's dampened, so work steadily once you begin.
- Skipping drying time. Rushing a model before it's fully dry can cause curves to sag or flatten out later.
- Working in a humid room. High humidity slows drying time significantly, so a dry, well-ventilated space works best.
One safety note worth mentioning. Some specialty wet-fold papers are treated with sizing chemicals to help them hold moisture properly. Always check the manufacturer's instructions before dampening unfamiliar paper, and work in a ventilated space if the packaging mentions any chemical treatment.
Frequently Asked Questions
What is wet-folding in origami? Wet-folding is a technique where paper is lightly dampened before folding, allowing softer, rounded curves that dry into a firm, lasting shape.
Why is paper dampened for wet-folding? Moisture softens paper fibers temporarily, making it flexible enough to curve gently instead of only folding into sharp, flat lines.
What kinds of paper work best for wet-folding? Thicker paper like watercolor paper or specialty elephant hide paper works best, since thin kami paper often tears when dampened.
How wet should the paper be? The paper should feel lightly damp, not soaked. Mist it evenly and let it sit briefly before folding.
What types of models benefit from wet-folding? Animals, flowers, and sculptural display pieces benefit most, since they rely on soft, rounded curves rather than sharp geometric lines.
Does wet-folding make models hold their shape better? Yes. As the dampened paper dries, its fibers firm up and lock the curved shape in place, often making it sturdier than a dry-folded model.
Final Thoughts
Wet-folding takes more time and a bit more care than standard folding, but the results genuinely look different in a way that's hard to replicate any other way. Start with a simple animal model and sturdy paper, and pay close attention to how much moisture you're actually using.
Once you've got a feel for this technique, there's a lot more ground to cover. Read the full origami guide to keep building your skills from here.



Leave a Reply