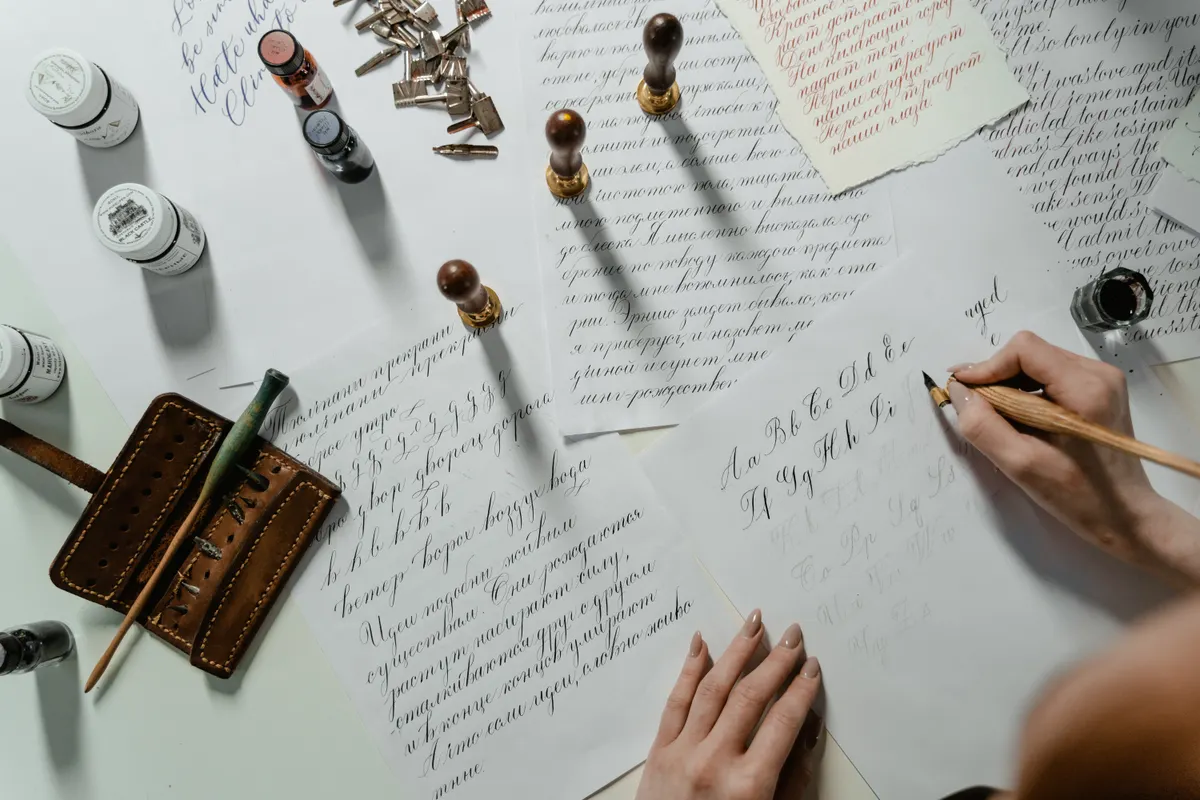
I still have the first alphabet practice sheet I ever filled out, ink blotches and all. I remember the exact week my downstrokes finally stopped looking shaky, and I remember how close I came to quitting before that week happened.
If you are wondering how to start calligraphy, here is the good news. You do not need talent, a steady hand, or expensive tools to begin. You need the right first steps, in the right order, and a little patience while your hand learns something new.
This guide walks you through exactly that, from the tools worth buying to the exact order you should practice in. For the bigger picture of scripts, styles, and where this hobby can take you, check out the complete calligraphy and hand lettering guide.
What Calligraphy Actually Is And Why Beginners Struggle at First
Calligraphy is the art of forming letters by hand using controlled strokes, usually with a tool that makes thick and thin lines. That contrast between thick and thin is what separates calligraphy from regular handwriting.
Most beginners struggle at first because they try to write calligraphy the same way they write normally, gripping the pen tight and moving only their fingers. Calligraphy for beginners works differently. The pen barely presses on upstrokes and presses a bit more on downstrokes. That single idea explains almost every early mistake I see in new students.

Photo Credit: Hobby Guidebook Editorial
There is also a mental shift that happens somewhere around week two or three. Your brain stops thinking about individual letters and starts thinking in strokes. Once that click happens, progress speeds up noticeably, and letters start looking like they belong to the same alphabet instead of five different ones.
How to Start Calligraphy: What Beginners Actually Need
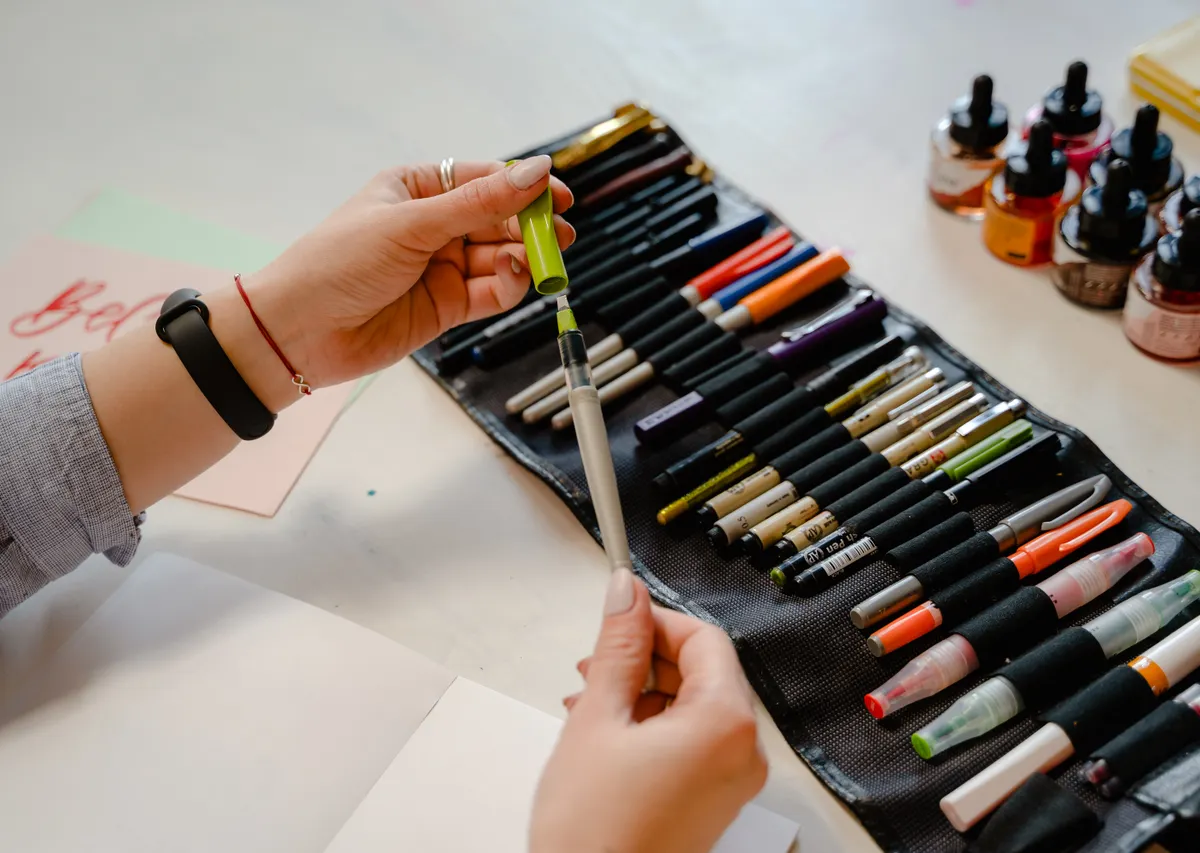
You do not need a full art studio to begin. A beginner calligraphy kit can be put together for very little money, and most of what you need fits in a small box.
|
Item |
What It Does |
Beginner Tip |
|
Broad-edge calligraphy marker or pen |
Creates thick and thin strokes automatically |
Start here instead of a dip pen |
|
Calligraphy dip pen with nib |
Used for pointed pen or broad-edge scripts |
Try this after a few weeks with markers |
|
Calligraphy ink |
Flows through the nib without clogging |
Use bottled calligraphy ink, not regular fountain pen ink |
|
Smooth practice paper |
Prevents ink from bleeding or feathering |
Look for paper labeled "smooth" or "marker-friendly" |
|
Guideline sheet |
Keeps letter height and slant consistent |
Print or trace one instead of guessing by eye |
|
Pen holder (straight or oblique) |
Holds the nib for pointed pen scripts |
Only needed once you move to pointed pen |
If you want a more detailed breakdown of exact brands and price ranges, the calligraphy starter kit guide covers that in full, including which brands hold up well for beginners without costing a lot.
Your First Steps: How to Start Calligraphy the Right Way
Follow these steps in order. Skipping ahead is the number one reason beginners get frustrated and give up before their hand has a chance to adjust.
- Choose one tool to start with. A broad-edge calligraphy marker is the easiest first calligraphy project tool because it makes thick and thin lines automatically, without needing precise pressure control from you.
- Learn the pen angle first, not the letters. Most broad-edge scripts use a consistent angle, often around 30 to 45 degrees, held steady through every stroke. Getting comfortable with this angle matters more early on than memorizing an alphabet.
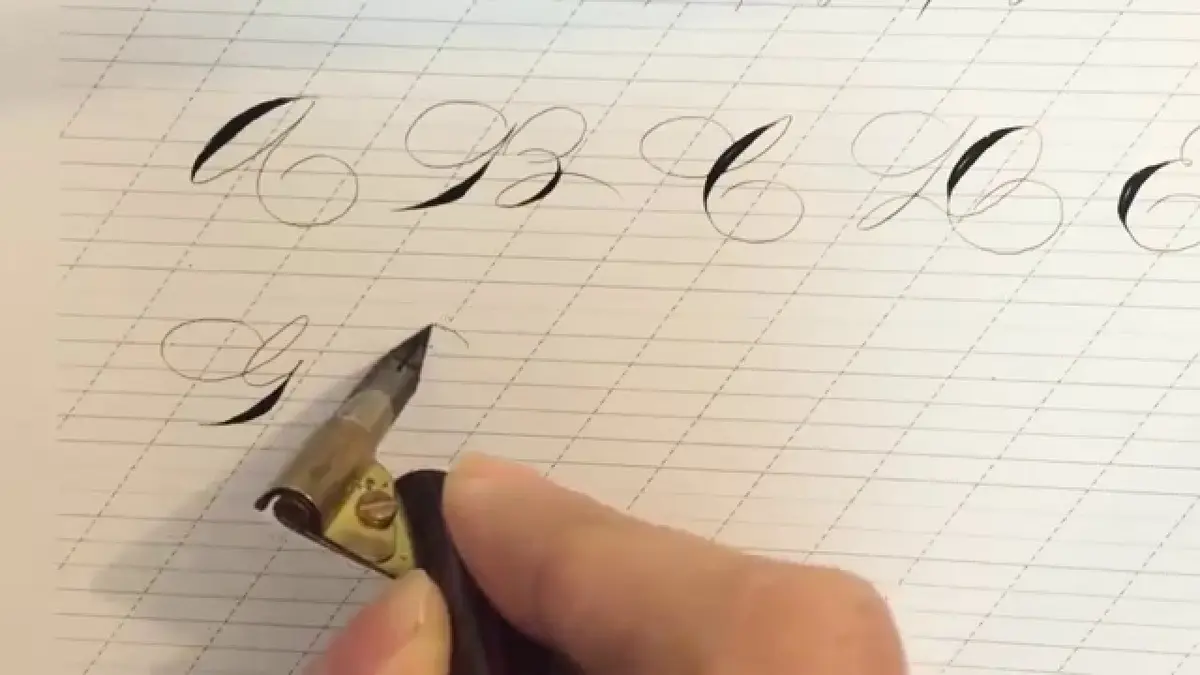
- Practice basic strokes before full letters. Every calligraphy letter is built from a small handful of repeated strokes, things like straight lines, curves, and ovals. Before touching a full alphabet, spend real time with basic strokes every calligrapher should practice, since this is where consistency actually gets built.
- Move to simple lowercase letters. Once your strokes feel steady, try letters built from those same strokes, like "l," "i," and "u." These share the same basic shapes you just practiced, so the transition feels natural instead of jarring.
- Write short words, not full sentences. A three or four letter word is enough to practice spacing, slant, and rhythm without overwhelming your hand. Words like "hello" or "love" work well as early tests.
- Repeat in short sessions. Fifteen to twenty minutes a few times a week beats one long weekend session. Muscle memory builds slowly, and pushing through fatigue usually makes your strokes worse, not better.

Photo Credit: Antoni Shkraba
Common Beginner Mistakes (And How to Skip Them)
- Gripping the pen too tightly. A tense grip causes shaky lines and hand fatigue within minutes. Hold the pen the way you would hold a pencil for light sketching, loose enough to feel comfortable.
- Pressing hard on every stroke. Only downstrokes need extra pressure in most broad-edge and pointed pen scripts. Upstrokes should feel almost weightless, barely touching the paper.
- Skipping guidelines too early. Guidelines are not a crutch. They train your eye to judge height and slant, a skill you will eventually do without guides once your hand has enough practice behind it.
- Buying expensive tools before basic skills. Fancy dip pens and specialty inks will not fix inconsistent strokes. Skill comes first, upgrades come later, and most experienced calligraphers will tell you the same thing.
- Using thin, glossy paper. Ink bleeds or feathers easily on paper that is not smooth, which makes normal beginner mistakes look worse than they actually are.
One safety note worth mentioning here: pointed pen nibs are genuinely sharp at the tip. Store them upright in a small container rather than loose in a drawer, and be careful when inserting or removing them from a pen holder.
"Good calligraphy is not about perfect letters. It's about consistent ones." This is a phrase passed around often in calligraphy communities, and it holds up well for anyone just starting out.
Broad-Edge vs Pointed Pen: Which Should Beginners Try First
Both tool types can create beautiful lettering, but they behave very differently under a new hand, and choosing the wrong one first can slow your progress.
|
Feature |
Broad-Edge Pen |
Pointed Pen |
|
Beginner difficulty |
Easier |
More challenging |
|
Thick/thin control |
Built into the pen shape |
Controlled by hand pressure |
|
Common scripts |
Italic, Foundational Hand, Blackletter |
Copperplate, Spencerian, Modern Calligraphy |
|
Learning curve |
Faster early progress |
Slower start, more flexible later |
|
Best for absolute beginners |
Yes |
Try after a few weeks of practice |
Most people find it easier to start with a broad-edge tool because the pen itself does part of the work of creating contrast, leaving you free to focus on angle and rhythm instead of pressure control.

Photo Credit: Antoni Shkraba
Frequently Asked Questions
What do you need to start calligraphy as a beginner? At minimum, you need a broad-edge calligraphy marker or pen, smooth paper, and a printed guideline sheet. That is genuinely enough for your first few weeks of practice, and you can add tools later as your skills grow.
What is the best calligraphy style to learn first? Most beginners find broad-edge scripts like Italic or Foundational Hand easier to start with, since the pen shape naturally creates thick and thin strokes without needing precise pressure control from the writer.
Can you learn calligraphy without taking a class? Yes, many calligraphers are fully self-taught. Practice sheets, video tutorials, and consistent short practice sessions can teach the fundamentals without a formal class, though a class can speed up feedback if you want it.
What should you practice first in calligraphy? Basic strokes come first, always. Full letters are simply combinations of a handful of strokes, so mastering those strokes on their own makes learning letters much faster once you get there.
How much should a beginner spend on calligraphy supplies? A basic starter setup, including a marker, paper, and a guideline sheet, can cost very little. There is no need to invest in premium tools before your fundamentals are solid enough to notice the difference.
What paper and ink should beginners use? Smooth, marker-friendly paper prevents bleeding and feathering. If using a dip pen, bottled calligraphy ink designed for that purpose works better than regular fountain pen ink, which can be too thin for nib work.
Getting Comfortable Takes Time, and That's Fine
Learning how to start calligraphy is less about talent and more about showing up for short, focused practice sessions. Your early letters will look shaky, and that is a normal part of the process, not a sign you are doing it wrong.
Give your hand time to learn the rhythm, keep your first tools simple, and let consistency build naturally over the coming weeks. For a wider look at scripts, tools, and where to go from here, read the full calligraphy and hand lettering guide.




Leave a Reply