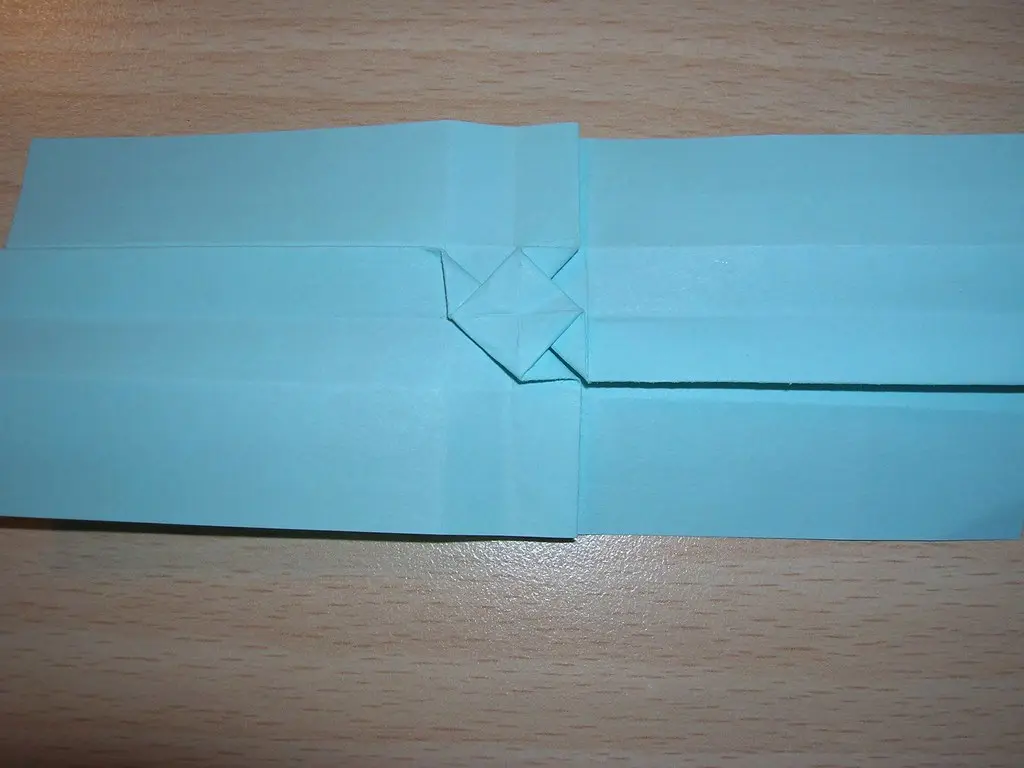
I once tried to fold a paper fan for my daughter's school project and ended up with folds so uneven it looked like it had been through a storm. That uneven mess taught me more about pleat fold origami than any diagram ever did, and this tutorial walks through exactly how to avoid that same frustrating result.
This tutorial is Part of Origami Techniques Explained, and it covers exactly what a pleat fold is, how to keep every fold evenly spaced, which models rely on this technique, and how it differs from the accordion fold it's often mistaken for.
What Is a Pleat Fold in Origami?
A pleat fold is a series of parallel valley and mountain folds worked back and forth across the paper, creating a repeating zigzag pattern. Each fold alternates direction, so the paper stacks into neat, even sections instead of lying flat.
I've found that beginners often assume pleat folds are simple because the individual folds themselves are basic valley and mountain folds. The real challenge isn't the fold type, it's keeping every single fold the exact same width, since even a slightly uneven pleat throws off the entire pattern once you're several folds deep.
This technique sits in beginner to intermediate territory, and it's one of the most useful skills to build early, since so many other models depend on pleats being consistent and precise.
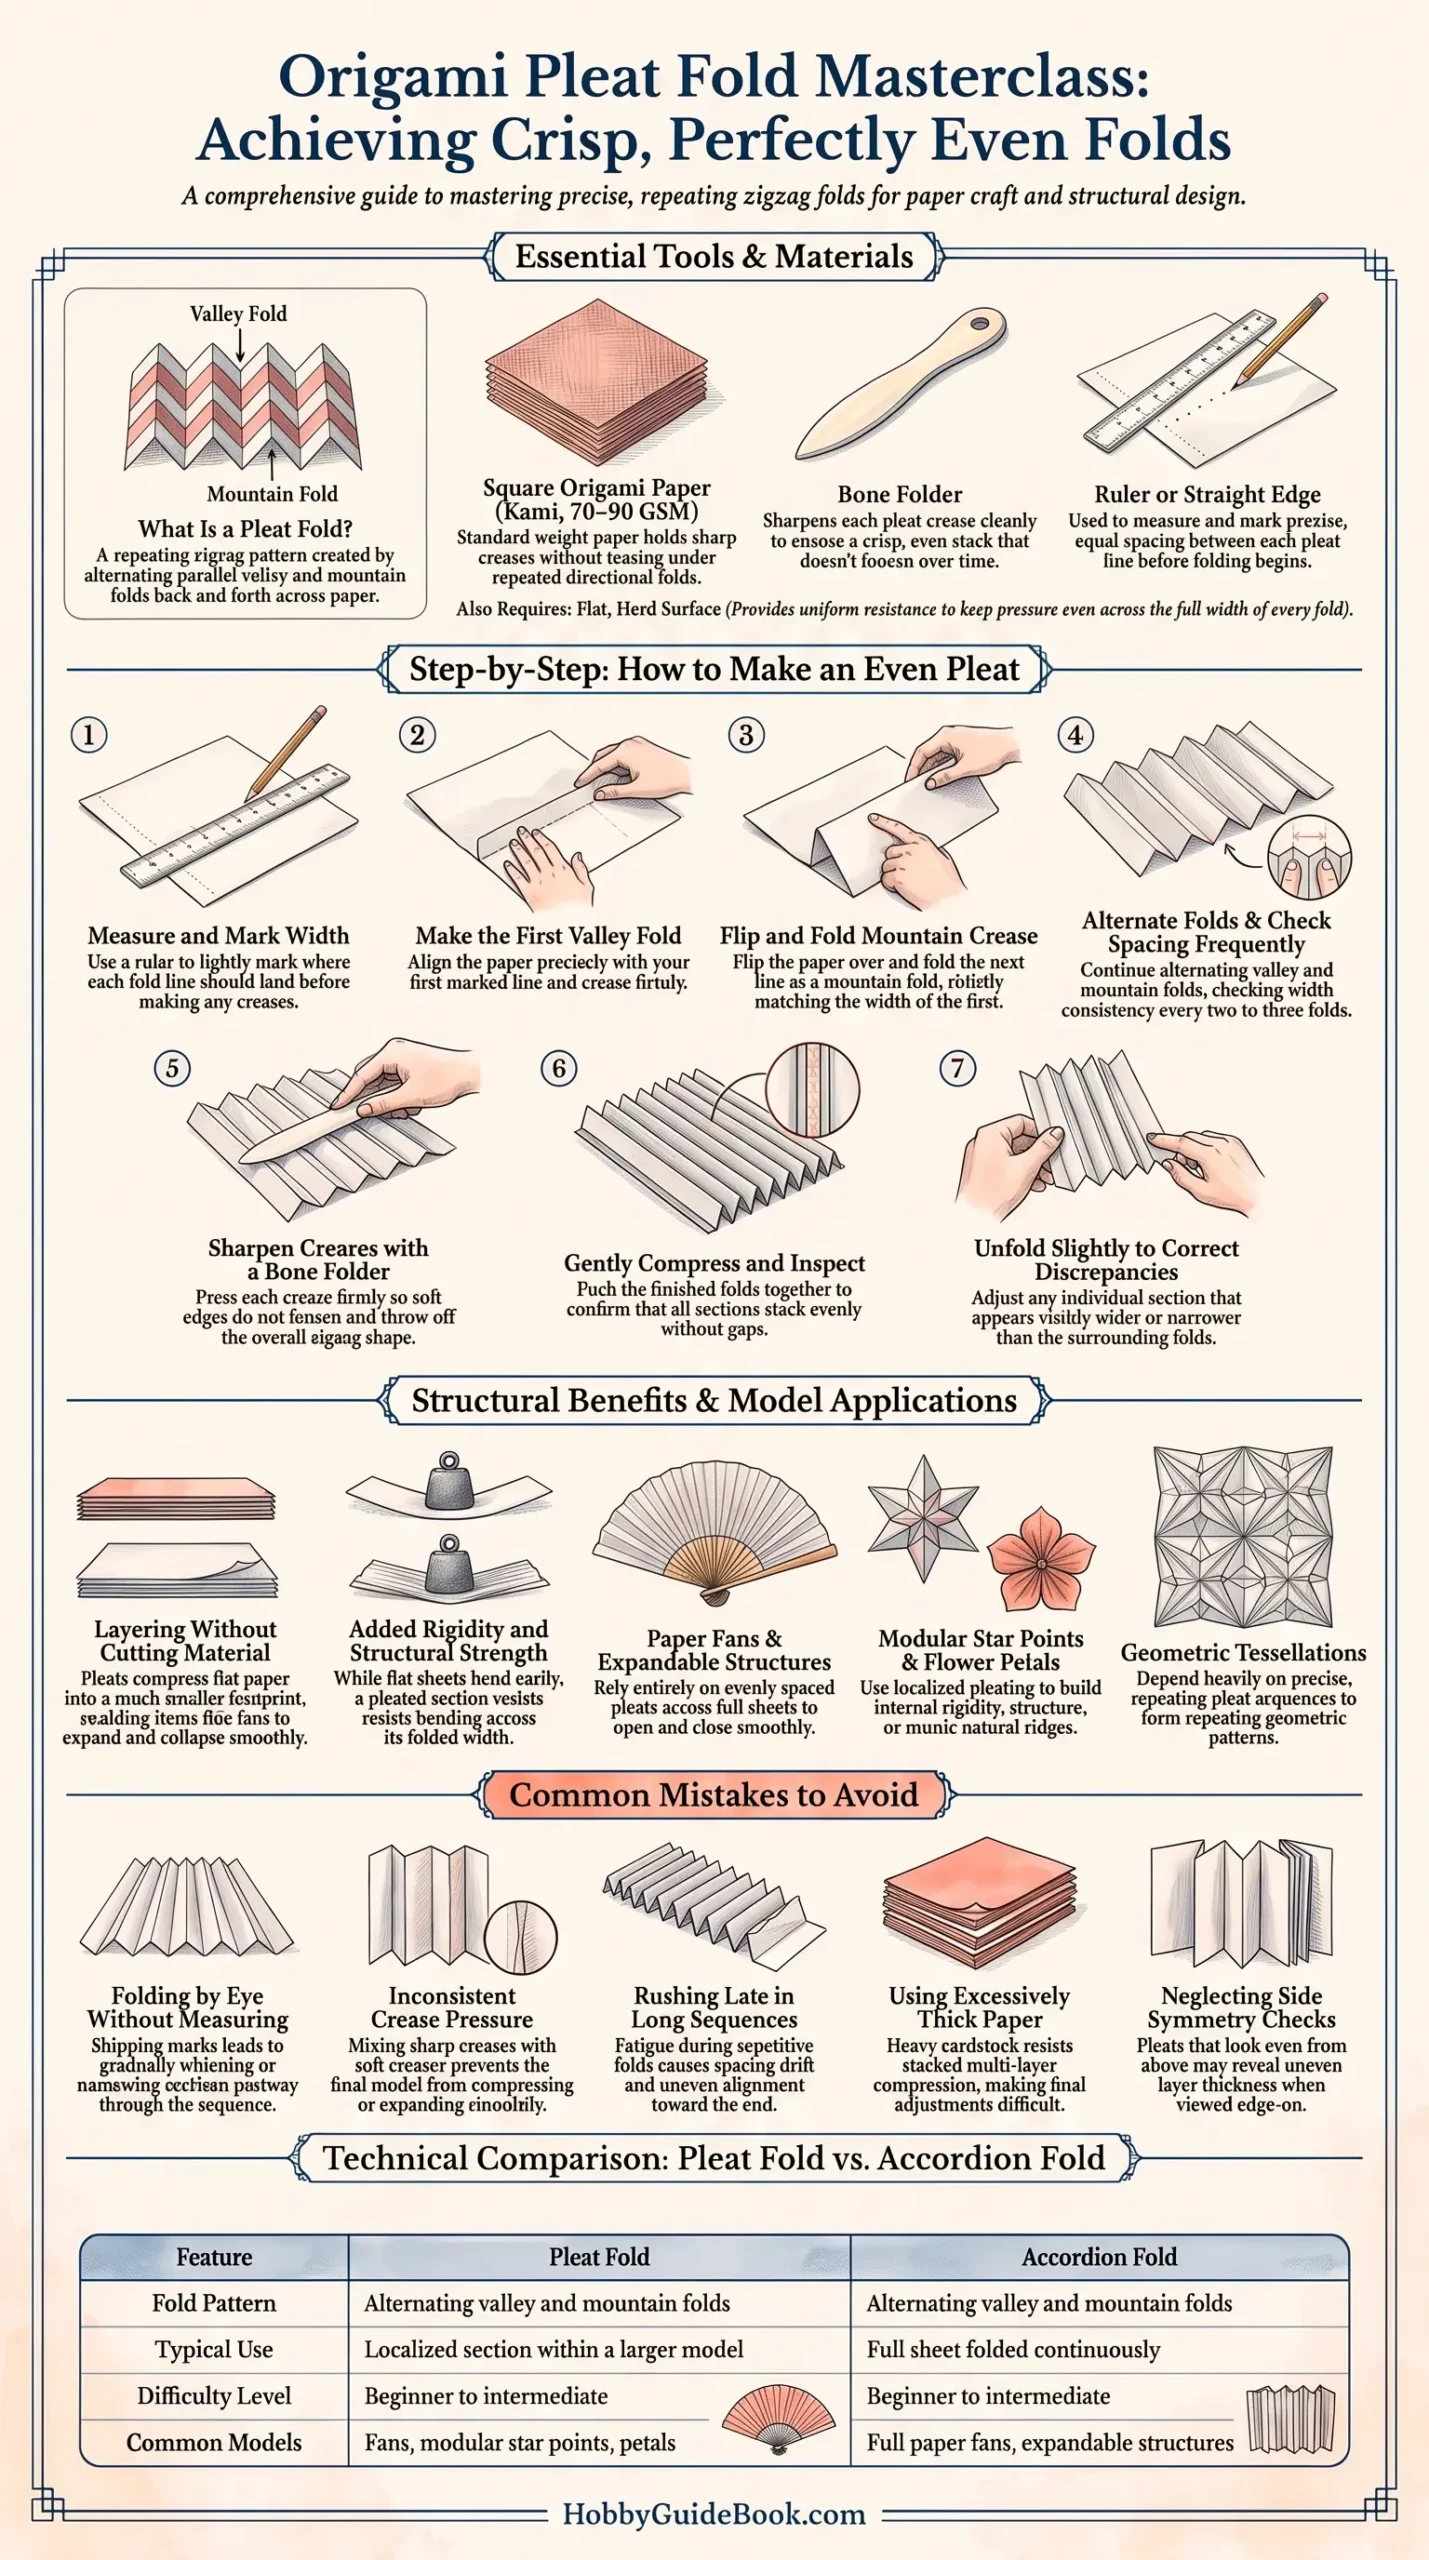
Photo Credit: Hobby Guidebook Editorial
Tools and Materials for Practicing the Pleat Fold
A few specific items make pleat fold practice noticeably easier, especially when you're aiming for consistent spacing across many folds.
|
Item |
Purpose |
|
Square origami paper (kami, 70-90 gsm) |
Standard weight that holds sharp creases without tearing under repeated folds |
|
Bone folder |
Sharpens each pleat crease cleanly for a crisp, even fold |
|
Ruler or straight edge |
Helps measure equal spacing between each pleat line |
|
Extra practice sheets |
Lets you repeat pleats until spacing becomes consistent by feel |
|
Flat, hard surface |
Keeps pressure even across the full width of each fold |
How Do You Make an Even Pleat?
Even spacing is the entire goal with pleat folding, and a few careful habits make a bigger difference than people expect.
- Measure and mark your fold width first, using a ruler to lightly note where each fold line should land before you start folding.
- Fold your first valley fold, aligning it precisely with your marked line, then crease firmly.
- Flip the paper over and fold the next line as a mountain fold, keeping the same width as your first fold.
- Continue alternating valley and mountain folds, checking width consistency every two or three folds rather than only at the end.
- Press each crease firmly with a bone folder, since soft creases tend to loosen and throw off the zigzag shape over time.
- Compress the finished pleat gently, pushing the folds together to check that all sections stack evenly without gaps.
- Unfold slightly if needed to correct spacing, adjusting any section that sits visibly wider or narrower than the rest.
Here are the origami pleat fold steps condensed into a quick checklist worth repeating on scrap paper. Mark, fold, flip, alternate, check spacing often, then compress and correct if needed.
What Models Commonly Use Pleat Folds?
Pleat folds show up in a wide range of models, especially anywhere a fan-like or layered texture is needed.
- Paper fans rely entirely on evenly spaced pleats to open and close smoothly.
- Modular star points often use a small pleat to add structure and rigidity to each unit.
- Flower petals sometimes use pleats to mimic the natural ridges found on real petals.
- Tessellation patterns depend heavily on precise, repeating pleats to form their geometric, repeating designs.
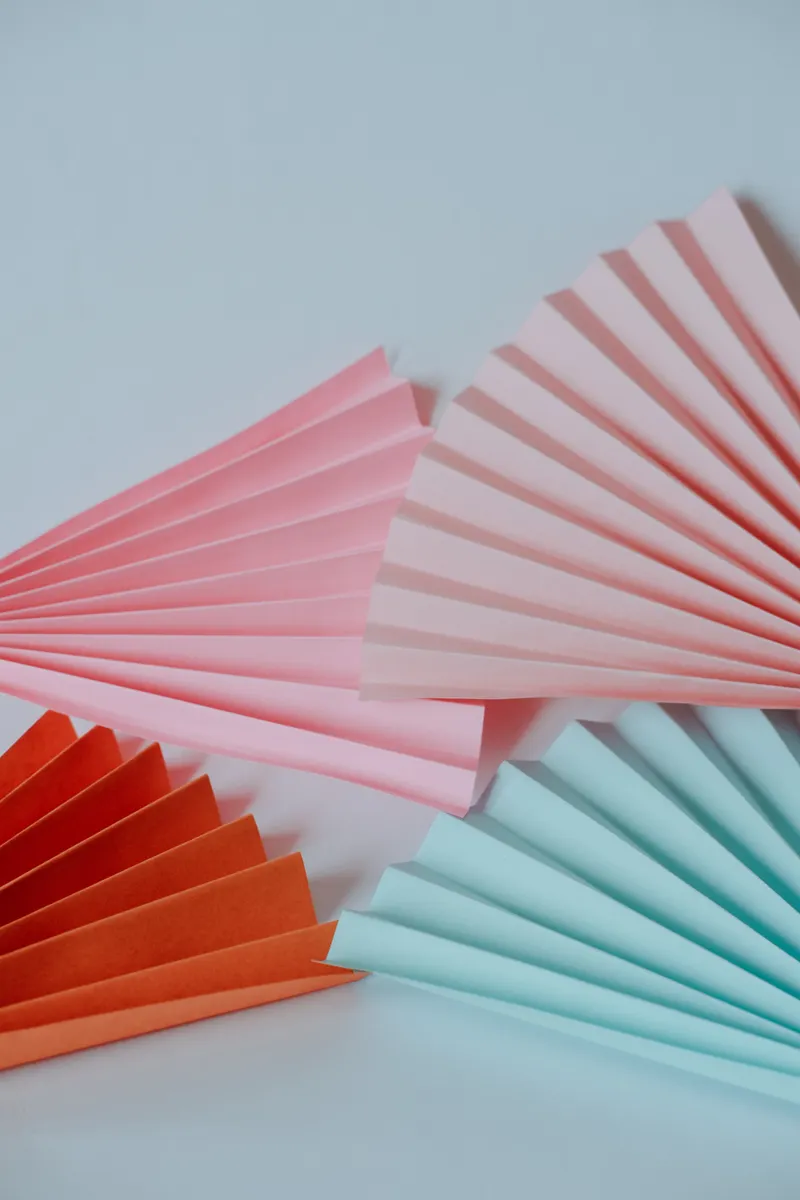
Photo Credit: Beyzaa Yurtkuran
If pleat folding feels shaky, it helps to revisit the fold types it builds on. Basic Origami Folds Every Beginner Should Know covers valley and mountain folds in detail, which is exactly what a pleat fold combines in sequence.
Is a Pleat Fold the Same as an Accordion Fold?
This question comes up constantly, and the short answer is that they're essentially the same technique, just described with different names depending on the source. Both involve alternating valley and mountain folds spaced evenly across the paper, creating that same zigzag, stacked appearance.
Some diagrams use accordion fold to describe a longer, continuous series of pleats, like folding an entire sheet into a fan shape, while pleat fold sometimes refers to a shorter, localized section used within a larger model. In practice, the folding motion itself doesn't change between the two terms.
A folding teacher I once learned from during a paper craft class described the pleat fold as origami's version of breathing evenly, since the whole pattern falls apart the moment one fold takes up more space than its neighbors. That description has stuck with me, since rushing even one fold in a long pleat sequence throws off everything that follows it.
How Do Pleat Folds Help Create Multiple Layers?
Pleat folds compress a flat sheet of paper into a much smaller, layered footprint without cutting or removing any material. Each fold adds another layer to the stack, which is exactly why pleats work so well for fans, since the layered structure lets the paper expand and collapse smoothly.
This layering also adds strength and rigidity to a model. A single flat sheet bends easily, but a pleated section resists bending across its folded width, which is part of why pleats show up so often in structural elements like modular star points.
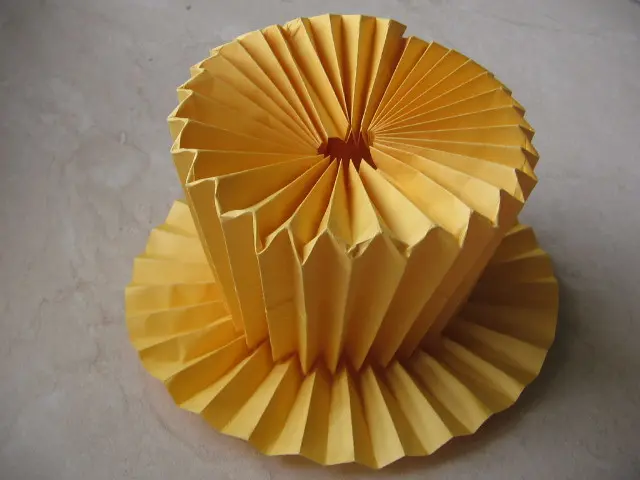
Photo Credit: Internet
Common Mistakes When Learning the Pleat Fold
A few habits slow down pleat fold practice more than people expect.
- Skipping the measuring step. Folding by eye alone almost always leads to gradually widening or narrowing sections partway through the pattern.
- Pressing creases unevenly. A pleat fold with some sharp creases and some soft ones won't compress or expand smoothly.
- Rushing through a long sequence. Pleat folds often involve many repeated folds in a row, and fatigue late in the sequence is a common cause of spacing drift.
- Using paper that's too thick. Heavier cardstock resists the multiple stacked layers a pleat fold creates, making the final compression step frustrating.
- Not checking symmetry from the side. A pleat that looks even from above can still show uneven layer thickness when viewed edge-on.
Once pleats feel steady, the blintz fold is a natural next technique to explore, since it also relies on careful, deliberate folding toward a center point. Blintz Fold Tutorial walks through that fold step by step, building on the same precision habits pleat folding teaches.
Comparing the Pleat Fold to the Accordion Fold
|
Feature |
Pleat Fold |
Accordion Fold |
|
Fold pattern |
Alternating valley and mountain folds |
Same alternating pattern |
|
Typical use |
Localized section within a model |
Full sheet folded continuously |
|
Difficulty level |
Beginner to intermediate |
Beginner to intermediate |
|
Common models |
Fans, star points, petals |
Full fan or expandable structures |
Frequently Asked Questions
What is a pleat fold in origami? A pleat fold is a series of alternating valley and mountain folds that create a repeating, evenly spaced zigzag pattern in paper.
How do you make an even pleat? Measure and mark your fold lines first, alternate valley and mountain folds consistently, and check spacing every few folds rather than only at the end.
What models commonly use pleat folds? Paper fans, modular star points, flower petals, and tessellation patterns all rely on pleat folds for structure and texture.
Is a pleat fold the same as an accordion fold? They use the same alternating fold technique, though accordion fold often refers to a longer, continuous sequence while pleat fold can describe a shorter, localized section.
How do pleat folds help create multiple layers? Each alternating fold adds another layer to the stack, compressing the paper into a smaller footprint while also adding rigidity and structure.
Final Thoughts
The pleat fold rewards patience more than skill, since even spacing comes down to careful measuring and consistent pressure rather than anything complicated. Practice a short sequence a few times, and that shaky first fan will start looking sharp and even.
If you're ready to explore the rest of what this hobby has to offer, Read the full origami guide for everything from paper choices to techniques across every skill level.





Leave a Reply