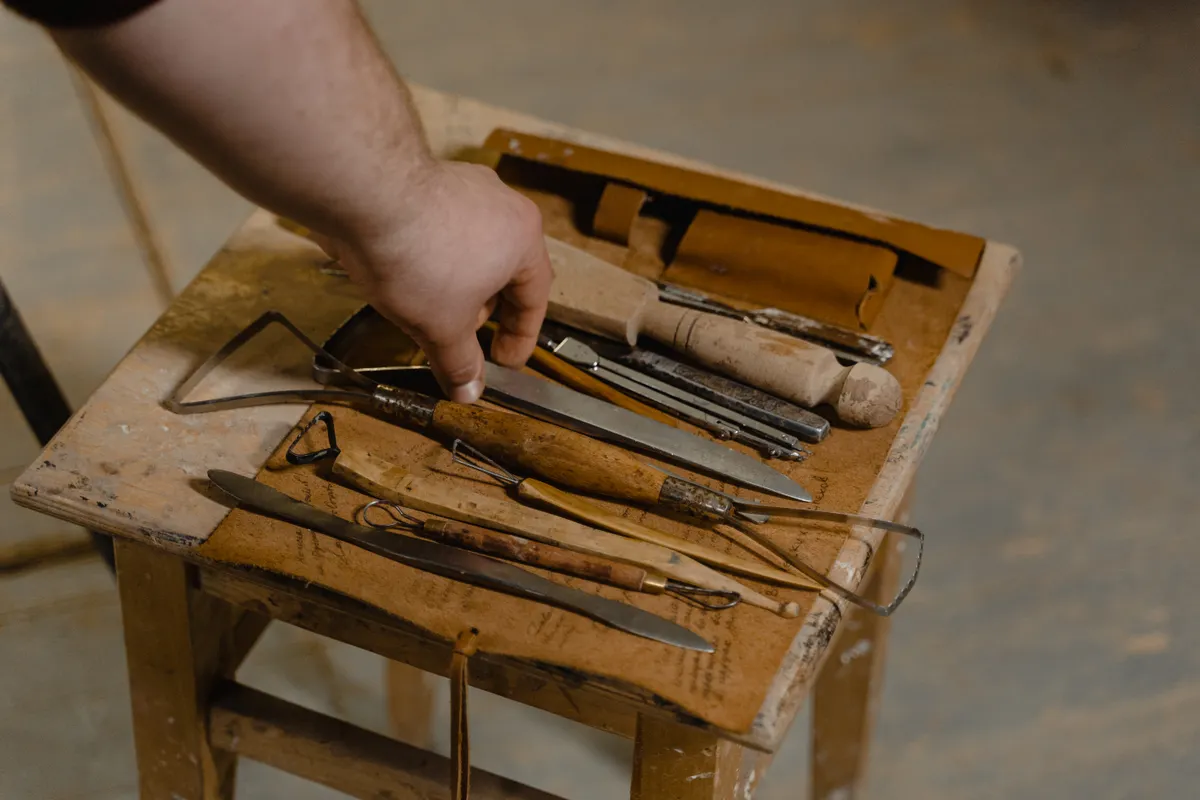
I once spent thirty dollars on a carving knife that turned out to be too flexible to hold an edge, and another twenty on a piece of oak that fought me the entire way through a simple spoon. Both mistakes taught me something a store clerk never mentioned: the wrong wood carving materials and tools can turn an enjoyable evening into a frustrating one fast.
This guide covers exactly what you need, what you don't, and why certain choices matter more than others when you're starting out. If you want the bigger picture beyond just tools and materials, head back to the complete wood carving & whittling guide after this.
Why Your Tool and Wood Choices Matter So Much
New carvers often assume any knife and any wood will do. I made that assumption too, and it cost me a few ruined evenings before I understood the connection between blade quality, wood softness, and how enjoyable the actual carving feels.
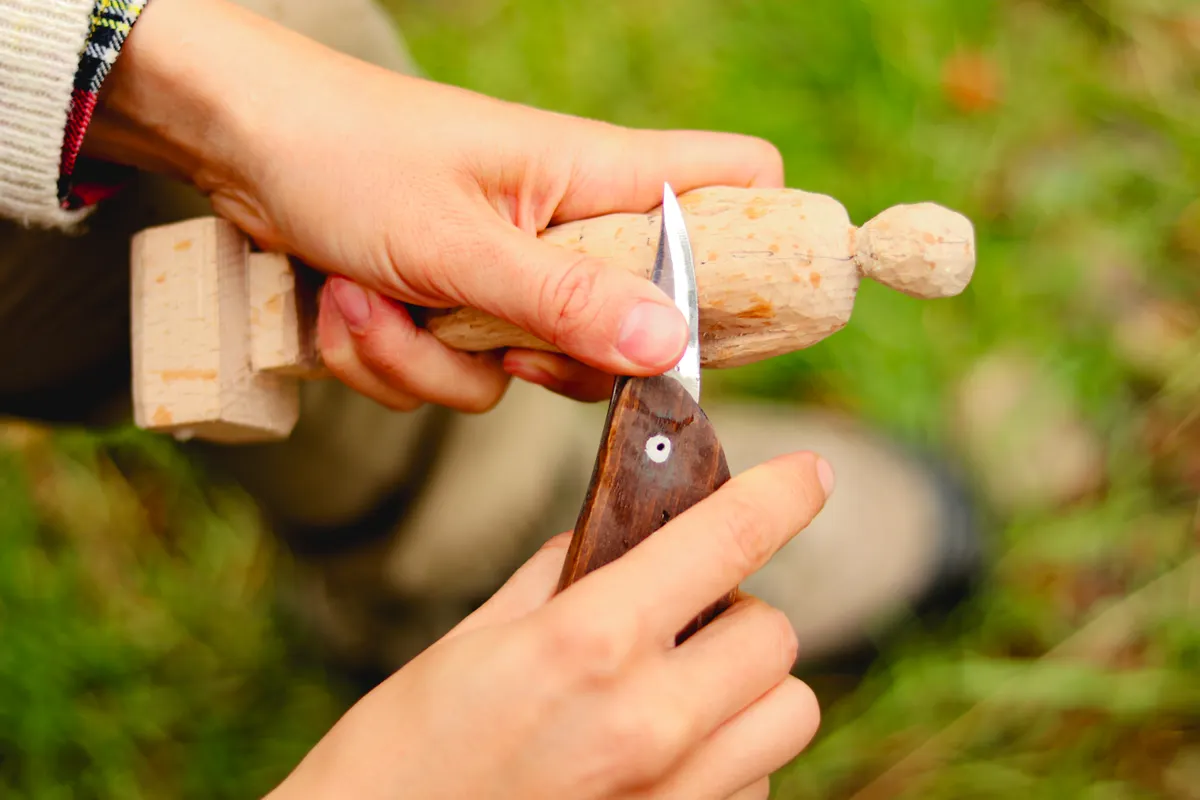
The right wood carving tools list doesn't need to be long. It needs to be correct for what you're trying to do. A soft wood paired with a sharp, well-shaped knife makes even a first attempt feel satisfying. A hard wood paired with a dull or overly flexible blade makes everything feel like a fight.
Getting this foundation right early saves money, time, and honestly, a fair bit of frustration.
Essential Wood Carving Tools List
Here's what actually matters when you're building your first kit. I'm keeping this list realistic, not padded with extras you won't touch for months.
- A sloyd or detail knife. This is your primary whittling knife, short-bladed and rigid, not flexible like a pocket knife. Rigidity matters more than people expect, since a flexible blade makes controlled cuts harder to manage.
- A hook knife (for spoon carving specifically). If bowls or spoons interest you, a hook knife scoops out the inside curve in a way a straight blade simply can't.
- A chip carving knife. Different shape, different job. It's designed for short, precise cuts rather than the longer strokes used in whittling.
- A sharpening stone and leather strop. A dull blade is genuinely more dangerous than a sharp one, since dull blades require more force and slip more easily.
- A carving glove or thumb guard. This protects your supporting hand while you're still building control and confidence.
- A carving mallet, if you plan to move into gouge work or relief carving down the line. Our guide on carving mallets covers weight, material, and when you'll actually need one.
- Practice wood, ideally something soft and forgiving, which brings us to the next section.
That's genuinely enough to start. Everything beyond this list is optional until you know which direction the hobby is pulling you.
|
Tool |
Primary Use |
Beginner Priority |
|
Sloyd/detail knife |
General whittling |
Essential |
|
Hook knife |
Spoon and bowl carving |
Optional |
|
Chip carving knife |
Geometric chip patterns |
Optional |
|
Sharpening stone |
Maintaining blade edge |
Essential |
|
Leather strop |
Fine edge polishing |
Essential |
|
Carving glove |
Hand protection |
Highly recommended |
|
Carving mallet |
Driving gouges and chisels |
Optional, later stage |
Understanding Wood Carving Knife Types
Not all knives are built the same, and this trips up more beginners than almost anything else. Here's a quick breakdown of the main wood carving knife types you'll come across.
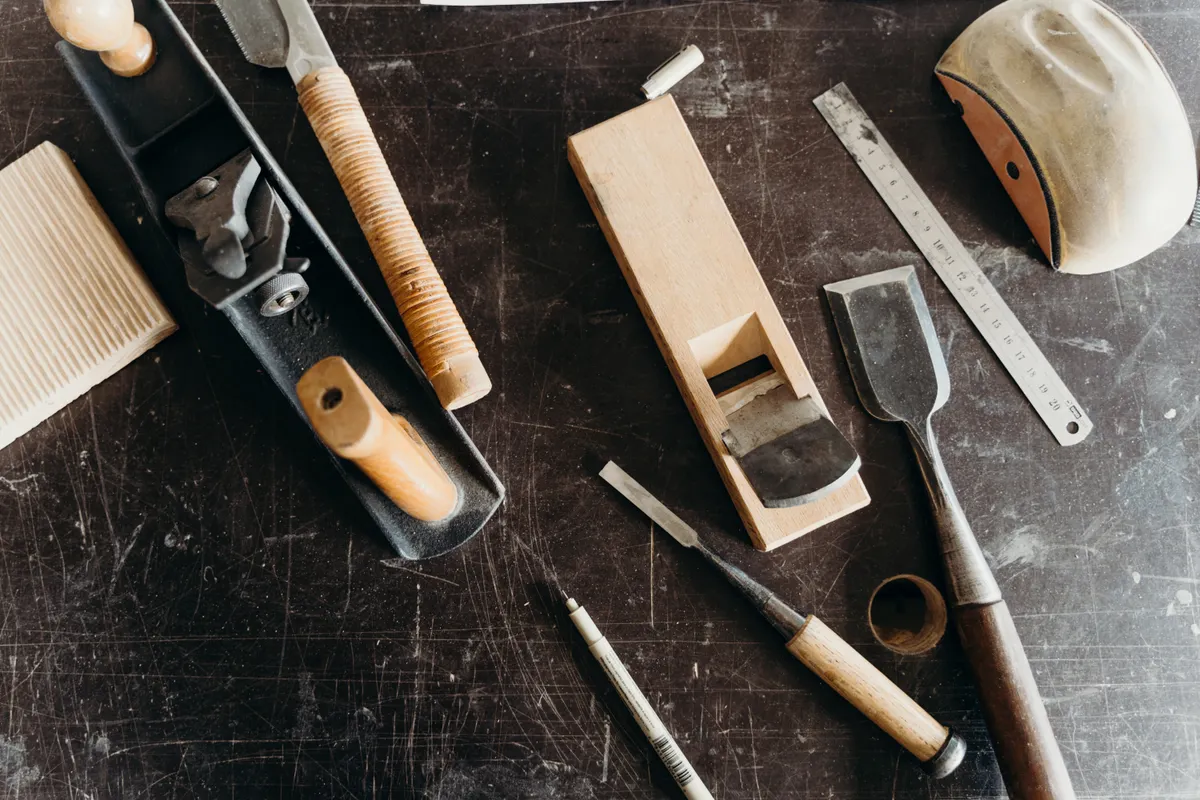
Sloyd knives have a straight edge and a slight curve near the tip. They're the most versatile option and handle most general whittling tasks well.
Detail knives are similar but often smaller, giving you more control for fine work like facial features on a small figure.
Hook knives curve inward and are built specifically for scooping cuts, mainly used in spoon and bowl carving.
Chip carving knives have a shorter, more angled blade meant for short precision cuts rather than long shaving strokes.
"A sharp knife is a safe knife." Every experienced carver I've met repeats some version of this, and it's true regardless of which knife type you're using.
Choosing the Best Wood for Carving
Wood choice honestly matters just as much as your knife. The best wood for carving, especially for beginners, shares a few key traits: soft fibers, minimal knots, and an even grain that doesn't fight the blade.
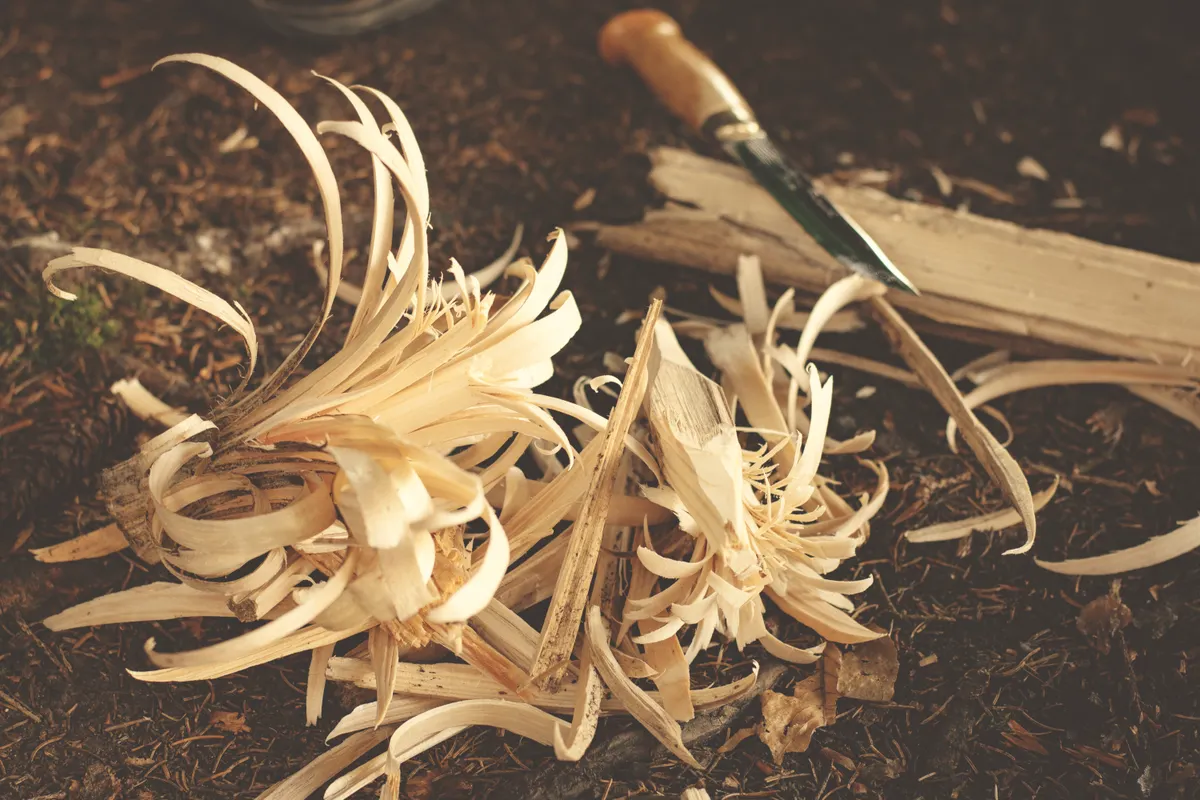
Here's what I recommend based on experience, not just theory.
- Basswood. The standard beginner choice for good reason. It's soft, pale, and has almost no strong grain pattern to work around.
- Butternut. Slightly harder than basswood but still forgiving, with a bit more visible grain character if you want texture in the final piece.
- White pine. Widely available and cheap, though knots can cause unexpected trouble spots.
- Aspen. Soft and light, though it can feel a little fuzzy under the blade compared to basswood.
Hardwoods like oak, walnut, or maple look beautiful finished, but they resist the blade far more and dull your edge faster. Save those for after you've built real control with softer options. For a deeper breakdown of grain patterns, drying times, and specific project recommendations, our guide on best wood types for carving and whittling goes further into each option.
How to Choose Your First Setup: Step by Step
If you're staring at a hardware store shelf feeling overwhelmed, here's the process I'd actually walk you through.
- Start with one knife, not a set. A single sloyd knife teaches you more than five tools you don't understand yet.
- Buy basswood, not whatever's cheapest. The wrong wood makes learning cuts significantly harder than it needs to be.
- Add a sharpening stone immediately. Don't wait until the blade feels dull. Sharpen before your first cut, then maintain from there.
- Get a thumb guard or glove before your second session. Most early cuts happen once confidence outpaces control, usually around session two or three.
- Hold off on gouges and mallets. Wait until you've completed at least two or three small whittling projects before adding tools for relief work.
- Test blade sharpness on scrap wood, not your project. A quick test cut tells you everything about whether the edge needs attention.
This order keeps costs low and keeps your early sessions focused on skill instead of gear.
Pro Tips and Common Mistakes to Avoid
A few lessons that came from my own early missteps:
- Don't buy a flexible pocket knife for whittling. Flex in the blade makes controlled cuts nearly impossible, no matter how sharp it is.
- Avoid hardwoods until you're comfortable with basic cuts. Hardwood punishes small mistakes far more than basswood does.
- Keep your blade sharp, not just clean. A clean knife can still be dull, and dull blades cause more slips than sharp ones ever do.
- Don't skip the strop. Stropping between sharpenings keeps the edge refined and extends time between full sharpening sessions.
- Store knives properly. A loose blade rattling around in a toolbox dulls faster and poses an unnecessary safety risk.
A quick safety note: always keep a sharp knife on hand rather than a dull one, and wear a cut-resistant glove or thumb guard while your control is still developing. Sharp blades cut cleanly and predictably, while dull blades slip and require more force, which is when most accidents happen.
Frequently Asked Questions
What knife is best for beginner whittling?
A sloyd or detail knife is the best starting point for most beginners. Look for a rigid, fixed blade rather than a folding pocket knife, since rigidity gives you far more control during push and pull cuts. Brand matters less than blade shape and steel quality, so it's worth spending a bit more for a knife that holds an edge well.
What wood is easiest to carve?
Basswood is widely considered the easiest wood to carve, especially for beginners. It has soft, even fibers, minimal knots, and very little grain resistance, which means the blade moves smoothly without much fighting. Butternut and aspen are close runners up if basswood isn't available locally.
Where to Go From Here
Choosing the right wood carving materials and tools doesn't need to be complicated or expensive. One good knife, a few pieces of basswood, and a sharpening stone will carry you through months of practice before you need anything else.
Once your kit feels solid, read the full wood carving & whittling guide for techniques, project ideas, and the next tools worth adding to your bench.





Leave a Reply