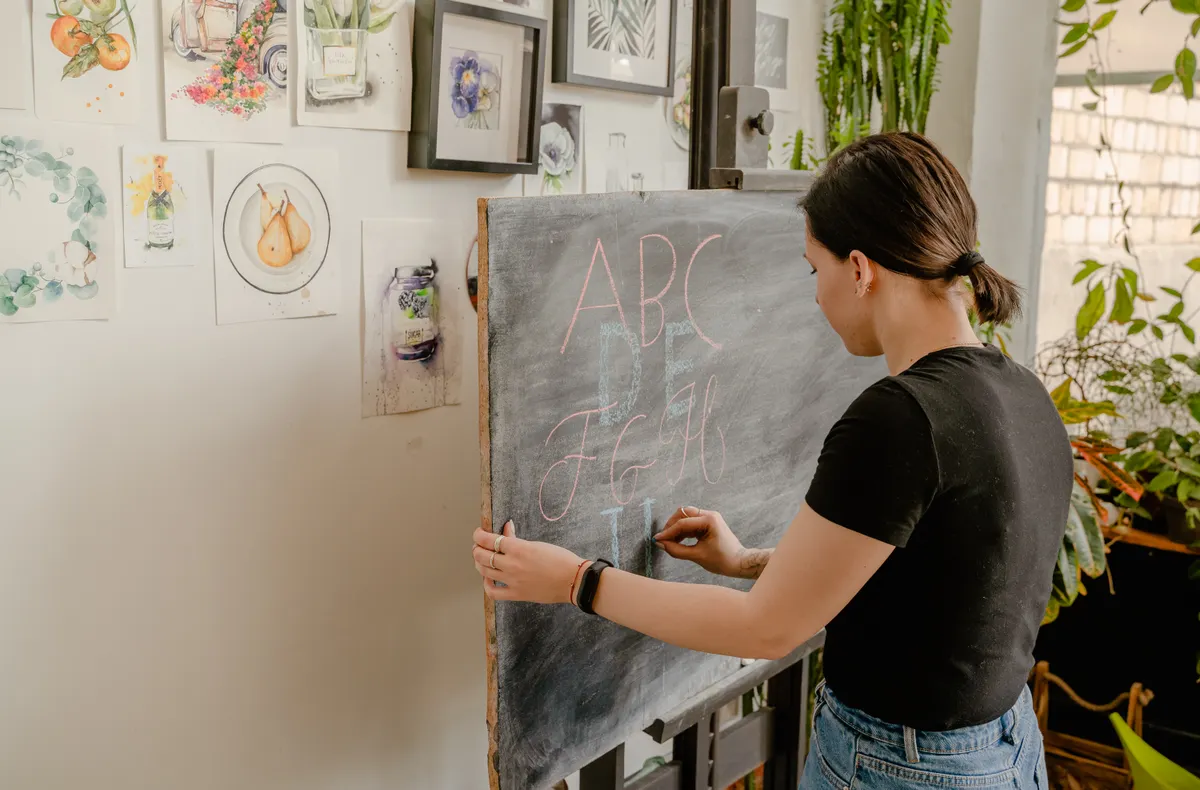
My first chalkboard sign looked like a toddler had gotten hold of a piece of chalk, smudged edges and all, and it took me a solid month of practice to figure out why. Chalk lettering technique depends on a few habits most beginners skip entirely, which is exactly why so many first attempts end up messy.
This guide is part of Chalk Lettering, and it covers how to get clean lines, which surfaces work best, and how to build thick and thin strokes without smudging your finished piece.
What Is Chalk Lettering Technique
Chalk lettering technique is the process of drawing letters with chalk in a way that looks intentional and even, rather than shaky or inconsistent. Unlike brush lettering, chalk gives you very little pressure feedback, so control comes mostly from wrist position and repeated light strokes instead of one confident pass.
This differs quite a bit from broad-edge scripts, since chalk has no fixed edge to guide stroke width the way a nib does. That makes this chalk hand lettering steps process feel unfamiliar at first, even for people who already have steady hands from other lettering styles.
Background on Chalkboard Lettering as a Style
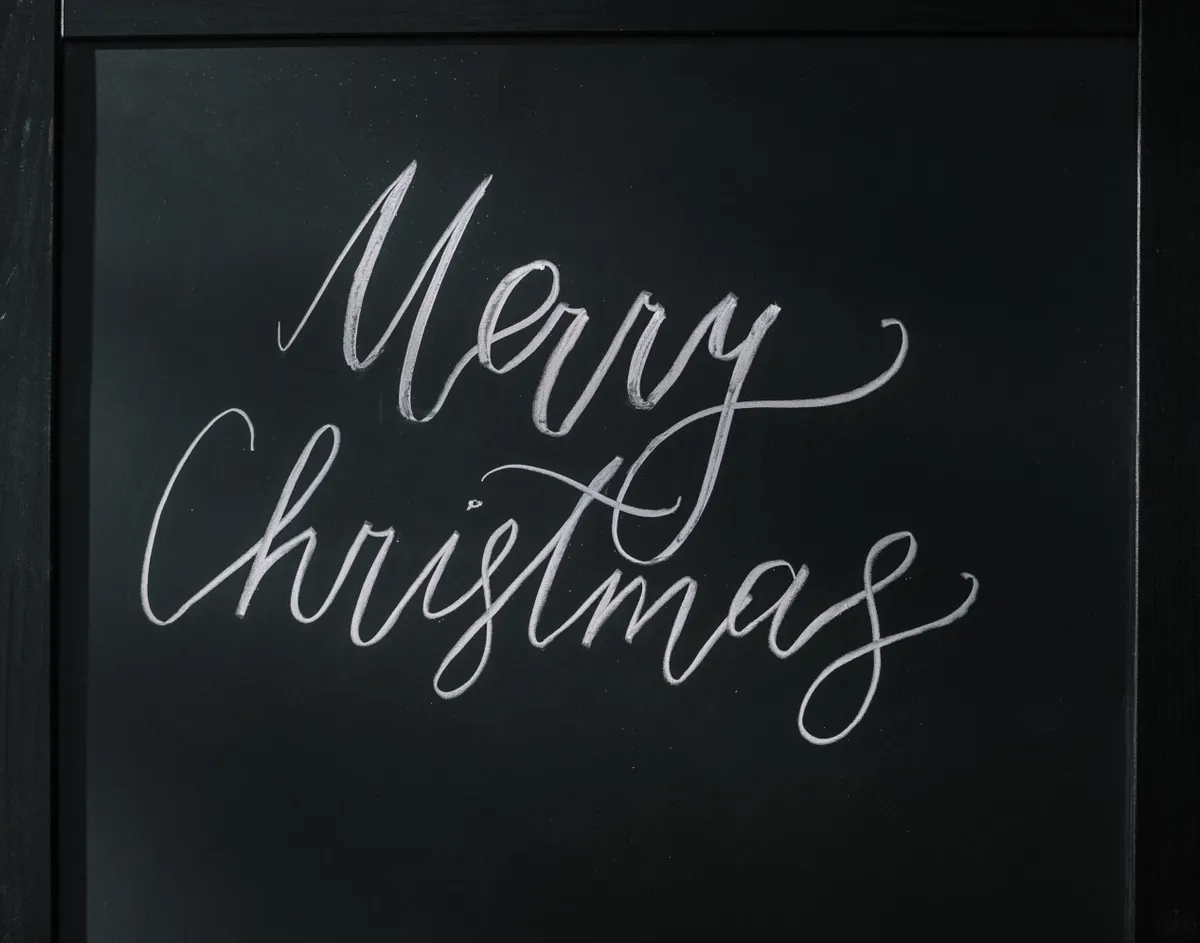
Chalkboard lettering became popular for cafe signs and event decor because it looks casual and hand-done, even though clean versions actually take real practice to pull off. Most of the polished designs you see online rely on light pencil guidelines underneath, something that rarely gets mentioned outside a proper chalkboard lettering tutorial.
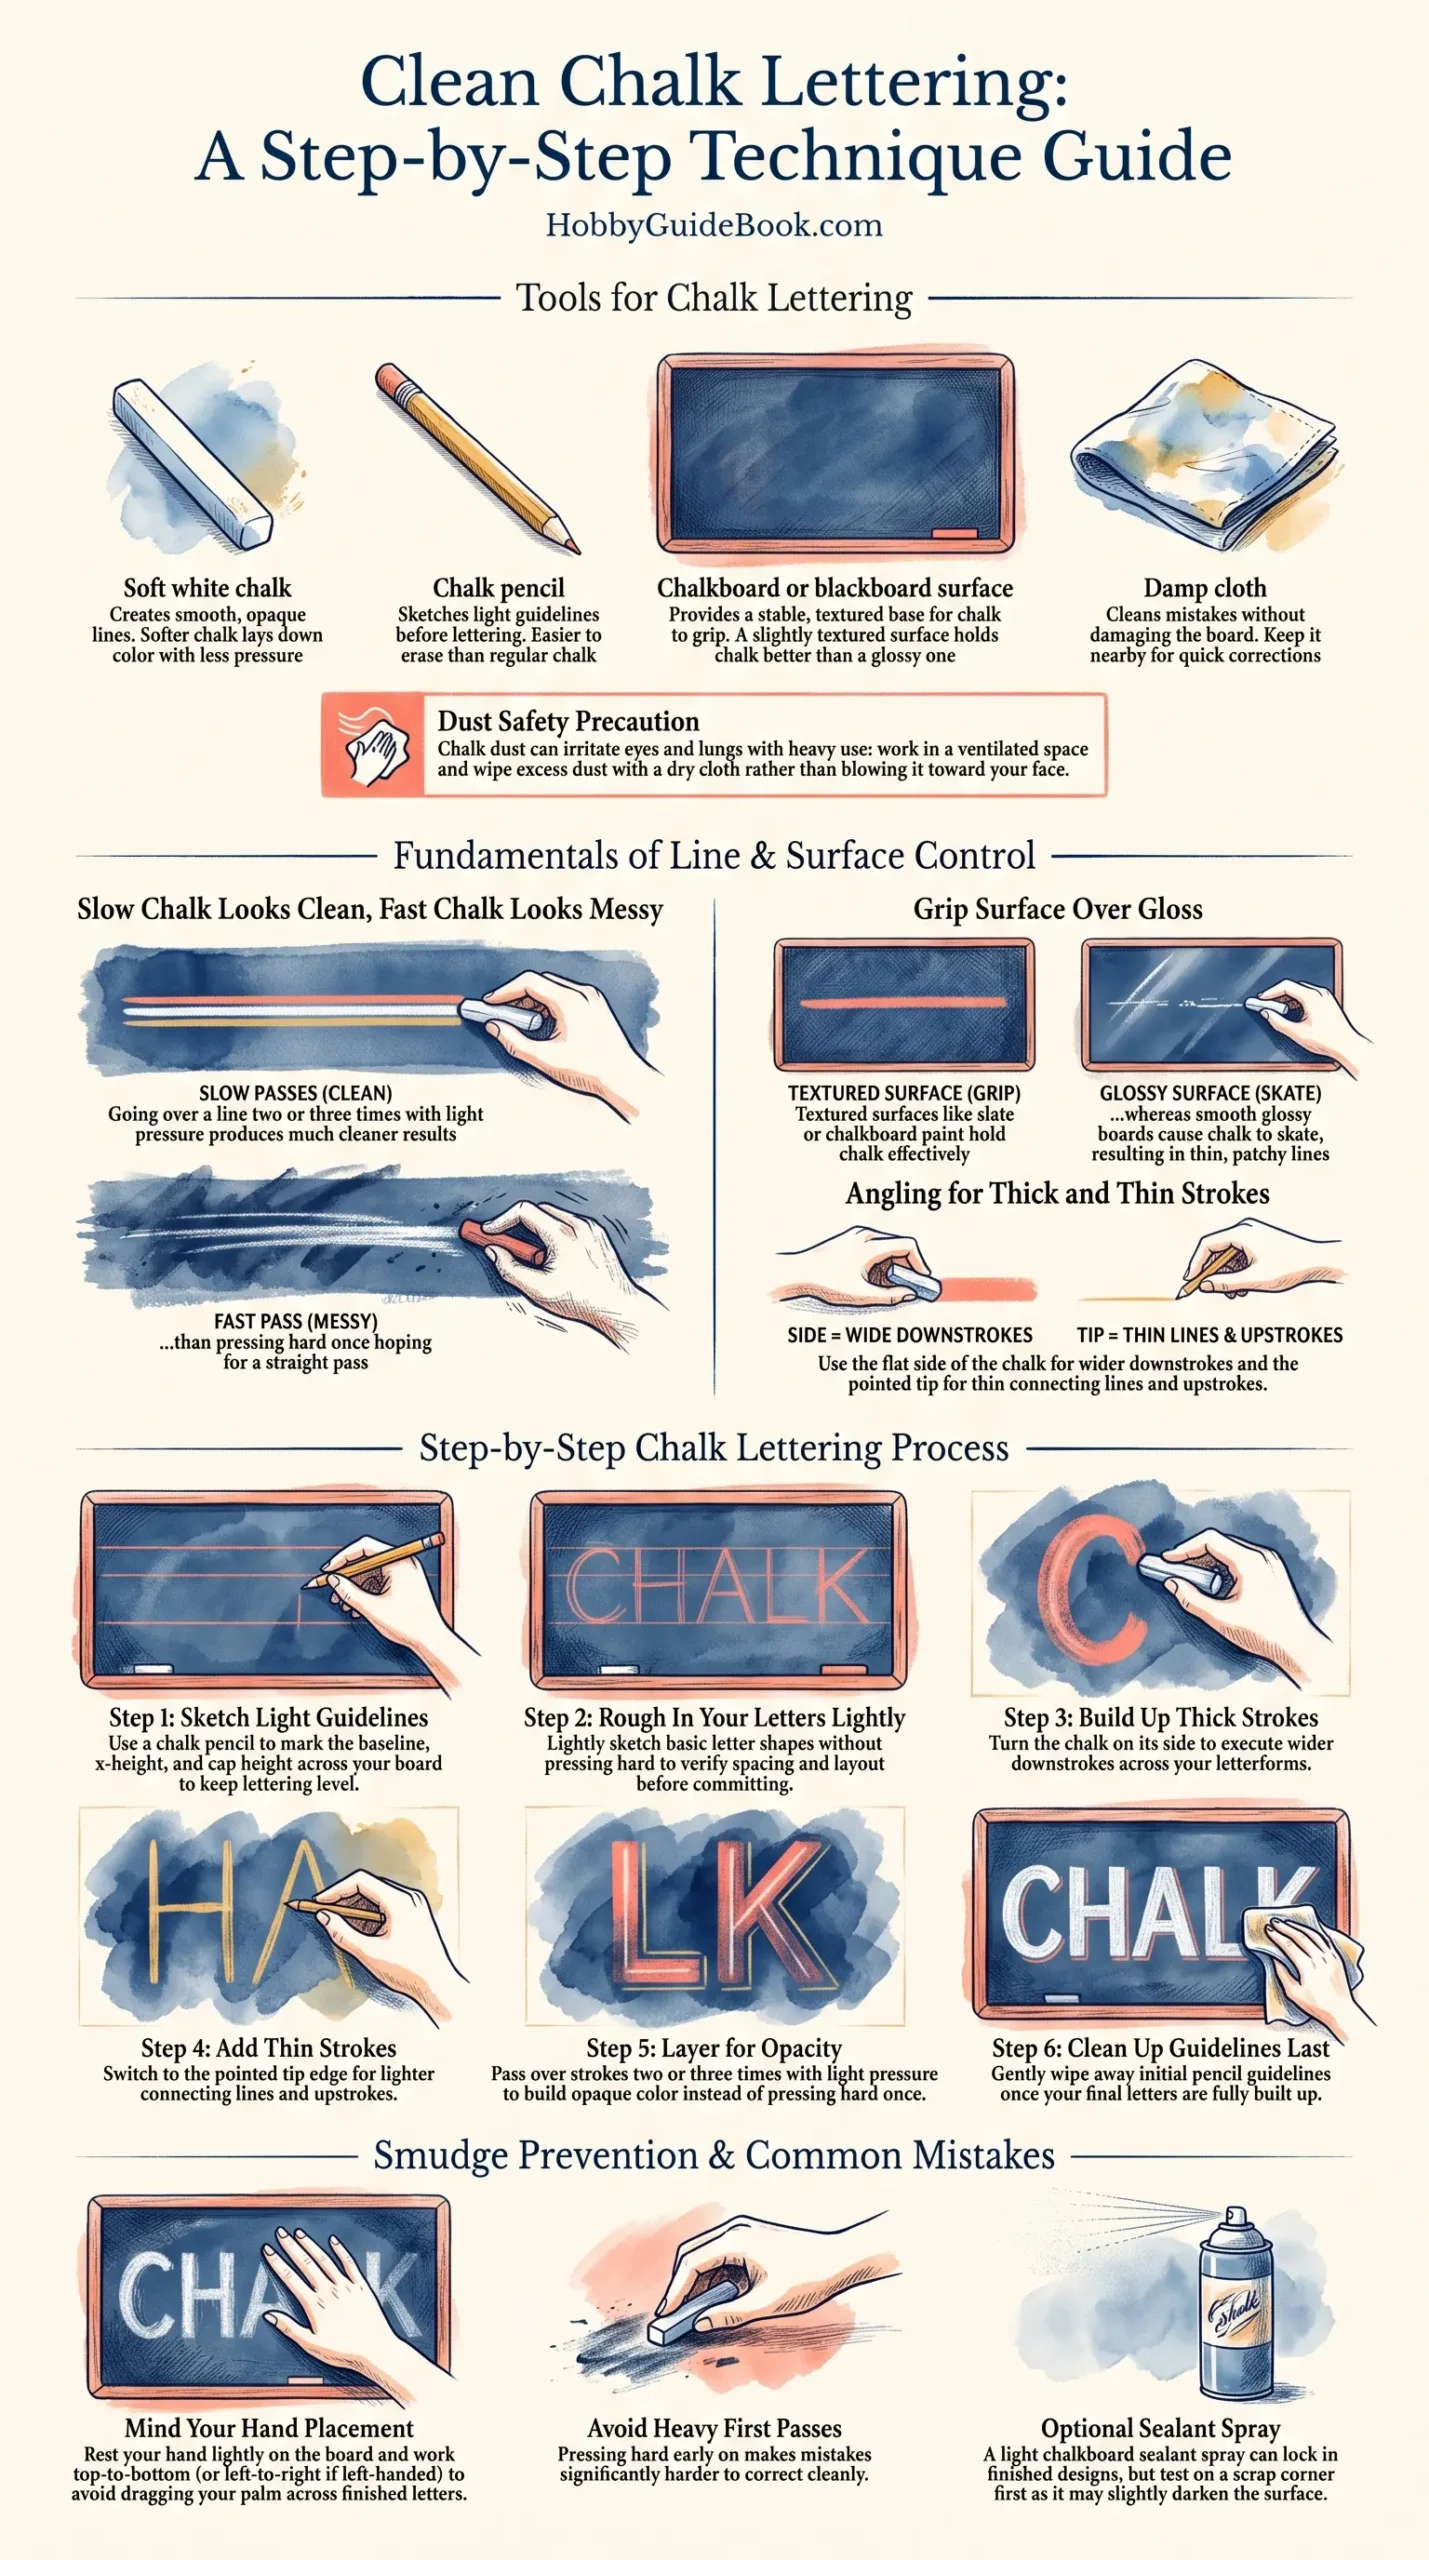
Photo Credit: Hobby Guidebook Editorial
Once your basic strokes feel steady, Chalkboard Lettering Alphabet Practice walks through building full letters using the same layering habits covered here.
Tools for Chalk Lettering
|
Tool |
Purpose |
Notes |
|
Soft white chalk |
Creates smooth, opaque lines |
Softer chalk lays down color with less pressure |
|
Chalk pencil |
Sketches light guidelines before lettering |
Easier to erase than regular chalk |
|
Chalkboard or blackboard surface |
Provides a stable, textured base for chalk to grip |
A slightly textured surface holds chalk better than a glossy one |
|
Damp cloth |
Cleans mistakes without damaging the board |
Keep it nearby for quick corrections |
Chalk dust can irritate eyes and lungs with heavy use, so work in a ventilated space and avoid blowing dust directly toward your face when clearing mistakes.
How Do You Get Clean Lines With Chalk Lettering
Clean lines come from sketching light pencil or chalk guidelines first, then building up your final letters slowly with short, controlled strokes rather than one long pass. I have found that going over a line two or three times with light pressure looks far cleaner than pressing hard once and hoping it comes out straight.
"Slow chalk looks clean, fast chalk looks messy." That advice gets repeated often among sign painters, and it holds up well once you actually compare a rushed line against a layered one.
What Surface Works Best for Chalk Lettering
A surface with a bit of texture, like a real slate chalkboard or a chalkboard-painted panel, works best since it gives the chalk something to grip onto. Smooth, glossy boards tend to make chalk skate around, which leads to thin, patchy lines that are harder to control.
How Do You Create Thick and Thin Chalk Strokes
Thick and thin strokes in chalk lettering come from angling the chalk itself, using the flat side for wider strokes and the tip for thinner ones. This mimics the look of broad-edge pen contrast, even though chalk has no fixed edge of its own.
Practice this angle change on scrap board first, since switching between the flat side and tip mid-letter takes a bit of hand coordination to get smooth.
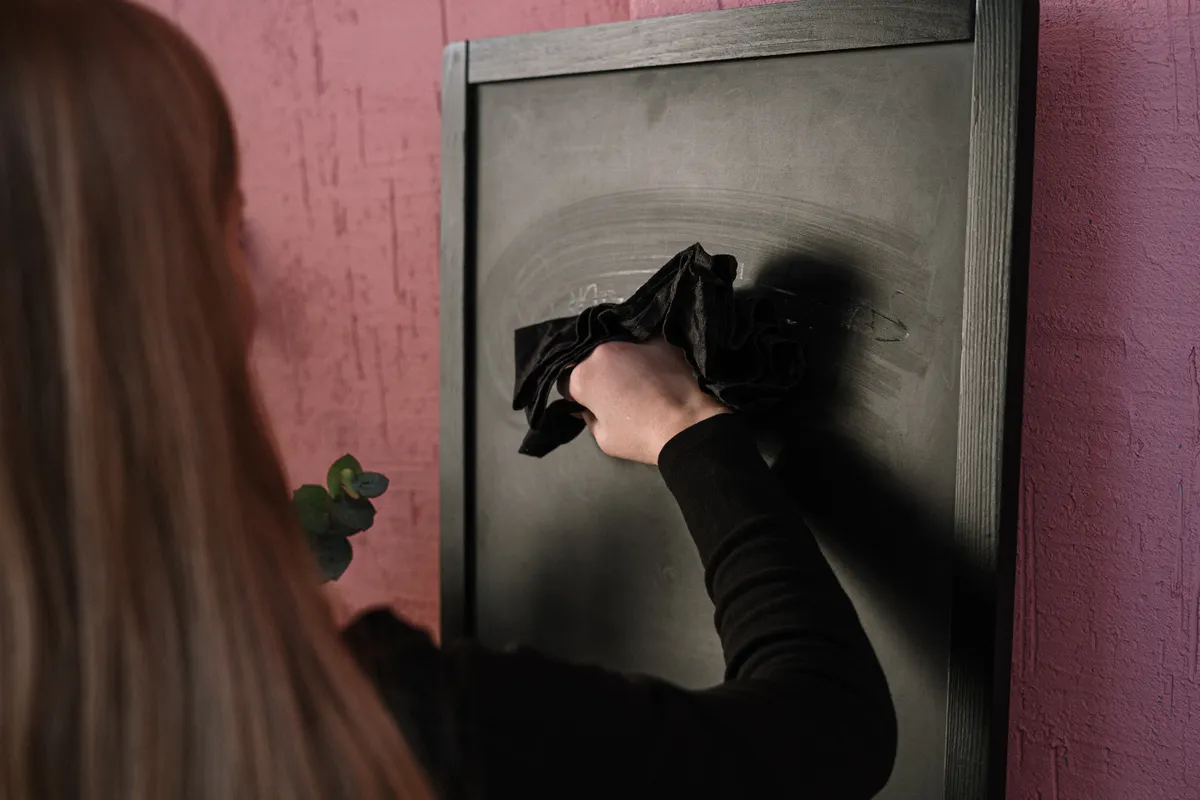
Photo Credit: cottonbro studio
Step-by-Step Chalk Lettering Guide
- Sketch light guidelines. Use a chalk pencil to mark baseline, x-height, and cap height across your board.
- Rough in your letters lightly. Sketch basic letter shapes without pressing hard, just to check spacing and layout.
- Build up thick strokes with the flat side. Turn the chalk on its side for wider downstrokes.
- Add thin strokes with the tip. Switch to the pointed edge for connecting lines and upstrokes.
- Layer for opacity. Go over strokes two or three times with light pressure instead of pressing hard once.
- Clean up guidelines last. Wipe away pencil marks gently once your final letters are fully built up.
If you want more control over line consistency, Chalk Markers & Chalk Pens covers a tool option that behaves more like a marker than loose chalk.
How Do You Prevent Chalk Lettering From Smudging
Preventing smudges starts with letting your hand rest lightly on the board rather than dragging your palm across finished letters as you work. Working top to bottom, or left to right if you are left handed, keeps your hand away from areas you have already lettered.
A light chalkboard sealant spray can also help lock in finished designs, though it is worth testing on a scrap corner first, since some sealants slightly darken the board surface.
Pro Tips and Common Mistakes to Avoid
- Do not skip the pencil guidelines. Freehand chalk lettering almost always drifts off level without them.
- Avoid pressing hard on the first pass. Heavy pressure early on makes mistakes harder to correct cleanly.
- Do not rest your hand on finished letters. This is the single biggest cause of smudged chalk work.
- Watch your chalk dust. Wipe excess dust away with a dry cloth rather than blowing it toward your face.
Photo Credit: Washington Gama
Frequently Asked Questions
How do you get clean lines with chalk lettering? Sketch light guidelines first, then build up letters slowly with short, layered strokes instead of one heavy pass.
What surface works best for chalk lettering? A textured chalkboard surface works best, since it grips chalk more evenly than smooth, glossy boards.
How do you create thick and thin chalk strokes? Use the flat side of the chalk for thick strokes and the tip for thin ones, similar to broad-edge pen contrast.
How do you prevent chalk lettering from smudging? Keep your hand off finished letters as you work, and consider a light sealant spray once the design is complete.
Clean Letters, One Layer at a Time
Chalk lettering technique comes down to patience with your guidelines and a willingness to build strokes up slowly rather than rushing them. Practice on scrap board first, keep that hand steady above your finished lines, and clean, confident chalk lettering will start feeling much more natural.
For everything else this hobby covers, from tools to strokes to full scripts, read the full calligraphy and hand lettering guide.




Leave a Reply