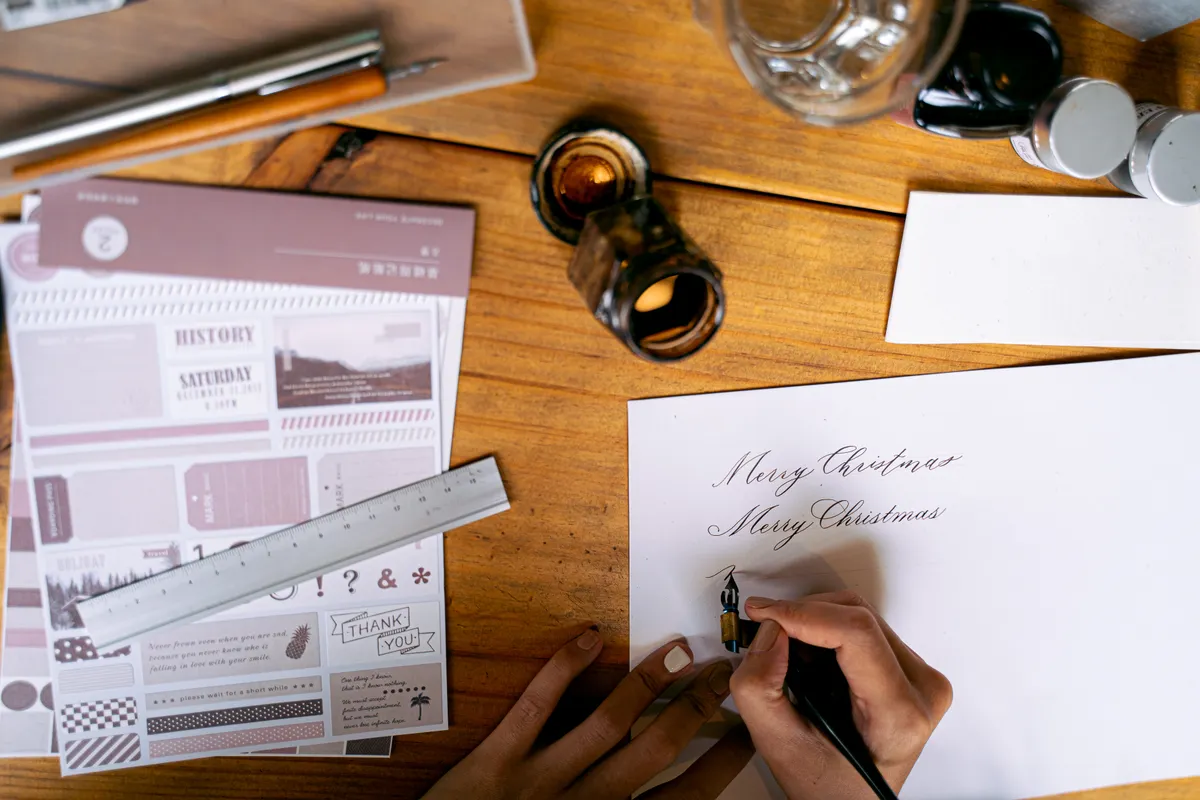
I once spent an entire afternoon rewriting the same quote because my letters kept drifting uphill across the page, and it took a friend pointing at my blank paper to realize I had never once used a guideline. A calligraphy ruler and guidelines setup fixes that exact problem, and once you understand the handful of lines involved, straight consistent lettering stops feeling like luck.
This guide is part of the Calligraphy Materials & Tools Guide, and it covers which guidelines matter, how a parallel ruler works, and whether every script actually needs them.
What Is a Calligraphy Ruler and Guidelines Setup
A calligraphy ruler and guidelines setup refers to the straight lines drawn or printed on a page that control letter height, spacing, and slant before any ink touches the paper. Rather than guessing where letters should sit, these lines give your hand a fixed structure to follow.
If paper texture and weight are still unclear to you, Calligraphy Paper: What to Look For is worth reading alongside this guide, since guidelines and paper choice work together closely.
Background on Why Guidelines Matter
Traditional scripts like Copperplate and Italic were never meant to be written freehand without structure. Even professional scribes rely on ruled lines, since consistent letter height and slant are what separate polished calligraphy from letters that simply look handwritten.
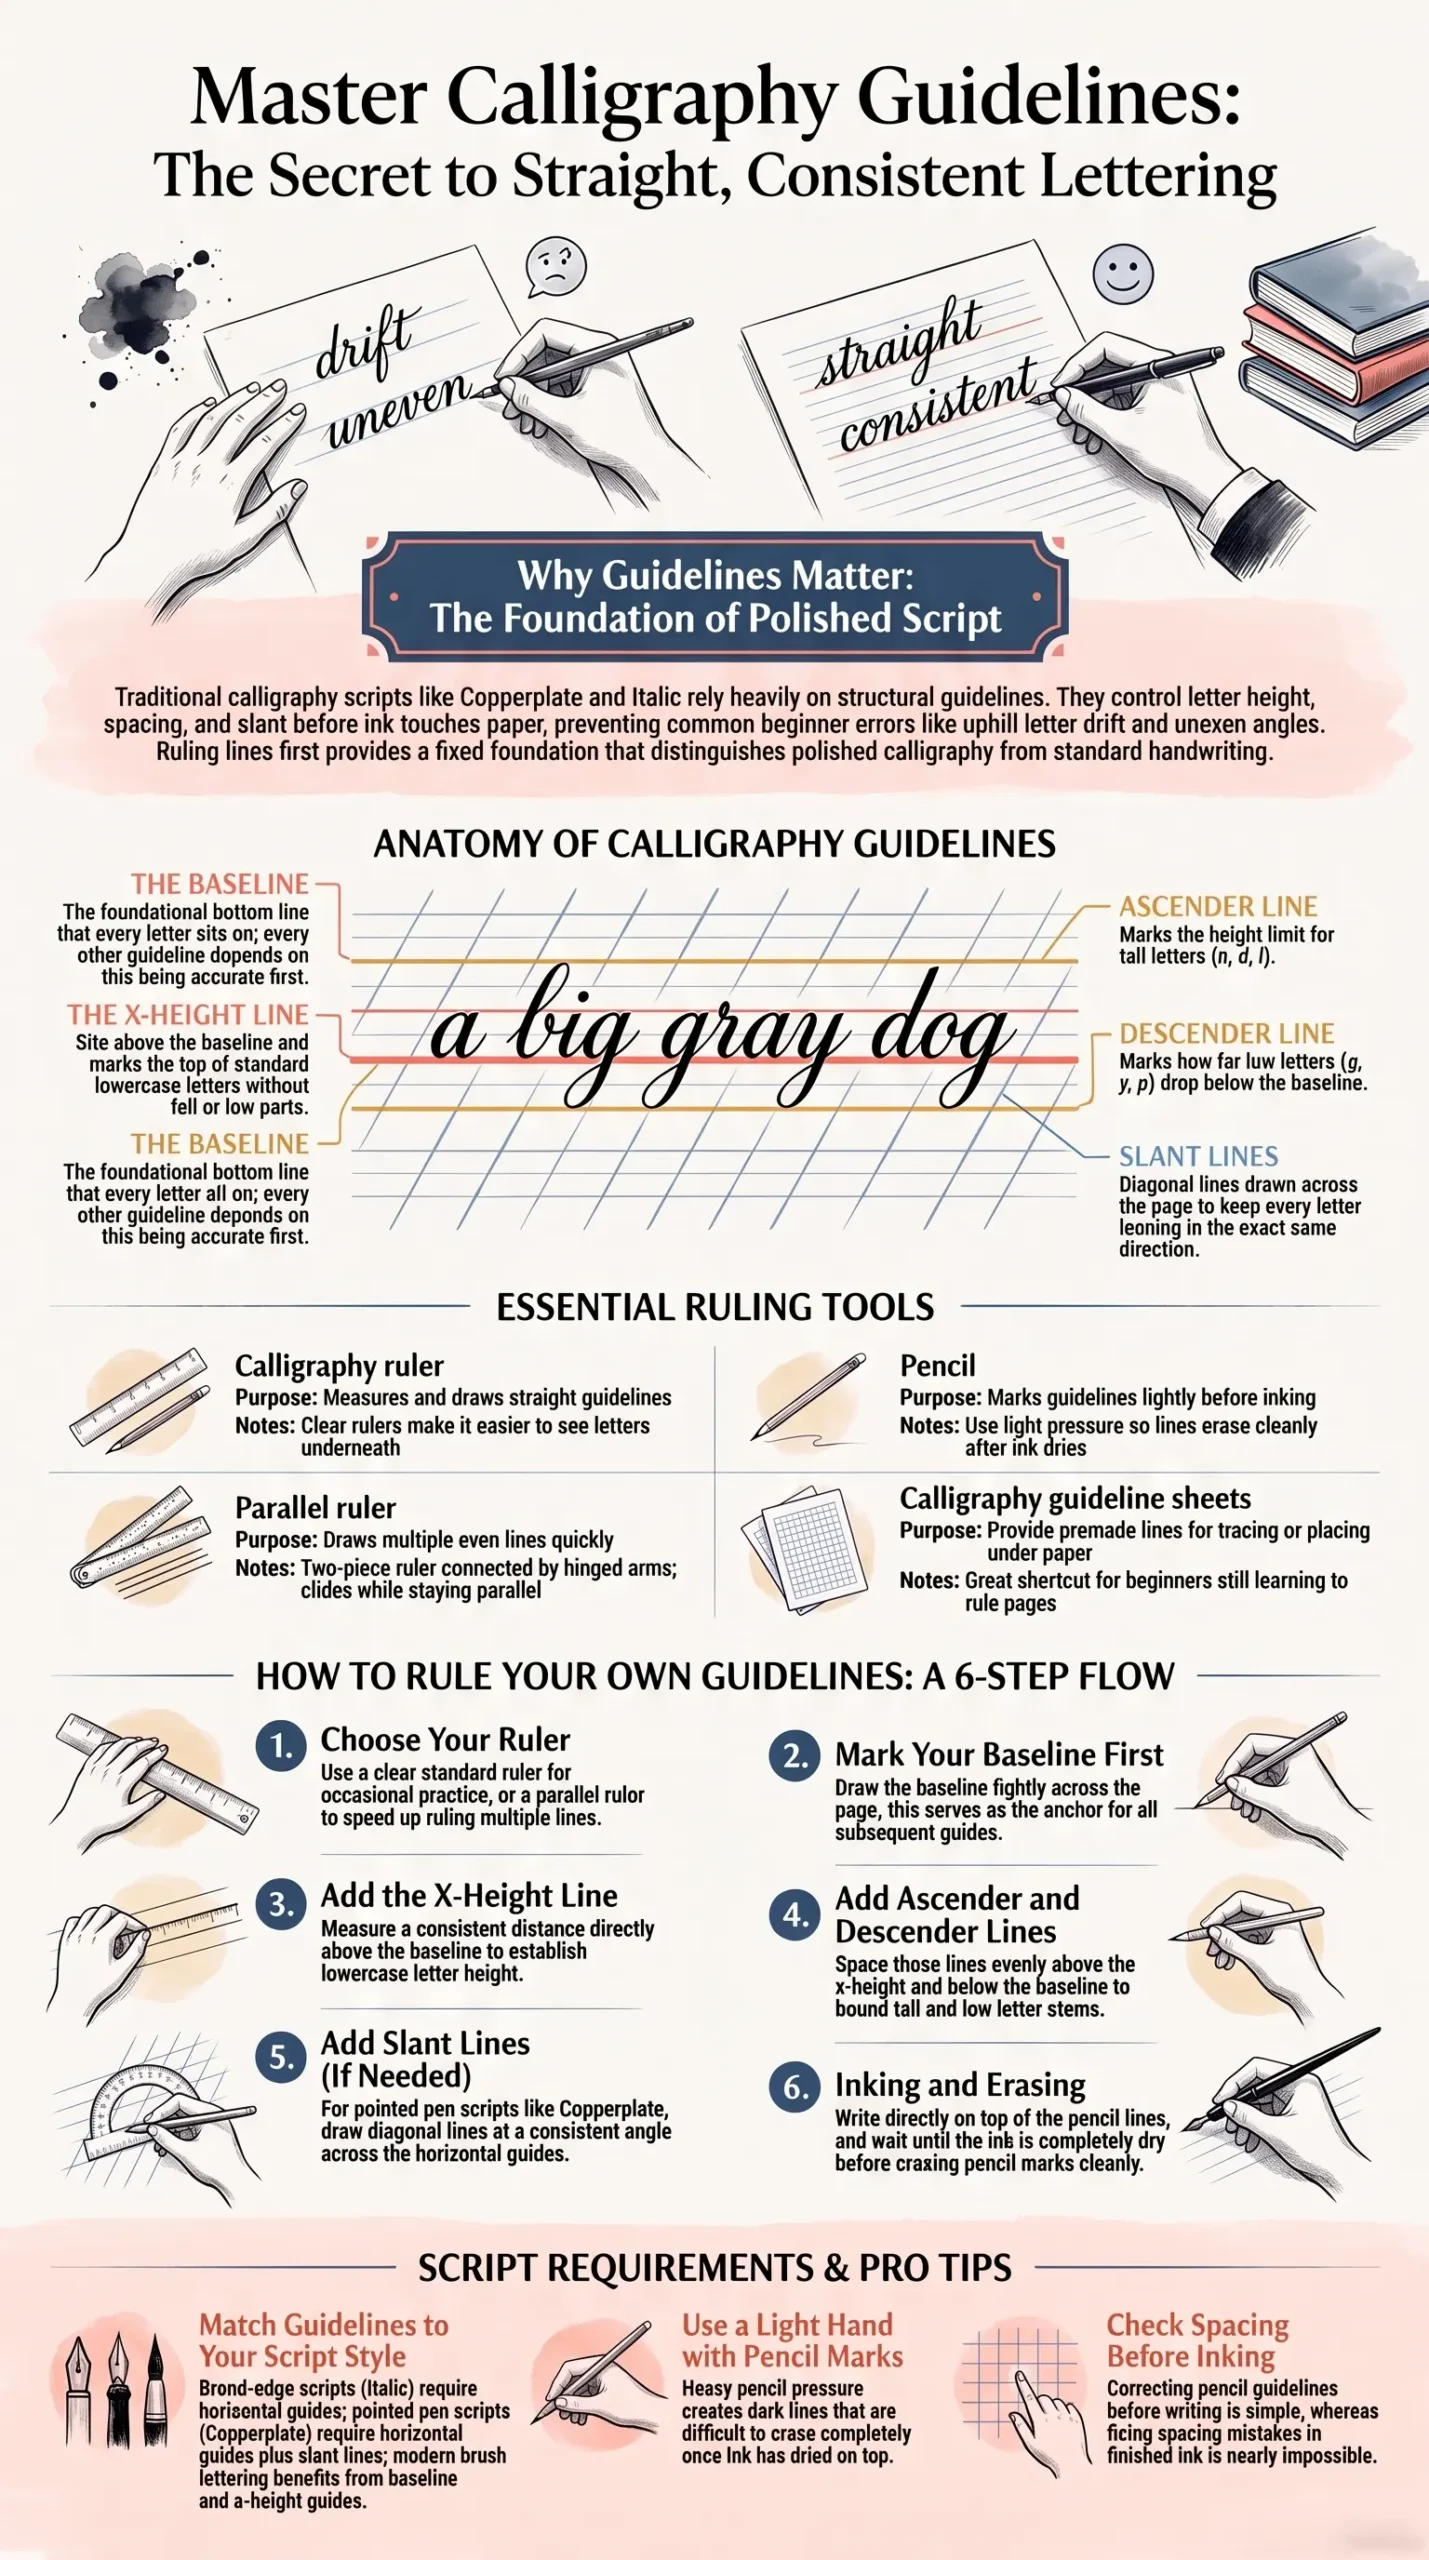
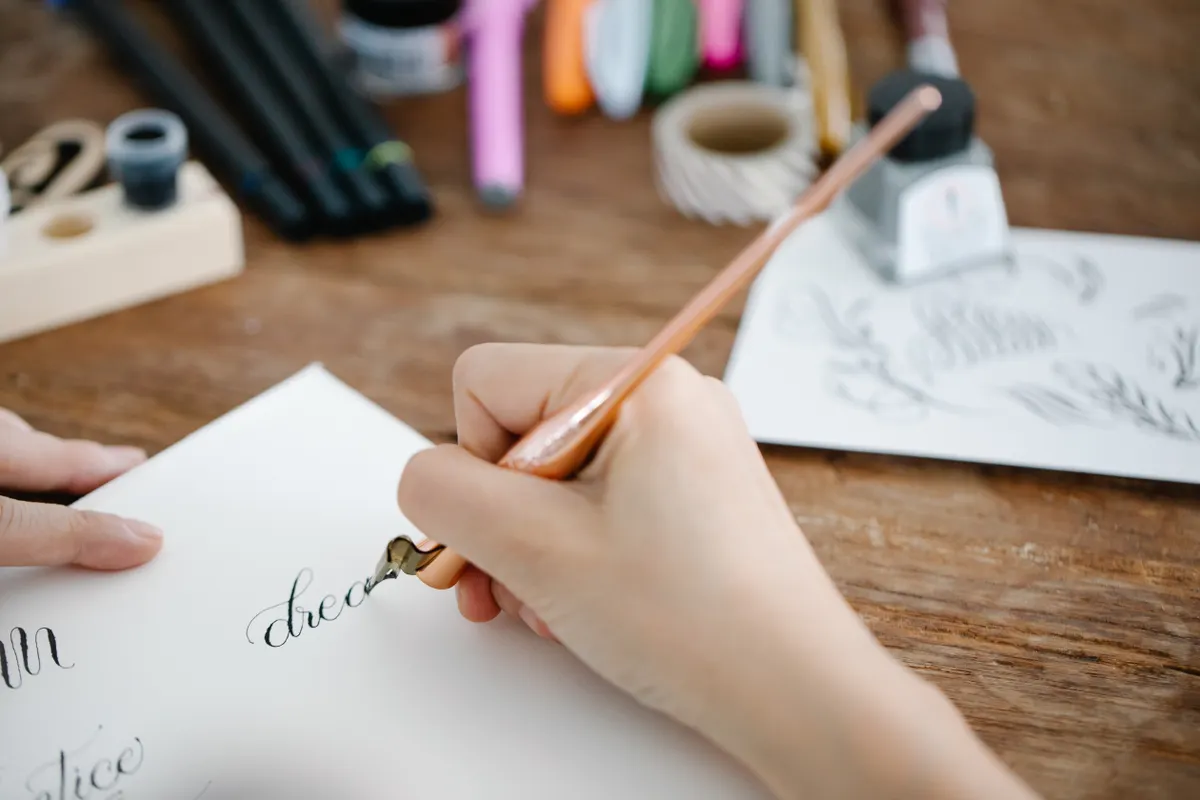
Photo Credit: Hobby Guidebook Editorial
I have found that beginners who skip guidelines early on develop habits that are genuinely hard to unlearn later, mostly because their hand gets used to guessing rather than checking. Building the habit of ruling lines first, even for quick practice, pays off far more than it seems like it should in the beginning.
Tools for Ruling Calligraphy Guidelines
|
Tool |
Purpose |
Notes |
|
Calligraphy ruler |
Measures and draws straight guidelines |
A clear ruler makes it easier to see letters underneath |
|
Parallel ruler |
Draws multiple even lines quickly |
Useful for ruling several pages in one sitting |
|
Pencil |
Marks guidelines lightly before inking |
Light pressure keeps lines easy to erase later |
|
Calligraphy guideline sheets |
Provide premade lines for tracing or placing under paper |
Great shortcut for beginners still learning to rule pages |
How Do You Keep Calligraphy Lines Straight
Keeping calligraphy lines straight starts with using an actual ruler rather than eyeballing it, since even a slight drift becomes obvious once ink is on the page. Mark your guidelines lightly in pencil first, check the spacing before committing, then write directly on top of those lines with your pen.
Use a light hand when penciling guidelines, since heavy pencil marks are harder to fully erase once your ink has dried on top of them.
What Are Baseline, X-Height, Ascender, and Descender Guides
The baseline is the bottom line that every letter sits on, acting as the foundation for the whole line of writing. The x-height line sits above the baseline and marks the top of lowercase letters like a, e, and o, the ones without any tall or low parts.
Ascender lines mark how tall letters like b, d, and l are allowed to reach above the x-height, while descender lines mark how far letters like g, y, and p are allowed to drop below the baseline. Together, these four lines give every letter a consistent, predictable space to live inside.
"Consistent letters come from consistent structure, not a steady hand alone." That advice gets repeated often among calligraphy teachers, and these four guides are exactly the structure it refers to.
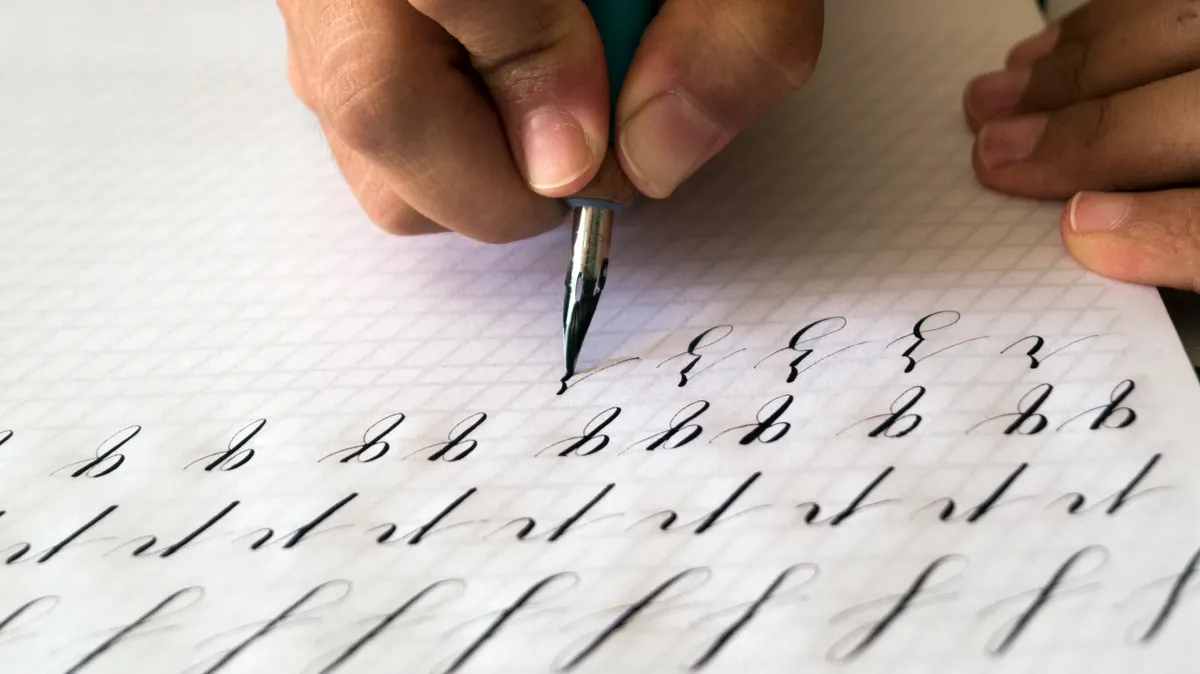
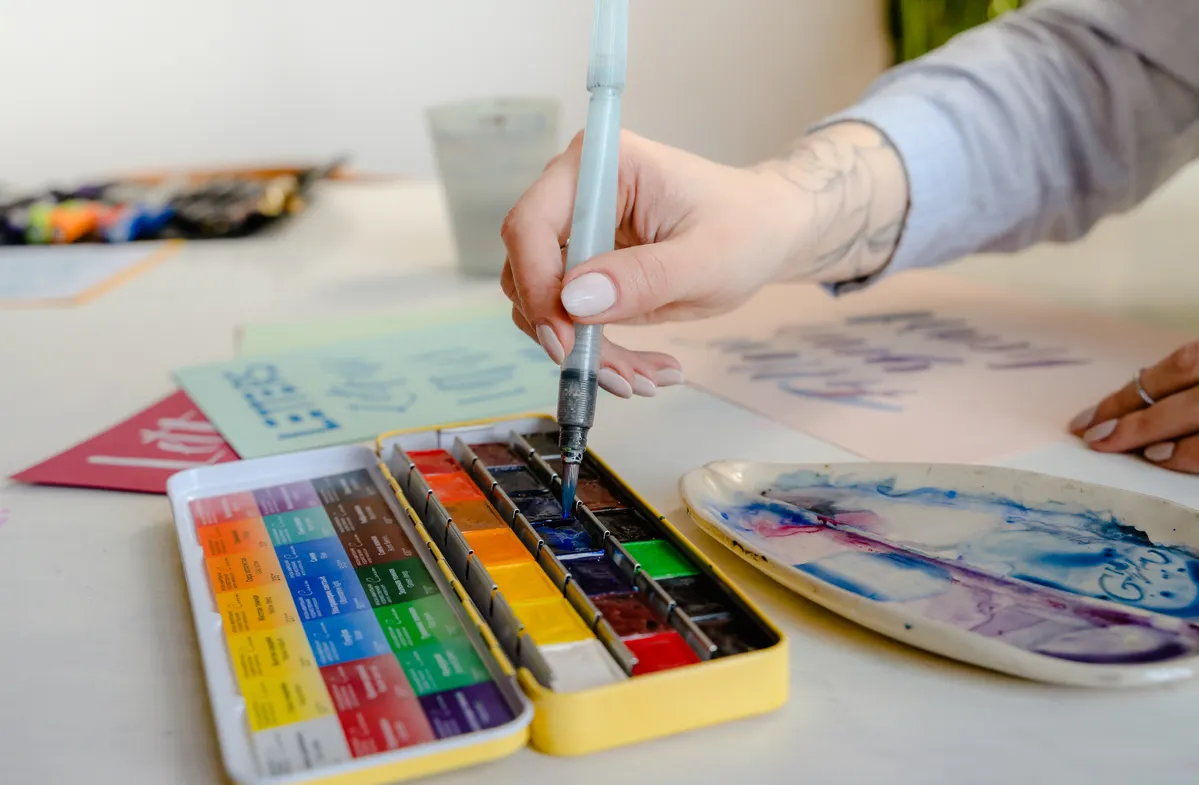
Photo Credit: Guillermo Sifuentes
What Is a Parallel Ruler Used for in Calligraphy
A parallel ruler calligraphy tool is a two piece ruler connected by hinged arms, designed to slide across a page while staying perfectly parallel to its starting position. This makes ruling several evenly spaced guidelines much faster than measuring and marking each one individually with a standard ruler.
For anyone ruling multiple practice pages regularly, a parallel ruler saves real time, though a standard ruler and a bit of careful measuring works perfectly fine for occasional practice too.
How Do Slant Lines Help with Script Consistency
Slant lines run diagonally across the page at a fixed angle, usually around fifty five degrees for Copperplate, giving your hand a visual target for keeping every letter leaning the same direction. Without slant lines, it is extremely common for letters to gradually straighten out or lean unevenly as a hand tires partway through a word or sentence.
Checking your letters against slant lines regularly, rather than only at the start of a practice session, catches this drift before it becomes a habit.
Do You Need Guidelines for Every Calligraphy Script
No, you do not need guidelines for every calligraphy script in exactly the same way, though nearly every script benefits from some version of them. Broad-edge scripts like Italic rely heavily on baseline, x-height, ascender, and descender lines, while pointed pen scripts like Copperplate add slant lines into that same structure.
Even modern brush lettering, which feels more casual, benefits from a simple baseline and x-height guide to keep letters from drifting unevenly across a card or journal page.
Step-by-Step Guide to Ruling Your Own Guidelines
- Choose your ruler. A standard ruler works fine, though a parallel ruler speeds up multiple lines.
- Mark your baseline first. This anchors every other guideline that follows.
- Add the x-height line. Measure a consistent distance above the baseline for this line.
- Add ascender and descender lines. Space these evenly above and below the first two lines.
- Add slant lines if needed. Draw these at a consistent angle across the page for pointed pen scripts.
- Erase pencil lines once ink is dry. Wait fully before erasing to avoid smudging finished lettering.
For structured practice pages that already include these lines built in, Calligraphy Practice Sheets offer a helpful shortcut while you build ruling skills of your own.
Photo Credit: MART PRODUCTION
Pro Tips and Common Mistakes to Avoid
- Do not skip the baseline. Every other guideline depends on this one being accurate first.
- Avoid pressing too hard with your pencil. Heavy guideline marks are much harder to erase cleanly.
- Do not ignore slant lines for pointed pen scripts. Letters drift off angle faster than most beginners expect.
- Check spacing before inking a full page. Fixing pencil guidelines is far easier than fixing finished ink.
Frequently Asked Questions
How do you keep calligraphy lines straight? Use a ruler to draw light pencil guidelines first, then write directly on top of those lines with ink.
What are baseline, x-height, ascender, and descender guides? These four lines control where letters sit, how tall lowercase letters are, and how far tall or low letters extend.
What is a parallel ruler used for in calligraphy? It draws multiple evenly spaced guidelines quickly, saving time compared to measuring each line individually.
How do slant lines help with script consistency? They give your hand a visual target angle, preventing letters from drifting straighter or uneven across a page.
Do you need guidelines for every calligraphy script? Most scripts benefit from some guidelines, though pointed pen scripts also need slant lines added on top.
Structure Makes the Difference
A calligraphy ruler and guidelines setup might feel like an extra step, but it is genuinely the difference between letters that guess and letters that hold steady. Rule your lines first, check your slant as you go, and that shaky uphill drift will disappear faster than you expect.
For everything else this hobby covers, from tools to strokes to full scripts, read the full calligraphy and hand lettering guide.




Leave a Reply