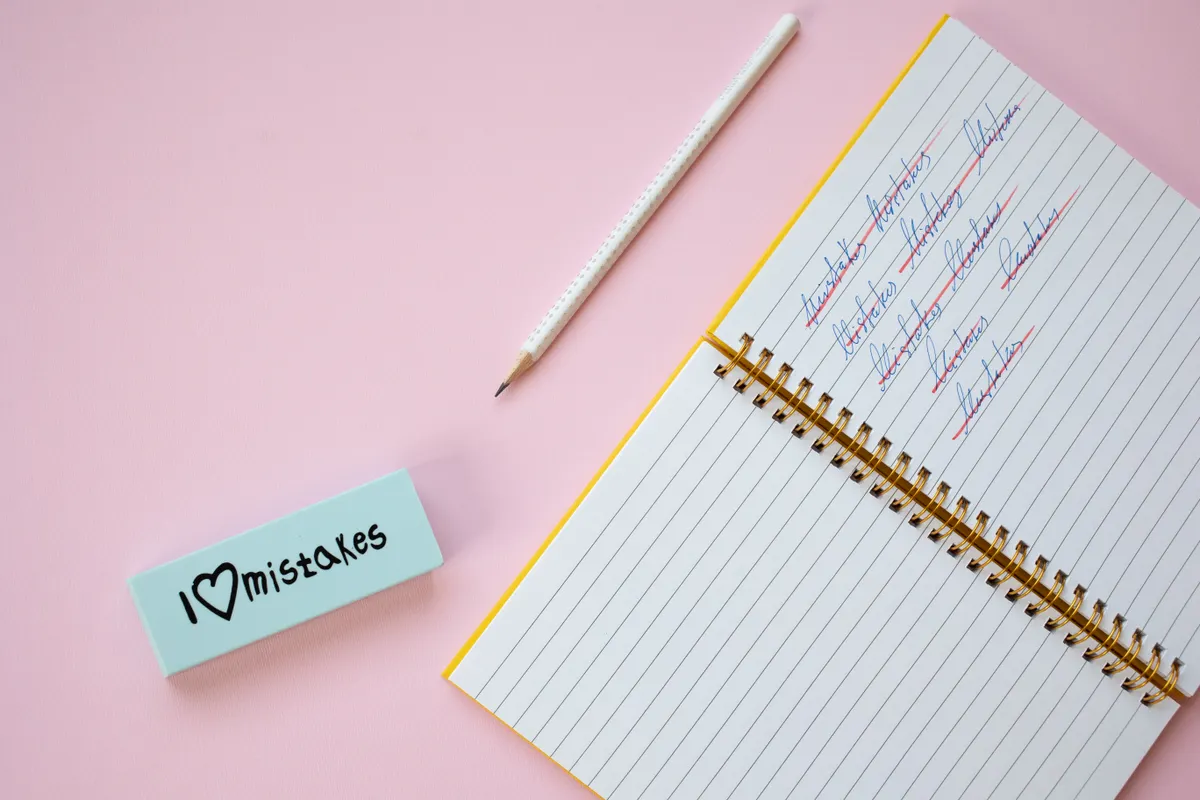
I once watched a student nearly toss out an entire finished piece over one smudged letter, when a gentle correction would have fixed it in under a minute. Calligraphy erasers and correction methods exist for exactly this reason, and learning them early saves a surprising number of pieces that feel ruined but really are not.
This guide is part of the Calligraphy Materials & Tools Guide, and it covers which erasers actually work on calligraphy paper, how to fix small ink mistakes, and when a piece is better off rewritten entirely.
What Are Calligraphy Erasers and Correction Methods
Calligraphy erasers and correction methods cover the tools and small techniques used to clean up pencil guidelines, lighten stray marks, and fix minor ink errors without damaging the paper underneath. This includes soft erasers for pencil work, along with a few targeted tricks for correcting ink once it has already dried.
Correction is not about undoing every mistake completely, since ink cannot always disappear the way pencil can. It is more about knowing which small fixes genuinely help and which ones risk making a piece look worse.
Background on Why Correction Skills Matter
Even experienced calligraphers make mistakes, myself included, and the difference usually comes down to how the mistake gets handled rather than whether it happens at all. A shaky stroke or a slightly heavy letter does not have to mean starting completely over.

Photo Credit: Hobby Guidebook Editorial
I have found that beginners often panic at the first sign of an error, when a calm, careful correction would fix things just fine. Learning where the actual limits are, what can be saved and what cannot, builds confidence that carries into every future project.
Tools for Calligraphy Correction
|
Tool |
Purpose |
Notes |
|
Soft vinyl eraser |
Removes pencil guidelines cleanly |
Gentler on paper than standard rubber erasers |
|
Kneaded eraser |
Lifts light pencil marks without smudging |
Can be shaped for precise, small areas |
|
Fine detail brush |
Applies white ink for small corrections |
Works best on darker or colored paper |
|
White gel pen |
Covers tiny ink mistakes on light paper |
Only effective for very small errors |
|
Scrap practice paper |
Tests corrections before applying them |
Prevents surprises on your finished piece |
Can Calligraphy Mistakes Be Erased
Calligraphy mistakes can sometimes be erased, but it depends heavily on whether the mistake is pencil or ink. Pencil guidelines erase cleanly with the right tool, while ink mistakes cannot truly be erased since the pigment has already soaked into the paper fibers.
Small ink errors can often be covered rather than removed, using a bit of white ink or a fine detail brush, but this only works well on smaller mistakes rather than large sections of lettering.
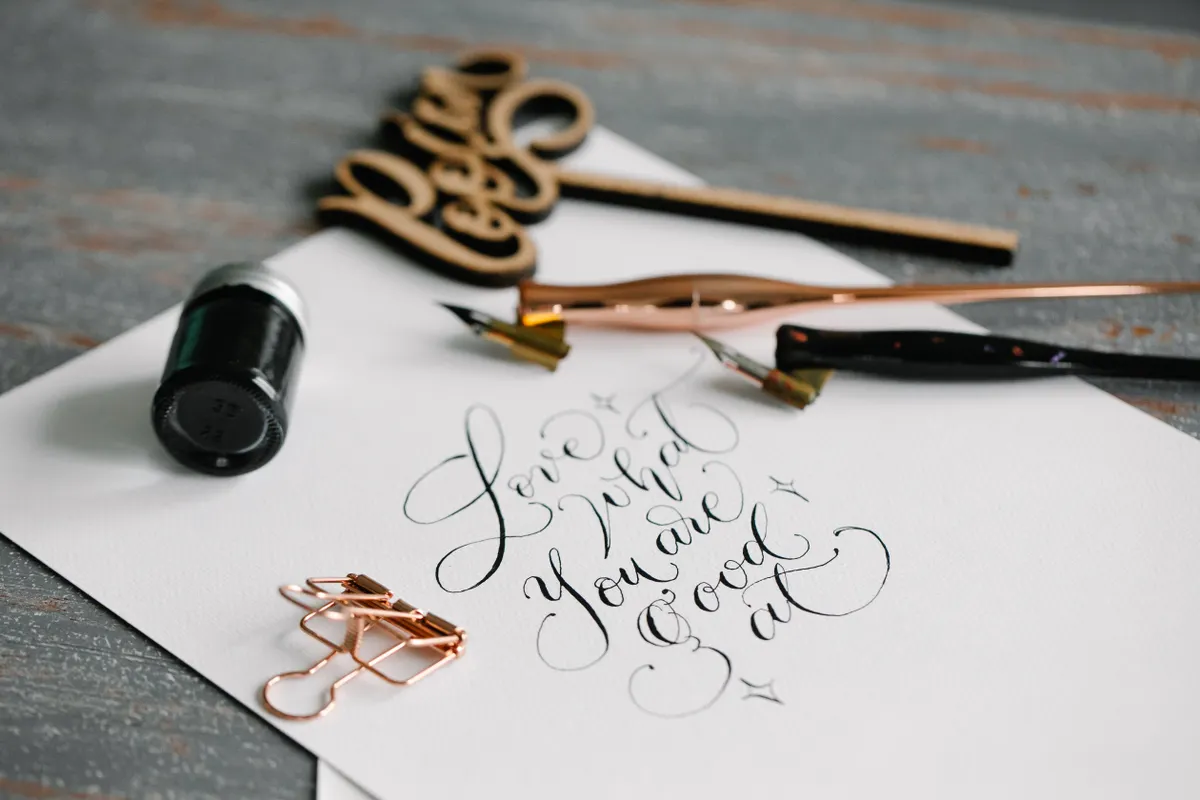
Photo Credit: Katya Wolf
When Is It Safe to Erase Pencil Guidelines
It is safe to erase pencil guidelines once your ink has fully dried, which usually takes a few minutes depending on the ink type and how heavily it was applied. Erasing too early risks smudging wet ink across the page, undoing far more work than the guideline itself was worth.
If you are unsure how long to wait, it helps to understand your paper's absorbency first, and Calligraphy Paper: What to Look For covers how different paper types affect drying time.
What Type of Eraser Works Best on Calligraphy Paper
A soft vinyl eraser or kneaded eraser works best on calligraphy paper, since both lift pencil marks gently without roughing up the paper surface. Avoid standard pink erasers found in school supply kits, since they tend to be more abrasive and can leave visible texture damage on finer paper.
"Good correction work should be invisible, not just hidden." That advice gets repeated often among lettering instructors, and it holds up well once you start comparing a rushed fix to a careful one.
How Can You Correct Small Ink Mistakes
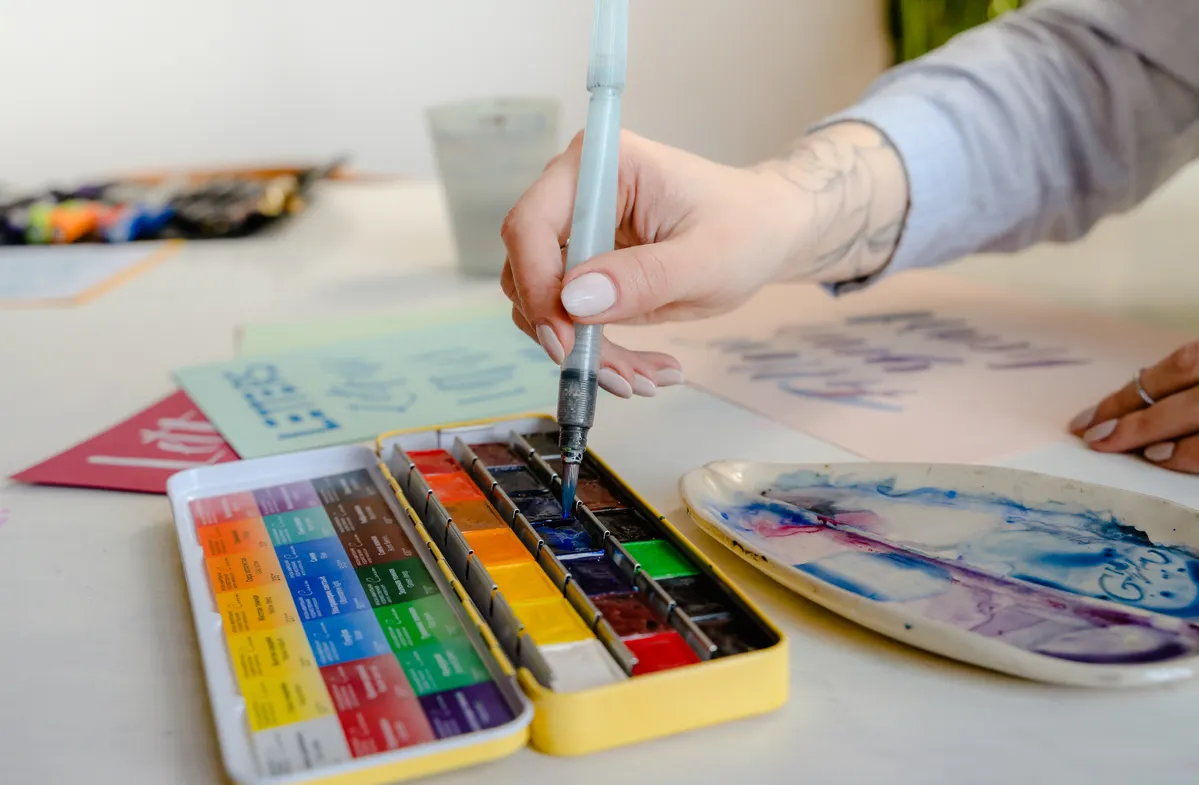
Small ink mistakes can often be corrected using a fine detail brush loaded with white ink, carefully painted over the error to blend it into the background. This technique for fixing calligraphy mistakes works best on white or light colored paper, where the white ink can disappear convincingly into the surrounding space.
On darker or colored paper, a white gel pen sometimes works better for very tiny corrections, though neither method holds up well for anything larger than a stray dot or thin line.
When Should a Damaged Area Be Rewritten Instead of Corrected
A damaged area should be rewritten instead of corrected when the mistake covers multiple letters, tears the paper surface, or would require so much covering ink that the correction becomes more noticeable than the original error. Trying to salvage something too damaged usually creates a messier result than simply starting that section fresh.
Recognizing this moment gets easier with practice, and understanding common slip ups in the first place helps prevent needing corrections at all. Common Beginner Calligraphy Mistakes is worth a look if certain errors keep repeating in your work.
Step-by-Step Guide to Correcting a Calligraphy Piece
- Let all ink dry completely. This usually takes several minutes depending on ink thickness.
- Assess the size of the mistake. Small dots or thin lines are usually fixable, larger areas often are not.
- Test your correction method on scrap paper first. This avoids surprises on your actual piece.
- Apply white ink carefully with a fine brush. Use small, controlled dabs rather than one heavy stroke.
- Let the correction dry fully before touching it. Rushing this step risks smudging the fix itself.
- Erase any remaining pencil guidelines gently. Use light pressure with a soft eraser once everything is dry.
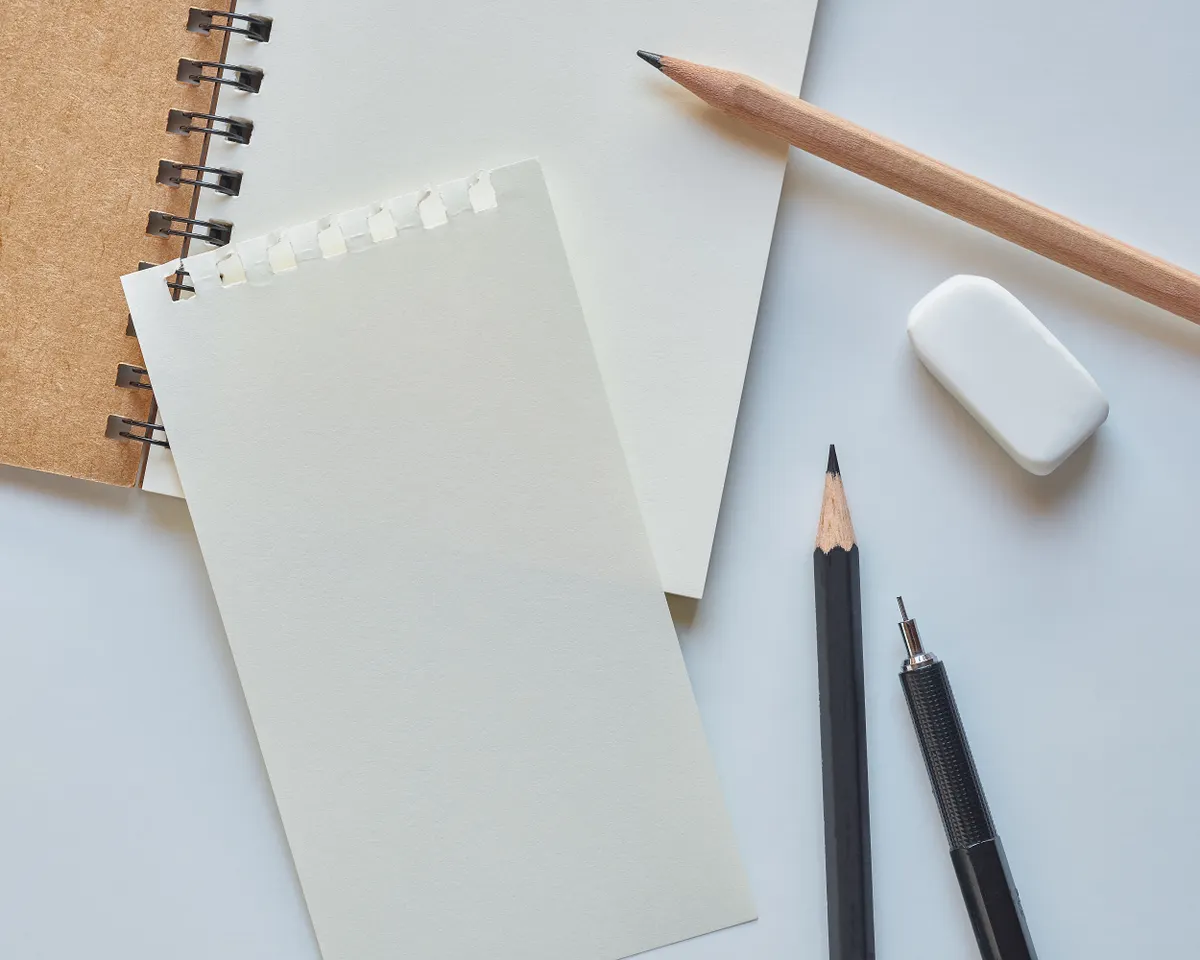
Photo Credit: RPA studio
Pro Tips and Common Mistakes to Avoid
- Do not erase pencil lines while ink is still wet. This is one of the most common ways a finished piece gets smudged.
- Avoid using rough erasers on delicate paper. They can damage the surface even if the pencil mark disappears.
- Do not overload your brush with white ink. Too much correction ink can look worse than the original mistake.
- Work in good lighting when making small corrections. Poor visibility makes tiny mistakes easy to miss or worsen.
Frequently Asked Questions
Can calligraphy mistakes be erased? Pencil mistakes erase cleanly, but ink mistakes usually need to be covered rather than truly erased.
When is it safe to erase pencil guidelines? Once the ink has fully dried, usually after a few minutes depending on the paper and ink used.
What type of eraser works best on calligraphy paper? A soft vinyl or kneaded eraser works best, since both avoid roughing up delicate paper surfaces.
How can you correct small ink mistakes? A fine brush with white ink, or a white gel pen on darker paper, can cover very small errors.
When should a damaged area be rewritten instead of corrected? When the mistake is large, tears the paper, or would need heavy covering ink to hide it.
A Calmer Way to Handle Mistakes
Calligraphy erasers and correction methods will not save every piece, but they save far more than most beginners expect once panic sets in. Slow down, test your fix first, and trust that a steady hand can rescue more than a rushed one ever could.
For everything else this hobby covers, from tools to strokes to full scripts, read the full calligraphy and hand lettering guide.




Leave a Reply