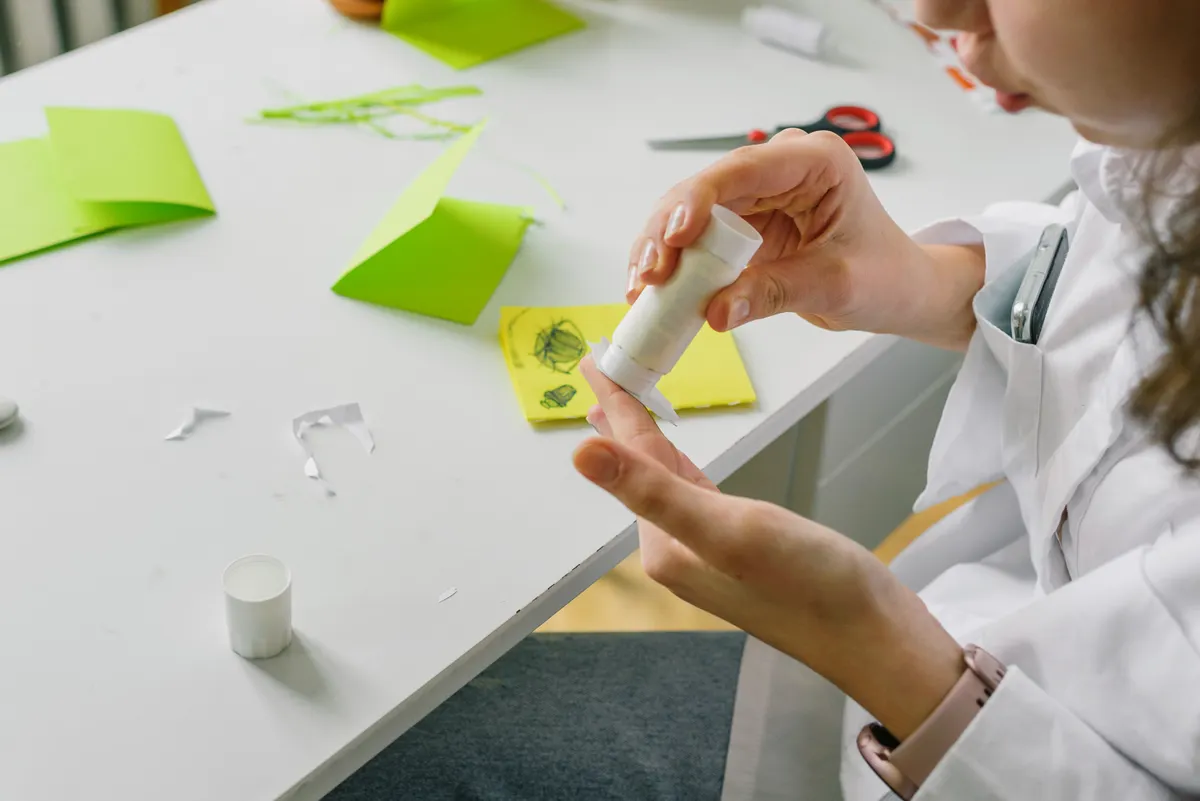
I spent my first two years folding without touching a single drop of adhesive, proud of the no cutting no gluing rule the way beginners often are. Then I built my first modular star, watched one unit slip loose after an evening of careful locking, and understood exactly why origami glue exists as a quiet exception rather than a contradiction of the craft.
This piece is Part of Origami Materials & Tools Guide, and it covers exactly when glue fits into origami, which types actually work well on paper, and when reaching for it means you've drifted away from the fold itself doing the work.
Does Traditional Origami Use Glue?
No, traditional origami is defined by folding alone, using hand folds only with no cutting and no gluing to hold the final shape together. A properly folded crane, box, or flower stays closed purely through the tension and locking created by its creases.
This is one of the core principles that separates origami from other paper crafts. The challenge, and honestly a lot of the satisfaction, comes from getting a model to hold its shape using nothing but folded paper fighting against itself in just the right way.
That said, plenty of respected folders quietly use a small dot of adhesive on specific projects, particularly modular work, without abandoning the spirit of the craft. It's less about breaking a rule and more about knowing which projects genuinely need that extra help.

Photo Credit: Hobby Guidebook Editorial
When Is Glue Appropriate in Origami?
Glue earns its place in a handful of specific situations rather than as a general fallback whenever a fold feels loose. Modular origami is the most common case, where multiple separate units interlock into one larger shape, and repeated handling can gradually work those connection points loose over time.
I've found that glue also makes sense for display pieces meant to survive years on a shelf rather than a single folding session, or for gifts where you want the recipient to be able to actually pick the model up without it unfolding in their hands. Kusudama balls, which are built from many units locked together into a sphere, fall into this category constantly.
Where glue genuinely doesn't belong is in learning folds or practicing traditional single-sheet models like cranes and simple boxes. Reaching for glue there usually signals a crease wasn't pressed firmly enough rather than a genuine structural need.
Materials and Tools for Using Glue in Origami
If you're moving into modular work where adhesive makes sense, a few specific tools keep the process clean and controlled.
|
Item |
Purpose |
Notes |
|
PVA glue, acid-free |
Bonds paper without warping or yellowing over time |
Look for archival or acid-free labeling |
|
Fine-tip glue applicator or toothpick |
Applies small, precise dots of glue |
Prevents over-application and seepage |
|
Glue stick, acid-free |
Alternative for quick, mess-free application |
Less precise than liquid glue for tiny spots |
|
Wax paper or scrap sheet |
Protects work surface during application |
Keeps glued sections from sticking to your table |
|
Small weight or clip |
Holds glued sections together while drying |
Helps sections bond fully before handling |
What Glue Works Best for Modular Origami?
Not every glue is suited to paper, and picking the wrong one can genuinely ruin a finished model. A thin, watery PVA glue, the kind commonly used in bookbinding and paper crafts, tends to work best since a small amount goes a long way without soaking through the paper.
Glue for modular origami specifically benefits from a product labeled acid-free, since regular craft glue can sometimes yellow or become brittle on paper over several years, especially on lighter colored sheets where discoloration shows up clearly. A fine-tip applicator bottle or even a toothpick dipped lightly into glue gives you far more control than squeezing straight from a standard bottle.
Glue sticks work reasonably well too, particularly for quick, low-stakes projects, though they're harder to control precisely on very small contact points like the tips of modular units.
Step-by-Step: How to Glue an Origami Model Correctly
If your project genuinely calls for adhesive, applying it correctly makes the difference between reinforcing a model and ruining it.
- Fold and fully assemble the model first, without any glue, to confirm every unit locks together properly on its own before adding adhesive.
- Identify only the specific points that need reinforcement, rather than gluing every contact surface throughout the entire model.
- Apply a very small amount of glue using a fine-tip applicator or toothpick, since too much glue causes warping and visible seepage around the edges.
- Press the glued section together firmly for several seconds, holding it in place while the initial bond starts to set.
- Use a small clip or light weight to hold the section closed while the glue fully dries, usually somewhere between fifteen minutes and an hour depending on the product.
- Let the entire model dry undisturbed for at least a few hours before handling it normally, since a bond that feels dry on the surface can still be soft underneath.
Can Glue Damage or Warp Origami Paper?
Yes, and this is the single biggest risk of using adhesive on a folded model. Paper reacts to moisture, and most liquid glues contain enough water to cause visible warping, bubbling, or rippling if applied too heavily, especially on thinner kami paper.
I've watched a perfectly folded modular unit develop a permanent ripple simply from too generous a glue application, one that never fully flattened back out even after drying completely. Thicker cardstock handles moisture slightly better than standard kami, but even sturdy paper can warp under a heavy hand with liquid adhesive.
A modular folder I met at a paper crafting group once told me that glue should reinforce a model, not rescue one. If a fold needs glue just to close in the first place, the crease itself usually needs more attention, not more adhesive.
Acid content is a separate, slower-moving concern. Some regular craft glues can yellow paper or weaken its fibers over several years, which matters most for display pieces meant to last, making acid-free formulas worth the small extra cost for anything you plan to keep long term.

Photo Credit: Internet
Comparing Glue Options for Origami Projects
|
Glue Type |
Best For |
Drying Time |
Risk Level |
|
Thin PVA, acid-free |
Modular units, precise small points |
15 to 60 minutes |
Low, if applied sparingly |
|
Standard craft glue |
Casual, non-display projects |
20 to 45 minutes |
Moderate, may yellow over time |
|
Glue stick |
Quick, low-precision reinforcement |
Fast, near instant tack |
Moderate, less durable bond |
|
Double-sided tape |
Flat contact points only |
Instant |
Low, but doesn't suit curved or angled joins |
If modular work is where you're heading next, Modular Origami covers how these multi-unit models come together, including where glue tends to matter most and where a properly pressed crease should be doing the job instead.
What Can You Use Instead of Glue to Hold an Origami Model Together?
Before reaching for adhesive, it's worth troubleshooting the fold itself, since a loose model often points to a fixable technique issue rather than a genuine need for glue. Sharpening every crease firmly with a bone folder is usually the first and most effective fix, since soft creases are the most common reason units or flaps don't hold their shape.
When to glue origami really comes down to ruling out these alternatives first. Locking tabs, common in many modular designs, are meant to hold units together through tension alone, and often just need to be tucked slightly deeper or pressed more firmly to engage properly.
- Sharpen every crease fully with a bone folder before assuming a model needs adhesive to stay closed.
- Check that locking tabs are inserted completely, rather than just partially tucked in, which is a common reason modular units feel loose.
- Re-press connection points firmly after assembly, since initial folding pressure sometimes softens slightly during handling.
- Choose slightly heavier paper for modular projects, since more body in the paper often holds tension better than thin kami on complex locking joins.
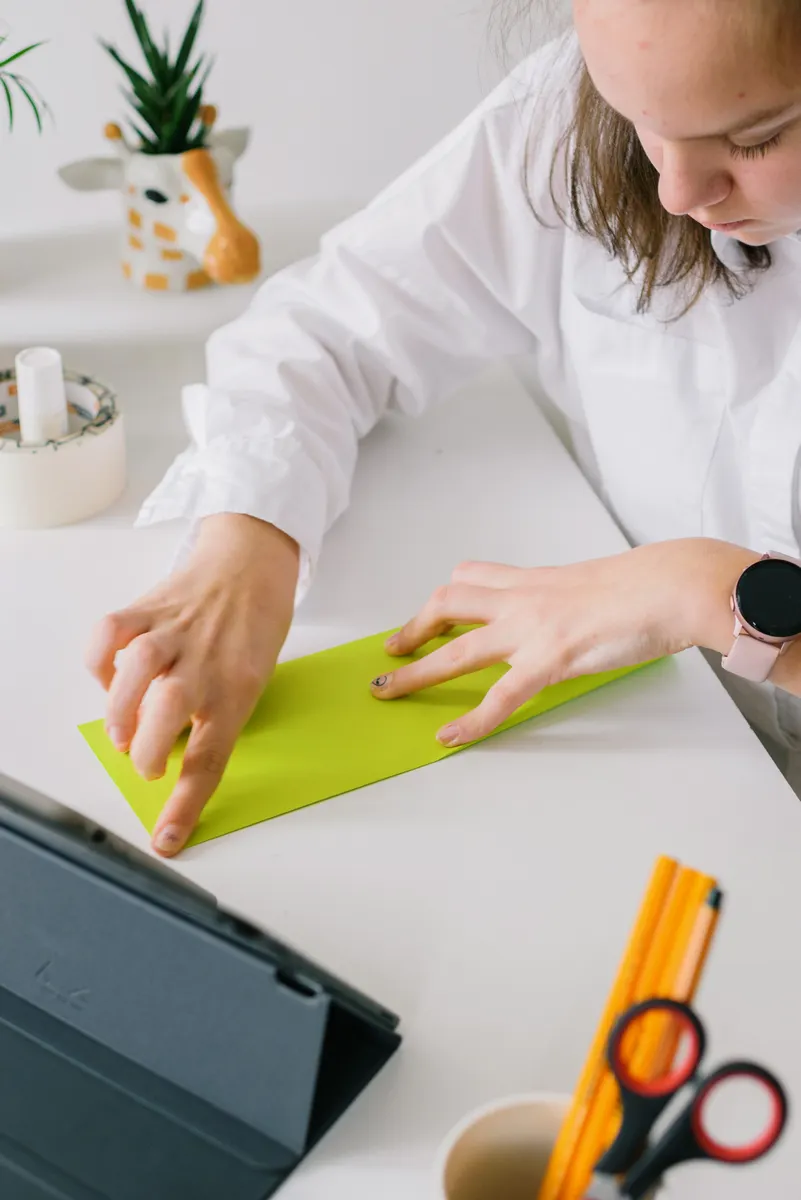
Photo Credit: Ksenia Chernaya
Getting creases sharp enough that glue becomes optional starts with the right tool. Bone Folder for Origami covers how to use one properly, which solves most of the looseness issues that tempt folders toward adhesive in the first place.
Pro Tips for Using Glue Safely and Cleanly
- Work in a ventilated space. Standard craft glues are generally low odor, but good airflow is still a smart habit, especially during longer gluing sessions on large modular projects.
- Keep glue away from visible edges. A dot placed slightly inside a contact point hides far better than glue applied right at a visible seam.
- Test on scrap paper first if you're trying a new glue product, since drying time and warping behavior vary noticeably between brands.
- Wash hands after handling glue before returning to unglued paper, since residue on fingers can transfer onto sheets and leave a visible mark.
- Store glue tightly sealed between uses. Dried out or thickened glue applies unevenly and increases the risk of over-application on your next project.
Frequently Asked Questions
Does traditional origami use glue? No, traditional origami relies entirely on folding, using hand folds only with no cutting or gluing to hold the finished shape together.
When is glue appropriate in origami? Glue is appropriate mainly for modular origami and display pieces meant to be handled repeatedly, where reinforcing specific contact points helps the model last longer.
What glue works best for modular origami? A thin, acid-free PVA glue applied sparingly with a fine-tip applicator works best, since it bonds paper cleanly without excessive warping or long-term yellowing.
Can glue damage or warp origami paper? Yes, too much liquid glue can cause warping, bubbling, or rippling, especially on thin kami paper, while standard non-acid-free glue can yellow paper over time.
What can you use instead of glue to hold an origami model together? Sharpening creases fully with a bone folder, fully inserting locking tabs, and using slightly heavier paper often solve looseness without needing adhesive at all.
Final Thoughts
Origami glue has a real, narrow place in the craft, mainly reinforcing modular models and display pieces, but it should never replace a properly pressed crease on a model that's genuinely meant to hold itself together through folding alone. Master your creases first, and save the glue for the specific projects that actually need that extra hold.
If you're ready to explore the rest of what belongs in a well-rounded folding kit, Read the full origami guide for everything from paper choices to techniques across every skill level.





Leave a Reply