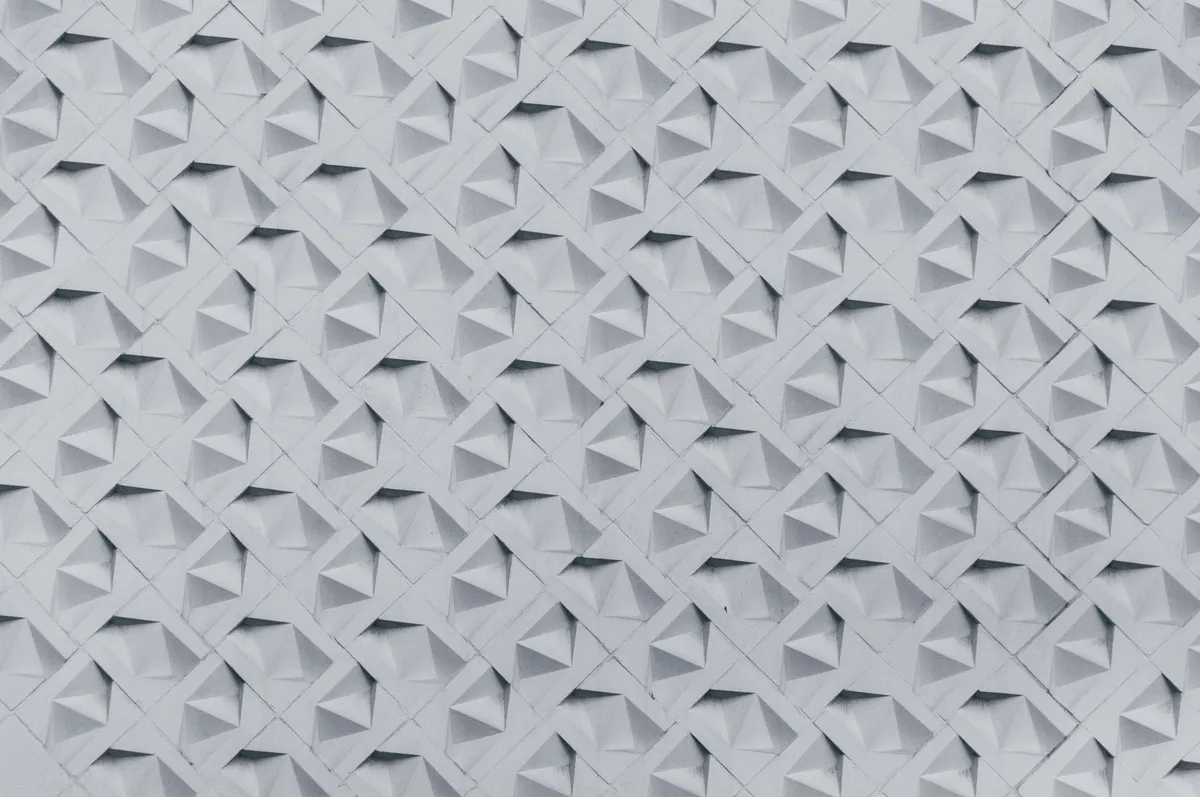
I remember the first time I tried a tessellation, I was convinced my paper was broken. Every twist fold seemed to pull the sheet in three directions at once, and what should have been a neat grid of triangles looked more like a crumpled napkin. That frustrating tangle is exactly where most people quit tessellation origami, and it's exactly why this guide exists, to walk you through what's actually happening in the paper before you get there.
This piece is Part of Origami Techniques Explained, and it's meant for folders who already know their basic folds and are ready to try something more geometric and repetitive.
What Is an Origami Tessellation?
Tessellation origami is a style of folding where a single sheet of paper is divided into a repeating pattern of identical shapes, like triangles, hexagons, or twisted squares, all folded from the same continuous piece. No cutting, no separate pieces, just one sheet folded again and again in a consistent rhythm.
The word tessellation comes from tiling, where the same shape repeats edge to edge across a flat surface with no gaps. In origami, that same idea gets built into the paper itself through creases, so the finished piece often looks less like a folded object and more like a woven fabric or a mosaic pattern pressed flat.
Unlike a crane or a box, where folding stops once the shape is done, tessellations are often left flat or nearly flat, and the beauty comes from the pattern itself rather than a three-dimensional figure. It's a completely different way of thinking about what folded paper can do.
How Does a Tessellation Repeat a Pattern on One Sheet?
This confuses a lot of beginners at first, since it seems like you'd need multiple pieces to build a repeating design. In reality, one sheet holds the entire pattern because the same small fold sequence gets repeated across a grid, usually set up with a base of pre-creased lines before any actual shaping begins.
Think of it like a stamp pressed over and over across the paper, except the stamp is a crease pattern instead of ink. Once that grid of creases exists, folding each section the same way in sequence causes the whole sheet to pull into a repeating origami tessellation pattern, with each unit connected directly to its neighbors through shared fold lines.
This is different from modular origami, where separate units are folded individually and then locked together. In Modular Origami, you're combining multiple sheets. In tessellations, the repetition all happens within one continuous piece of paper.
What Is a Twist in Origami Tessellation?
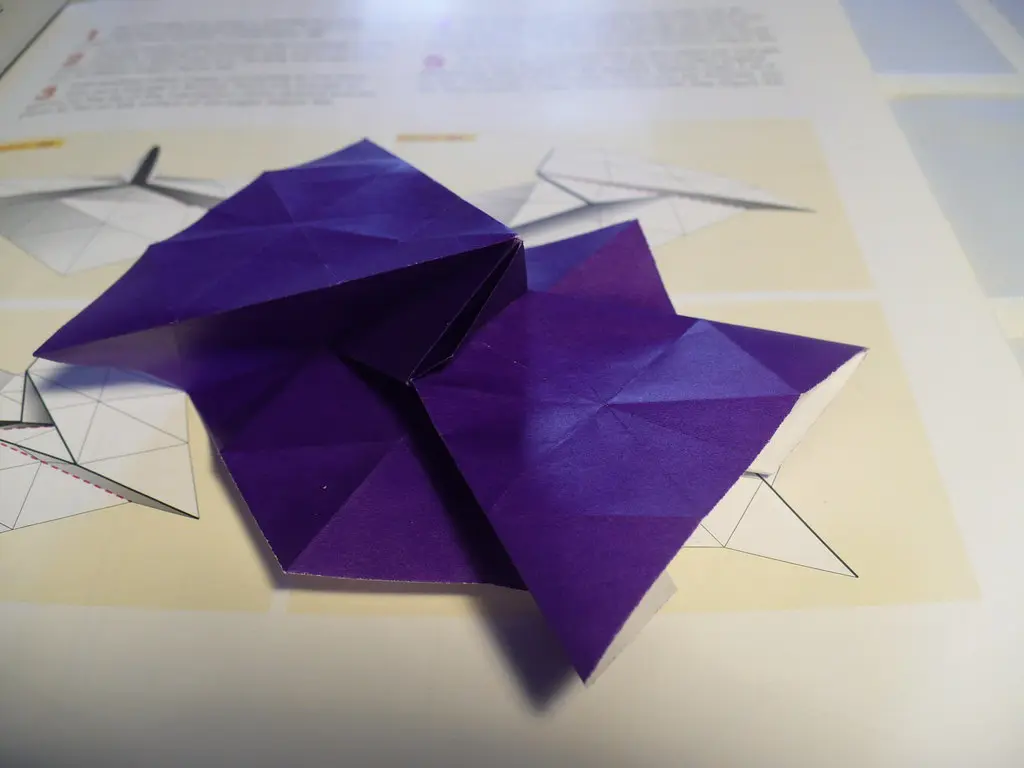
A twist is the core building block of most tessellation designs, and once you understand it, a lot of complicated-looking patterns suddenly make sense. A twist fold takes a flat section of paper and rotates it around a central point, usually a small polygon like a triangle or hexagon, pulling the surrounding paper into pleats as it turns.
Picture pressing your finger into the center of a paper hexagon and twisting it slightly while the edges fold inward to follow. That twisting motion is what locks the paper into its new shape, and it's also what creates the raised or lowered sections that give tessellations their textured, almost fabric-like look.
Most geometric paper folding tessellations use twists repeated across the entire grid, sometimes all turning the same direction, sometimes alternating, which is part of what creates such different finished patterns from what looks like a similar starting grid.
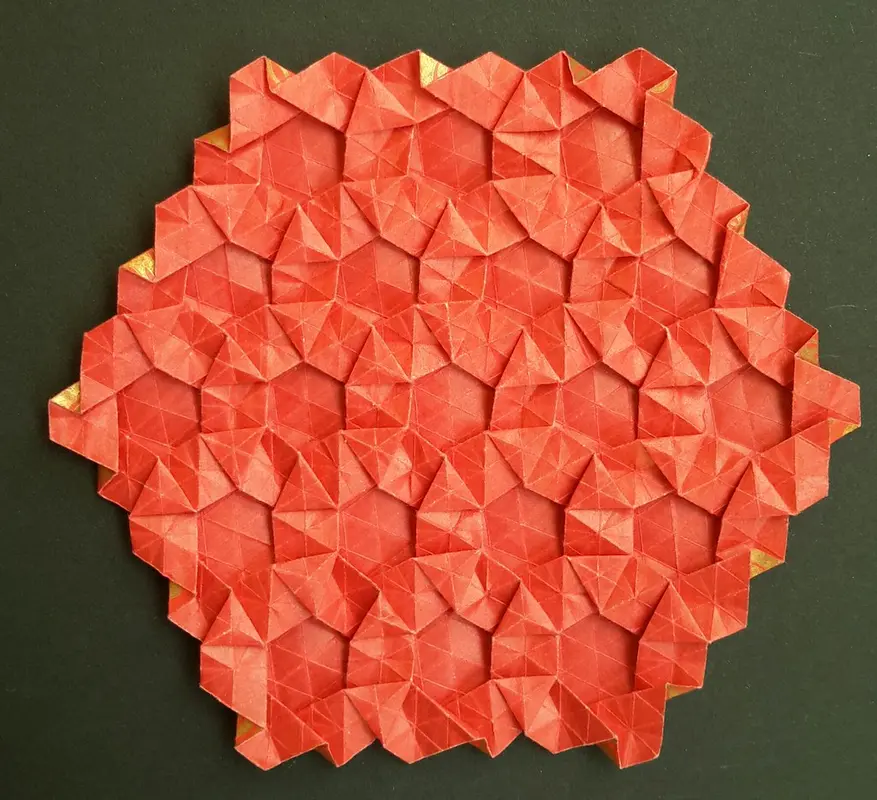
Photo Credit: Internet
Materials and Tools for Tessellation Folding
Tessellations demand more precision than most beginner folds, since a single sloppy crease early on throws off every twist that follows it across the sheet. A few specific tools make a real difference here.
|
Item |
Purpose |
Notes |
|
Thin, crisp paper (kami or tissue foil) |
Holds sharp, repeated creases |
Thick paper resists tight twist folds |
|
Large square sheets |
Gives room for a full repeating grid |
Small paper limits pattern complexity |
|
Bone folder |
Sharpens every pre-crease line |
Essential, not optional, for tessellations |
|
Ruler and pencil |
Marks grid lines before folding |
Keeps the repeating pattern even |
|
Clear, flat cutting mat |
Provides a stable marking surface |
Prevents grid lines from smudging or shifting |
If you enjoy the structural, geometric side of folding, Curved-Fold Origami is worth exploring next, since it uses a related sense of precision but with curved rather than straight crease lines.
Why Is Pre-Creasing Important for Tessellations?
Pre-creasing means folding and unfolding every line in the pattern grid before you attempt any actual twist folds. It feels like an extra, tedious step, but skipping it is one of the most common reasons beginner tessellations fall apart halfway through.
Here's why it matters so much. A tessellation relies on dozens, sometimes hundreds, of creases all working together at once. If even a few of those lines aren't already softened and defined, the paper resists when you try to bring the whole pattern together, and the entire sheet can buckle or tear at a weak point.
I always pre-crease the full grid twice, once lightly to mark the lines, then a second pass with a bone folder to make sure every crease is crisp before I attempt a single twist. It adds ten or fifteen minutes to a project, but it saves far more time than it costs by preventing torn paper deep into a design.
How to Fold a Simple Tessellation, Step by Step
A basic triangle twist tessellation is a solid starting project, since it only uses one repeating shape and one twist direction throughout the whole grid.
- Mark your grid first. Use a ruler and pencil to lightly draw a triangle grid across your paper before folding anything.
- Pre-crease every line. Fold and unfold each grid line completely, working in one direction first, then the other.
- Sharpen every crease with a bone folder once the full grid is pre-creased, since faint lines make twist folds much harder to execute cleanly.
- Start twisting from one corner, working outward across the grid rather than jumping between random sections.
- Keep the twist direction consistent across the entire sheet unless your specific pattern calls for alternating directions.
- Flatten gradually, pressing the whole sheet down evenly rather than forcing one section flat before the others are shaped.
- Check the pattern as you go, adjusting any twist that looks looser or tighter than its neighbors before moving further across the grid.
Are Origami Tessellations Difficult for Beginners?
Yes and no. The individual twist fold itself isn't especially hard once you've practiced it a handful of times. What makes tessellations genuinely challenging is the sheer repetition and precision required across dozens of identical folds in a row.
A beginner who's comfortable with basic mountain and valley folds can absolutely learn a simple tessellation pattern. The real hurdle isn't skill, it's patience, since one weak crease buried in the middle of a large grid can quietly throw off everything folded around it.
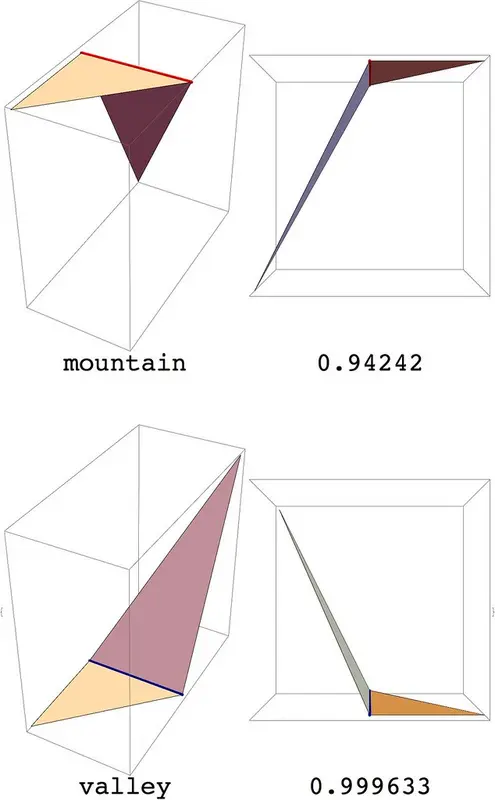
Photo Credit: Internet
I'd recommend starting small, maybe a four by four grid, before attempting anything larger. It's much easier to spot and fix a mistake in a compact pattern than to hunt for one buried crease in a sheet with sixty repeated units.
What Paper Works Well for Origami Tessellations?
Paper choice matters enormously here. Thin, crisp paper like standard kami or foil-backed tissue holds tight twist folds far better than thicker cardstock, which tends to resist repeated pleating and can crack along heavily creased lines.
Larger sheets also help beginners more than smaller ones, even though it seems backwards. A bigger grid gives your fingers more room to manage each twist individually, while tiny paper forces cramped folds that are much easier to get wrong.
Avoid textured or heavily coated paper for your first few attempts. The coating can flake or crack along repeated crease lines, which ruins the clean, uniform look that makes a finished tessellation pattern so satisfying to look at.
Pro Tips for Folding Tessellations
- Always pre-crease the entire grid before twisting anything. Skipping ahead to shape one section early almost always causes problems later in the pattern.
- Work on a hard, flat surface. Tessellations need firm pressure across many folds, and a soft surface absorbs that pressure instead of helping the crease set.
- Keep your hands and paper dry. Sweaty hands can soften paper fibers over a long folding session, which weakens crease lines right when you need them sharpest.
- Fold in good light. Faint grid lines are easy to lose track of under dim lighting, especially across a large repeating pattern.
- Take breaks on big projects. Large tessellations can take well over an hour, and tired hands are more likely to apply uneven pressure across the grid.
- Don't rush the final flattening step. Pressing too hard too fast before every twist is properly set can crush the pattern's texture instead of locking it cleanly in place.
A folder who taught me tessellations once said the paper always tells you where it's unhappy long before it tears. I think about that every time a fold starts resisting instead of following.
Comparing Tessellation Origami to Other Techniques
|
Feature |
Tessellation Origami |
Modular Origami |
Traditional Single-Sheet |
|
Number of sheets |
One |
Multiple |
One |
|
Core technique |
Repeated twist folds |
Interlocking units |
Sequential shaping folds |
|
Precision needed |
Very high, across whole grid |
High, per unit |
Moderate |
|
Typical result |
Flat, patterned surface |
3D geometric shape |
Recognizable figure |
|
Best for |
Pattern lovers, geometric folders |
Puzzle-minded folders |
Beginners, quick projects |
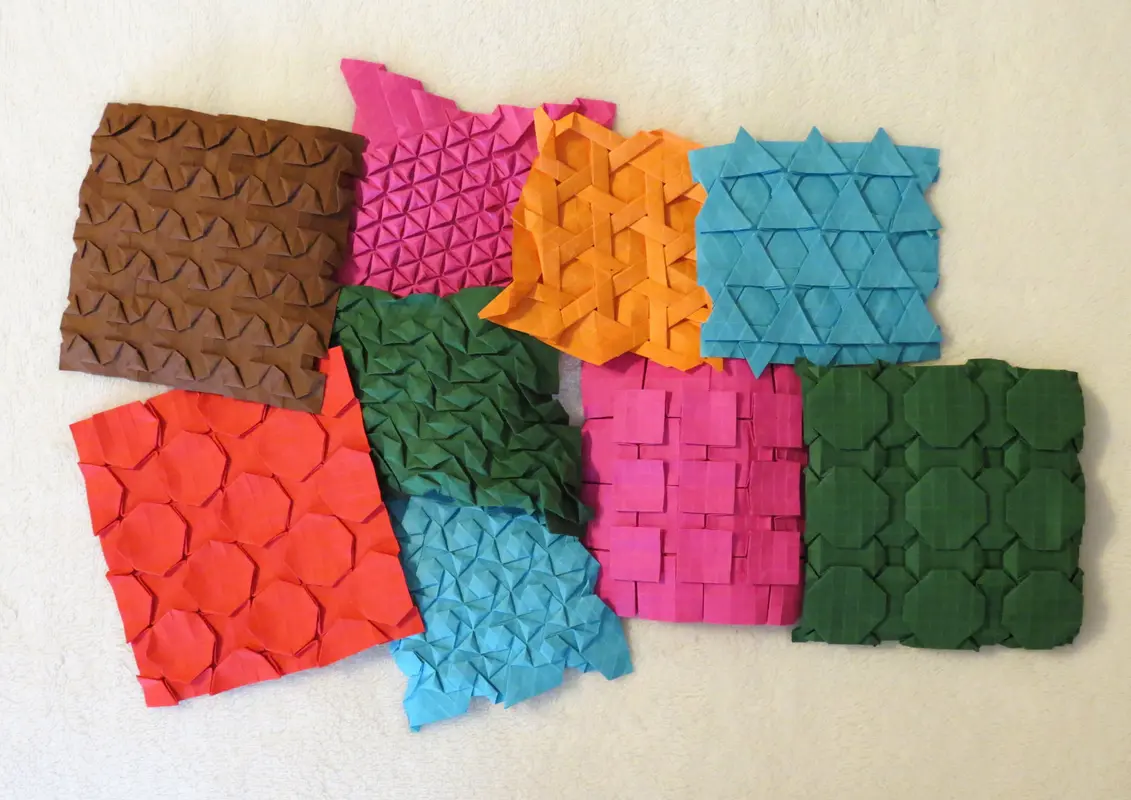
Photo Credit: Internet
Frequently Asked Questions
What is an origami tessellation? An origami tessellation is a folded paper design made from one sheet, using a repeating pattern of identical shapes and creases to create a woven or mosaic-like surface.
How does a tessellation repeat a pattern on one sheet? The same small fold sequence, based on a pre-creased grid, gets repeated across the paper. Each section connects to its neighbors through shared fold lines, creating the full pattern.
What is a twist in origami tessellation? A twist is a fold where a section of paper rotates around a central point, pulling surrounding paper into pleats and creating the raised, textured look common in tessellation patterns.
Why is pre-creasing important for tessellations? Pre-creasing softens every grid line before shaping begins. Without it, the paper resists during twist folds, which often causes buckling or tearing partway through the pattern.
What paper works well for origami tessellations? Thin, crisp paper like kami or foil-backed tissue works best. Larger sheets are easier for beginners, and thick or coated paper tends to crack along repeated crease lines.
Are origami tessellations difficult for beginners? The individual twist fold is simple to learn, but the repetition and precision required across a full grid make tessellations more demanding than most single-sheet models. Starting with a small grid helps.
Final Thoughts
Tessellation origami turns basic folding skills into something closer to pattern design, where patience with repetition matters just as much as clean creases. Start with a small grid, pre-crease everything before you twist a single section, and the whole process becomes far less mysterious than it looks at first glance.
If you're ready to explore where else folding can take you, Read the full origami guide for everything from single-sheet basics to modular, action, and tessellation techniques.





Leave a Reply