Warped cardstock, glue lines you can see from across the room, cuts that look like they fought a pair of dull scissors. If any of that sounds familiar, you're not doing anything wrong exactly, you're just making the same beginner paper crafting mistakes almost everyone makes early on.
I've made every single one of these myself, usually more than once. This guide is part ofGetting Started with Paper Crafts, and it walks through the mistakes I see most often, why they happen, and exactly how to fix them.
Why These Mistakes Happen So Often
Paper crafting looks simple from the outside. Cut, fold, glue, done. But paper reacts to moisture, pressure, and blade sharpness in ways that aren't obvious until you've ruined a few sheets of cardstock finding out the hard way.
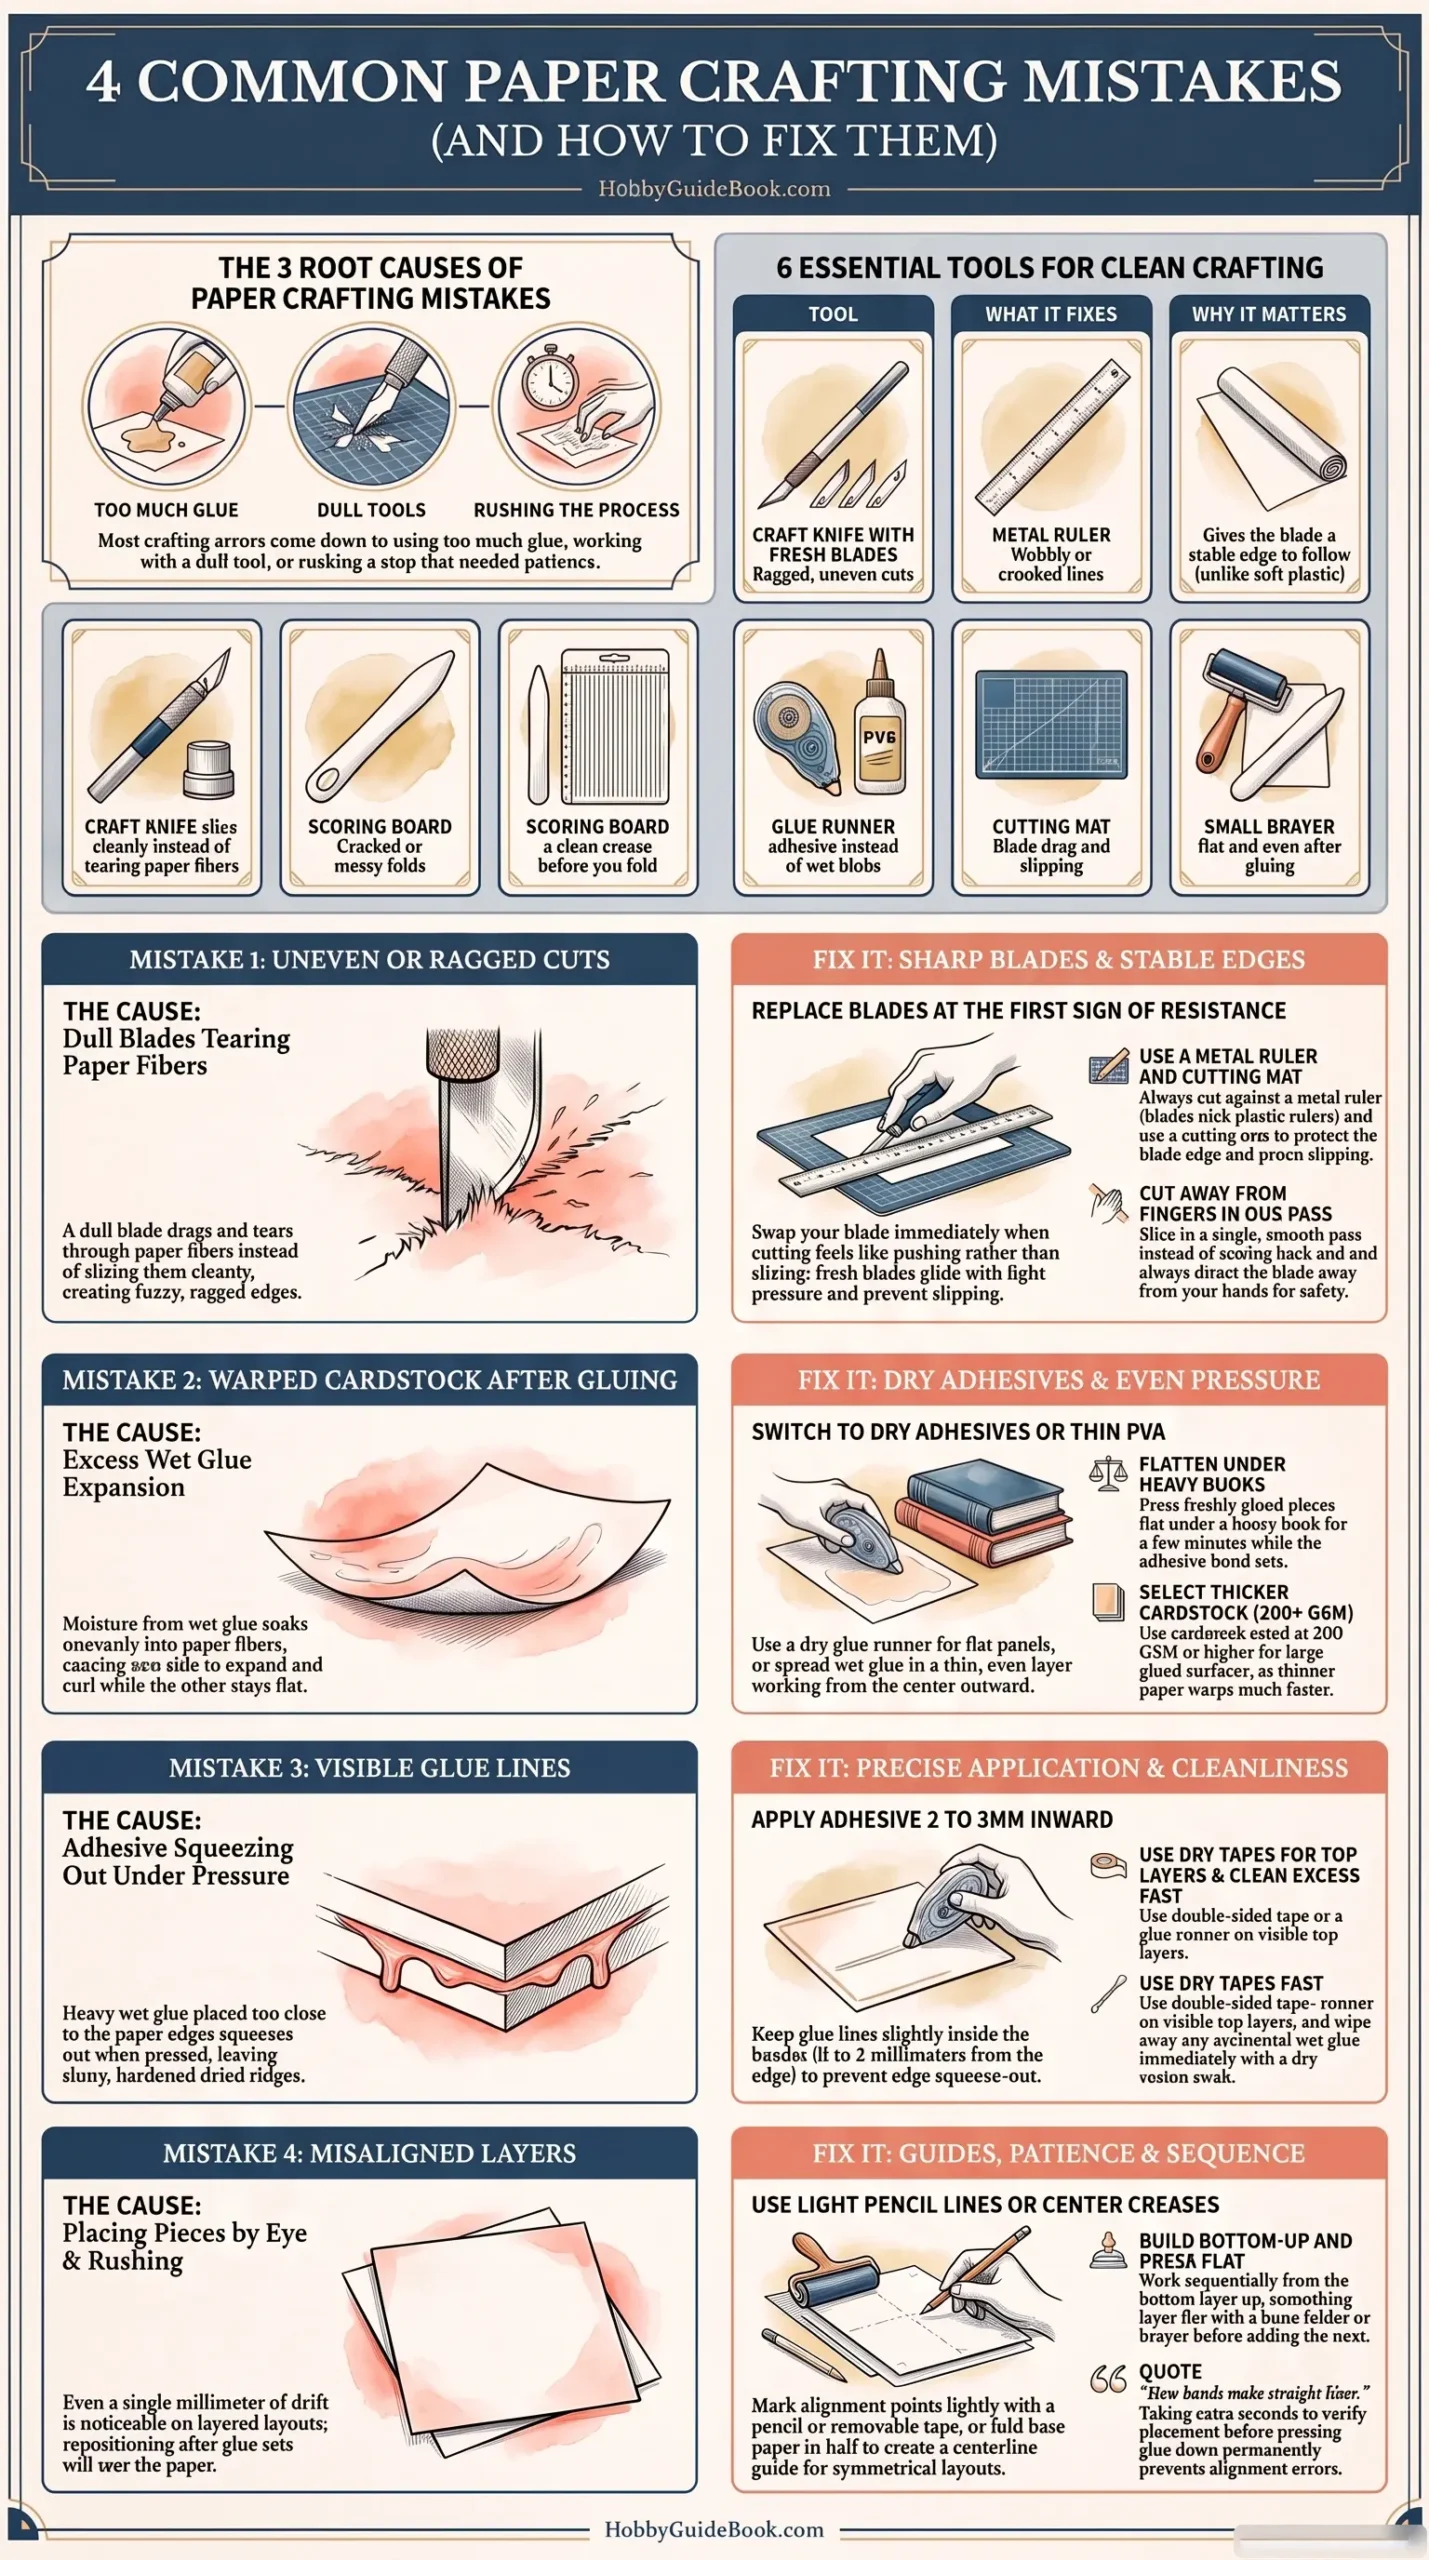
Most paper crafting mistakes to avoid come down to three root causes: using too much of something (usually glue), using a dull tool, or rushing a step that needed patience instead. Once you can spot which of those three is causing your problem, fixing it gets a lot easier.
Tools That Actually Prevent These Mistakes
Before troubleshooting specific problems, it helps to have the right tools on your desk. A lot of beginner mistakes disappear once the right tool replaces the wrong one.
Tool
What It Fixes
Why It Matters
Craft knife with fresh blades
Ragged, uneven cuts
Sharp blades slice cleanly instead of tearing fibers
Metal ruler
Wobbly or crooked lines
Gives the blade a stable edge to follow
Scoring board or bone folder
Cracked or messy folds
Creates a clean crease before you fold
Glue runner or PVA glue
Warping and visible glue lines
Applies thin, even adhesive instead of wet blobs
Cutting mat
Blade drag and slipping
Gives the blade grip and protects your table
Small brayer or bone folder
Misaligned layers
Presses layers flat and even after gluing
Having these six items on hand solves most of the problems covered below before they even start.
Photo Credit: Hobby Guidebook Editorial
Mistake 1: Uneven or Ragged Cuts
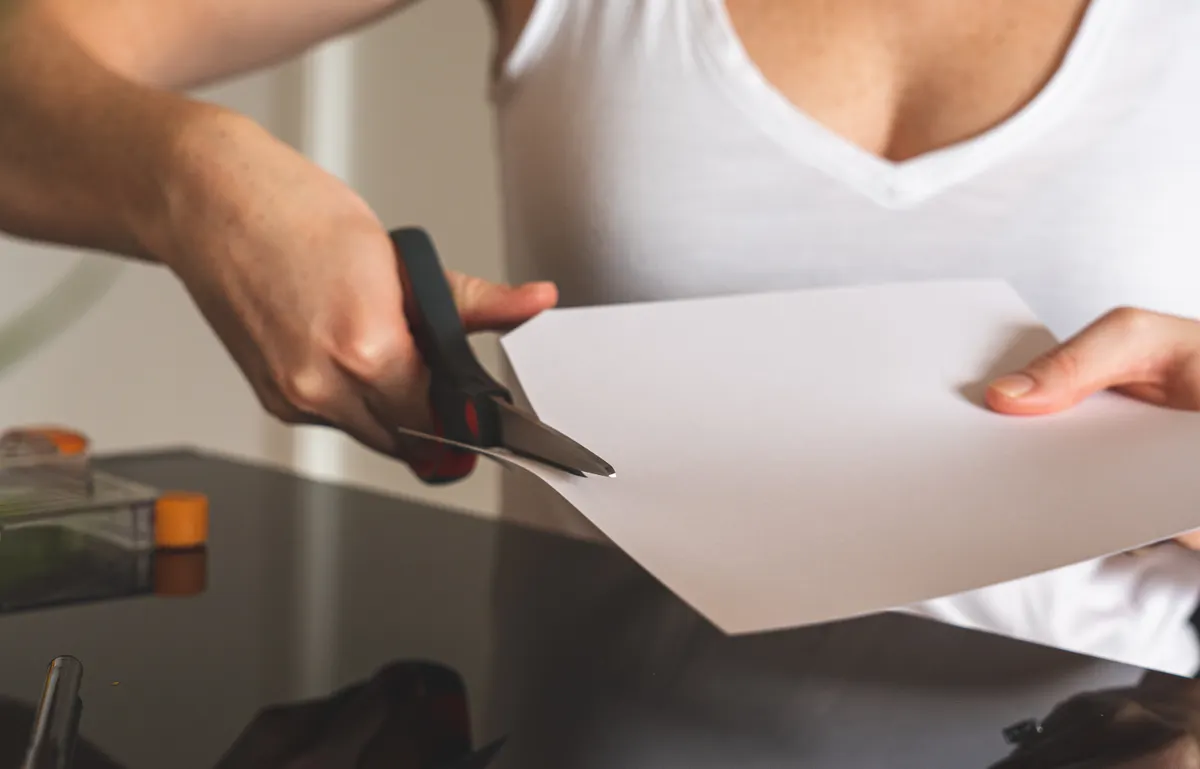
This is usually the very first mistake beginners run into, and it almost always comes down to blade sharpness. A dull blade drags through paper fibers instead of slicing them, leaving a torn, fuzzy edge instead of a clean line.
How to fix it:
Replace your blade the moment cuts start feeling like you're pushing instead of slicing.
Always cut against a metal ruler, never a plastic one, since blades can nick soft plastic edges and throw off your line.
Use a cutting mat every time, even for quick trims. Cutting on a bare table dulls blades fast and gives the blade nowhere to grip.
Cut in one smooth pass instead of sawing back and forth, which tends to tear rather than slice.
A quick safety note here too. Always cut away from your fingers, and replace blades regularly. A worn blade actually needs more pressure to cut, which raises the chance of it slipping. A fresh blade glides with light pressure and is safer to control.
Mistake 2: Warped Cardstock After Gluing
Warping happens when moisture from wet glue soaks into paper fibers unevenly, causing one side to expand and curl while the other stays flat. It's one of the most common complaints from beginners, and it's almost always a glue amount problem, not a paper quality one.
How to fix it:
Switch to a glue runner or dry adhesive for flat pieces, since it applies almost no moisture.
If using wet glue, apply a thin, even layer instead of a heavy coat, and always work from the center outward.
Press glued pieces under a flat, heavy book for a few minutes while the bond sets.
Choose thicker cardstock, generally 200 GSM or higher, for projects with larger glued surfaces, since thinner paper warps faster.
If you're dealing with cardstock that already curled, there's a full walkthrough onHow to Fix Warped Cardstock that covers flattening techniques step by step.
Mistake 3: Visible Glue Lines
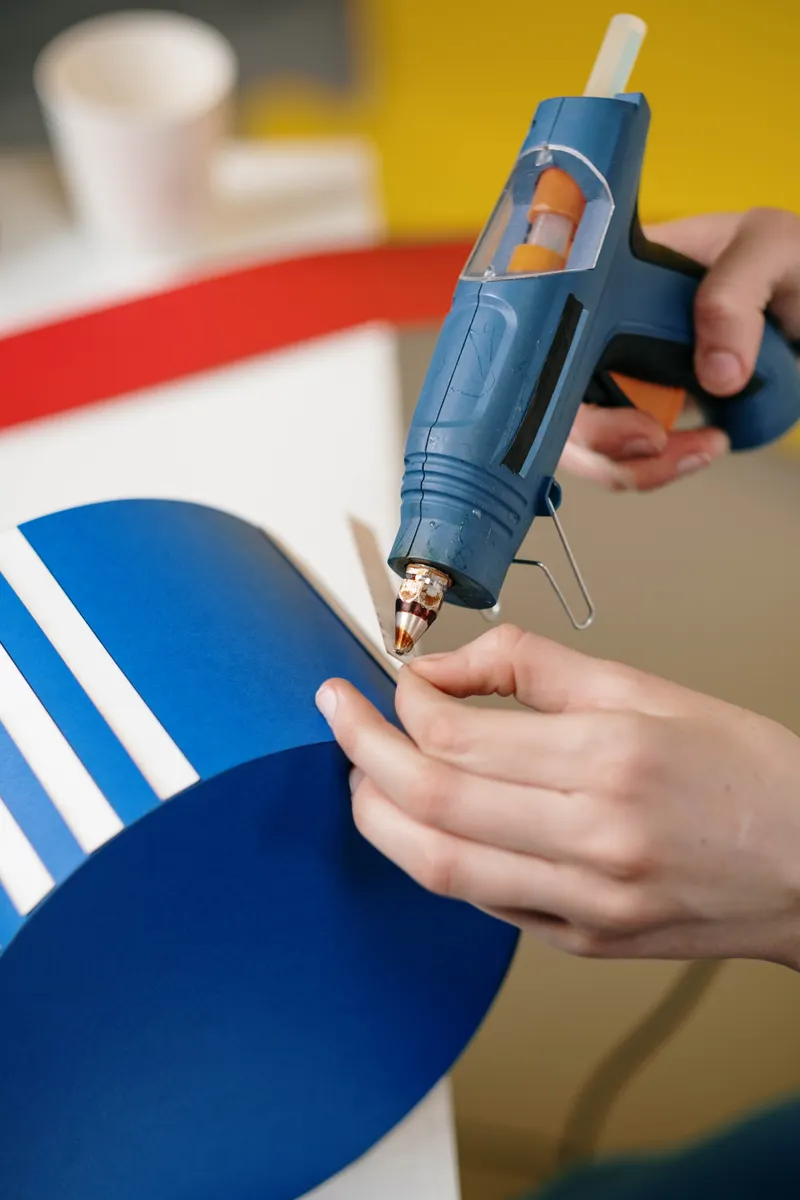
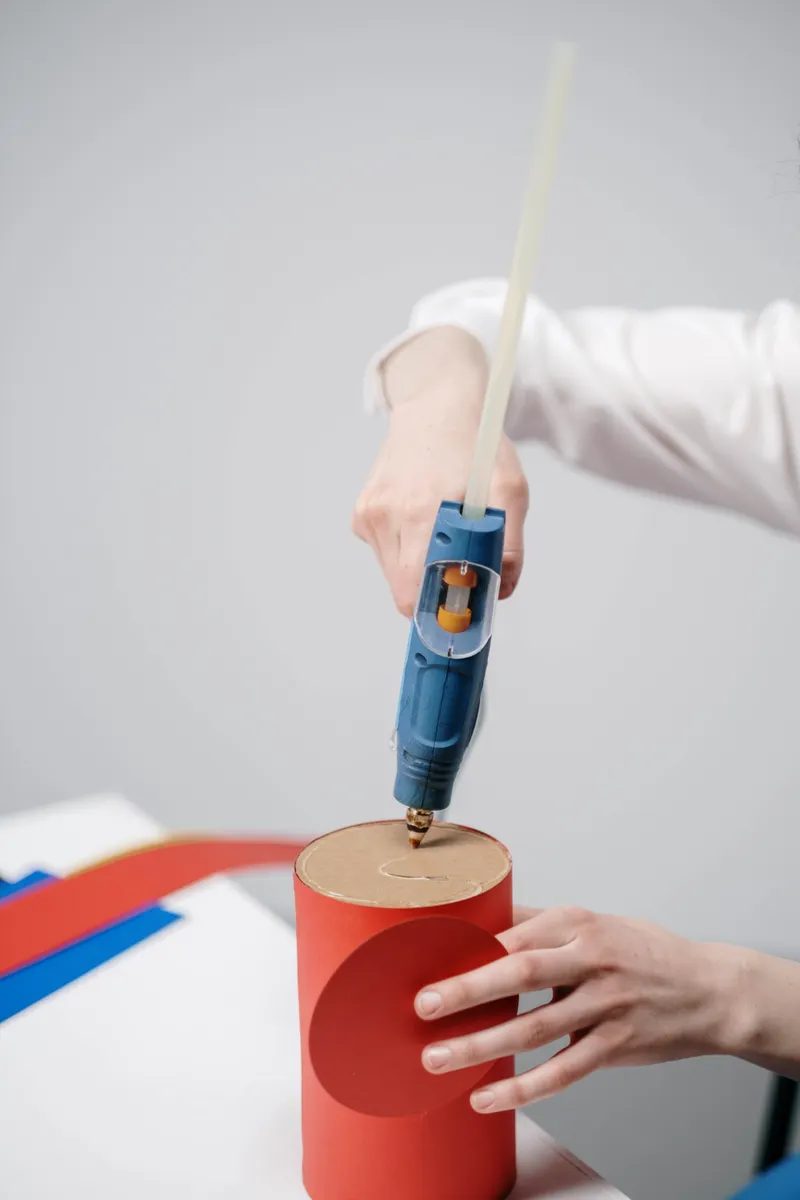
Nothing pulls attention away from a nice layout faster than a shiny ridge of dried glue peeking out from under a layer. This usually happens from applying too much glue too close to the edge of a piece.
How to fix it:
Apply glue about two to three millimeters in from the edge, never right up to it.
Use a thin, controlled adhesive like a glue runner or double-sided tape instead of a glue stick or wet glue for visible top layers.
Wipe away any excess glue immediately with a dry cotton swab before it dries and hardens.
Let each layer dry fully before adding the next, since wet glue under pressure tends to squeeze out the sides.
If glue never seems to dry flat no matter what you try, the deeper troubleshooting guide onWhy Won't My Paper Craft Glue Dry Flat? covers humidity, glue type, and drying time in more detail.
Photo Credit: cottonbro studio
Mistake 4: Misaligned Layers
Layered cards and scrapbook pages depend on pieces lining up cleanly, and even a millimeter of drift is noticeable once glue sets. This mistake usually comes from placing a piece by eye instead of using a guide.
How to fix it:
Use a light pencil mark or a piece of removable tape as a placement guide before gluing anything down.
Work from the bottom layer up, pressing each piece flat with a bone folder or small brayer before adding the next.
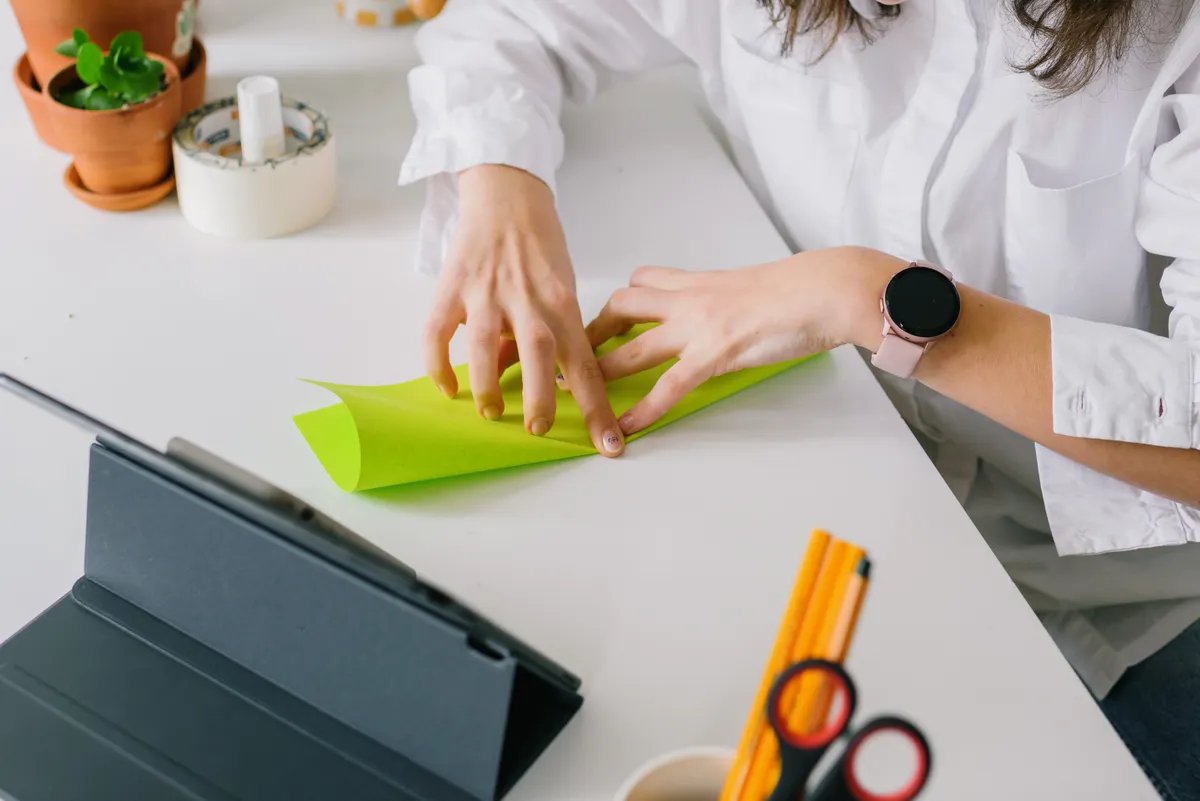
For symmetrical designs, fold your base paper in half first and use the crease as a centerline guide.
Give yourself a few extra seconds to check alignment before pressing glue down permanently, since repositioning after the glue sets usually tears the paper.
"Slow hands make straight lines." That's advice I picked up early in my own paper crafting years, and it's stuck with me through every layered project since. Rushing the placement step is where most alignment mistakes start.
Quick Mistake and Fix Reference
Here's a condensed version of everything above for a fast glance while you're working.
Mistake
Likely Cause
Fast Fix
Ragged cuts
Dull blade
Replace blade, cut in one smooth pass
Warped cardstock
Too much wet glue
Use dry adhesive, press under a book
Visible glue lines
Glue too close to edges
Keep glue 2 to 3mm inward, wipe excess fast
Misaligned layers
Placing by eye
Use pencil guides, press flat before moving on
Photo Credit: cottonbro studio
Frequently Asked Questions
What mistakes do paper crafting beginners make? The most common beginner paper crafting mistakes are ragged cuts from dull blades, warped cardstock from too much glue, visible glue lines, and misaligned layers. Most of these come down to tool sharpness, glue amount, or rushing a step that needed more care.
Why does my paper warp when I glue it? Paper warps when wet glue adds uneven moisture to the fibers, causing one side to expand while the other stays flat. Using a dry adhesive like a glue runner, or applying wet glue thinly and pressing the piece flat while it dries, usually solves this.
How do I avoid visible glue lines on paper crafts? Keep glue about two to three millimeters away from the edges of your paper, and wipe any excess immediately with a dry cotton swab. Thin adhesives like glue runners or double-sided tape also leave far less visible residue than wet glue or glue sticks.
Why are my cuts uneven or ragged? Ragged cuts almost always come from a dull blade dragging through paper fibers instead of slicing cleanly. Replace your blade often, always cut against a metal ruler on a proper cutting mat, and cut in one smooth motion instead of sawing back and forth.
How can I keep paper layers aligned? Use a light pencil mark or removable tape as a placement guide before gluing, and press each layer flat with a bone folder before adding the next one. Folding your base paper first to create a centerline also helps with symmetrical layouts.
How much glue should I use on cardstock? Use a thin, even layer of glue rather than a heavy coat, since too much moisture is the main cause of warping and visible glue lines. A glue runner naturally applies the right amount, while wet glue should be spread thinly with a brush or applicator tip.
Final Thoughts
Every one of these beginner paper crafting mistakes is fixable, and most of them stop happening once you slow down slightly and use the right tool for the job. A sharp blade, a thin layer of glue, and a few extra seconds spent checking alignment will solve the majority of problems covered here.
Give yourself permission to mess up a few sheets of cardstock while you're learning. That's really just part of the process.





Leave a Reply