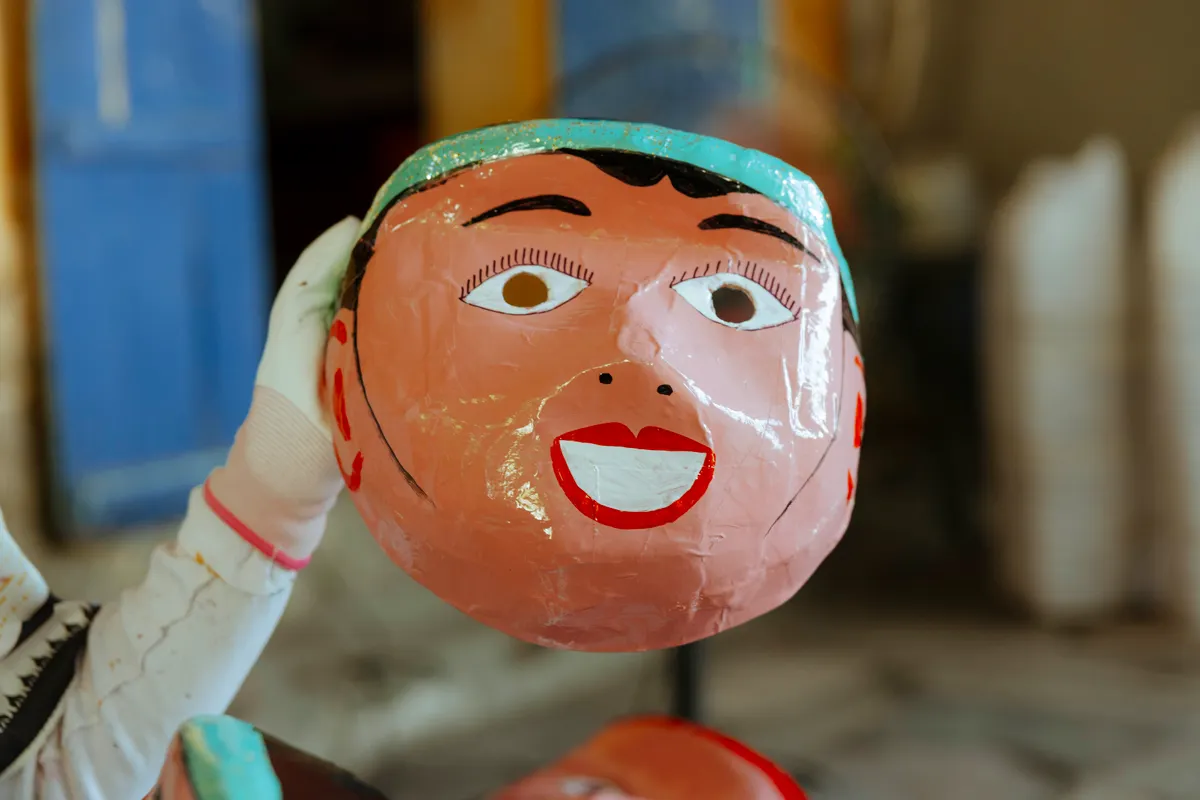
I once tore through an entire roll of newspaper in one sitting, convinced more layers meant a stronger piñata. What I got instead was a soggy, lumpy mess that took three days to dry, and that's the exact mistake a solid paper mache layering technique is meant to prevent.
Layering is the backbone of paper mache. Get it right and you end up with a strong, smooth shell. This article is Part of Paper Mache Techniques, so once layering feels natural, the rest of paper mache comes together much more easily.
Why Layering Technique Matters So Much
Paper mache strength comes almost entirely from how the layers are built, not from how much paste you use or how thick each strip is. Too few layers and a project stays fragile. Too many, especially applied too fast, and it can warp, crack, or take days longer to dry than it should.
Paper mache drying time is closely tied to layering habits. Each wet layer adds moisture that needs to escape before the next one goes on, and rushing that process is where most beginner projects go wrong.
I've built masks, bowls, and one very lopsided volcano for a school project over the years, and the difference between a piece that holds its shape and one that sags always traces back to the same thing. Patience between layers matters more than raw layer count.
Tools and Materials for Paper Mache Layering
You don't need much to start, but having the right materials on hand keeps the process smooth from the first layer to the last.
|
Tool or Material |
Purpose |
|
Newspaper or plain paper strips |
The base material for each layer |
|
Paper mache paste (flour or glue based) |
Bonds strips together and to your form |
|
Mixing bowl |
Holds paste at an easy-to-reach consistency |
|
Armature or base form |
The shape your layers build around |
|
Scissors |
Cuts strips to size before dipping |
|
Drying rack or open tray |
Allows air to reach all sides while layers dry |
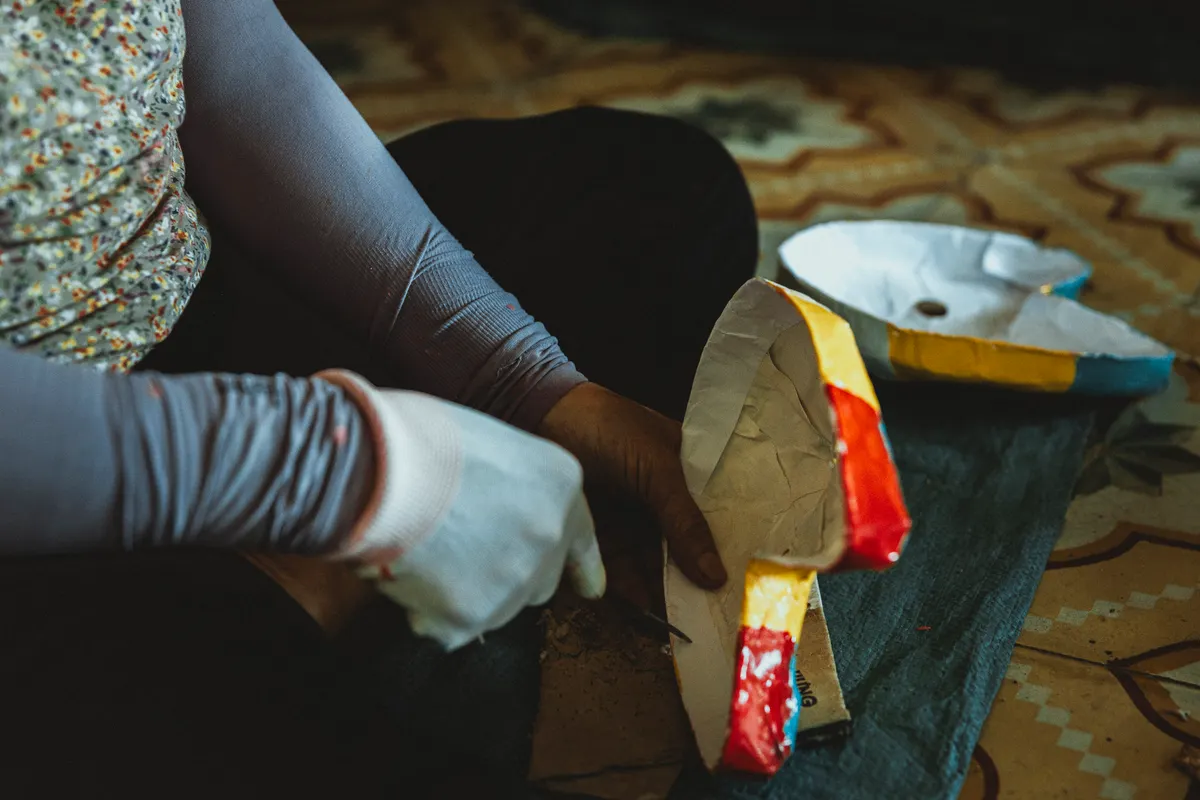
Tearing strips by hand instead of cutting them with scissors actually helps in most cases. Torn edges blend together more smoothly once dry, while cut edges can leave slightly visible ridges under paint.
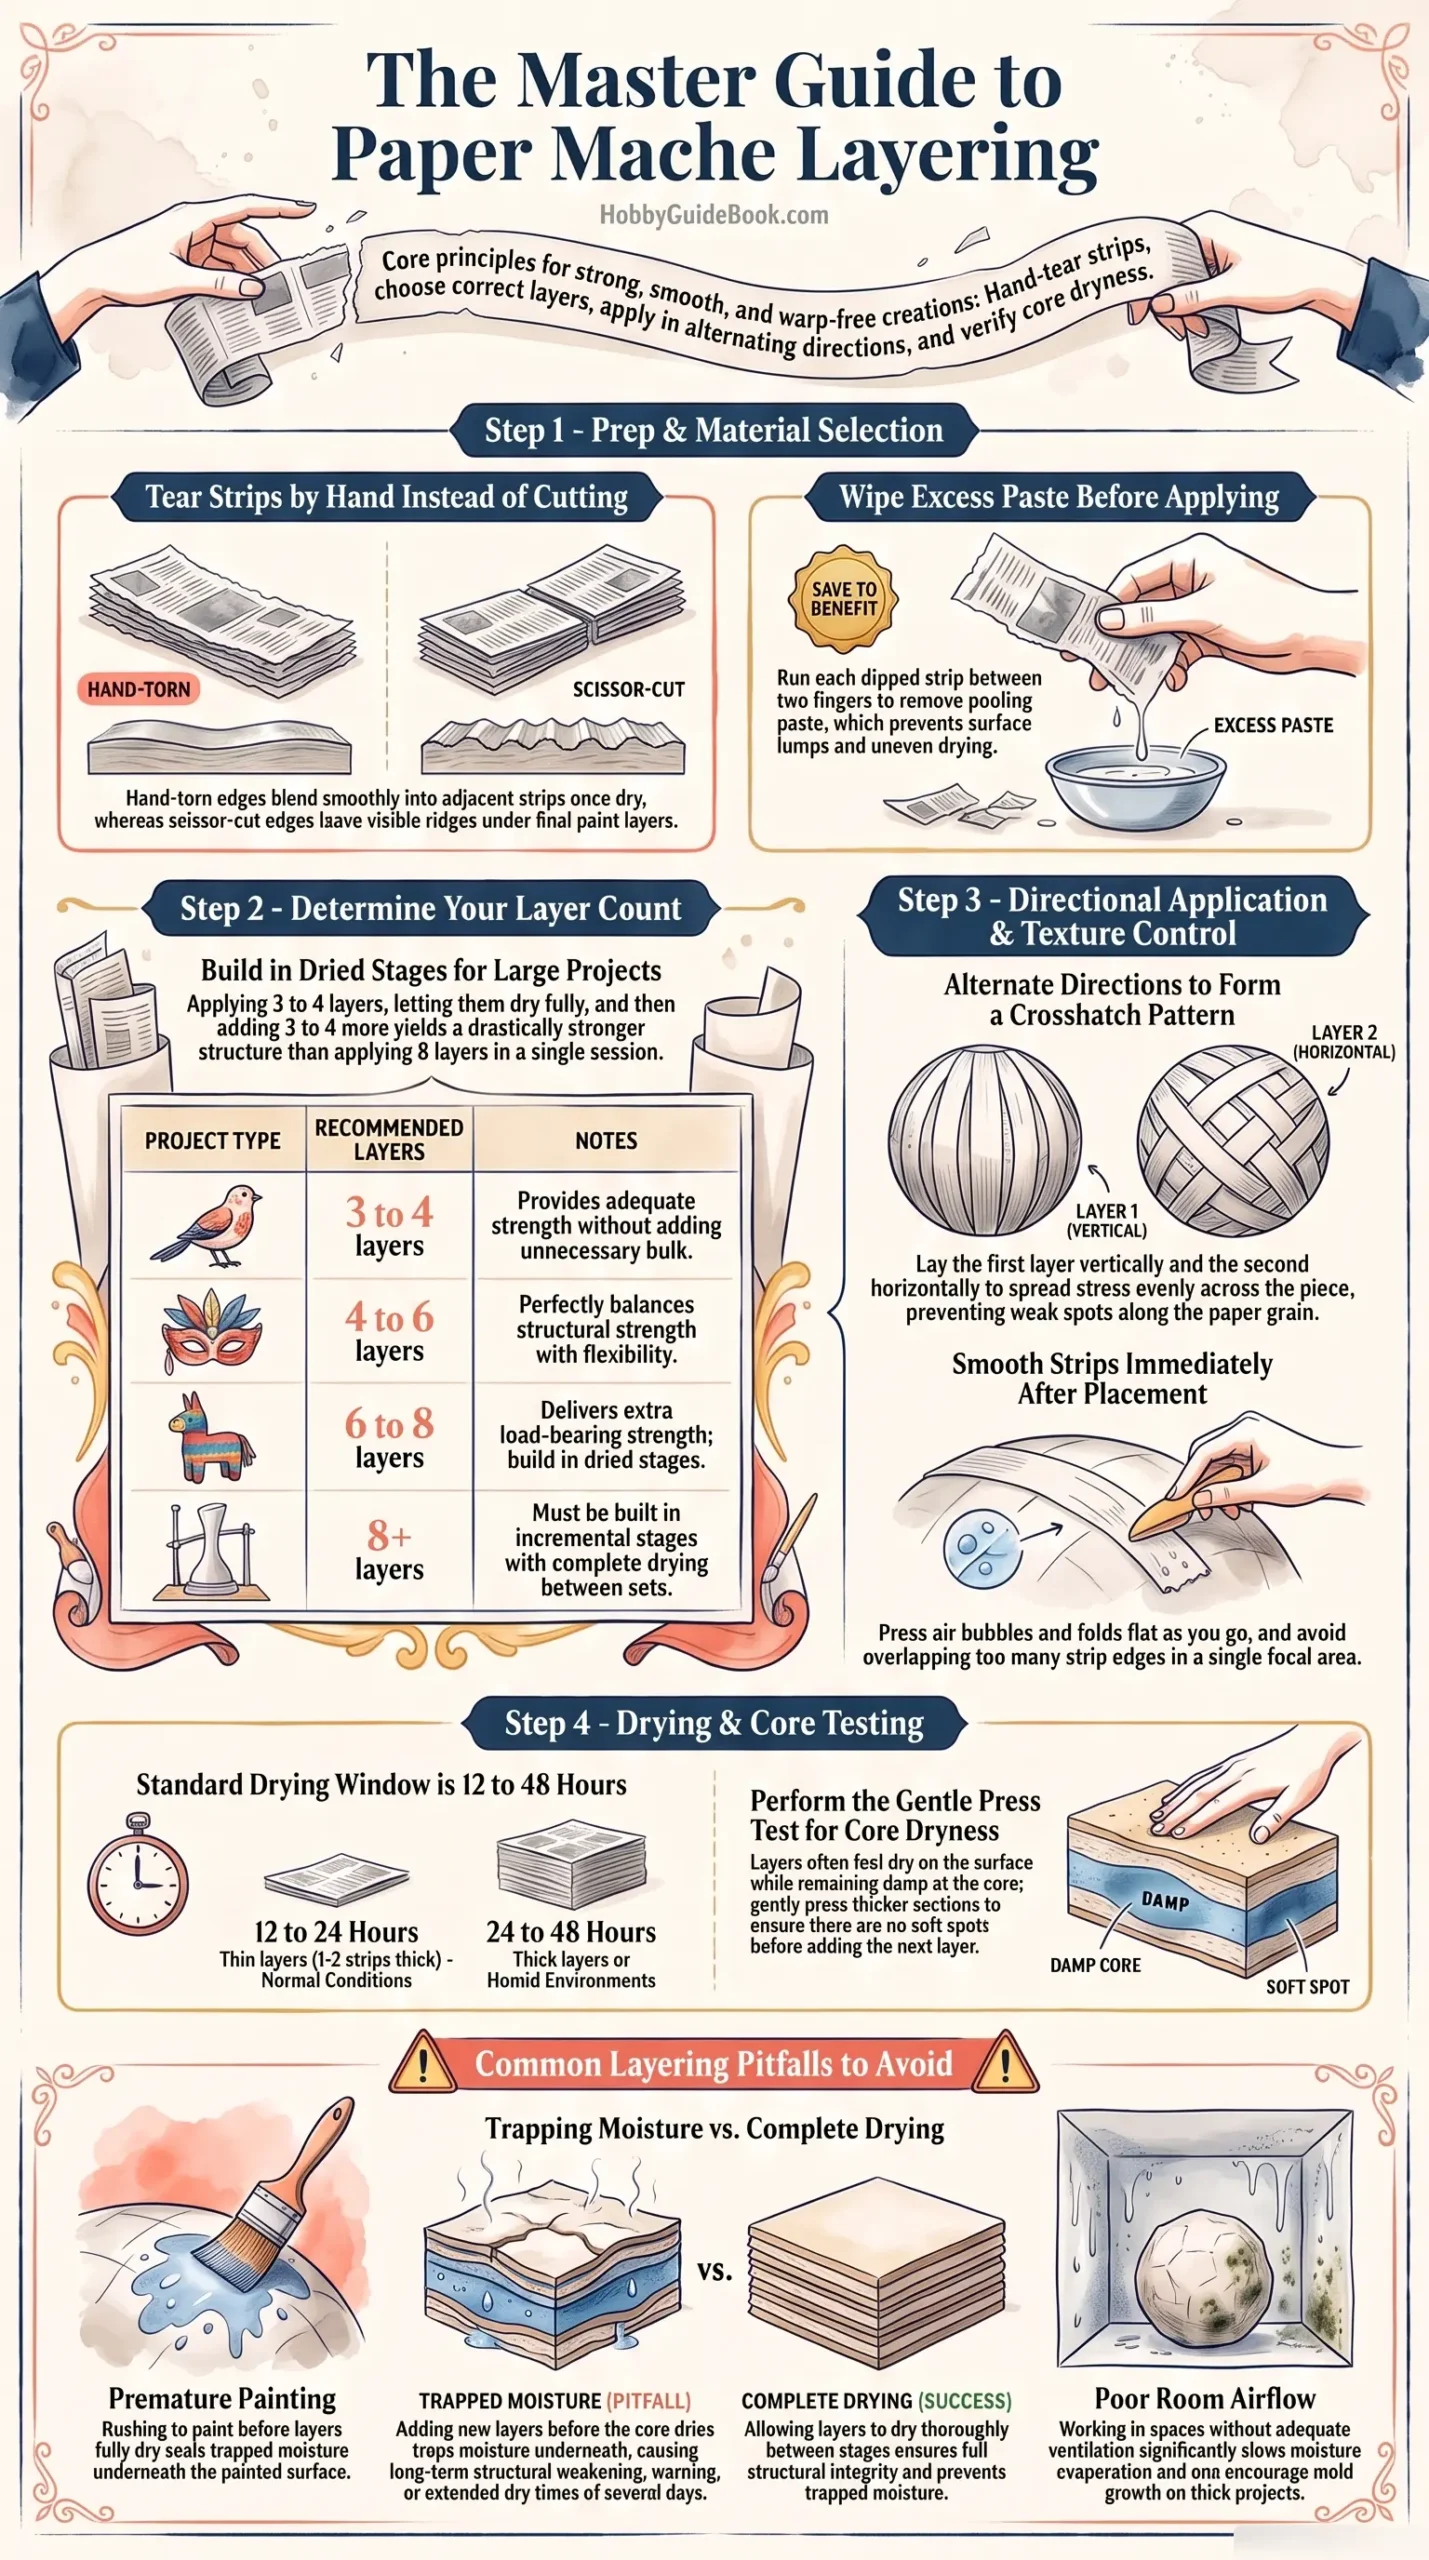
Photo Credit: Hobby Guidebook Editorial
Core Technique: How Many Layers of Paper Mache Does a Project Need
The right layer count depends on the size and purpose of your project, but there are reliable starting points for most builds.
|
Project Type |
Recommended Layers |
Notes |
|
Small decorative items |
3 to 4 layers |
Enough strength without added bulk |
|
Masks and bowls |
4 to 6 layers |
Balances strength and flexibility |
|
Piñatas and larger forms |
6 to 8 layers |
Needs extra strength to hold weight |
|
Structural sculpture bases |
8+ layers |
Built in stages with full drying between sets |
Smaller, lightweight projects rarely need more than four layers. Adding extra beyond that mostly adds drying time without adding much real strength.
Larger or load-bearing pieces benefit from more layers, but building them in stages matters more than the total count. Three or four layers, fully dried, then three or four more, produces a far stronger result than eight layers applied all at once.
How Long Should Each Paper Mache Layer Dry
Drying time varies with humidity, paper thickness, and how many layers are stacked at once, but general guidelines help set expectations.
- Thin layers (1 to 2 strips thick) typically dry within 12 to 24 hours in normal room conditions.
- Thicker layers or humid environments can take 24 to 48 hours before they're fully dry to the touch and firm underneath.
- Layers built on top of each other without drying time dramatically extend total drying time, sometimes by several days, since trapped moisture has nowhere to go.
A layer feels dry on the surface well before it's actually dry all the way through. Pressing gently on a thicker section is the most reliable way to check, since a still-soft spot underneath means more drying time is needed.
Once your base layers are solid, getting the paste mixture right becomes just as important as the layering itself. Paper Mache Paste Technique covers how paste consistency affects both strength and drying speed across every layer you add.
Should Paper Mache Dry Completely Between Layers
For most projects, yes, and this is one of the most important habits to build early. Adding a new layer before the one underneath has dried traps moisture between them, which slows overall drying and can weaken the final shape.
There are exceptions. Some builders apply two thin layers back to back within the same session, as long as each strip is only lightly dipped rather than soaked. This works best on small, simple projects where drying time isn't a major concern.
A paper mache layer that feels dry on top can still be damp at its core. Rushing the next layer on before that core dries is the single most common reason projects end up weak or warped.
For anything larger than a small decorative piece, letting each set of layers dry fully before adding more is worth the extra time. It's a slower process, but it produces a noticeably sturdier final shell.

Photo Credit: RDNE Stock project
How Do You Keep Paper Mache Layers From Becoming Lumpy
Lumpy paper mache almost always comes down to paste that's too thick or strips that are too wet when applied.
- Wipe excess paste off each strip before placing it, running the strip between two fingers to remove pooling glue.
- Smooth each strip flat immediately after placing it, working out air bubbles and folds before moving to the next one.
- Avoid overlapping too many edges in one spot, which builds up thickness unevenly across the surface.
- Use thinner paste for detail areas, saving thicker paste for structural base layers where extra bulk matters less.
Smoothing as you go is far easier than fixing lumps after they've dried. Once a lumpy section hardens, sanding it down becomes the only real fix, and that adds extra time most projects don't need.
Which Direction Should Paper Mache Strips Be Layered
Alternating direction between layers is one of the simplest habits that noticeably improves strength. Laying every strip in the same direction creates weak points along the grain, similar to how wood splits more easily along its grain than across it.
- Lay your first layer strips vertically, covering the surface fully before moving on.
- Let that layer dry, then apply your second layer with strips running horizontally.
- Continue alternating direction with each new layer, keeping the pattern consistent across the whole project.
- Check coverage under a bright light between layers, since gaps are much easier to spot before the next layer covers them.
This crosshatch pattern spreads stress evenly across the surface, which is part of why professionally built paper mache pieces hold their shape so much better than rushed ones.
Photo Credit: Ksenia Chernaya
Once your shell holds a strong, even structure, shaping the form underneath becomes the next skill worth building. Paper Mache Sculpting & Armature Technique covers how to build sturdy bases and forms that your layered shell wraps around cleanly.
Common Paper Mache Layering Mistakes to Avoid
A handful of habits separate a strong, smooth build from one that warps or crumbles later.
- Skipping drying time between layers, trapping moisture that weakens the final shape.
- Using paste that's too thick, causing lumps and uneven texture across the surface.
- Layering every strip in the same direction, leaving weak points along the whole piece.
- Working in a room with poor airflow, which slows drying and can encourage mold on thicker projects.
- Rushing to paint before layers are fully dry, trapping moisture underneath a sealed painted surface.
If you're mixing paste yourself, work in a well ventilated space and wash your hands after handling flour based mixtures, especially before touching your face or eyes. It's a low-risk material overall, but good habits matter with any wet, sticky craft process.
FAQ
How many layers of paper mache does a project need? Small decorative items typically need 3 to 4 layers, masks and bowls need 4 to 6, and larger piñatas or sculptures often need 6 to 8 layers built in stages.
How long should each paper mache layer dry? Thin layers usually dry within 12 to 24 hours, while thicker layers or humid conditions can take 24 to 48 hours before they're fully dry through.
Should paper mache dry completely between layers? Yes for most projects, since adding new layers too soon traps moisture and weakens the final shape. Small pieces sometimes allow two very thin layers back to back.
How do you keep paper mache layers from becoming lumpy? Wipe excess paste off each strip before placing it, smooth strips flat immediately, and avoid overlapping too many edges in the same spot.
Which direction should paper mache strips be layered? Alternate direction with each layer, such as vertical then horizontal, to create a crosshatch pattern that spreads stress evenly and strengthens the final shell.
Final Thoughts
The paper mache layering technique really comes down to patience between layers, alternating strip direction, and resisting the urge to add too much too fast. Once that rhythm feels natural, stronger and smoother projects follow almost automatically.
Read the full paper crafts guide for a wider look at techniques across paper mache and every other paper craft.
Leave a Reply