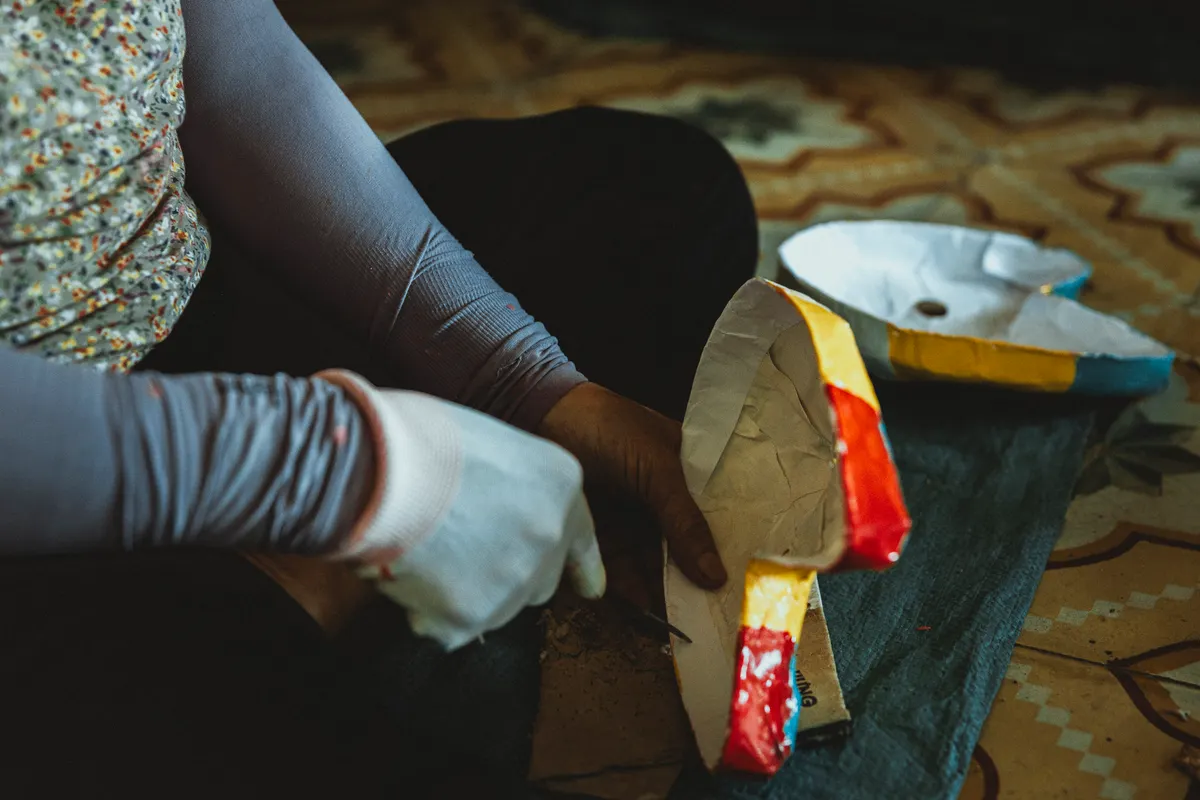
Two ingredients from your pantry, flour and water, can hold together a sculpture that lasts for years if you mix them the right way. That's the whole secret behind a good paper mache paste recipe, and once you get the ratio right, everything else about paper mache gets easier.
This guide is part of Paper Mache Techniques, and it covers exactly how to mix flour paste, how thick it should be, and how long you can store it before it goes bad. I've made more batches of this paste than I can count over the years, and the ratio matters far more than people expect the first time they try it.
What Makes a Good Paper Mache Paste
A good paste needs to do two things at once. It has to be sticky enough to hold layers of paper together, but thin enough to soak into the paper without leaving thick, lumpy clumps behind.
Flour paste is the traditional choice, and it's still the most popular option for a simple reason: it's cheap, easy to mix, and forgiving for beginners. It also dries clear and hard once the project is fully dry, which gives finished pieces a solid, durable shell.
What Is the Best Paper Mache Paste Recipe
The classic flour paste paper mache recipe is about as simple as craft recipes get, and most versions follow the same basic idea.
Basic flour paste recipe:
- 1 cup flour
- 2 cups water
- Optional: 1 tablespoon salt (helps prevent mold during drying)
Mix the flour and water together until smooth, then adjust the thickness based on your project's needs. Some crafters prefer heating the mixture slightly on the stove until it thickens like a light gravy, while others skip the heat entirely and mix it cold, which works fine for most basic projects.
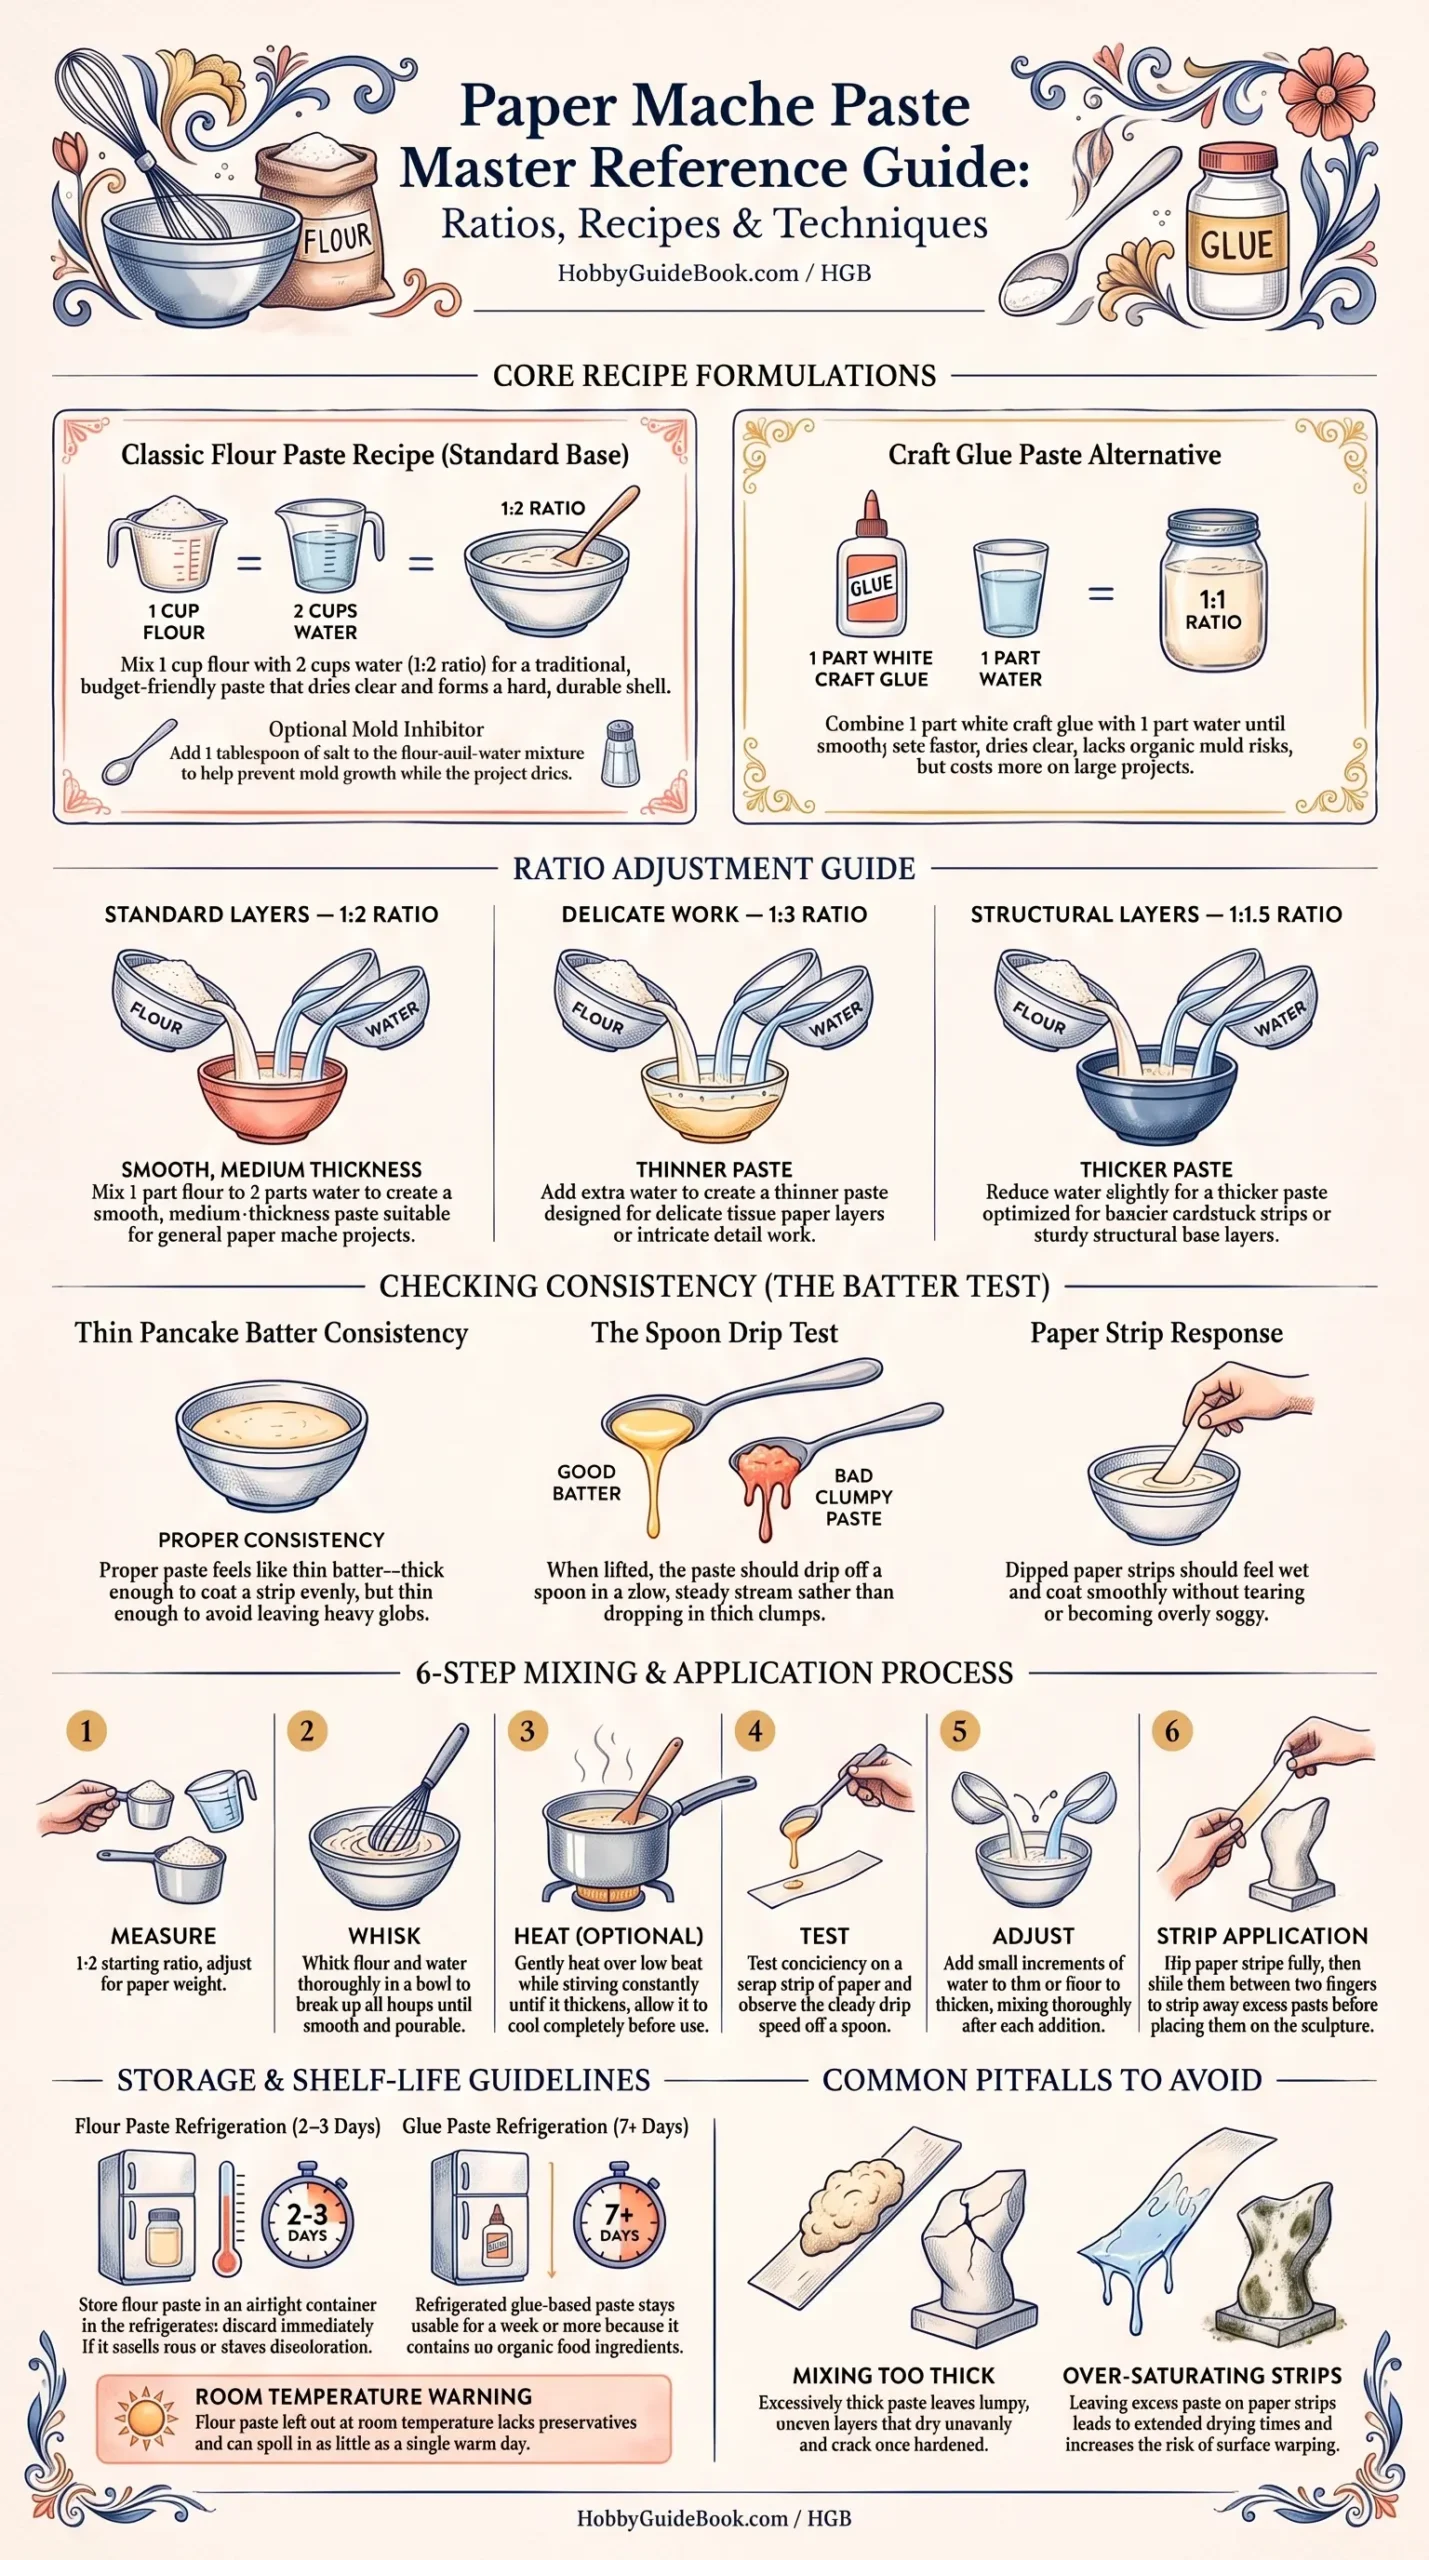
Photo Credit: Hobby Guidebook Editorial
What Is the Ratio of Flour to Water for Paper Mache Paste
The standard ratio is one part flour to two parts water, which creates a smooth, medium-thickness paste that works well for most paper mache projects. This ratio is a solid starting point, but it's not fixed in stone.
- For a thinner paste, useful for smaller detail work or thin tissue paper layers, add a bit more water, closer to a 1:3 ratio.
- For a thicker paste, useful for sturdier structural layers or heavier cardstock strips, reduce the water slightly, closer to a 1:1.5 ratio.
I usually start with the standard 1:2 ratio and adjust from there once I see how the paste behaves on my first strip of paper. It's much easier to thin out a paste that's too thick than to fix one that's already too watery.
How Thick Should Paper Mache Paste Be
The right thickness is one of the most common questions beginners ask, and the honest answer is that it should feel similar to a thin pancake batter, thick enough to coat a strip of paper evenly, but thin enough to drip slowly off a spoon rather than clump.
Signs your paste is the right consistency:
- It coats paper strips smoothly without leaving thick globs behind.
- It drips off a spoon in a slow, steady stream rather than falling in clumps.
- Paper strips feel wet but not soggy after dipping, holding their shape without tearing.
If your paste feels more like glue than batter, it's too thick and will leave lumpy, uneven layers. If it runs off the paper almost instantly without leaving a coating behind, it's too thin and won't hold layers together properly.
Step by Step: Mixing Paper Mache Paste
Here's the process I follow for a reliable batch every time, whether I'm working on a small mask or a larger sculpture base.
- Measure your flour and water using the 1:2 ratio as your starting point, adjusting slightly based on your project's needs.
- Whisk the flour and water together in a bowl, breaking up any lumps until the mixture looks smooth and pourable.
- Optional: heat the mixture gently on the stove, stirring constantly over low heat until it thickens slightly, then let it cool before using.
- Test the consistency on a scrap paper strip, checking that it coats evenly and drips slowly off a spoon.
- Adjust with a bit more water or flour if the paste feels too thick or too thin, mixing thoroughly after each small addition.
- Dip paper strips fully into the paste, then run them between two fingers to remove excess before applying to your project.
Once your paste is ready, building up layers correctly matters just as much as the mix itself. Paper Mache Layering Technique covers how to apply strips in the right direction and order for a strong, even shell once your paste is mixed and ready.
Can You Use Glue Instead of Flour Paste for Paper Mache
Yes, and it's a common substitution for good reason. White craft glue, like Elmer's, mixed with a bit of water, creates a paper mache glue mixture that dries clear, sets faster than flour paste, and skips the slight mold risk that comes with flour-based recipes.
A basic glue paste mixture:
- 1 part white craft glue
- 1 part water, mixed until smooth
Glue paste tends to be more expensive for larger projects, so many crafters use flour paste for the bulk of their layers and switch to glue paste for a smoother final coat. Both work well, and the choice mostly comes down to budget, drying time, and how long the project needs to sit before adding paint.
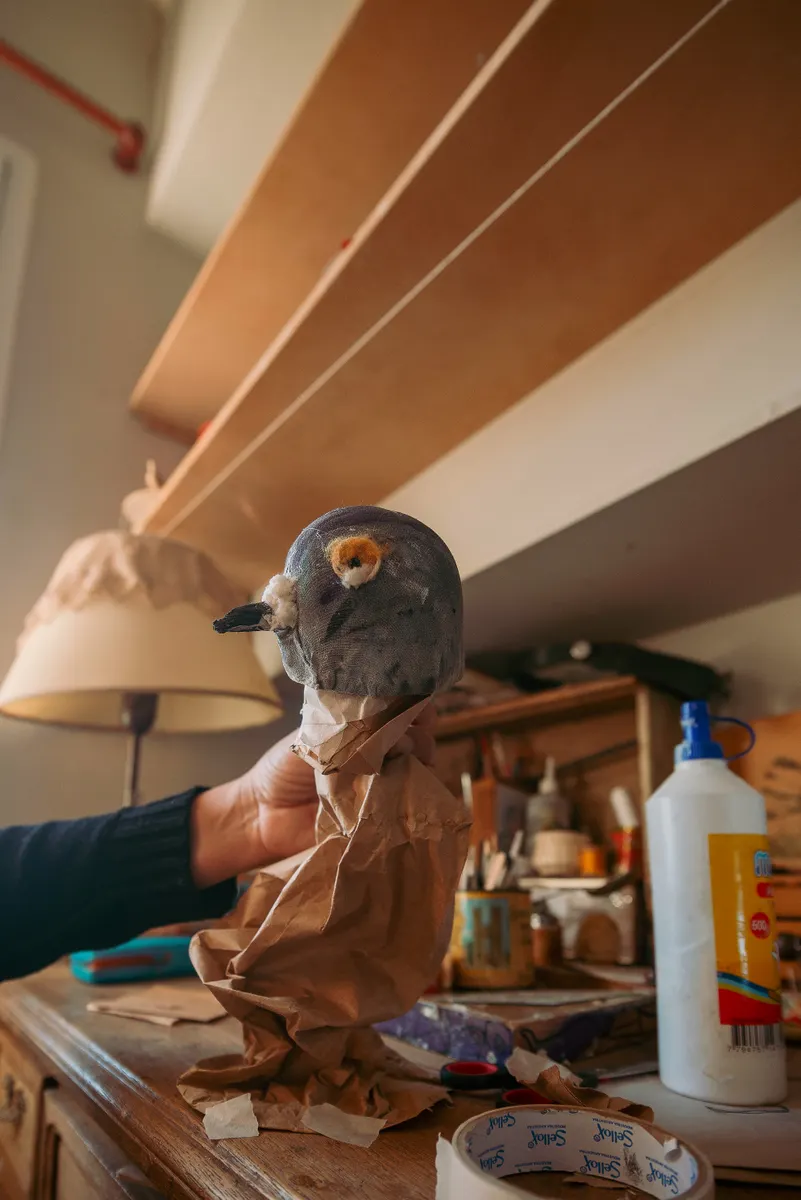
Photo Credit: Natalia Olivera
"Good paste is invisible once it dries, you only notice it when it's wrong." That's something I remind beginners often, since a properly mixed paste disappears into the paper entirely, while a bad batch leaves lumps, cracks, or a weak shell that shows up later.
How Long Can Homemade Paper Mache Paste Be Stored
Homemade flour paste doesn't last long, since it's made from food ingredients with no preservatives. Stored in an airtight container in the refrigerator, it typically stays usable for about two to three days before it starts to smell sour or grow mold.
A few storage tips worth knowing:
- Always refrigerate leftover paste, since room temperature storage speeds up spoilage significantly.
- Check for a sour smell or discoloration before reusing stored paste, and discard it if either shows up.
- Add a small amount of salt when mixing the original batch, which helps slow mold growth slightly during short-term storage.
- Glue-based paste lasts longer, often a week or more when refrigerated, since it lacks the organic ingredients that spoil quickly.
Mixing a fresh small batch for each project session is usually easier than trying to stretch old paste across multiple days of work.
If your project involves a wire or cardboard frame underneath the paste layers, getting that structure right first makes the pasting and layering steps go much smoother. Paper Mache Sculpting & Armature Technique covers how to build a solid base shape before you start applying any paste at all.
Photo Credit: Yusuf Çelik
Pro Tips and Common Mistakes to Avoid
A few patterns show up again and again with beginners mixing their first batches of paper mache paste.
- Mixing paste too thick. This leaves lumpy, uneven layers that dry unevenly and can crack once fully hardened.
- Skipping the salt in flour paste. While optional, salt helps slow mold growth, especially in humid climates or slower-drying projects.
- Using paste that's been left out too long. Room temperature paste spoils faster than most beginners expect, sometimes within a single day in warm weather.
- Not adjusting ratio for different paper types. Heavier cardstock strips need thicker paste than delicate tissue paper, so match your mix to your material.
- Applying paste to paper strips too heavily. Excess paste on strips leads to longer drying times and a higher chance of the surface warping as it sets.
Frequently Asked Questions
What is the best paper mache paste recipe? The classic flour paste recipe, one cup flour mixed with two cups water, is the most common and beginner-friendly option. Adding a tablespoon of salt helps slow mold growth during the drying process.
What is the ratio of flour to water for paper mache paste? The standard ratio is one part flour to two parts water, which creates a smooth, medium-thickness paste. Thinner projects can use a 1:3 ratio, while sturdier structural layers may need a thicker 1:1.5 ratio.
Can you use glue instead of flour paste for paper mache? Yes, white craft glue mixed with water works as an alternative, drying clear and setting faster than flour paste. It's often used for a smoother final coat while flour paste handles the bulk of the structural layers.
How thick should paper mache paste be? Paste should feel similar to thin pancake batter, coating paper evenly and dripping slowly off a spoon rather than falling in clumps. Paste that's too thick leaves lumps, while paste that's too thin won't hold layers together.
How long can homemade paper mache paste be stored? Refrigerated flour paste typically stays usable for about two to three days before it starts to smell sour or grow mold. Glue-based paste lasts longer, often a week or more, since it lacks food ingredients that spoil quickly.
Wrapping Up Your Paste Mixing Practice
Getting the paper mache paste recipe right comes down to the ratio, the consistency, and knowing when a batch has gone bad. Once you've mixed a few batches and know what the right thickness feels like, this step stops being a guessing game and becomes second nature.
Start with the standard 1:2 flour to water ratio on your next project, and adjust slightly based on the paper type and structure you're working with.
Want to explore more paper craft skills? Read the full paper crafts guide for techniques across every paper craft style.



Leave a Reply