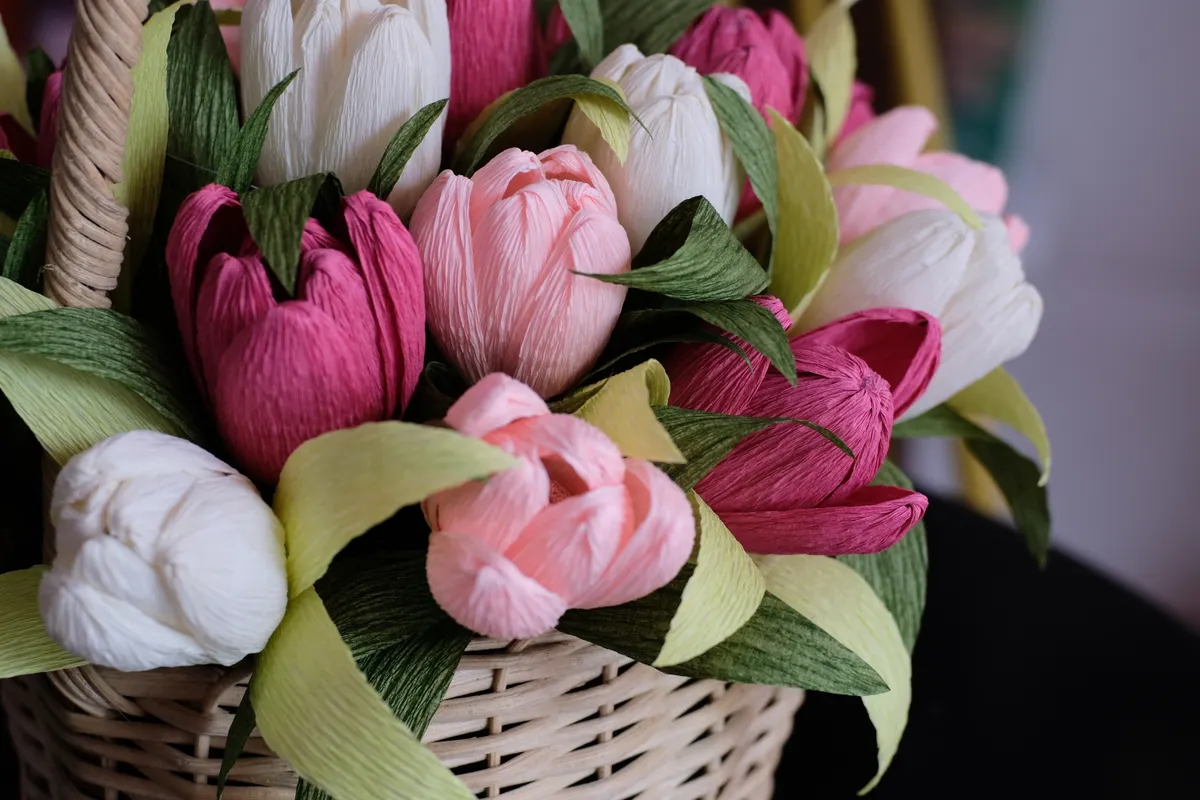
Stretch a strip of crepe paper between your fingers and watch it curve into a petal shape almost on its own, and you'll understand immediately why this material has become the go-to for realistic paper flowers. The crepe paper flower technique relies on that natural stretch, and once you understand how to work with the paper's grain instead of against it, petals start looking like actual flowers instead of flat paper cutouts.
This guide is part of Paper Flower Making Techniques, and it covers exactly what makes crepe paper different, how to cut and shape petals, and which direction the grain should run for the best results. I've made more crepe paper flowers than I can count over the years, and the grain direction is still the detail beginners overlook most often.
What Makes Crepe Paper Good for Flowers
Crepe paper has a crinkled, stretchy texture that regular cardstock or printer paper simply doesn't have, and that stretch is exactly what makes it so good for flower petals. Unlike flat paper, crepe paper can be gently pulled and cupped to mimic the soft curves found on real petals, giving finished flowers a texture and dimension that flat paper versions can't match.
The material also holds color beautifully, since the crinkled surface catches light differently than smooth paper does. That texture reads as soft and organic from a few feet away, which is part of why crepe paper flowers photograph so well for weddings, centerpieces, and home decor.
What Weight of Crepe Paper Is Best for Paper Flowers
Crepe paper comes in different weights, and the weight you choose changes how a petal behaves once it's cut and shaped.
- Standard florist crepe paper (also called doublette crepe) is the most common choice, offering good stretch with enough structure to hold a shaped petal without collapsing.
- Heavy or Italian crepe paper has more body and stretch, making it ideal for large, realistic flowers like peonies or garden roses where petals need to hold a strong cupped shape.
- Light or standard party crepe paper works fine for casual craft projects, but it tends to tear more easily during shaping and doesn't hold detailed curves as well.
For a beginner's first few flowers, I'd recommend starting with standard florist crepe paper. It strikes a good balance between being forgiving to work with and sturdy enough to survive some shaping mistakes while you're still learning.
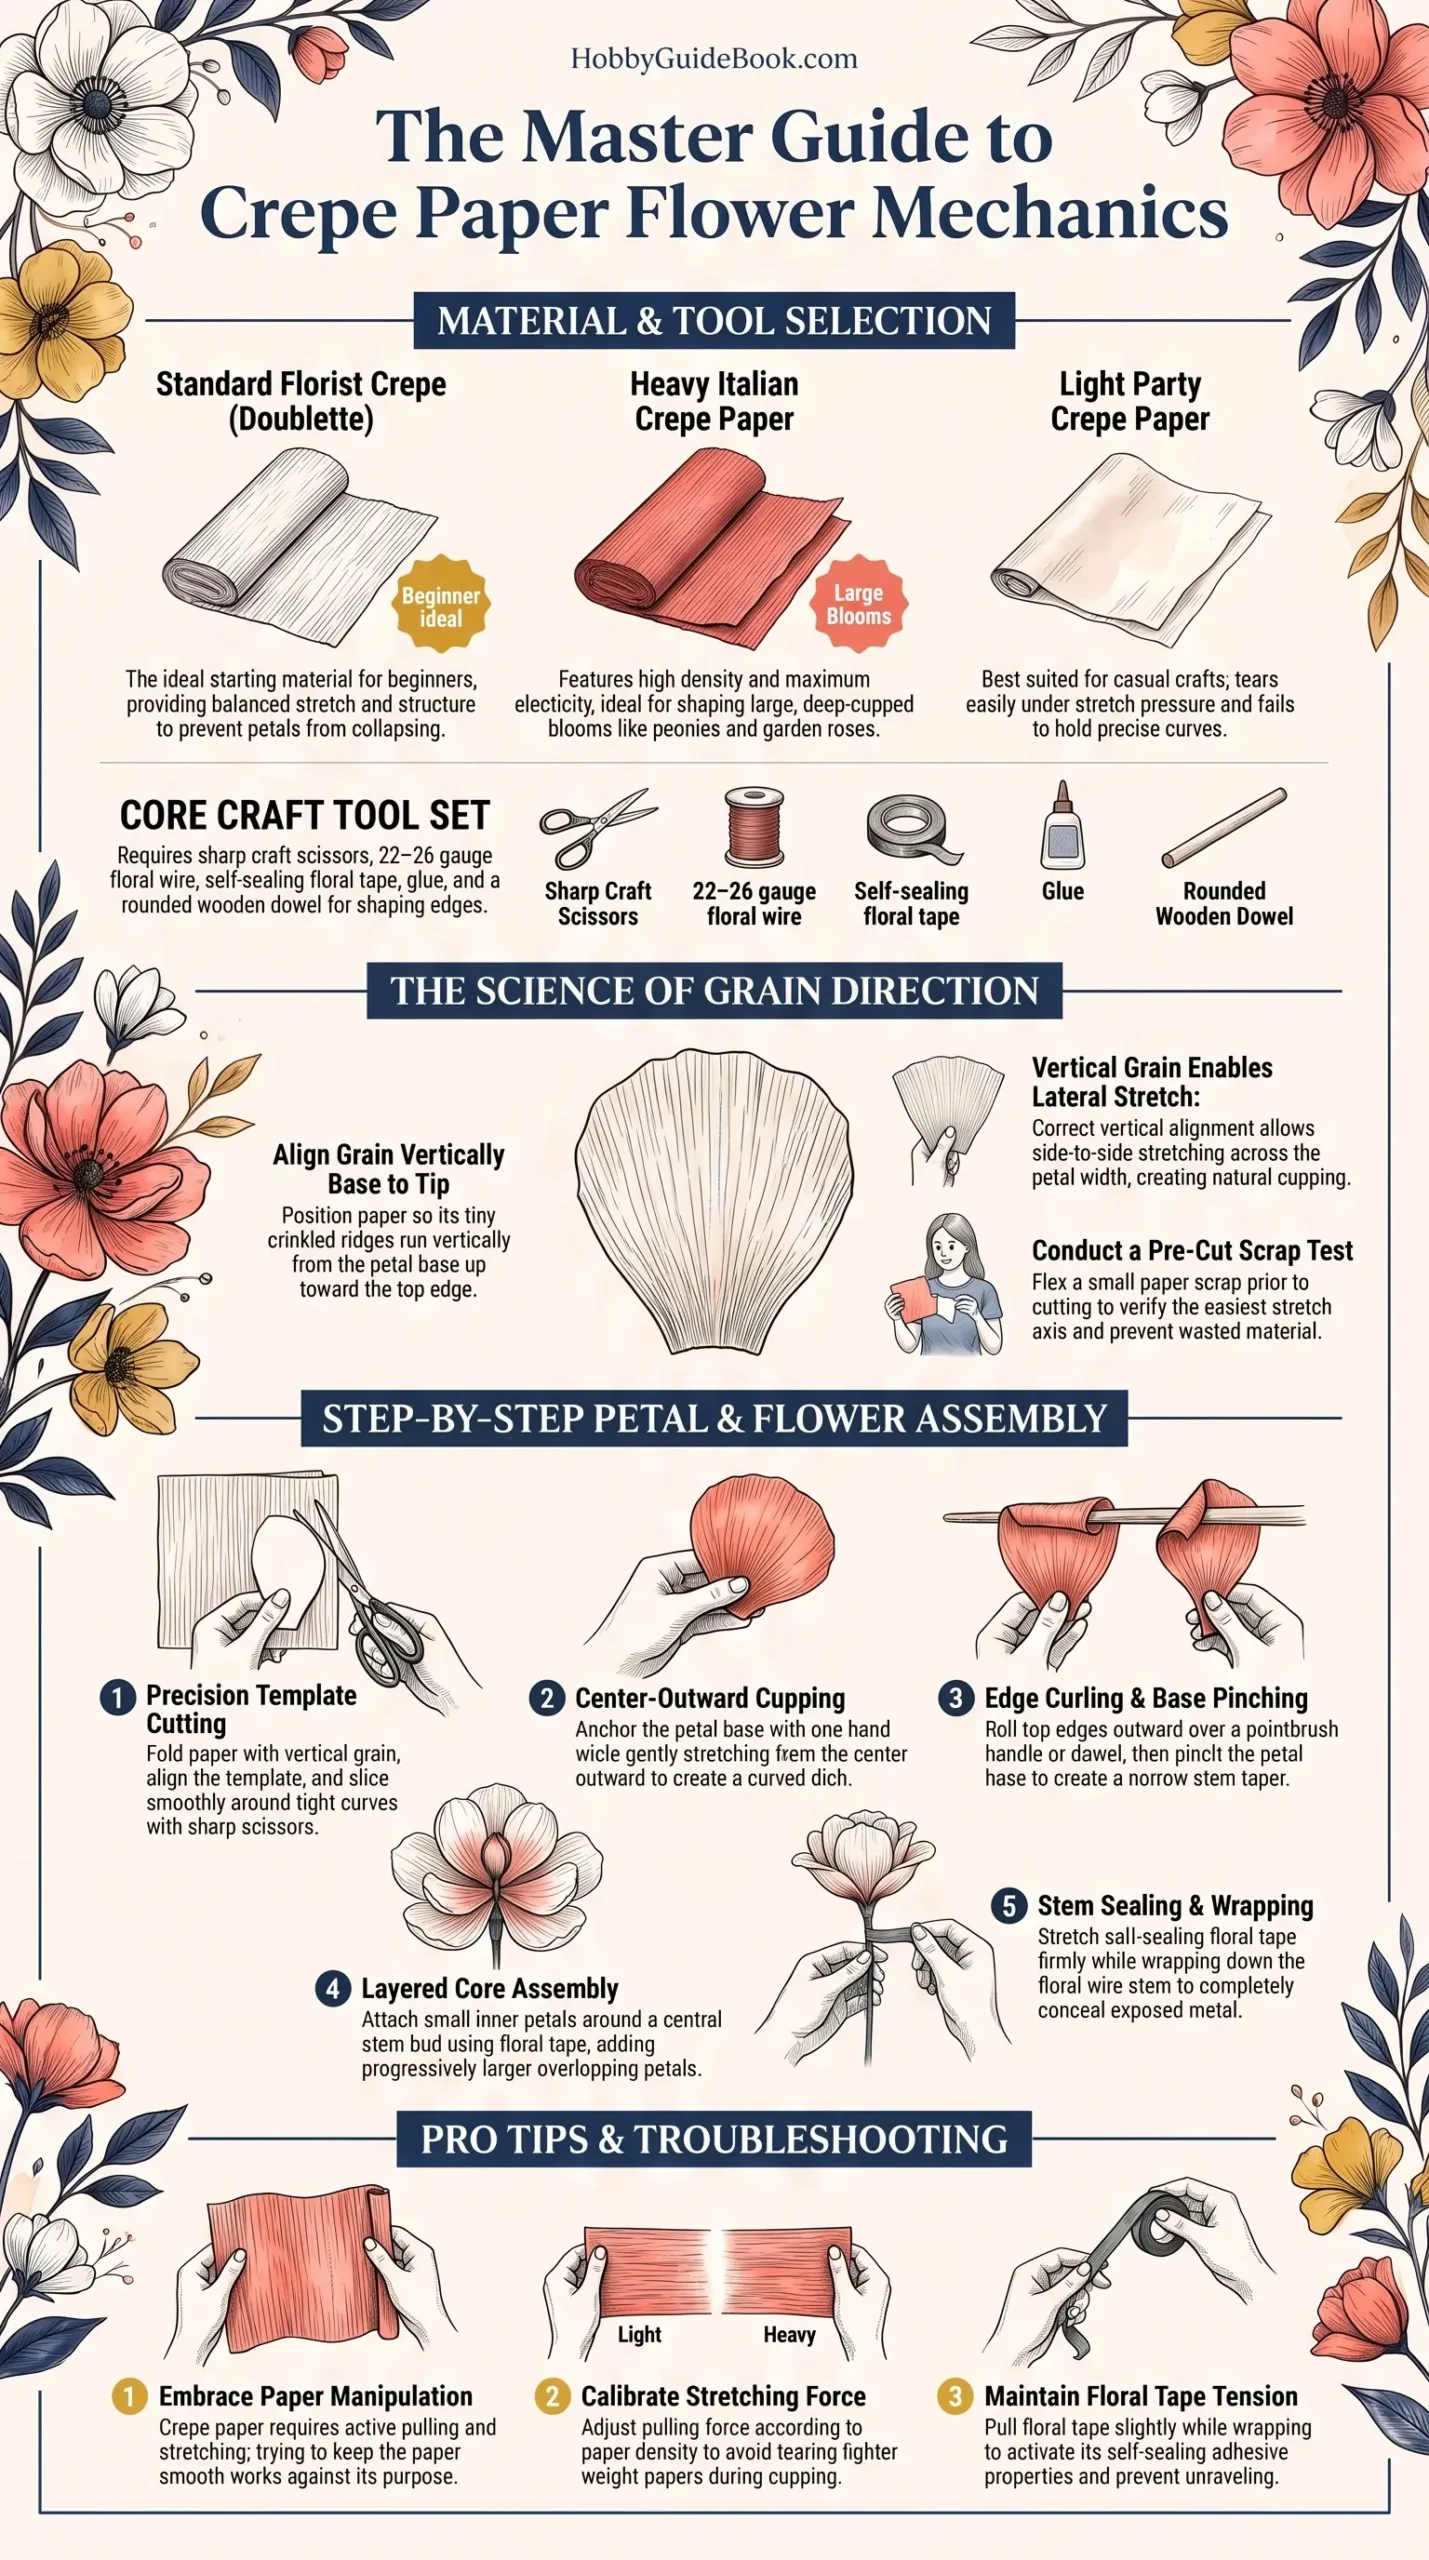
Photo Credit: Hobby Guidebook Editorial
Tools and Materials for Crepe Paper Flowers
Here's what I keep on hand for most crepe paper flower projects, whether it's a single bloom or a full bouquet.
|
Tool or Material |
Purpose |
Notes |
|
Florist crepe paper |
Main petal material |
Choose weight based on flower size and realism needed |
|
Craft scissors |
Cutting petal shapes |
Sharp scissors prevent tearing along cut edges |
|
Floral wire |
Petal and stem structure |
22 to 26 gauge works well for most petal sizes |
|
Floral tape |
Wrapping wire and joining petals |
Stretches slightly and self-seals when pressed |
|
Hot glue gun or craft glue |
Securing petal layers together |
Use sparingly to avoid visible glue marks |
|
Wooden dowel or paintbrush handle |
Curling and shaping petal edges |
A rounded surface gives a natural curved shape |
|
Pencil and template |
Marking petal shapes before cutting |
Reusable templates speed up multi-petal flowers |
Having these basics ready before you start keeps the shaping process moving smoothly instead of stalling out halfway through a flower.
Which Direction Should the Grain of Crepe Paper Run
This is one of the most important details in the entire crepe paper flower tutorial, and it's easy to miss if nobody points it out first. Crepe paper has a grain, tiny ridges running in one direction across the sheet, and that grain determines which way the paper stretches.
For most petals, the grain should run vertically, from the base of the petal up toward the tip. This lets you stretch the paper side to side across the petal's width, creating the cupped, curved shape that makes petals look realistic. Cutting petals with the grain running the wrong direction makes stretching difficult and often leaves petals looking flat and stiff instead of soft and rounded.
Before cutting a full batch of petals, I always test the grain direction on a small scrap piece first, folding it gently to see which way it flexes easiest. It only takes a few seconds and saves a lot of wasted paper.
How Do You Cut Crepe Paper Petals
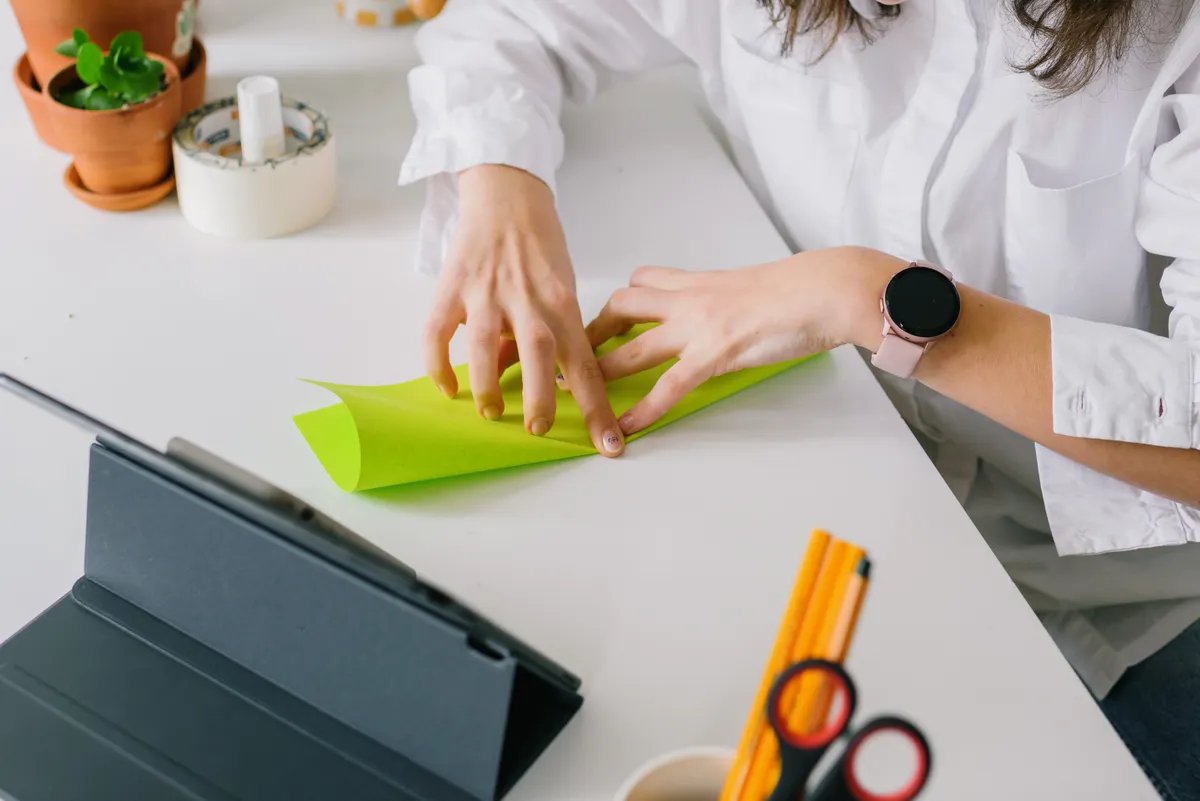
Cutting crepe paper takes a slightly different approach than cutting flat cardstock, mainly because of the stretch and the grain direction.
- Fold your crepe paper sheet so the grain runs in the direction you need for your petal shape, usually vertically as noted above.
- Trace or place your petal template onto the folded paper, lining it up with the grain direction rather than the edges of the sheet.
- Cut through multiple layers at once if your paper is folded, which speeds up cutting several matching petals in one pass.
- Cut slowly around curved edges, since crepe paper's texture can catch scissors more than smooth paper does, especially on tight curves.
- Keep your scissors sharp throughout the project. Dull blades drag and pull at the crinkled texture instead of slicing cleanly, which can tear delicate petal edges.
If your flowers need wired stems for bouquet arranging, cutting a small wire channel or fold at the petal base now makes the wiring step easier later. Paper Flower Wiring Technique covers exactly how to attach and hide wire stems once your petals are shaped and ready.
How Do You Shape Crepe Paper Petals
Shaping is where crepe paper really earns its reputation, since this step turns a flat cut piece into something that actually resembles a flower petal.
- Hold the petal at the base with one hand.
- Gently stretch the paper outward with your other hand, pulling from the center toward the edges to create a soft cupped curve across the petal.
- Roll the top edge of the petal around a wooden dowel or paintbrush handle, curling it slightly outward for a natural, rounded petal tip.
- Pinch the base of the petal gently to create a slight taper, which helps petals sit naturally against each other once assembled.
- Set shaped petals aside on a flat surface to hold their form while you finish shaping the rest of the batch.
"Crepe paper doesn't want to be flat, so stop trying to keep it that way." That's advice I give beginners often, since the instinct to handle paper gently and keep it smooth actually works against crepe paper's whole purpose. The stretching and pulling is the technique, not a mistake to avoid.
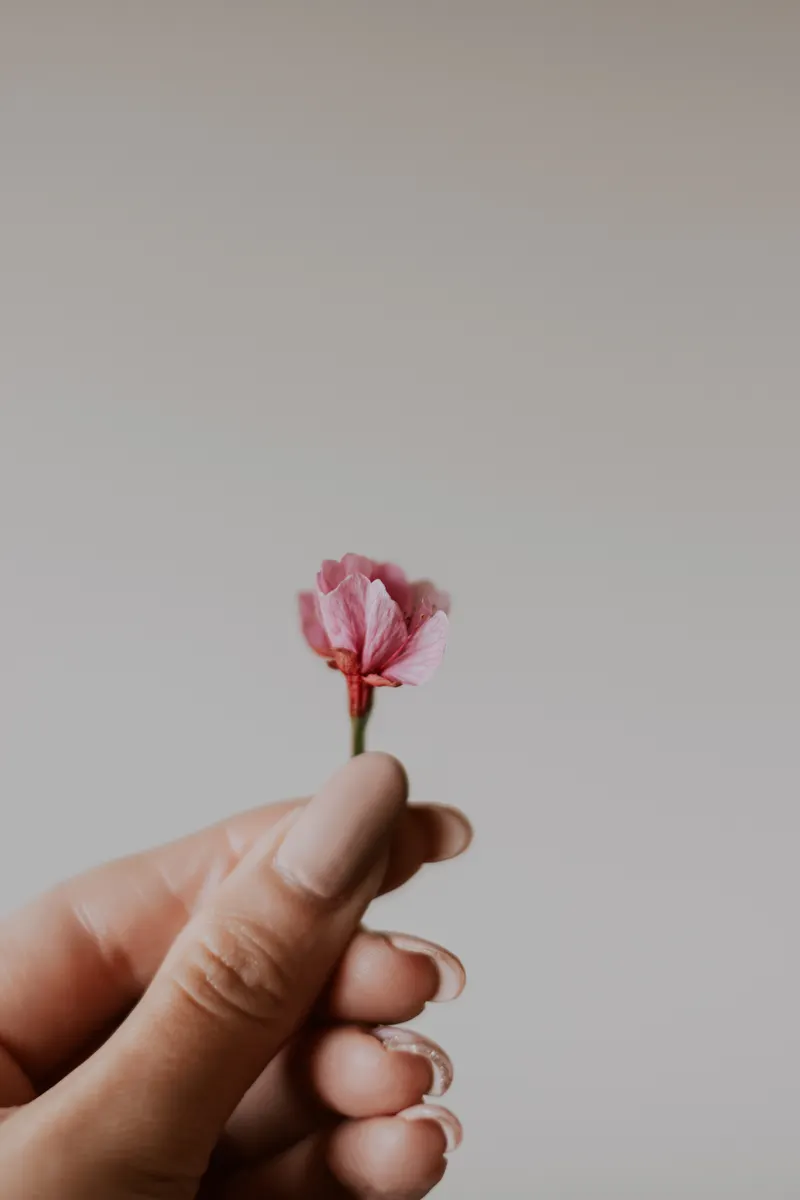
Photo Credit: Carla Schizzi
Step by Step: Building a Simple Crepe Paper Flower
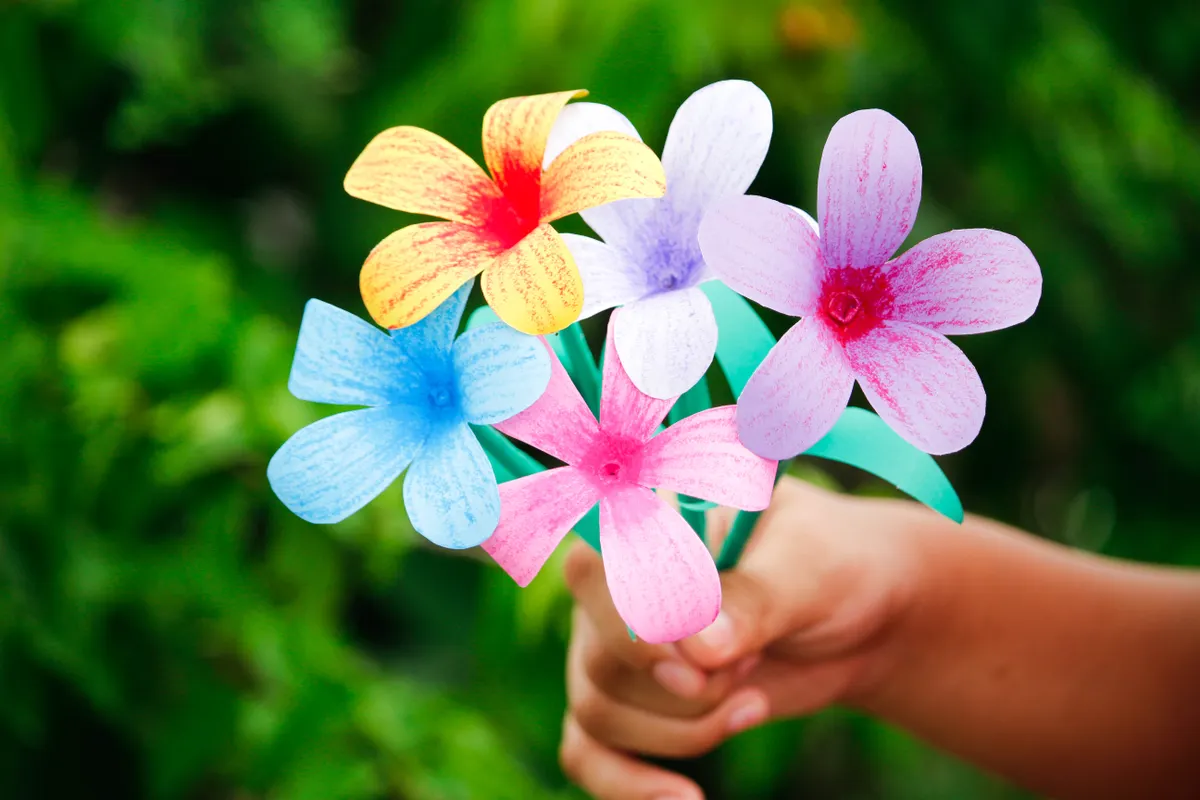
Once your petals are cut and shaped, assembling them into a finished flower comes together fairly quickly.
- Start with a small center bud, either a rolled piece of crepe paper or a purchased flower center, attached to the tip of your floral wire stem.
- Attach your smallest petals first, wrapping floral tape around the base to secure each one snugly around the center.
- Layer larger petals around the outside, overlapping slightly as you go and securing each with floral tape or a small dot of glue.
- Continue adding petal layers until the flower reaches the fullness you want, checking the shape from multiple angles as you build.
- Wrap the stem fully with floral tape, covering any exposed wire from the base of the flower down to the end of the stem.
For flowers destined for a bouquet or arrangement, grouping stems and balancing heights matters just as much as the individual blooms. Paper Flower Assembly & Bouquet Technique covers how to combine multiple finished flowers into a cohesive arrangement once your individual blooms are ready.
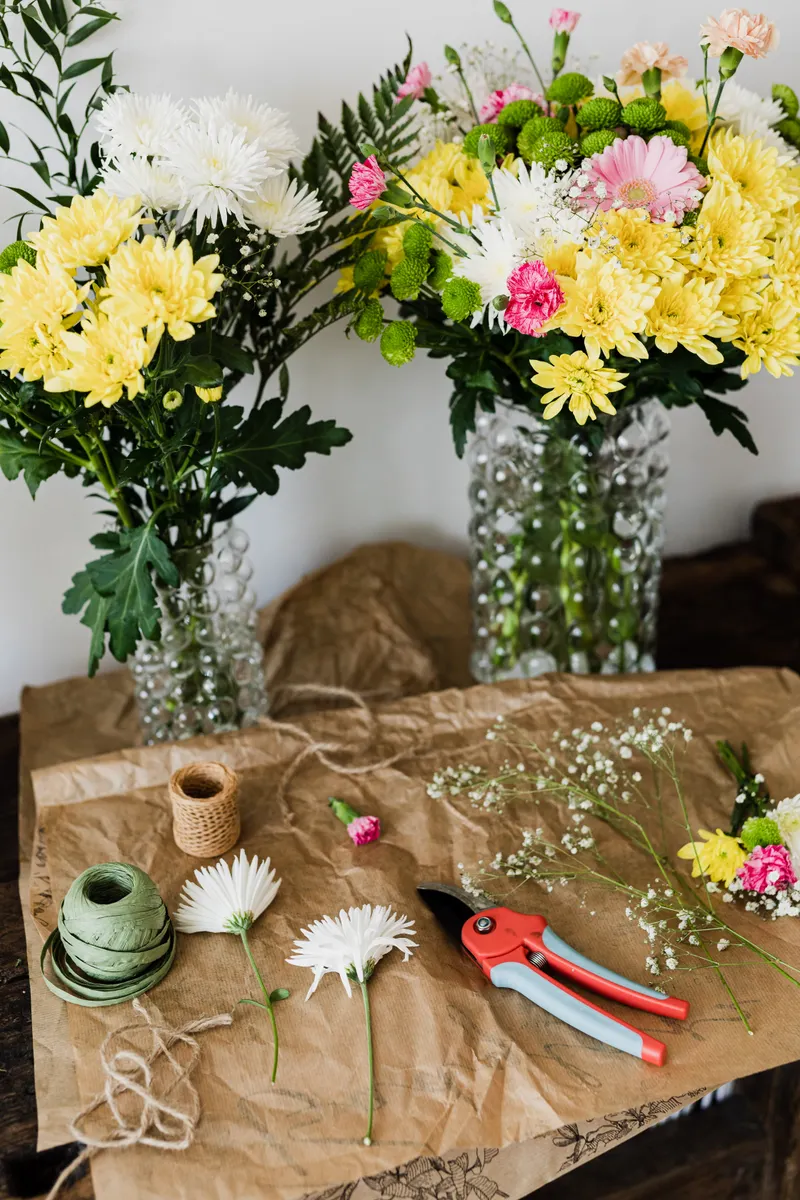
Photo Credit: kaboompics
Pro Tips and Common Mistakes to Avoid
A few patterns show up again and again with beginners working through their first crepe paper flowers.
- Ignoring grain direction. Cutting petals against the grain makes shaping frustrating and often leaves petals stiff instead of soft.
- Over-stretching thin crepe paper. Lighter weight paper tears easily if pulled too hard, so match your stretching pressure to the paper's actual weight.
- Using dull scissors on detailed cuts. As mentioned earlier, this drags through the crinkled texture and tears clean edges, so keep a sharp pair dedicated to crepe paper work.
- Skipping the shaping step entirely. Flat, uncurled petals lose most of the realism that makes crepe paper flowers stand out in the first place.
- Rushing the wire wrapping. Loose floral tape unravels over time, so wrap firmly and stretch the tape slightly as you go for a secure hold.
Frequently Asked Questions
What makes crepe paper good for flowers? Crepe paper's stretchy, crinkled texture allows it to be shaped into soft, curved petals that flat paper can't replicate. This flexibility gives finished flowers a realistic, dimensional look that holds up well in arrangements.
What weight of crepe paper is best for paper flowers? Standard florist crepe paper works well for most projects, offering a good balance of stretch and structure. Heavier Italian crepe paper suits large, realistic flowers, while lighter party crepe paper is best kept for casual, low-detail crafts.
How do you cut crepe paper petals? Fold the paper so the grain runs in the right direction, then trace and cut your petal template through the folded layers. Sharp scissors and slow, careful cuts around curves prevent tearing the delicate crinkled texture.
How do you shape crepe paper petals? Gently stretch the paper outward from the base to create a cupped curve, then roll the top edge around a dowel or paintbrush handle for a natural curl. Pinching the base slightly helps the finished petal taper for easier assembly.
Which direction should the grain of crepe paper run? For most petals, the grain should run vertically, from the petal base up to the tip, which allows side to side stretching for a cupped shape. Testing a scrap piece first helps confirm the stretch direction before cutting a full batch.
Wrapping Up Your Crepe Paper Flower Practice
The crepe paper flower technique comes down to working with the paper's natural stretch rather than fighting it, correct grain direction, confident shaping, and patience through the layering process. Once the grain and stretching feel intuitive, petals start coming together far faster than they did on your first few attempts.
Start with a simple single flower using standard florist crepe paper, then build up to fuller, more layered blooms as your shaping technique improves.
Want to explore more paper craft skills? Read the full paper crafts guide for techniques across every paper craft style.


Leave a Reply