
A paper flower without wire is just a pretty shape sitting flat on a table. The moment you thread floral wire through the base and bend a stem into place, that same flower can lean, droop, and sway the way a real one does, which is exactly what a good paper flower wiring technique is meant to achieve.
Wiring is what turns individual paper petals into something that behaves like a whole flower. This article is Part of Paper Flower Making Techniques, so once wiring feels comfortable, building full paper bouquets becomes a much smaller leap.
Why Wiring Matters in Paper Flower Making
Paper on its own has no memory. It holds whatever shape you last bent it into, which is great for petals but useless for a stem that needs to stand upright or curve gracefully in a vase.
Wiring paper flower stems solves that problem by giving the flower a flexible skeleton. The wire holds the bend you want, while the paper wrapped around it hides the metal and gives the stem a soft, natural look.
I've made flowers without wire before, mostly small craft versions glued flat onto cards. They work fine for that purpose, but they can't stand, bend, or hold a pose the way a wired flower can.
Tools and Materials for Paper Flower Wiring
Wiring doesn't require an enormous kit, but a few specific supplies make the process far smoother.
|
Tool or Material |
Purpose |
|
Floral wire (various gauges) |
Forms the flexible stem and internal support |
|
Floral tape |
Wraps and seals wire, hiding it beneath a paper-like finish |
|
Wire cutters |
Trims wire cleanly to length |
|
Crepe or cardstock petals |
The paper elements attached to the wired structure |
|
Hot glue gun or craft glue |
Secures petals and centers to the wire |
|
Needle nose pliers |
Bends small wire loops and hooks for centers |
Keep a pair of needle nose pliers nearby even for simple projects. They make small adjustments to wire shape far easier than trying to bend stiff wire with just your fingers.
What Wire Gauge Is Best for Paper Flower Stems
Wire gauge tells you how thick the wire is, and thickness directly affects how sturdy or flexible your finished stem feels.
|
Wire Gauge |
Thickness |
Best Use |
|
18 to 20 gauge |
Heavier, sturdier |
Main stems, larger flowers |
|
22 to 24 gauge |
Medium |
Standard petals, medium flowers |
|
26 to 28 gauge |
Thin, flexible |
Small petals, delicate leaves |
Lower numbers mean thicker wire, which trips up a lot of beginners at first. An 18 gauge wire is much sturdier than a 26 gauge one, even though the number itself is smaller.
For most first projects, 20 to 22 gauge wire is a safe middle ground. It's thick enough to hold a flower upright but still flexible enough to shape without wearing out your hands.
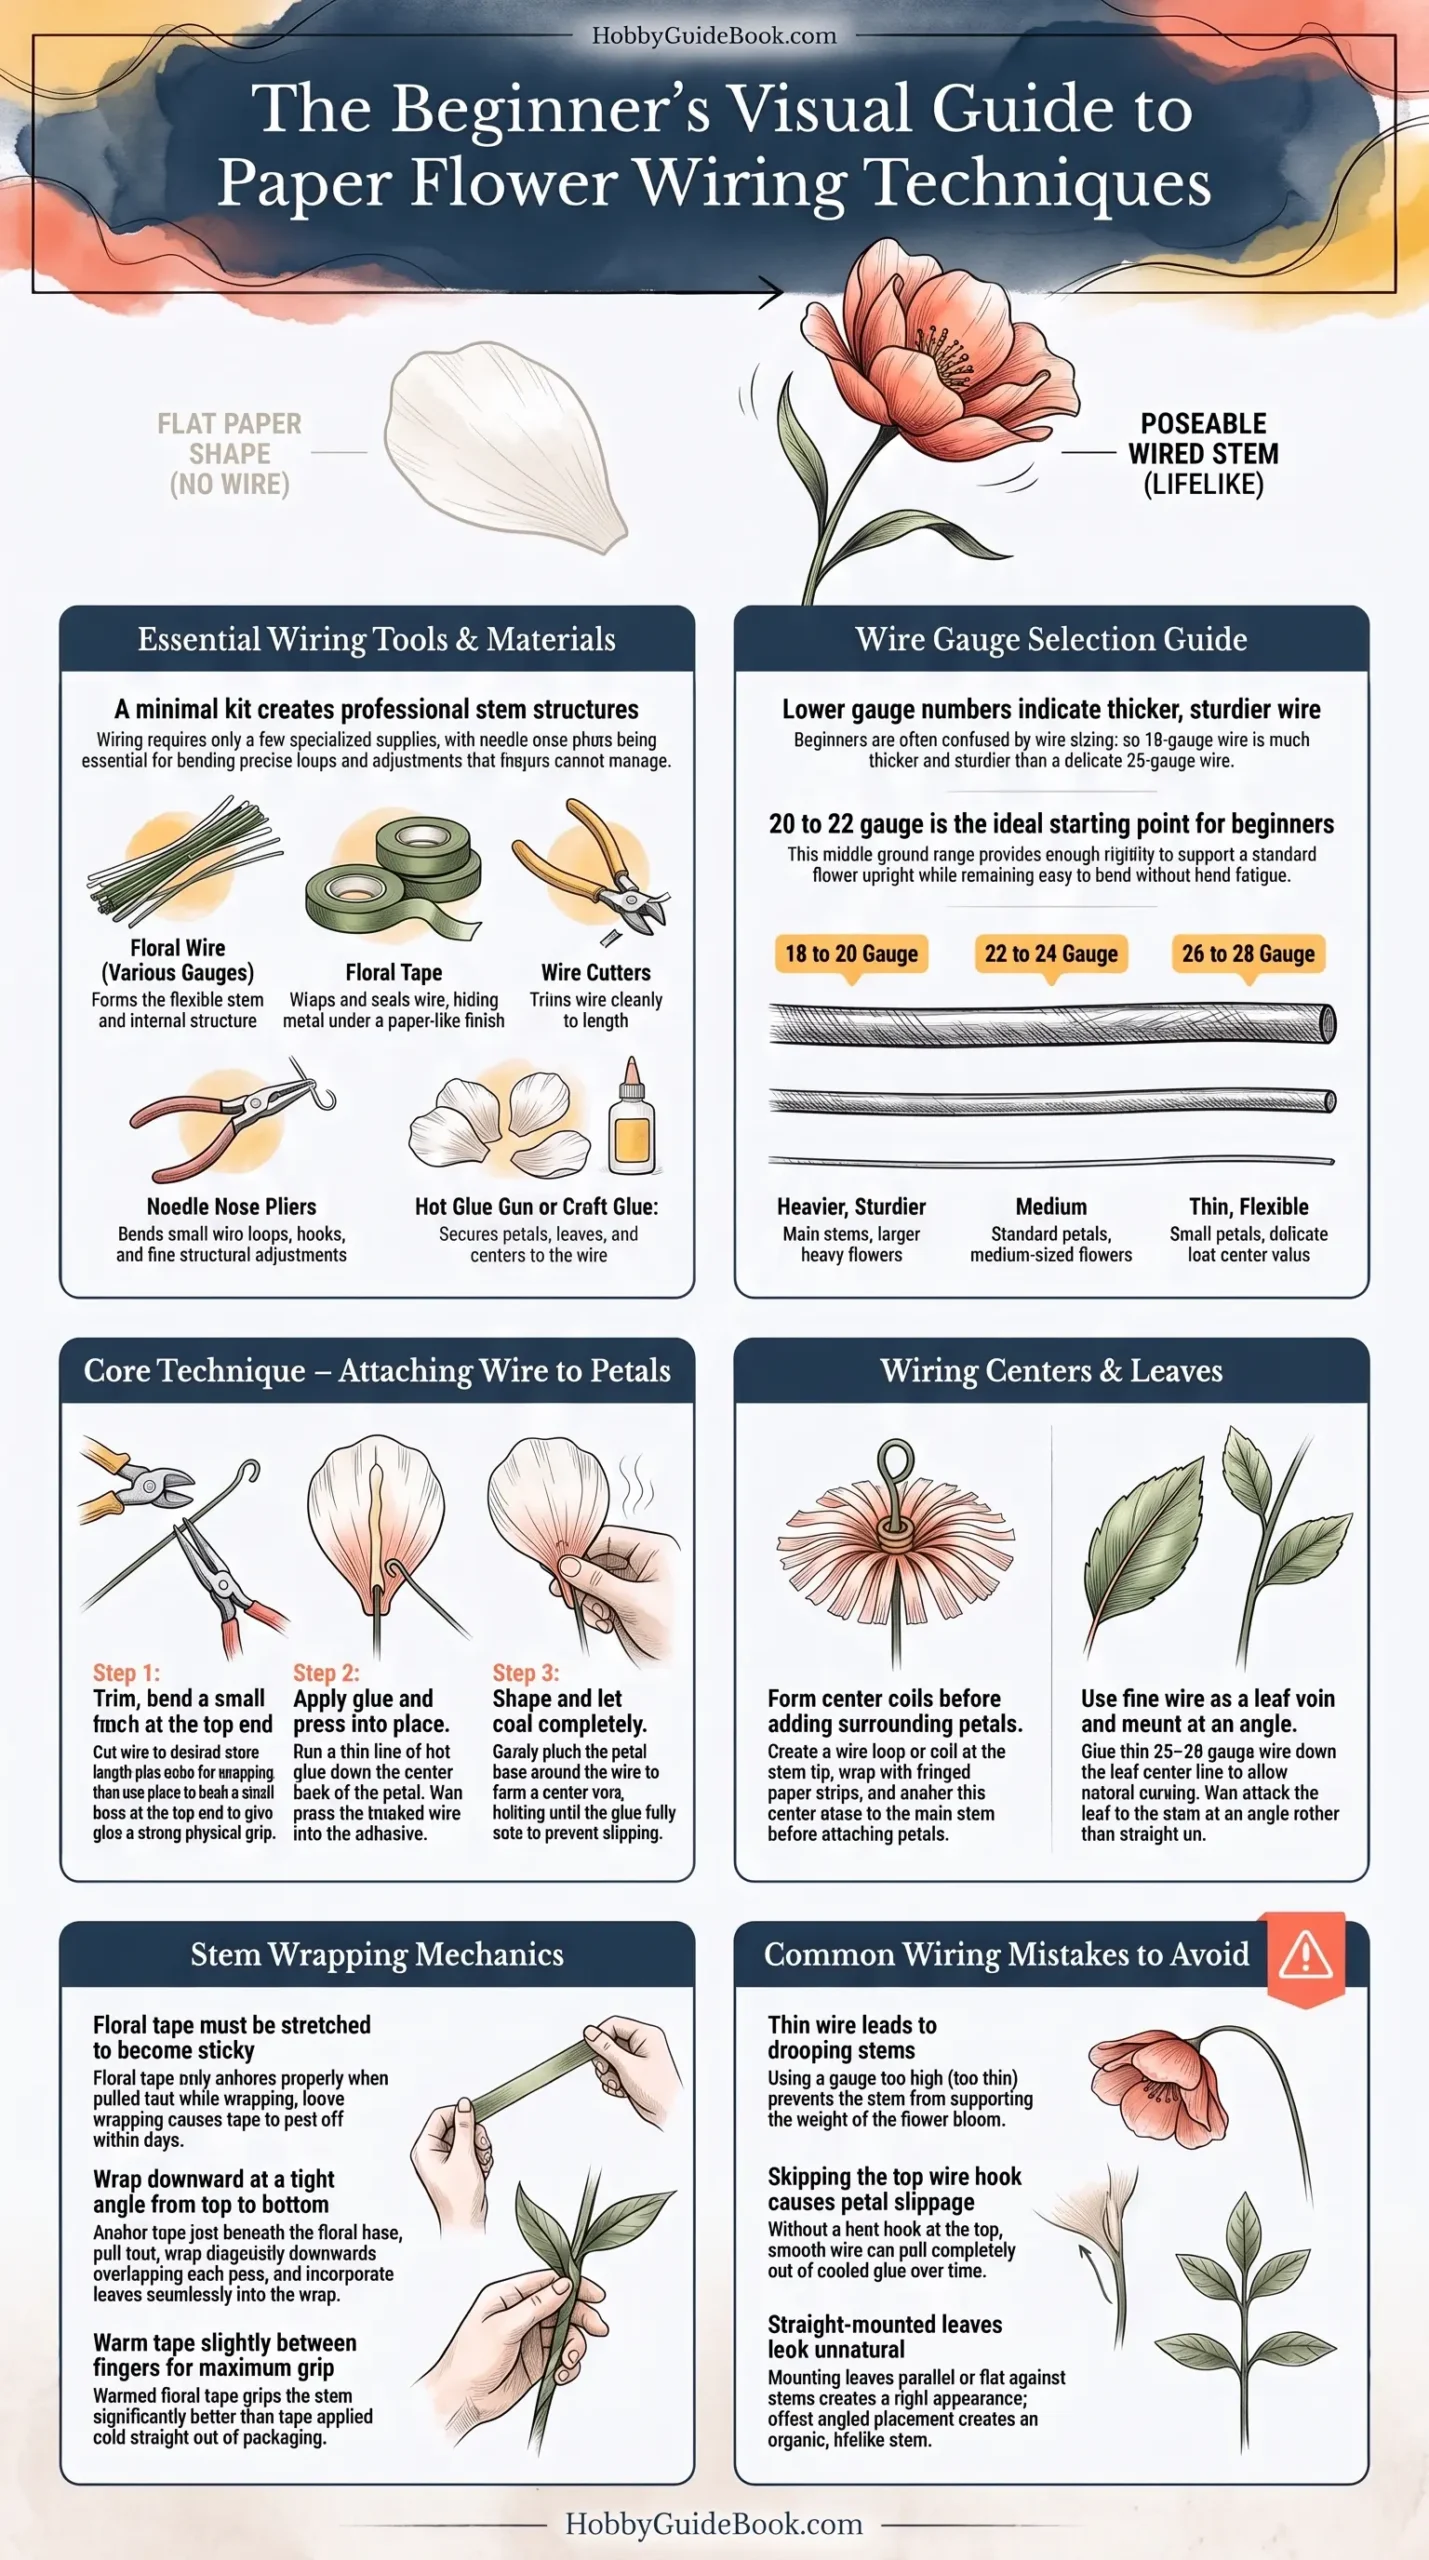
Photo Credit: Hobby Guidebook Editorial
Core Technique: How Do You Attach Floral Wire to Paper Petals
Attaching wire to petals is the step where most paper flowers actually take shape, and it's more forgiving than it looks once you've done it a few times.
- Cut your wire to the length you want your stem, adding a few extra inches for wrapping later.
- Bend a small hook at one end of the wire using needle nose pliers, giving glue something to grip inside the petal.
- Apply a thin line of hot glue down the center back of the petal, where the wire will sit.
- Press the wire into the glue, hook end first, holding it firmly for a few seconds until the glue sets.
- Fold the petal gently around the wire if your design calls for a center vein, pinching lightly at the base.
- Let the glue cool completely before moving on to the next petal, since warm glue can shift under pressure.
Working with hot glue means working carefully near heat, so keep fingers clear of the glue gun tip and let each petal cool before handling it much. A small burn from rushed glue work is one of the most common, and most avoidable, mistakes in paper flower making.
Once basic petal wiring feels steady, the next natural step is applying it to a full flower build. Crepe Paper Flower Technique covers how wired petals come together with crepe paper's natural stretch to form realistic, dimensional blooms.
How Do You Wire Paper Flower Centers and Leaves
Centers and leaves need slightly different wiring approaches than petals, mostly because they carry a different shape and weight.
For flower centers:
- Bend a small wire loop or coil at the top of a short wire stem to give the center bulk and shape.
- Wrap tiny paper strips or fringe around the loop, securing with a dot of glue at the base.
- Attach this center piece to your main stem wire before adding surrounding petals.
For leaves:
- Cut a thinner gauge wire, usually 26 to 28 gauge, and glue it along the leaf's center line as a vein.
- Bend the leaf gently along the wire to create a natural curve once the glue sets.
- Attach the leaf to the main stem at an angle, rather than straight on, for a more natural look.
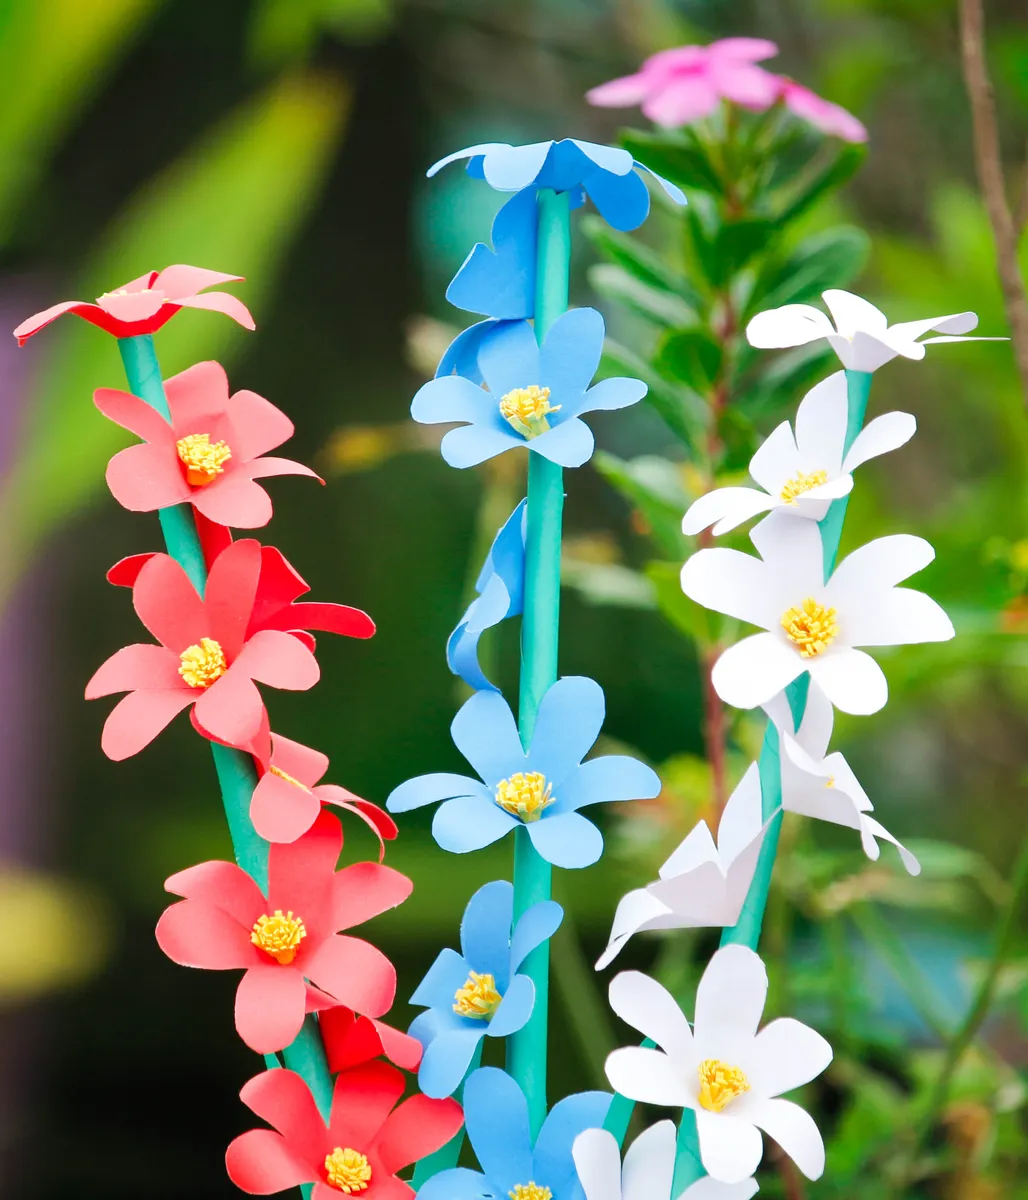
Photo Credit: Tamanna Rumee
What Is the Best Way to Wrap Paper Flower Stems
Once petals, centers, and leaves are all attached to your main wire stem, floral tape hides the wire and gives the whole stem a finished, cohesive look.
- Start at the top of the stem, just below the flower's base, anchoring the tape with a firm pinch.
- Stretch the tape slightly as you wrap, since floral tape only sticks properly when it's pulled taut.
- Wrap at a slight downward angle, overlapping each pass so no bare wire shows through.
- Wrap leaves into the stem as you reach their attachment point, securing them smoothly into the main wrap.
- Pinch the tape firmly at the bottom end to seal it, trimming any excess.
Floral tape only works if you stretch it as you go. Wrapped loose, it peels away within days. Wrapped taut, it seals to itself and holds for years.
Warm floral tape between your fingers for a few seconds before wrapping. In my experience, it grips far better once it's slightly warm than straight out of a cold package.
Once your stems are wired and wrapped, combining several finished flowers into one arrangement is the natural next step. Paper Flower Assembly & Bouquet Technique covers how to group wired stems into balanced, full bouquets.
Can Paper Flowers Be Made Without Floral Wire
Yes, though the result changes quite a bit depending on the method you choose instead.
- Cardstock stems can be rolled or folded into rigid tubes, offering a stem without wire's bendability.
- Skewer or dowel stems provide a stiff, straight stem, useful for flowers that don't need to curve.
- Flat, wireless flowers work well for cards, wall art, or wreaths where the flower stays in one fixed position.
Wireless methods work fine for flat or decorative pieces, but they can't hold a lifelike bend the way wired flowers can. If you want a flower that leans naturally in a vase, wire is really the only reliable option.
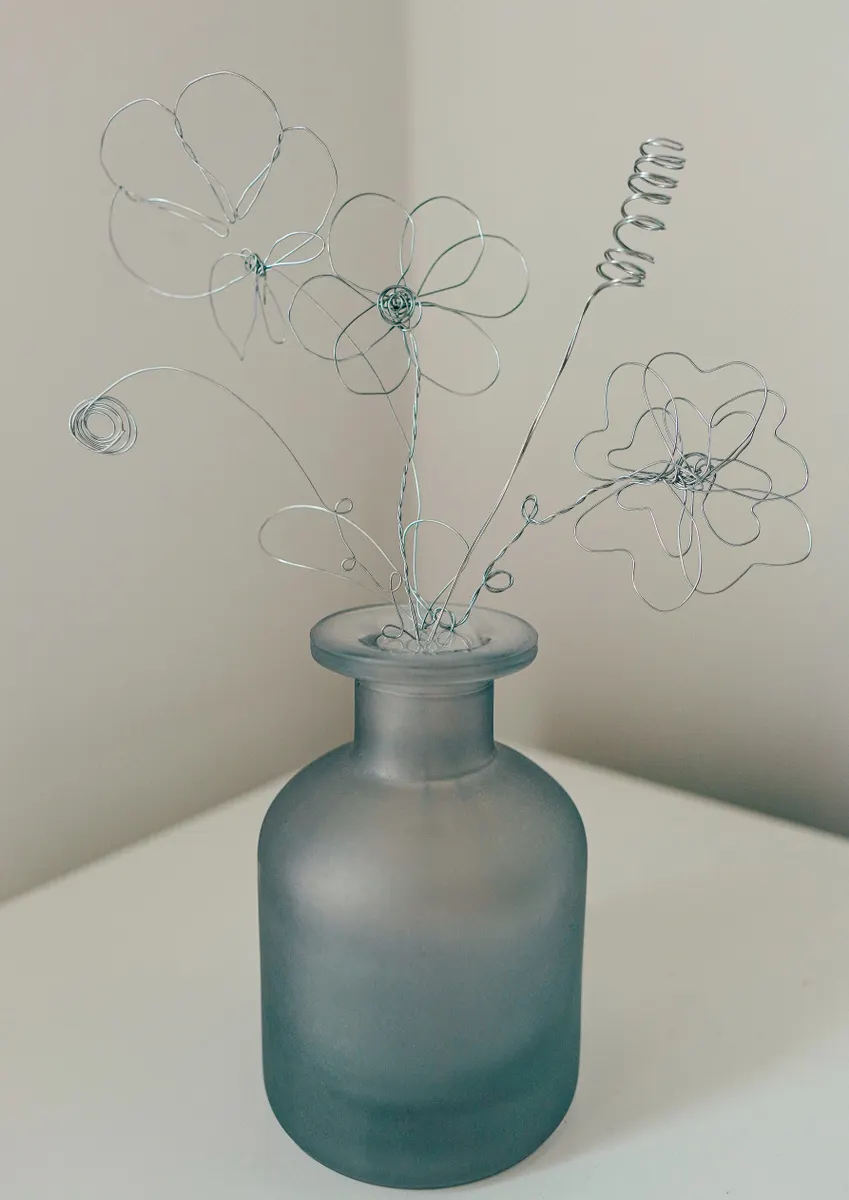
Photo Credit: Aleksandra Larry
Common Paper Flower Wiring Mistakes to Avoid
A handful of habits separate a smooth, secure wired stem from one that wobbles or comes apart.
- Using wire that's too thin for the flower's size, leaving the stem unable to support its own weight.
- Skipping the wire hook at the petal base, which lets petals slip loose from the glue over time.
- Wrapping floral tape too loosely, leaving gaps of visible wire along the finished stem.
- Rushing hot glue application, risking burns or petals that shift before the glue fully sets.
- Forgetting to angle leaves, which makes finished stems look stiff and unnatural instead of organic.
FAQ
What wire gauge is best for paper flower stems? Wire between 18 and 22 gauge works well for main stems, with heavier 18 gauge wire best for larger flowers and 22 gauge suited to medium sized blooms.
How do you attach floral wire to paper petals? Bend a small hook at one end of the wire, apply glue down the petal's center back, then press the hooked wire into the glue and hold until set.
How do you wire paper flower centers and leaves? Centers use a small wire loop wrapped in fringe or paper strips, while leaves use thinner wire glued along the center as a vein for shape and support.
What is the best way to wrap paper flower stems? Stretch floral tape slightly as you wrap at a downward angle, overlapping each pass so no bare wire shows, then pinch firmly to seal the end.
Can paper flowers be made without floral wire? Yes, using cardstock tubes, skewers, or dowels as rigid stems, though these methods can't bend and pose the way wired flowers can.
Final Thoughts
The paper flower wiring technique really comes down to matching wire gauge to your flower's size, securing petals firmly, and wrapping stems tight enough to hide every trace of wire. Once that feels natural, building full stems and eventually full bouquets becomes a much smaller step.
Read the full paper crafts guide for a wider look at techniques across paper flowers and every other paper craft.


Leave a Reply