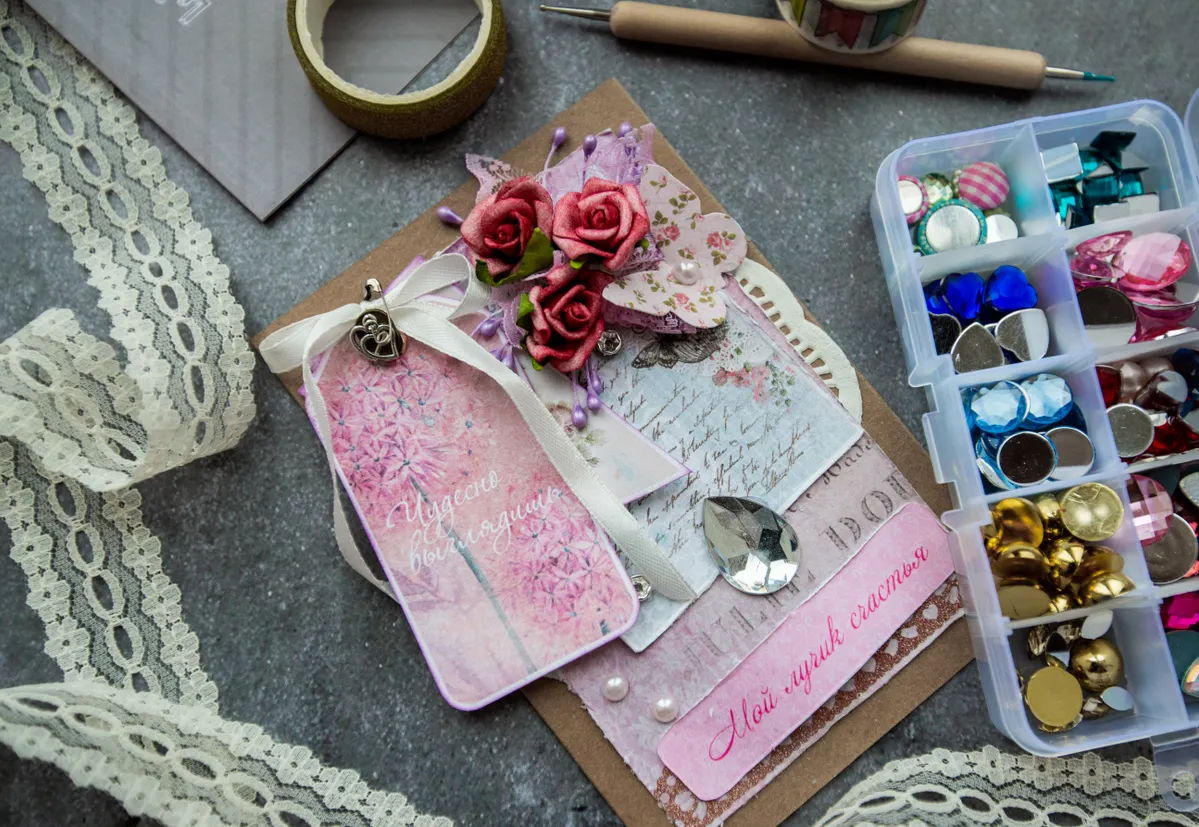
My first handmade card looked like a toddler folded it during an earthquake. The fold was crooked, the layers didn't line up, and the glue had soaked through the front panel before I even finished. Years later, that same basic card shape is still the foundation of everything I make, just with cleaner lines and steadier hands.
Learning solid card making techniques is really about mastering a handful of moves and repeating them until they become second nature. This article is Part of Paper Craft Techniques by Sub-Craft, so once you've got the basics here, you can branch into other paper craft styles with the same foundation.
Why These Techniques Matter
Card making looks simple from the outside. Fold a piece of paper, add some decoration, done. But the difference between a card that looks handmade in a good way and one that looks handmade in a sloppy way almost always comes down to technique.
Handmade card techniques cover everything from the first fold to the final embellishment. Get the fold wrong, and nothing you add later fixes it. Get it right, and even a simple design looks polished.
These card making basics aren't complicated, but they do take practice. I've watched beginners go from wobbly first attempts to clean, professional-looking cards in just a few weekends, mostly by slowing down and paying attention to a few key steps.
Tools You'll Need
Before getting into technique, here's what belongs on your desk. Most of this overlaps with general paper craft tools, so if you've dabbled in other paper crafts already, you likely have most of it.
|
Tool or Material |
What It's For |
|
Cardstock |
The sturdy base for your card front and layers |
|
Craft knife |
Precise cuts on detailed shapes |
|
Paper trimmer |
Fast, straight cuts for panels and borders |
|
Scoring board |
Clean, accurate fold lines |
|
Bone folder |
Flattens creases into sharp, professional folds |
|
Adhesive (tape runner, glue, foam dots) |
Attaches layers and adds dimension |
|
Self-healing cutting mat |
Protects your blade and work surface |
|
Decorative punches or dies |
Adds shapes, borders, and embellishments |
You don't need everything at once. A trimmer, a scoring board, cardstock, and a tape runner cover almost every beginner card project.
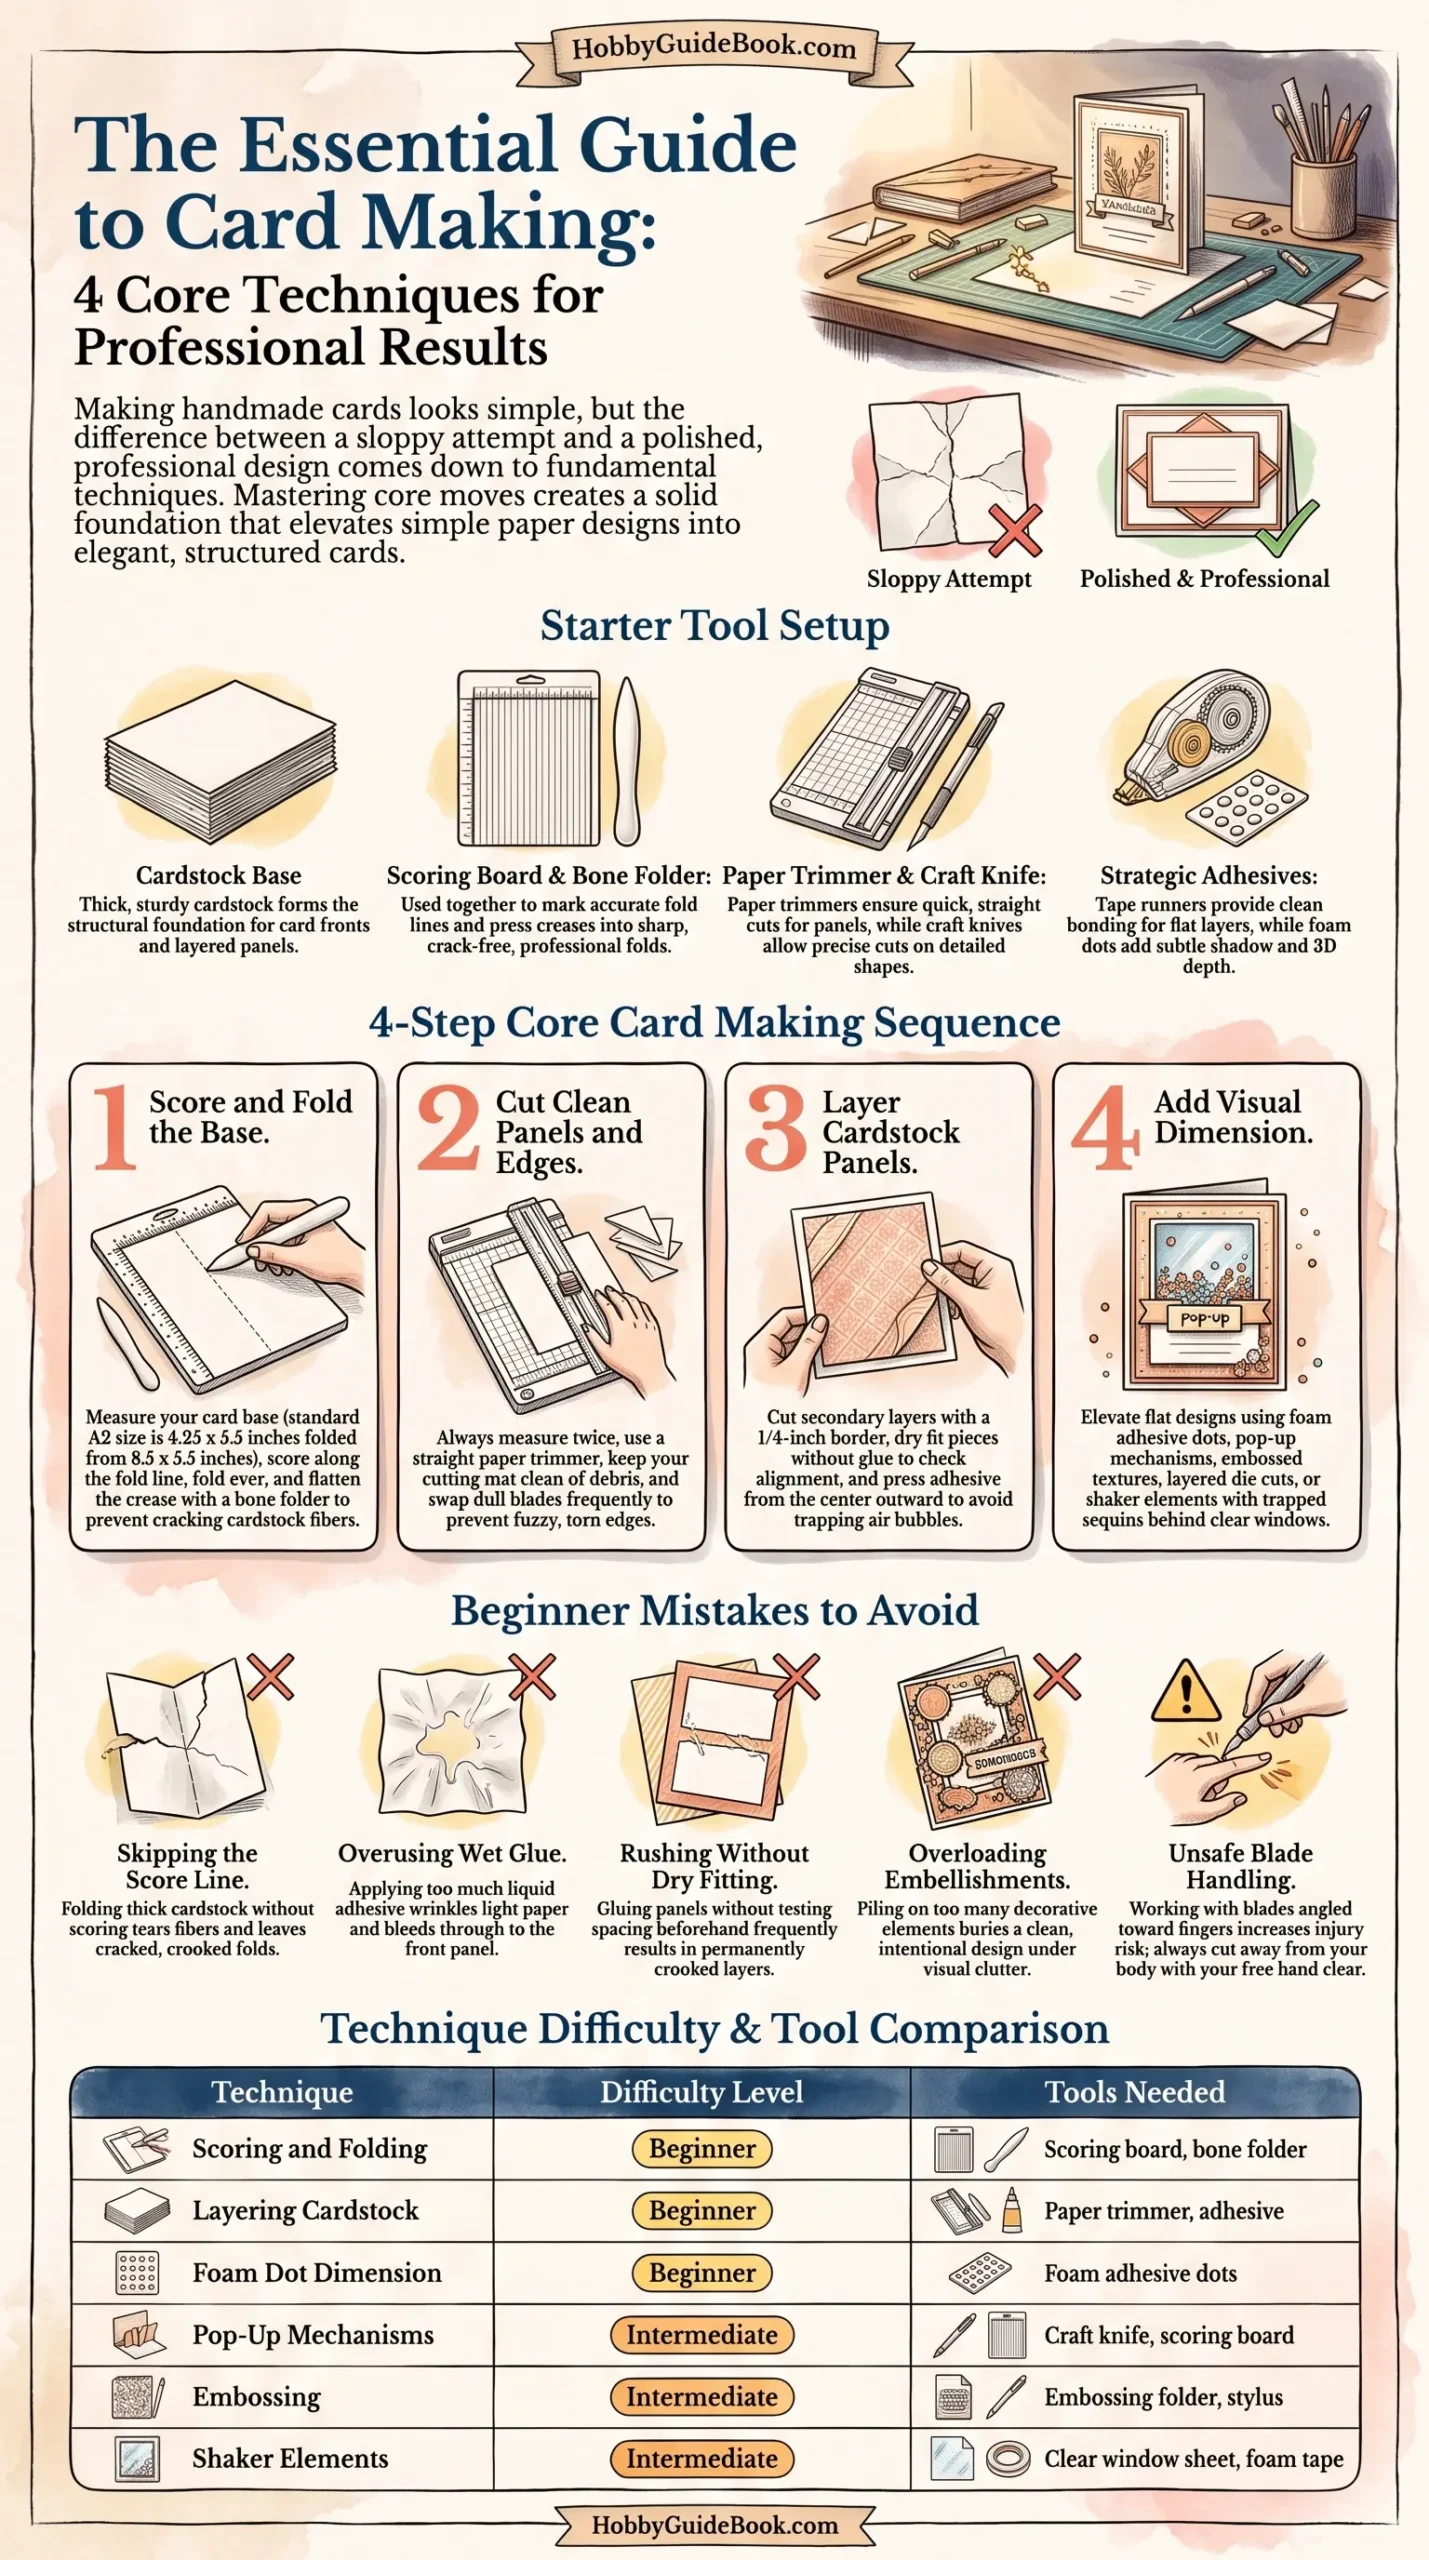
Photo Credit: Hobby Guidebook Editorial
Core Technique 1: Scoring and Folding
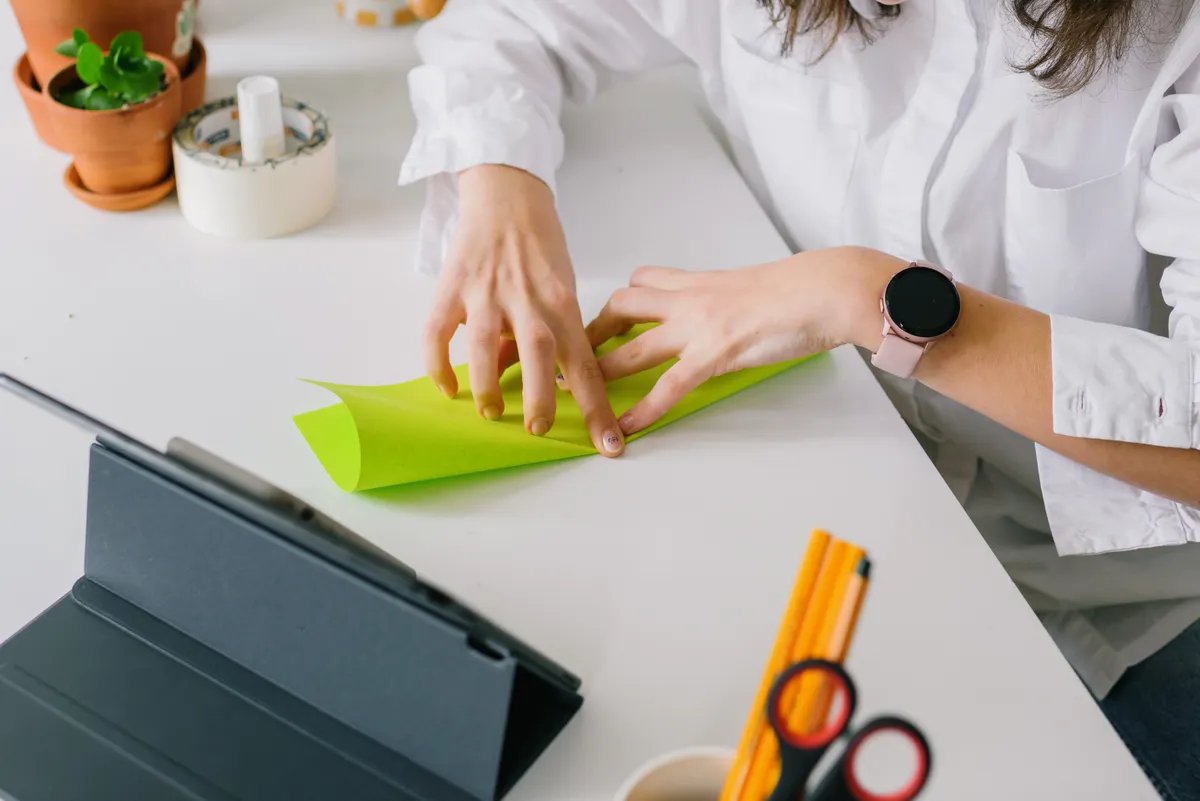
This is the single most important skill in card making. A clean fold is what separates a professional-looking card from one that looks bent by hand.
- Measure your card base. A standard A2 card size is 4.25 by 5.5 inches, folded from an 8.5 by 5.5 inch sheet.
- Mark your fold line using a ruler and a light pencil dot on each edge.
- Score along the line using a scoring board or a bone folder against a ruler.
- Fold the cardstock by bringing the two sides together evenly.
- Run a bone folder along the crease, pressing firmly to flatten it into a sharp line.
I've found that scoring before folding is the one step beginners skip most often, and it's the reason so many early cards look cracked along the fold instead of crisp. Thick cardstock especially needs that scored line, or the fibers tear instead of bending cleanly.
Core Technique 2: Layering Cardstock
Layering is what gives a card depth and visual interest. It's also one of the easiest ways to make a simple design look intentional and polished.
- Cut your base panel first, sized to fit your folded card front with a small border.
- Cut a second layer slightly smaller, usually leaving a quarter inch border on all sides.
- Dry fit the layers by placing them without glue to check spacing before committing.
- Glue from the center outward to avoid trapping air bubbles under the panel.
- Press firmly with your hand or a flat tool to bond the layers evenly.
A common mistake is rushing this step and gluing crooked layers straight from the get go. Taking thirty extra seconds to dry fit saves you from redoing an entire panel.
Layering shows up in nearly every paper craft, not just cards. If you want to see how the same principles scale up to full page designs, Scrapbooking Techniques covers layering, borders, and spacing on a larger format.
Core Technique 3: Adding Dimension
Flat cards are fine, but a little dimension makes a design pop. This is where cards start to feel more crafted and less printed.
Here are the most common ways to add dimension:
- Foam adhesive dots or tape raise a layer or image slightly off the surface, creating shadow and depth.
- Pop-up techniques use folded paper mechanisms hidden inside the card that spring up when opened.
- Embossing presses a raised texture into cardstock using a stencil and a tool called a stylus.
- Layered die cuts stack multiple shapes of the same design in slightly different sizes for a 3D look.
- Shaker elements trap small loose pieces like sequins or confetti behind a clear window for movement.
Foam dots are the easiest starting point for techniques that add dimension to handmade cards. They're forgiving, quick to use, and instantly make flat layers look more finished.
A card doesn't need ten techniques to look good. One clean fold, one well placed layer, and a touch of dimension usually does more than a dozen scattered embellishments.
Photo Credit: Daria Liudnaya
Core Technique 4: Clean Panels and Professional Edges
Messy edges are one of the fastest ways to make a card look amateur, even if everything else is done well. Clean panels come down to accurate measuring and a sharp blade or trimmer.
- Always measure twice before cutting, especially on your final layer.
- Use a paper trimmer for straight edges, since it's faster and more consistent than a ruler and blade for long cuts.
- Swap dull blades often. A dragging blade tears fibers instead of slicing them, which shows up as fuzzy, uneven edges.
- Sand rough edges lightly with a fine emery board if a cut comes out slightly uneven.
- Keep your cutting mat clean. Built up scraps and dried glue can throw off your straight lines without you noticing.
This step connects closely with layering, since a crooked edge on one panel throws off everything stacked on top of it. Clean cuts are really where how to make clean folds and professional-looking card panels all comes together.
Once these four techniques feel steady, the fastest way to build real skill is practicing them on actual projects instead of scrap paper. Handmade Card Project Ideas has a full list of beginner friendly designs built around these exact techniques.
Common Mistakes to Avoid
A few habits trip up nearly every beginner card maker. Watching for these saves a lot of wasted cardstock.
- Skipping the score line on thick cardstock, which leads to cracked, uneven folds.
- Using too much wet glue, which wrinkles thin paper and can bleed through to the front.
- Cutting with a dull blade, which tears edges instead of slicing them cleanly.
- Gluing layers without dry fitting them first, leading to crooked placement.
- Overloading a card with embellishments, which buries a clean design under clutter.
- Working with the blade angled toward your fingers. Always keep your free hand clear of the blade's path and cut away from your body for basic safety.
Photo Credit: Antoni Shkraba
Techniques Compared by Difficulty
Here's a quick look at how these core techniques stack up for a beginner.
|
Technique |
Difficulty |
Tools Needed |
|
Scoring and folding |
Beginner |
Scoring board, bone folder |
|
Layering cardstock |
Beginner |
Trimmer, adhesive |
|
Foam dot dimension |
Beginner |
Foam adhesive dots |
|
Pop-up mechanisms |
Intermediate |
Craft knife, scoring board |
|
Embossing |
Intermediate |
Embossing folder, stylus |
|
Shaker elements |
Intermediate |
Clear window sheet, foam tape |
Starting with scoring, folding, and layering gives you a strong base. Once those feel natural, dimension techniques like foam dots and pop-ups come together much faster.
FAQ
What techniques are used in card making? The core techniques include scoring and folding, layering cardstock, adding dimension with foam dots or embossing, and cutting clean, straight panels.
What is the easiest card making technique for beginners? Scoring and folding is the easiest place to start, since it's the foundation every other card technique builds on top of.
How do you layer cardstock on a handmade card? Cut a base panel, cut a slightly smaller second layer, dry fit the pieces to check spacing, then glue from the center outward to avoid air bubbles.
What techniques add dimension to handmade cards? Foam adhesive dots, pop-up mechanisms, embossing, layered die cuts, and shaker elements are the most common ways to add visible depth to a card.
How do you make clean folds and professional-looking card panels? Score before folding, always measure twice before cutting, use a sharp blade or paper trimmer, and keep your cutting mat free of scraps and dried glue.
Final Thoughts
These card making techniques aren't complicated, but they do reward practice. A clean score, a well placed layer, and a touch of dimension go a lot further than a pile of extra embellishments.
Once these basics feel natural, you'll notice them showing up across nearly every paper craft you try. Read the full paper crafts guide for a complete look at tools, techniques, and where to explore next.


Leave a Reply