A single wrong blade angle can turn a delicate paper design into a pile of torn scraps in under a second. That's the reality of this craft, and it's also why learning the right paper cutting techniques matters more here than in almost any other paper craft.
This guide covers the core methods, tools, and habits that turn shaky first attempts into clean, confident cuts. This article is Part of Paper Craft Techniques by Sub-Craft, so once these basics click, you can carry the same steady hand into other paper crafts too.
Why Paper Cutting Rewards Patience
Paper cutting is unforgiving in a way that card making or scrapbooking isn't. There's no layer to hide a shaky line and no extra piece of cardstock to glue over a mistake. What you cut is what you get.
That sounds intimidating, but it's also what makes this craft satisfying. Papercutting art has been around for centuries across different cultures, from Chinese jianzhi to Mexican papel picado, and the core skill hasn't changed much. It's still about a sharp blade, a steady hand, and knowing your paper.
I've found that most people overestimate how hard this craft is and underestimate how much a sharp blade fixes. Half the battle here is tool maintenance. The other half is slowing down.
Is Paper Cutting Difficult for Beginners?
Not as difficult as it looks, but it does take more patience than other paper crafts. Simple silhouette cutting basics, like cutting a single shape from one sheet of paper, are actually a great starting point for beginners.
The difficulty ramps up with detail. Fine lines, tight curves, and connected negative space (the empty gaps inside a design) take practice to cut without tearing. Starting with bold, simple shapes and working toward finer detail is the realistic path most beginners follow.
Tools Needed for Detailed Paper Cutting
Detailed paper cutting depends more on tool quality than almost any other paper craft. A dull blade doesn't just make a rough edge here, it can tear an entire design apart.
|
Tool |
Purpose |
|
Craft knife (fine point) |
Precise cuts on detailed lines and curves |
|
Extra blades |
Frequent blade changes keep cuts clean |
|
Self-healing cutting mat |
Protects your blade and keeps lines accurate |
|
Small, sharp scissors |
Useful for larger curves and outer edges |
|
Cutting template or printed design |
Guides your blade along the pattern |
|
Tweezers |
Lifts out small cut pieces without tearing the design |
|
Good lighting |
Essential for seeing fine detail lines clearly |
A fine point craft knife is the single most important tool on this list. Everything else supports it, but the blade is where clean cuts actually happen.
For a full breakdown of blade types, trimmers, and which cutting tools work best for different paper craft projects, Cutting Tools for Paper Crafts covers the full lineup in more detail.
What Paper Is Best for Paper Cutting
Not all paper behaves the same under a blade. Thin paper tears easily along fine details, while paper that's too thick resists clean curves.
Here's what tends to work best:
- Cardstock (65 to 110 lb weight) holds detail well without being too stiff to cut curves.
- Kraft paper is sturdy and forgiving, good for practicing before moving to finer projects.
- Vellum or specialty papers work for advanced designs but require a very sharp blade and extra care.
- Standard printer paper is fine for practice sketches but tears too easily for finished pieces.
- Black paper is a traditional choice for silhouette work, since it highlights the cut shape clearly against a light background.
I usually recommend beginners start with mid weight cardstock. It holds its shape well and gives you a little more room for error while your blade control improves.
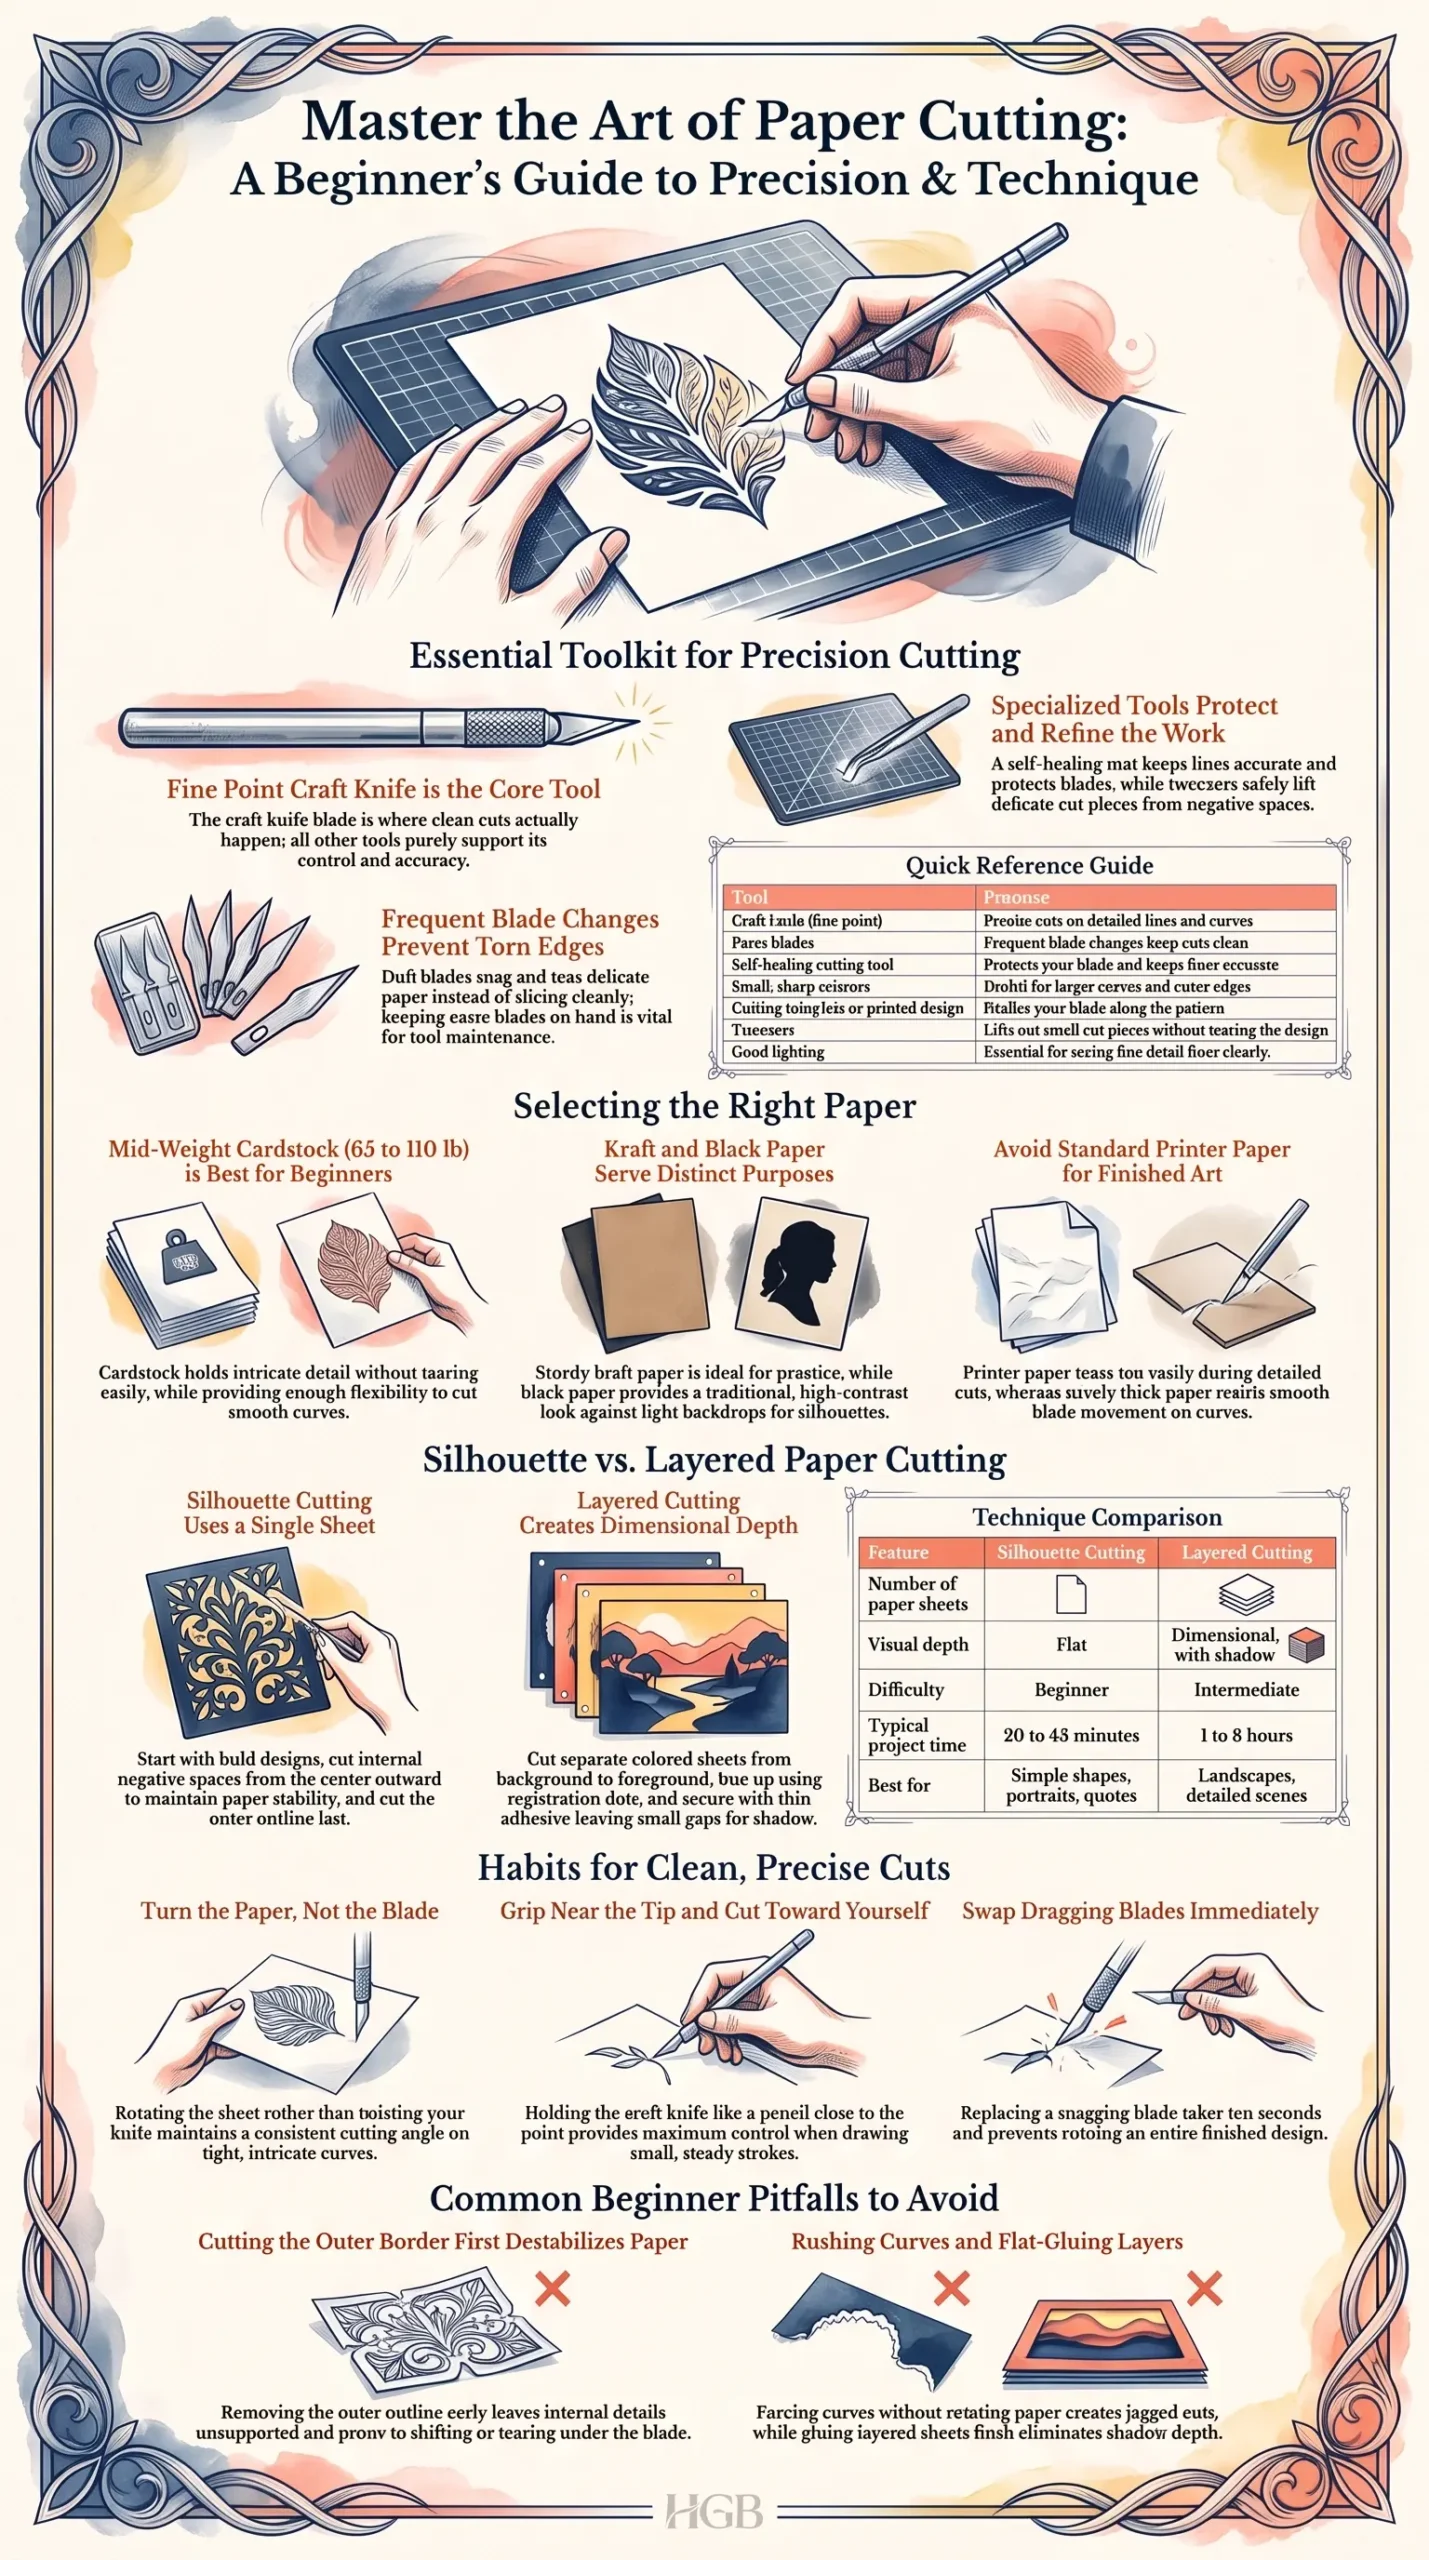
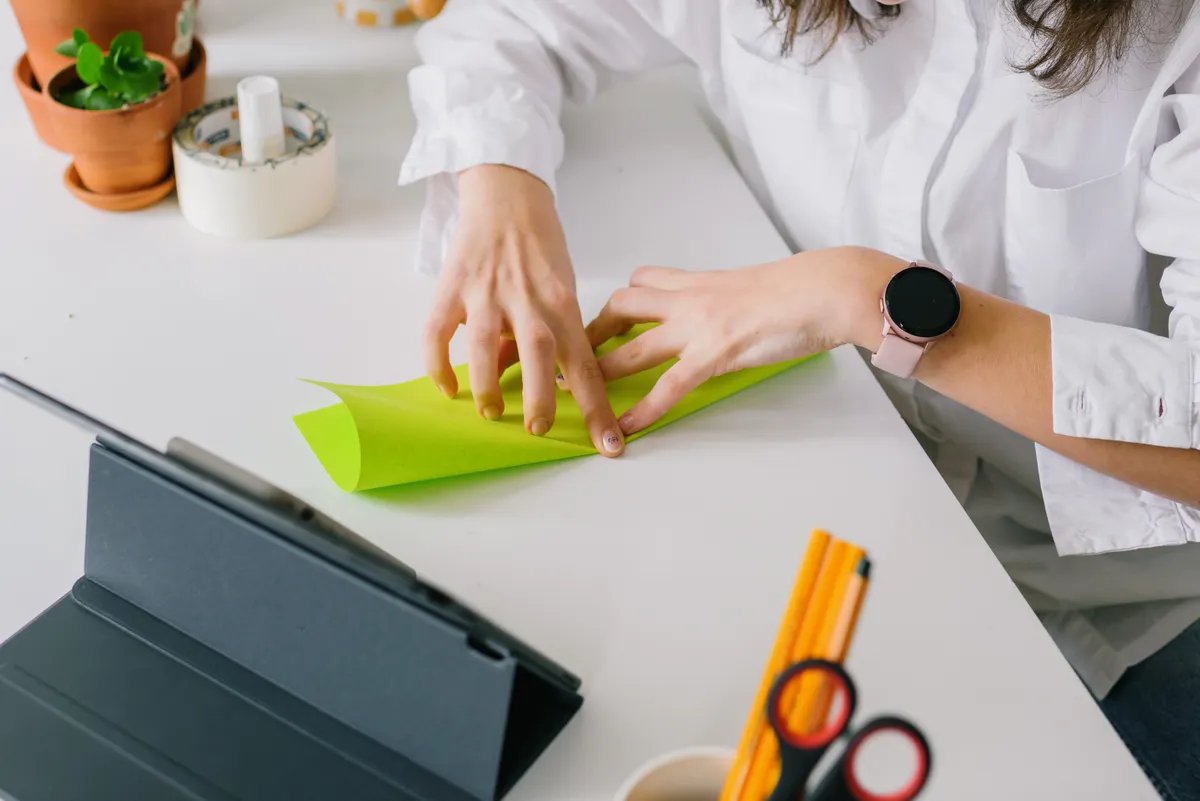
Photo Credit: Hobby Guidebook Editorial
Core Technique 1: Silhouette Cutting
Silhouette cutting is the simplest and most traditional paper cutting method. It involves cutting a single shape or outline from one sheet of paper, usually leaving a solid, connected design.
- Choose a bold, simple design for your first attempts. Avoid tiny, disconnected details until your blade control improves.
- Trace or print your design directly onto the paper, or place a printed template underneath as a guide.
- Cut the interior details first, working from the center outward. This keeps the paper more stable while you cut.
- Cut the outer outline last, since this is what holds the whole piece together until the final cut.
- Lift the finished piece carefully, using tweezers for any small or delicate sections.
This method is where most beginners start, and for good reason. It teaches blade control and steady cutting without the added complexity of managing multiple layers.
Core Technique 2: Layered Paper Cutting
Layered cutting builds depth by stacking multiple cut sheets, usually in different colors, behind each other to create a dimensional effect. It's more advanced than silhouette work but opens up a lot more design possibilities.
- Plan your layers first, sketching which parts of the design belong on which sheet.
- Cut each layer separately, starting with the background layer and working toward the front.
- Align your layers using registration marks, small pencil dots in the corners that help you line up each sheet consistently.
- Stack and secure the layers with a thin, even layer of adhesive, keeping glue away from cut edges to avoid visible residue.
- Check spacing between layers. A small gap, even just a millimeter, adds shadow and depth to the finished piece.
A clean cut is really just a sharp blade, steady pressure, and a paper that's been given the respect of the right weight for the job.
Layered work takes longer, but the payoff is a design with real depth instead of a flat silhouette. For a closer look at spacing, layer order, and adhesive tips specific to this method, Layered Paper Cutting Technique walks through the full process step by step.
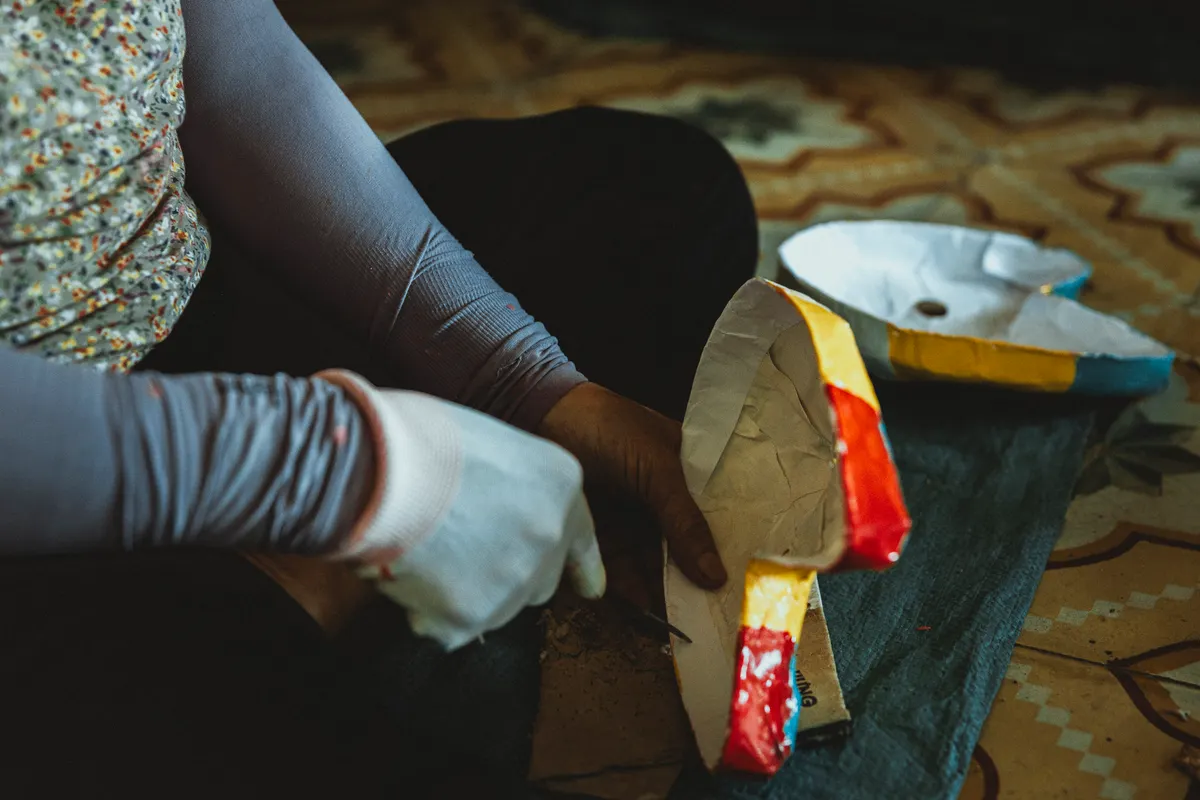
Photo Credit: Ali Salman Rizvi
Silhouette vs Layered Paper Cutting
Both methods share the same core skills, but they differ quite a bit in complexity and finished look.
|
Feature |
Silhouette Cutting |
Layered Cutting |
|
Number of paper sheets |
One |
Multiple |
|
Visual depth |
Flat |
Dimensional, with shadow |
|
Difficulty |
Beginner |
Intermediate |
|
Typical project time |
20 to 45 minutes |
1 to 3 hours |
|
Best for |
Simple shapes, portraits, quotes |
Landscapes, detailed scenes |
If you're brand new, silhouette work builds the hand control you'll need before layered projects start to feel manageable.
How to Make Clean, Precise Cuts
Clean cuts come down to a handful of habits more than raw skill. These apply whether you're doing silhouette or layered work.
- Hold your blade like a pencil, close to the tip, for better control over fine lines.
- Cut toward yourself in small, steady motions rather than pushing the blade away, which gives you more control over curves.
- Turn the paper, not the blade, especially on tight curves. Rotating the paper keeps your cutting angle consistent.
- Replace your blade at the first sign of dragging. A blade that snags or tears instead of slicing cleanly needs to be swapped, not forced.
- Keep your fingers clear of the blade's path, and always cut on a stable, flat surface to avoid slips.
I've ruined more paper than I'd like to admit by pushing through with a dull blade instead of just swapping it out. It takes ten seconds and saves an entire project.
Photo Credit: Antoni Shkraba
Common Mistakes to Avoid
A few habits trip up almost every beginner paper cutter. Catching these early saves a lot of frustration.
- Rushing tight curves instead of turning the paper to meet the blade.
- Using paper that's too thin, which tears before a clean line is finished.
- Skipping blade changes, leading to ragged, torn edges instead of smooth cuts.
- Cutting the outer outline before the inner details, which leaves the paper unstable and prone to shifting.
- Gluing layered pieces too close together, which flattens the depth effect layered cutting is meant to create.
FAQ
What are the main paper cutting techniques? The two main techniques are silhouette cutting, which uses a single sheet of paper, and layered cutting, which stacks multiple sheets to create depth.
What tools are used for detailed paper cutting? A fine point craft knife, extra blades, a self-healing cutting mat, small sharp scissors, and tweezers for lifting small pieces are the core tools used.
What paper is best for paper cutting? Mid weight cardstock between 65 and 110 pounds works best for most projects, since it holds detail well without being too stiff to cut cleanly.
What is the difference between silhouette and layered paper cutting? Silhouette cutting uses one sheet of paper for a flat design, while layered cutting stacks multiple sheets behind each other to add visible depth and shadow.
How do you make clean, precise cuts in paper? Hold the blade close to the tip, cut in small steady motions, turn the paper rather than the blade on curves, and swap dull blades often.
Is paper cutting difficult for beginners? It's approachable for beginners if you start with simple, bold designs. The difficulty increases with fine detail, so building up gradually makes the learning curve manageable.
Final Thoughts
Paper cutting techniques reward patience more than raw talent. A sharp blade, the right paper weight, and a steady hand handle most of the work once you've built the habit.
Start with simple silhouette shapes, and let layered designs come once your blade control feels steady. Read the full paper crafts guide for a broader look at tools, techniques, and where paper cutting fits into the wider hobby.





Leave a Reply