Somewhere in a French convent centuries ago, nuns were rolling gilded paper edges into coils to decorate religious items, using a technique so delicate it still looks intricate today. That history is part of why paper quilling techniques feel almost impossible from the outside, yet turn out to be far more learnable than they look once you understand the handful of shapes everything else is built from.
This guide is part of Paper Craft Techniques by Sub-Craft, and it breaks down exactly how quilling works, from your first wobbly coil to combining shapes into a finished design. I've rolled thousands of these little paper spirals over the years, and I still remember how uneven my first attempts looked.
What Paper Quilling Actually Is
Quilling, sometimes called paper filigree, involves rolling thin strips of paper into coils, then pinching and shaping them into forms that combine to build flowers, patterns, and decorative art. The word itself comes from an old technique of wrapping paper around a bird quill, which is also where the slotted tool used today gets its inspiration.
Quilling basics start with just three things: paper strips, a rolling tool, and glue. Everything else, every flower, every intricate border, comes from layering combinations of a small handful of core shapes rolled from those simple strips.
Tools and Materials for Quilling
You don't need much to get started, which is part of what makes quilling such an approachable paper craft once you get past the intimidation factor.
|
Tool or Material |
Purpose |
Notes |
|
Slotted quilling tool |
Rolls paper strips into coils |
Beginner-friendly, holds the strip while you roll |
|
Needle tool |
Rolls coils without a crease at the center |
Takes more practice, gives a cleaner center |
|
Quilling paper strips |
The base material for every shape |
Precut strips in standard widths save time |
|
PVA glue or quilling glue |
Bonds coil ends and joins shapes |
Use a thin layer to avoid warping |
|
Circle sizing board |
Standardizes coil sizes across a project |
Helps keep matching shapes consistent |
|
Tweezers |
Precise placement of small shapes |
Especially useful for tight designs |
|
Straight pins and foam mat |
Holds shapes in place while glue dries |
Useful for husking and complex forms |
For a deeper breakdown of each tool and how to choose your first set, Quilling Tools covers the full lineup in more detail than we have room for here.
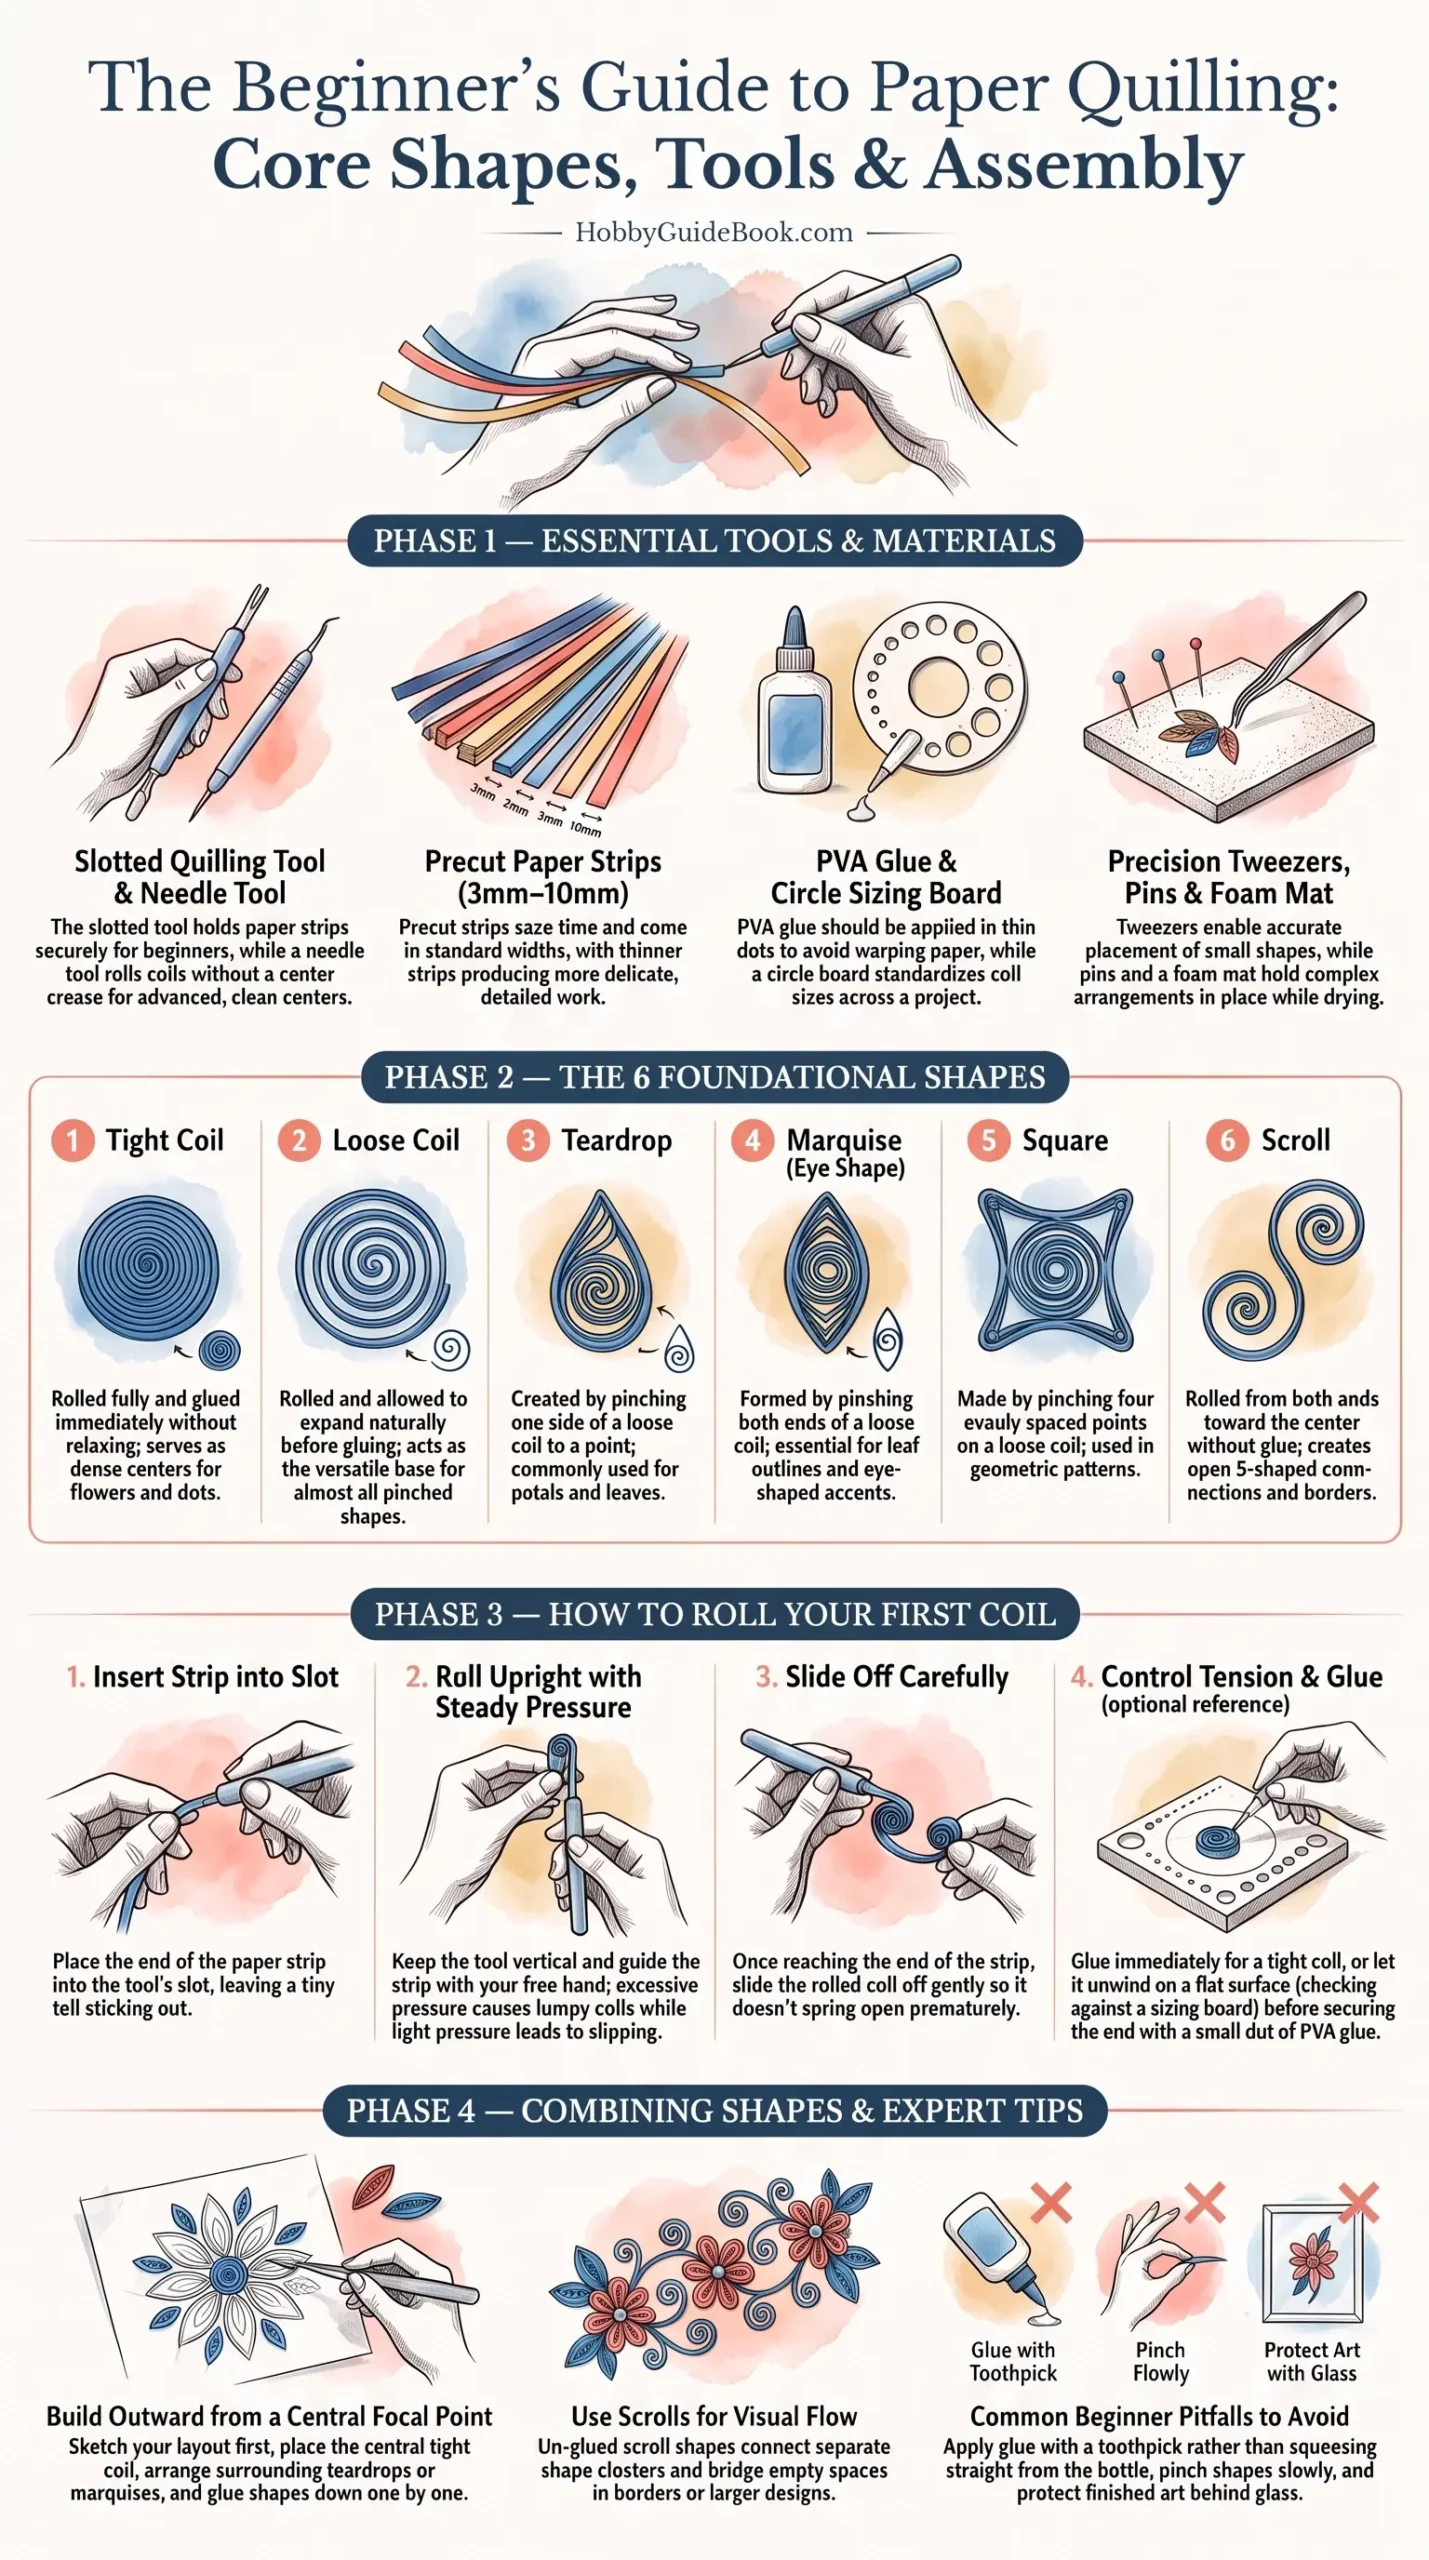
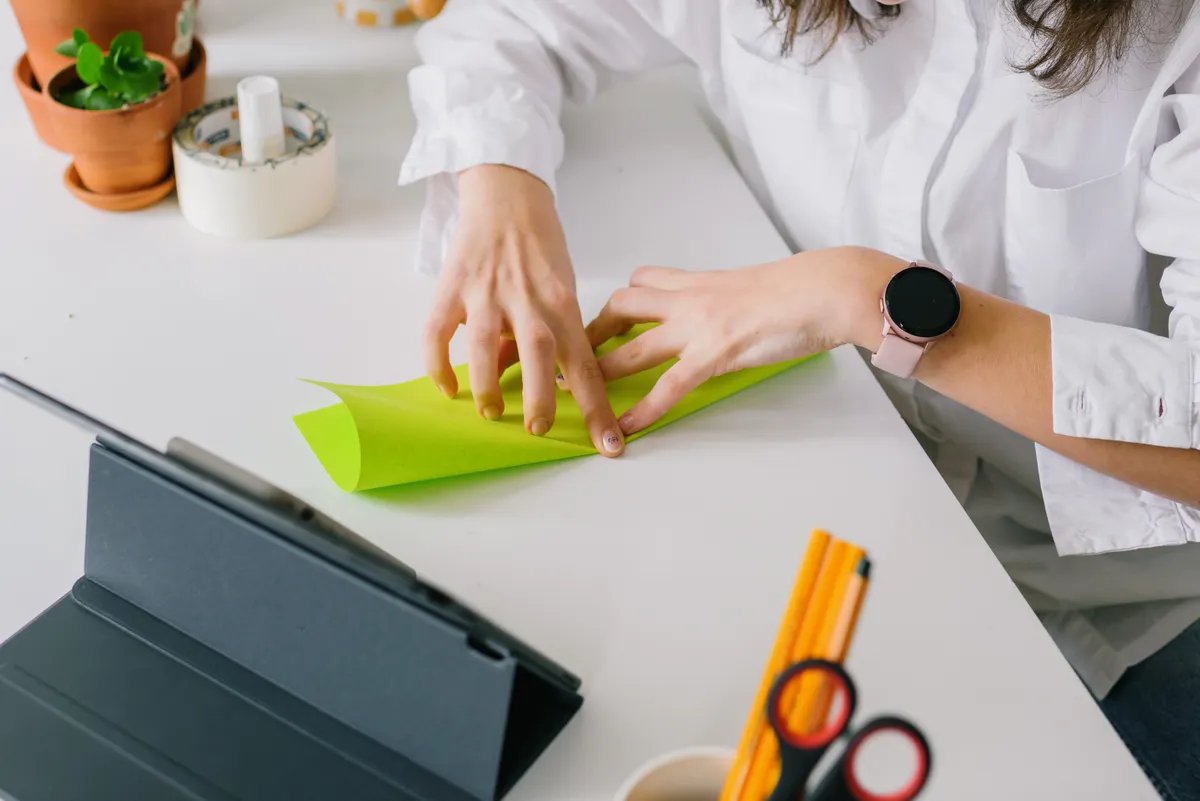
Photo Credit: Hobby Guidebook Editorial
The Basic Quilling Shapes Everyone Starts With
Nearly every quilled design, no matter how complex it looks, breaks down into a handful of foundational shapes. Learning these first makes everything that follows much easier.
- Tight coil. Roll a paper strip fully, then glue the end down immediately without letting it relax. This creates a small, dense circle often used as a center point in flowers.
- Loose coil. Roll the strip the same way, but let it relax and expand slightly before gluing the end. This creates a larger, airier circle that's the base for most other shapes.
- Teardrop. Start with a loose coil, then pinch one side to a point while leaving the other side rounded. This shape mimics petals and leaves in a lot of floral designs.
- Marquise (eye shape). Pinch both ends of a loose coil to create two points, similar to an eye or a leaf outline. It's one of the most versatile shapes in quilling once you're comfortable with basic pinching.
- Square. Pinch a loose coil into four evenly spaced points, then adjust until the sides look roughly even. This shape shows up often in geometric quilling patterns.
- Scroll. Roll paper from both ends toward the center without gluing anything, creating an open, S-shaped curl. Scrolls add movement and connect other shapes together in a design.
Once these six shapes feel natural under your fingers, you already have the building blocks for the vast majority of quilled artwork you'll see online or in pattern books.
How to Control Coil Tension
Tension is one of those quilling basics that nobody explains clearly enough for beginners, yet it changes everything about how your finished shapes look. Tension refers to how tightly or loosely a coil sits after you let go of it.
Steps for consistent tension:
- Roll your paper strip around the slotted tool at a steady, even pace rather than rushing through it.
- For tight coils, glue the end immediately after rolling, before the paper has a chance to loosen.
- For loose coils, gently release the coil from the tool and let it relax naturally against a flat surface before gluing.
- Use a circle sizing board to check that your loose coils match in size across a single project, since inconsistent sizing is one of the most common beginner giveaways.
The difference between tight coils and loose coils really comes down to timing and how much you let the paper unwind before locking it in place with glue. Tight coils hold their exact size permanently once glued, which makes them useful for flower centers where consistency matters most. Loose coils are more forgiving and form the base for almost every pinched shape, since their slight give lets you press them into teardrops, marquises, and other forms.
Step by Step: Rolling Your First Coil
If you've never touched a quilling tool before, here's the exact process I still use when teaching someone their first coil.
- Insert the paper strip into the slot of your quilling tool, leaving a small tail sticking out the other side.
- Hold the tool upright and begin rolling, keeping your other hand gently guiding the paper strip so it feeds in evenly.
- Keep consistent pressure as you roll. Too much pressure creates a lumpy, uneven coil, while too little lets the paper slip and roll crookedly.
- Stop rolling once you reach the end of the strip.
- Slide the coil off the tool carefully, holding it gently so it doesn't spring open before you're ready.
- Let it relax slightly if you want a loose coil, or glue it immediately if you want it tight.
- Apply a small dot of glue to the loose end and press it against the body of the coil until it sets, usually just a few seconds.
Expect your first ten or so coils to look a little rough. That's completely normal and every quilled artist went through the exact same learning curve.
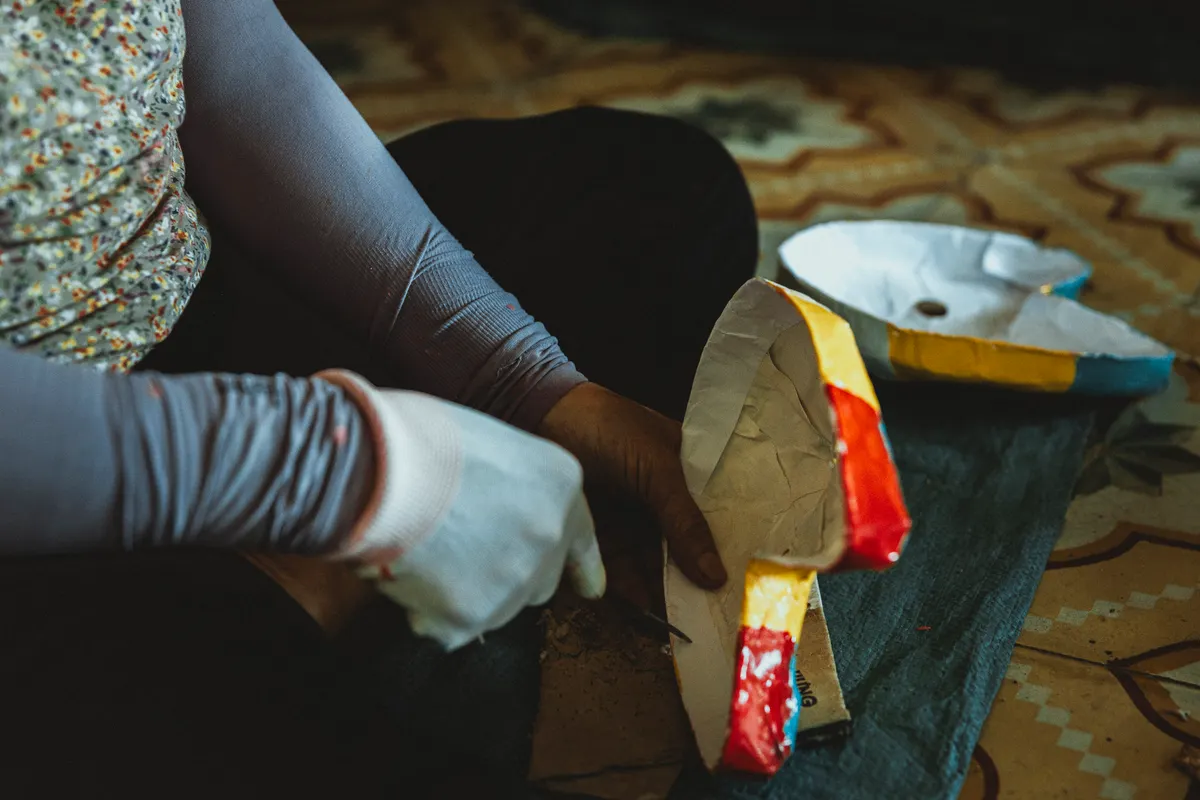
Photo Credit: Katya Wolf
Combining Shapes Into a Finished Design
This is where quilling really comes alive, since individual shapes are pretty, but combined shapes tell a bigger visual story. A simple flower, for example, usually starts with a tight coil center surrounded by five or six teardrop petals arranged in a circle.
A reliable process for combining shapes:
- Sketch or trace your design first, even roughly, so you know how many of each shape you'll need before you start rolling.
- Build from the center outward. Place your focal shape, often a tight coil, then arrange supporting shapes like teardrops or marquises around it.
- Glue shapes to your base paper one at a time, using tweezers for precise placement, rather than trying to arrange the whole design loose and gluing everything at once.
- Use scrolls to connect separate clusters of shapes, especially in border designs or larger compositions where shapes need visual flow between them.
- Let each section dry before moving to the next, since nudging a freshly glued shape can shift its position or squeeze glue out the sides.
"Quilling rewards patience more than speed. Every coil you rush shows up in the finished piece." That's something I remind myself every time I catch myself hurrying through a project, since sloppy coils are almost always the result of moving too fast rather than lacking skill.
Pro Tips and Common Mistakes to Avoid
A few patterns show up again and again with beginners working through their first quilled projects.
- Uneven coil sizes within the same design, usually from skipping the circle sizing board. Check every loose coil against the board before gluing if consistency matters for your pattern.
- Using too much glue on coil ends, which creates a visible blob instead of a clean seam. A single small dot applied with a toothpick works far better than squeezing straight from the bottle.
- Working with paper strips that are too wide for detailed work. Standard quilling strips run from about 3mm to 10mm, and thinner strips generally produce more delicate, detailed shapes.
- Rushing the pinching step on teardrops and marquises. Pinch slowly and check the shape from multiple angles before gluing it into place permanently.
- Storing finished quilled pieces without protection. Quilled art is delicate and can crush easily, so framing behind glass or storing flat in a box protects hours of careful work.
A quick safety note worth mentioning here. While quilling itself doesn't involve blades the way paper cutting does, the slotted tip on a quilling tool is sharp enough to nick skin if handled carelessly. Keep the tool pointed away from your fingers while inserting paper strips, and store it capped or in a dedicated holder when not in use.
Quilling vs Decoupage: How the Techniques Differ
Quilling sometimes gets grouped with other layered paper art forms, but it's worth understanding how it differs from something like decoupage. Quilling builds dimension through rolled and pinched paper shapes, while decoupage layers cut paper images onto a surface, usually sealed with varnish for a smooth finish.
Both crafts reward patience and a steady hand, but the skills involved are quite different, decoupage relies more on cutting and layering flat images, while quilling depends entirely on rolling, pinching, and shape control. If decoupage sounds interesting alongside quilling, Decoupage Techniques walks through that process in full detail.
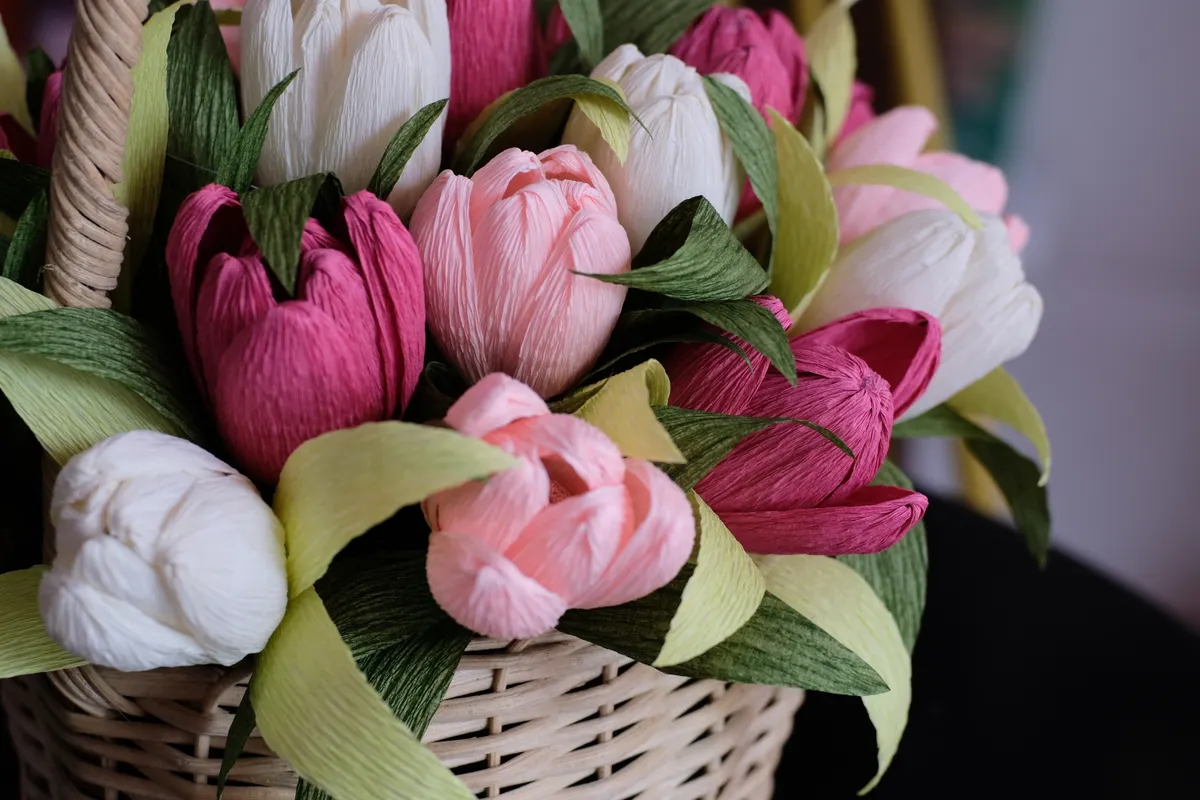
Photo Credit: Valentin Ivantsov
Quilling Shape Quick Reference
Here's a simple table to keep nearby while you're working through your first few projects.
|
Shape |
How It's Made |
Common Use |
|
Tight coil |
Roll and glue immediately |
Flower centers, dots |
|
Loose coil |
Roll, let relax, then glue |
Base for pinched shapes |
|
Teardrop |
Pinch one side of a loose coil |
Petals, leaves |
|
Marquise |
Pinch both ends of a loose coil |
Leaves, eye-shaped accents |
|
Square |
Pinch four points evenly |
Geometric patterns |
|
Scroll |
Roll both ends toward center, no glue |
Borders, connecting elements |
Frequently Asked Questions
What techniques are used in paper quilling? Paper quilling relies on rolling strips into coils, pinching them into shapes like teardrops and marquises, and gluing those shapes together into a design. Controlling coil tension and combining shapes thoughtfully are the two techniques that matter most as you progress.
What is the easiest quilling technique for beginners? The tight coil is generally the easiest technique to start with, since it only involves rolling and gluing without any pinching. Once tight coils feel comfortable, loose coils and simple pinched shapes like teardrops are the natural next step.
What are the basic quilling shapes? The core basic shapes are the tight coil, loose coil, teardrop, marquise, square, and scroll. Nearly every quilled design, no matter how complex, is built from combinations of these six foundational forms.
How do you control quilling coil tension? Tension comes down to timing and pressure while rolling. Glue tight coils immediately after rolling to lock in their size, and let loose coils relax naturally before gluing so they retain a bit of give for pinching into other shapes.
What is the difference between tight coils and loose coils? Tight coils are glued immediately after rolling and hold a fixed, dense shape, making them useful for flower centers. Loose coils are allowed to relax before gluing, giving them a slightly larger, airier form that serves as the base for pinched shapes like teardrops and marquises.
How do you combine quilling shapes into a design? Start with a rough sketch, build your design from the center outward, and glue shapes onto your base paper one at a time using tweezers for precision. Letting each section dry before moving on prevents shapes from shifting out of place.
Wrapping Up Your Quilling Journey
Paper quilling techniques look intricate from a distance, but they really just come down to a handful of shapes practiced patiently over time. Every experienced quiller started with the same wobbly first coils, myself included, and the skill builds faster than most beginners expect once the basic shapes click.
Give yourself permission to roll a lot of imperfect coils while you're learning. That's genuinely how the good ones start happening.
Want to explore more paper craft skills? Read the full paper crafts guide for techniques across every paper craft style.




Leave a Reply