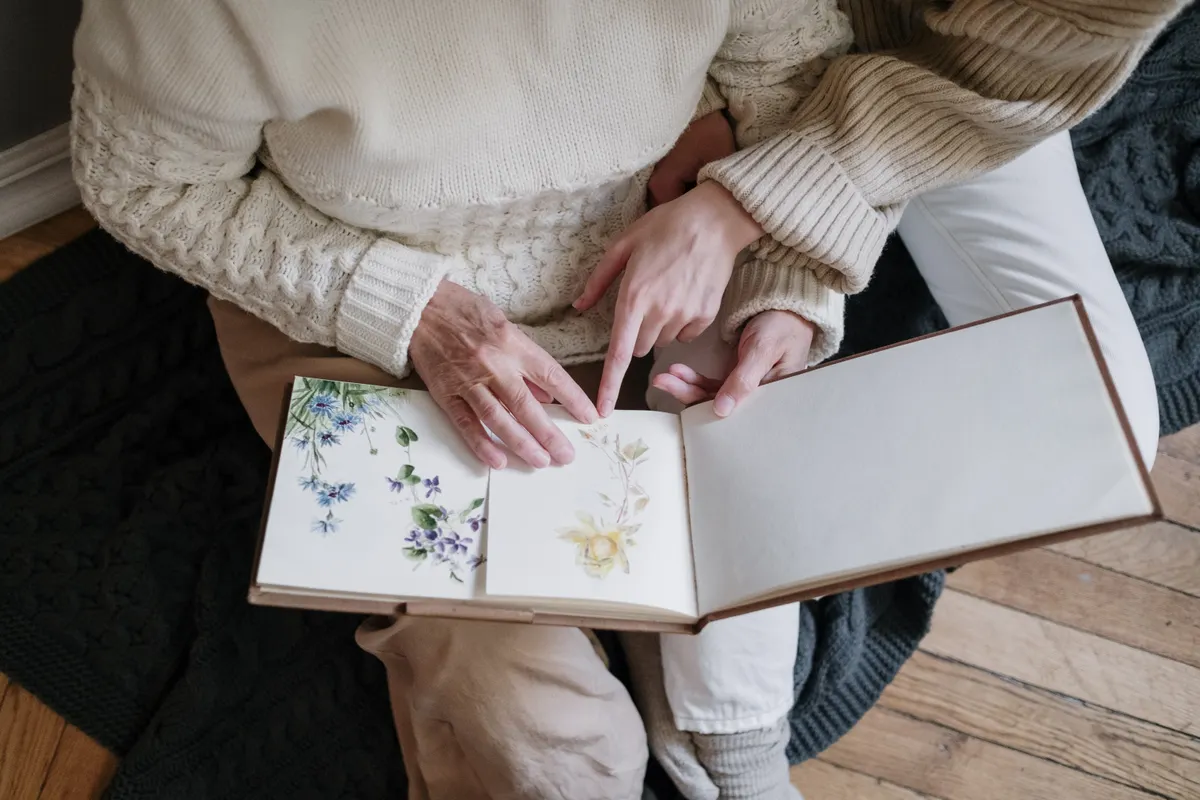
A blank scrapbook page can feel more intimidating than a blank canvas, mostly because you're not just filling space, you're trying to tell a story with photos, memories, and paper all at once. Learning real scrapbooking techniques turns that blank page from a source of anxiety into something you actually look forward to sitting down with.
This guide is part of Paper Craft Techniques by Sub-Craft, and it walks through the core skills that separate a cluttered page from a layout that actually feels finished. I've built hundreds of pages over the years, and the techniques below are the ones I come back to on every single one.
What Scrapbooking Actually Involves
At its core, scrapbooking is the craft of combining photos, paper, journaling, and small decorative pieces into a page that tells a story. It's part memory keeping, part design, and it rewards patience more than natural artistic talent.
Scrapbooking basics start with understanding that a page isn't just decoration around a photo. It's a layout, meaning every piece on the page should support the story you're telling, not just fill empty space because it looked nice in the package.
Tools and Materials You'll Actually Use
Before getting into technique, it helps to know what's actually on the table while you work. Here's what I reach for on nearly every page.
|
Tool or Material |
Purpose |
Notes |
|
Patterned paper |
Background and layering |
Choose coordinating colors, not matching prints |
|
Cardstock |
Base layer and mats for photos |
200 to 250 GSM holds up well under layers |
|
Paper trimmer |
Straight, clean cuts |
Faster and more accurate than scissors for large cuts |
|
Craft knife and cutting mat |
Detail cuts and trimming |
Keep blades sharp to avoid ragged edges |
|
Adhesive (glue runner, foam dots, tape) |
Attaching photos and embellishments |
Different adhesives create different effects |
|
Photo corners or photo-safe tape |
Securing photos without damage |
Protects prints for long-term keeping |
|
Journaling pen (archival ink) |
Adding handwritten notes |
Archival ink resists fading over decades |
|
Embellishments (buttons, ribbon, stickers) |
Decorative accents |
Use sparingly to avoid visual clutter |
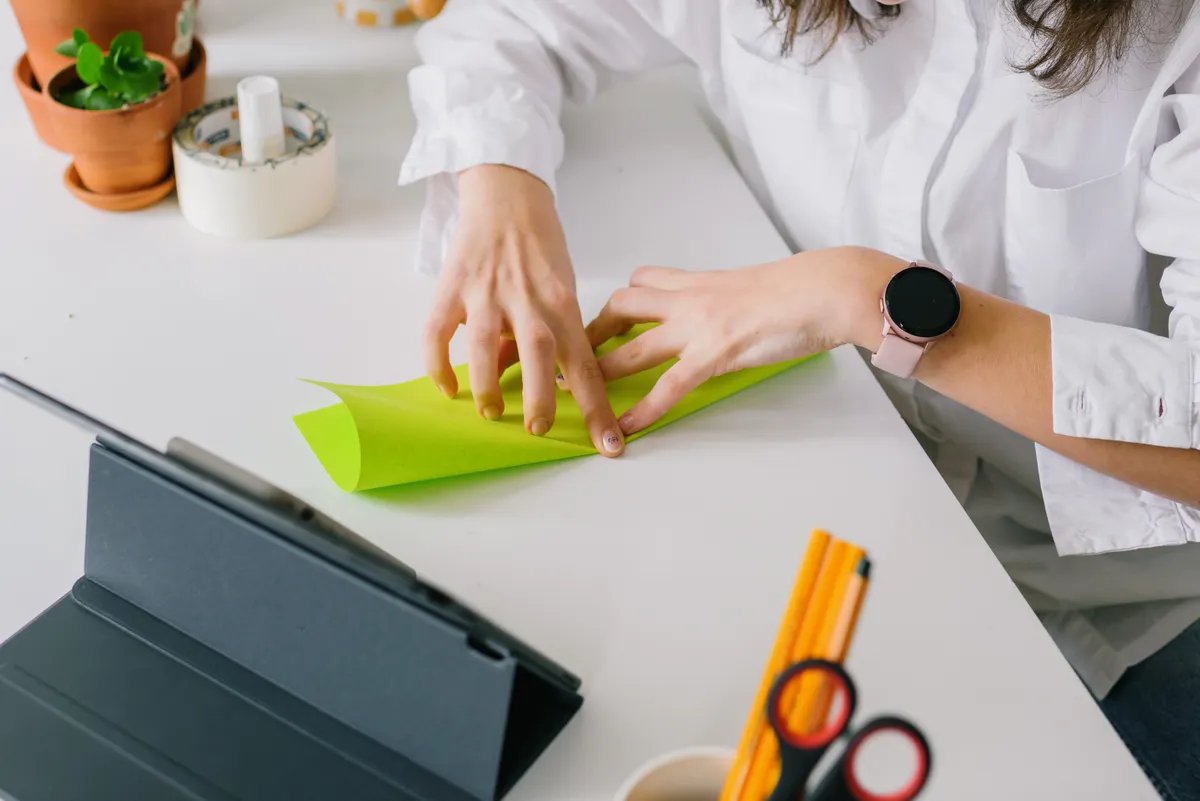
Having these basics on hand covers the vast majority of layouts, from simple single-photo pages to more complex multi-photo spreads.
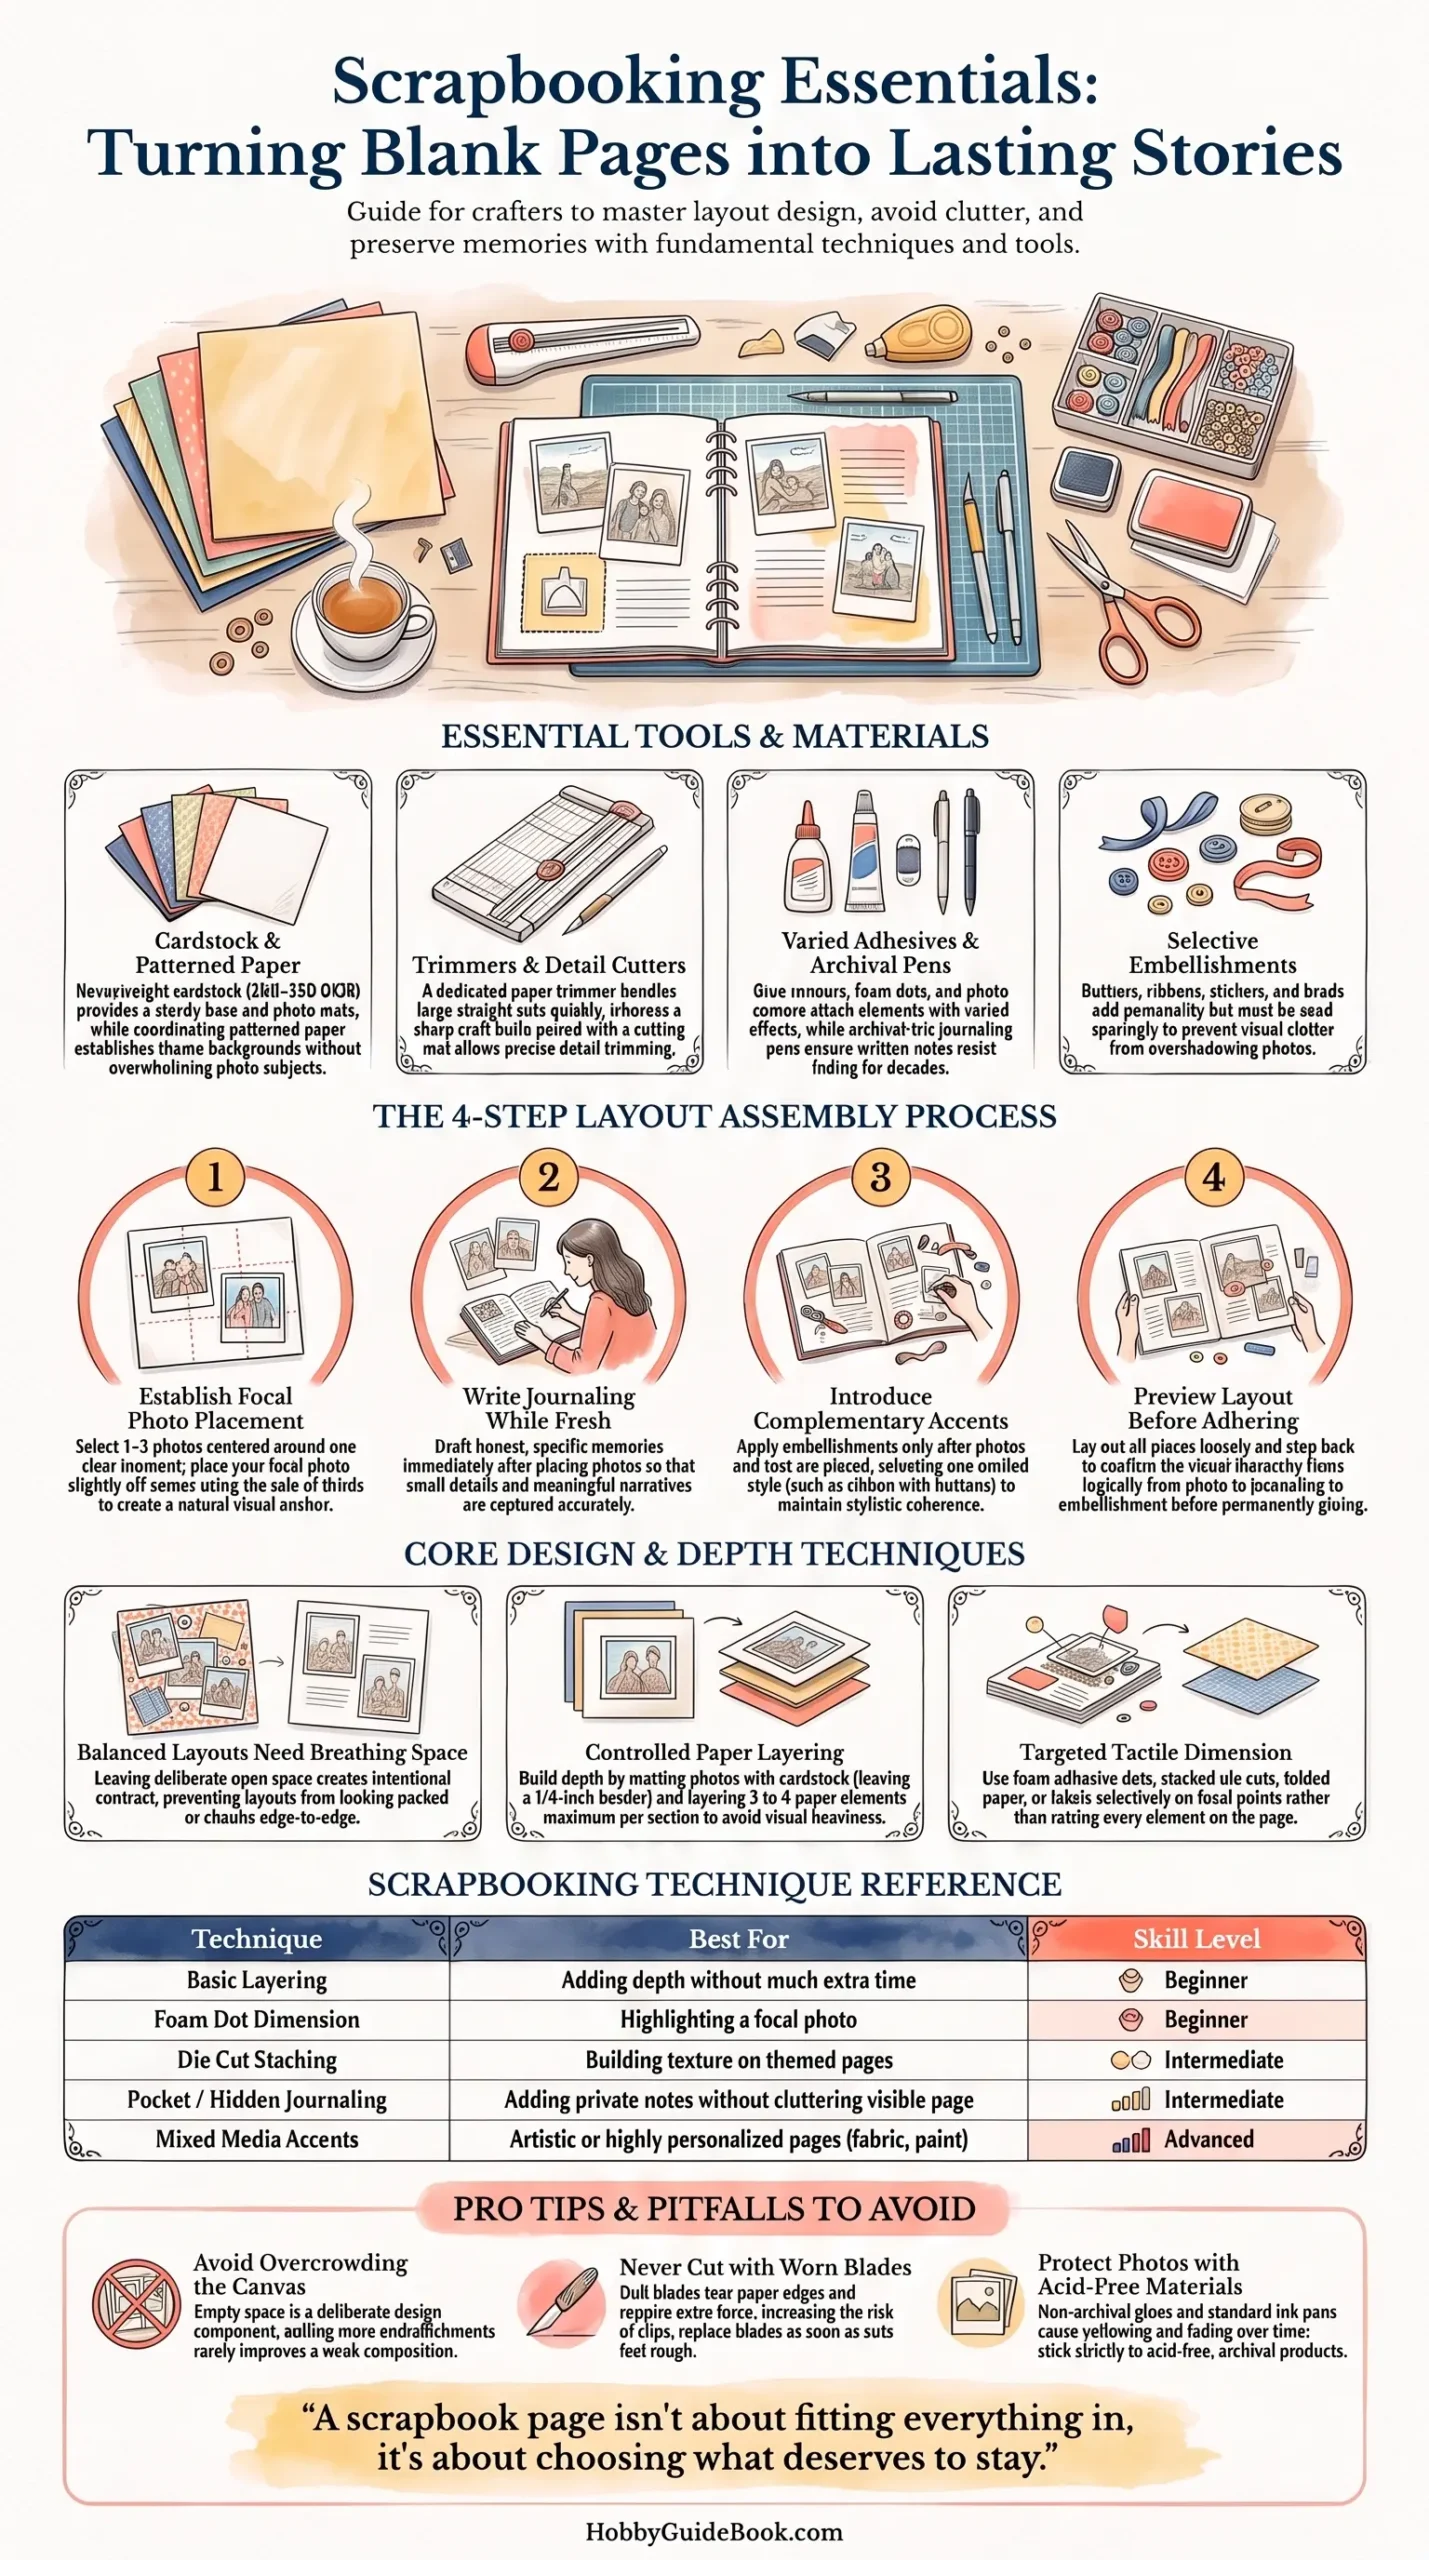
Photo Credit: Hobby Guidebook Editorial
Core Scrapbooking Techniques to Learn First
These are the foundational skills that show up on nearly every page, regardless of style.
1. Building a Balanced Layout
A balanced layout means your eye moves naturally across the page instead of getting stuck in one corner or overwhelmed by clutter. The easiest way to start is by dividing your page mentally into thirds, then placing your main photo slightly off-center rather than dead in the middle.
Steps for a balanced layout:
- Choose one main photo to act as your focal point, usually the largest or most emotionally important image.
- Place it slightly off-center, following the general idea that off-center placement feels more natural than perfect symmetry.
- Add supporting elements, smaller photos, journaling, or embellishments, around it in a way that guides the eye toward the focal point rather than away from it.
- Leave some open space. A page with breathing room reads as intentional, while a page packed edge to edge often feels chaotic.
2. Layering Paper and Photos
Layering is what gives a flat page visual depth, and it's one of the most recognizable scrapbooking techniques out there. It simply means stacking cut pieces of paper, mats, and photos on top of each other in a deliberate order.
A simple layering approach:
- Start with your background paper as the base layer.
- Add a slightly larger cardstock mat behind your photo, usually a quarter inch bigger on each side, to create a visible border.
- Layer in smaller accent papers behind or beside embellishments for extra contrast.
- Keep your layers limited to three or four per section so the page doesn't start feeling heavy or overworked.
3. Working With Embellishments
Embellishments are the buttons, ribbons, stickers, brads, and other small decorative pieces that add personality to a page. The most common beginner mistake is using too many at once, which pulls attention away from the photos themselves.
A good rule I've followed for years is picking one main embellishment style per page, maybe ribbon and buttons, or stickers and washi tape, rather than mixing every type you own onto a single layout. This keeps the page feeling cohesive instead of cluttered.
If you want to compare these techniques against similar skills used in cardmaking, Card Making Techniques covers how layering and embellishing work on smaller, single-panel projects.
4. Adding Dimension to a Page
Flat pages work fine, but dimension is what makes a layout feel tactile and interesting to look at up close. There are a few reliable ways to build it in.
- Foam adhesive dots lift photos or embellishments slightly off the page, creating a subtle shadow underneath.
- Layered die cuts stacked two or three deep add visible height without much extra weight.
- Ribbon and fabric elements introduce texture that flat paper simply can't replicate.
- Folded or pleated paper accents add movement to an otherwise static section of the page.
Dimension works best used selectively. A page with every single element popped up on foam tape starts to look busy rather than dynamic, so I usually reserve raised elements for the focal photo and one or two supporting pieces.
Combining Photos, Journaling, and Embellishments
This is where a lot of beginners get stuck, mainly because it's tempting to treat these three elements separately instead of as one connected story. A well-built page weaves all three together intentionally.
A simple process that works well:
- Start with your photos first. Choose two or three that support one clear moment or theme rather than trying to fit an entire event onto one page.
- Write your journaling next, while the story is still fresh in your mind. Keep it honest and specific rather than generic, since small details are what make a page meaningful years later.
- Add embellishments last, once your photos and journaling are placed. This way, decorative pieces support the story instead of competing with it for space.
- Check the page as a whole before gluing anything down permanently. Step back, look at the full layout, and make sure your eye lands on the photo first, journaling second, and embellishments last.
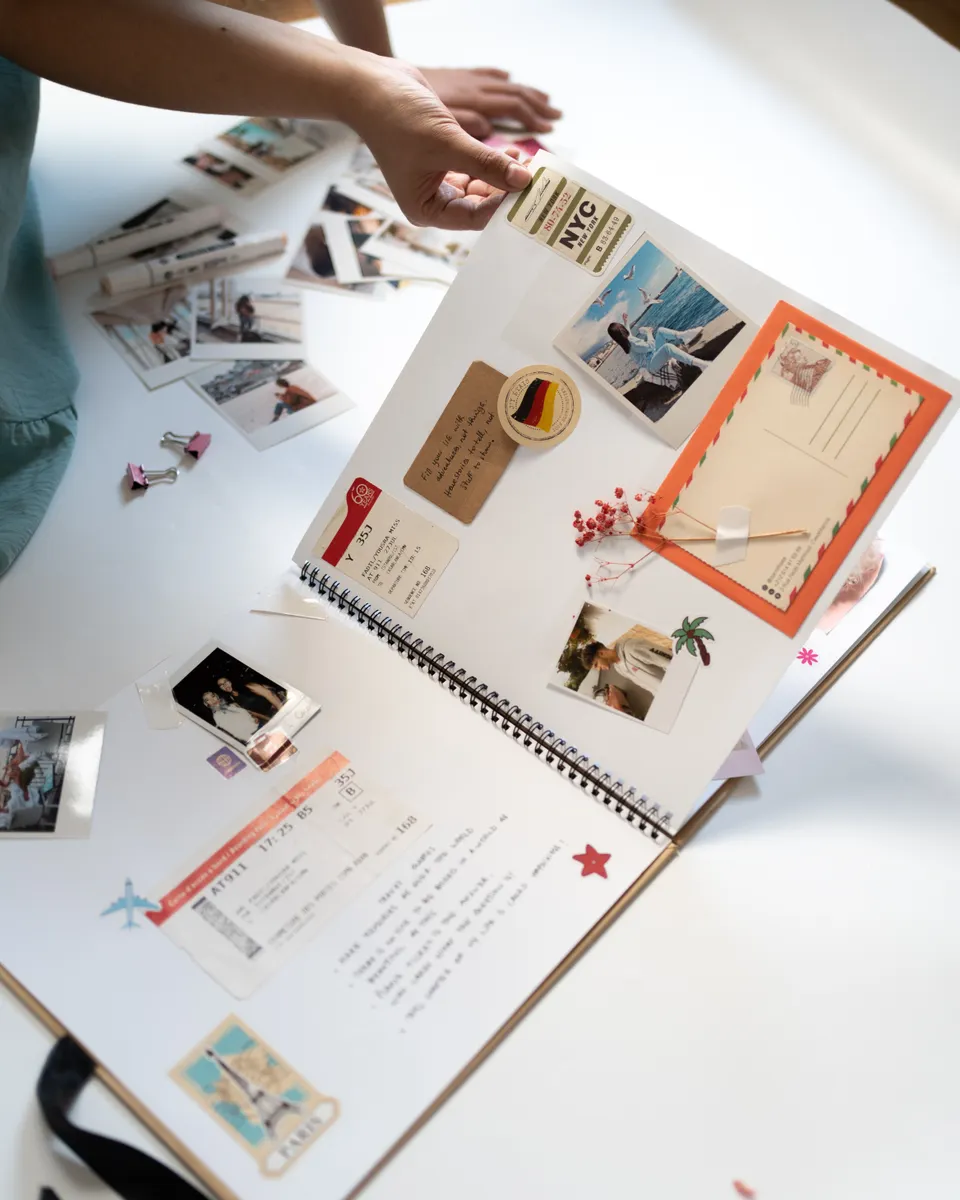
Photo Credit: Mohamed hamdi
Pro Tips and Common Mistakes to Avoid
A few patterns show up again and again with beginners working through scrapbook layout ideas for the first time.
- Overcrowding the page. More embellishments doesn't mean a better page. Empty space is part of good design, not a gap you need to fill.
- Using a dull blade for detail cuts. A worn blade tears paper instead of slicing cleanly, and it needs more pressure to cut, which raises the chance of it slipping. Keep spare blades on hand and swap them the moment cuts start feeling rough.
- Skipping archival-quality materials. Regular ink and non-acid-free adhesives can cause photos to yellow or fade over the years. Archival ink pens and acid-free paper protect your work long term.
- Gluing everything down before checking the layout. Lay pieces out loosely first, step back, and adjust before committing with adhesive.
- Mixing too many patterned papers at once. Two or three coordinating patterns usually work better than five competing prints on a single page.
"A scrapbook page isn't about fitting everything in, it's about choosing what deserves to stay." That idea has shaped how I approach nearly every layout I've built, and it's a good filter to run every embellishment and photo through before it earns a spot on the page.
Scrapbooking Technique Comparison
Different techniques suit different goals, so here's a quick reference for when to use each one.
|
Technique |
Best For |
Skill Level |
|
Basic layering |
Adding depth without much extra time |
Beginner |
|
Foam dot dimension |
Highlighting a focal photo |
Beginner |
|
Die cut stacking |
Building texture on themed pages |
Intermediate |
|
Pocket or hidden journaling |
Adding private notes without cluttering the visible page |
Intermediate |
|
Mixed media accents (fabric, paint) |
Artistic or highly personalized pages |
Advanced |
For more layout inspiration once you've got these techniques down, Scrapbook Page Ideas has a wide range of themed examples to work from.
Photo Credit: A Vasan
Frequently Asked Questions
What techniques are used in scrapbooking? Common scrapbooking techniques include layering paper and photos, adding dimension with foam adhesive, working with embellishments like ribbon and buttons, and combining journaling with photos in a balanced layout. Most pages use a mix of these techniques rather than relying on just one.
How do you create a balanced scrapbook layout? Place your main photo slightly off-center as a focal point, then add supporting photos, journaling, and embellishments around it in a way that guides the eye naturally. Leaving some open space also helps a layout feel intentional rather than cluttered.
What are common scrapbook layering and embellishment techniques? Layering usually involves stacking a background paper, a cardstock mat, and a photo on top of each other for visual depth. Embellishment techniques include adding buttons, ribbon, stickers, or die cuts, though sticking to one or two styles per page keeps things cohesive.
How do you add dimension to a scrapbook page? Foam adhesive dots are the easiest way to add dimension, lifting photos or embellishments slightly off the page for a subtle shadow. Layered die cuts, ribbon, and folded paper accents also add texture and depth when used selectively.
How do you combine photos, journaling, and embellishments effectively? Start by choosing photos that support one clear moment, write journaling while the story is still fresh, then add embellishments last so they support rather than compete with the story. Checking the full layout before gluing anything down permanently helps everything work together.
Bringing It All Together
Good scrapbooking techniques aren't about mastering every trick at once. They're about learning a few reliable skills, like layering, balanced placement, and thoughtful embellishing, then applying them consistently page after page.
Start with one technique at a time, let your pages get a little better with each one, and don't worry about perfection on your first few layouts. That's genuinely how every experienced scrapbooker got started, myself included.
Want to explore more paper craft skills? Read the full paper crafts guide for techniques across every paper craft style.
Leave a Reply