My first quilling coil unraveled the second I let go of it, springing open like a tiny paper slinky across my desk. That's the moment I learned every good quilling coiling technique comes down to one thing: controlling tension in a strip of paper thinner than a pencil line.
Coiling is the foundation of paper quilling. Every flower, shape, and design starts with a tightly or loosely wound strip of paper. This article isPart of Paper Quilling Techniques, so once coiling feels natural, the rest of quilling opens up quickly.
What Coiling Actually Means in Quilling
Coiling is simply winding a thin strip of paper around itself, usually with the help of a small tool, until it forms a tight spiral. That spiral is either glued shut right away or allowed to loosen slightly before gluing, depending on the shape you're after.
How to coil quilling paper sounds simple in theory, but getting consistent, even coils takes real practice. The paper wants to spring back open the moment you release it, and controlling that spring is really the whole skill.
I still remember how many strips I wasted early on, coils that looked fine in my hand but sprang loose and lopsided the second I set them down. That frustration faded once I understood tension, not glue, is what actually holds a coil's shape.
Tools and Materials for Coiling
You don't need a large kit to start coiling, but a few specific tools make the process far more consistent.
Tool or Material
Purpose
Quilling paper strips
Pre-cut paper in standard widths for coiling
Slotted quilling tool
Holds the paper end while you wind coils
Needle tool
Coils paper without leaving a center crease
Circle sizing board
Keeps coils consistent in size
Tweezers
Handles small coils and adjusts placement
PVA glue or glue pen
Secures the coil's loose end in place
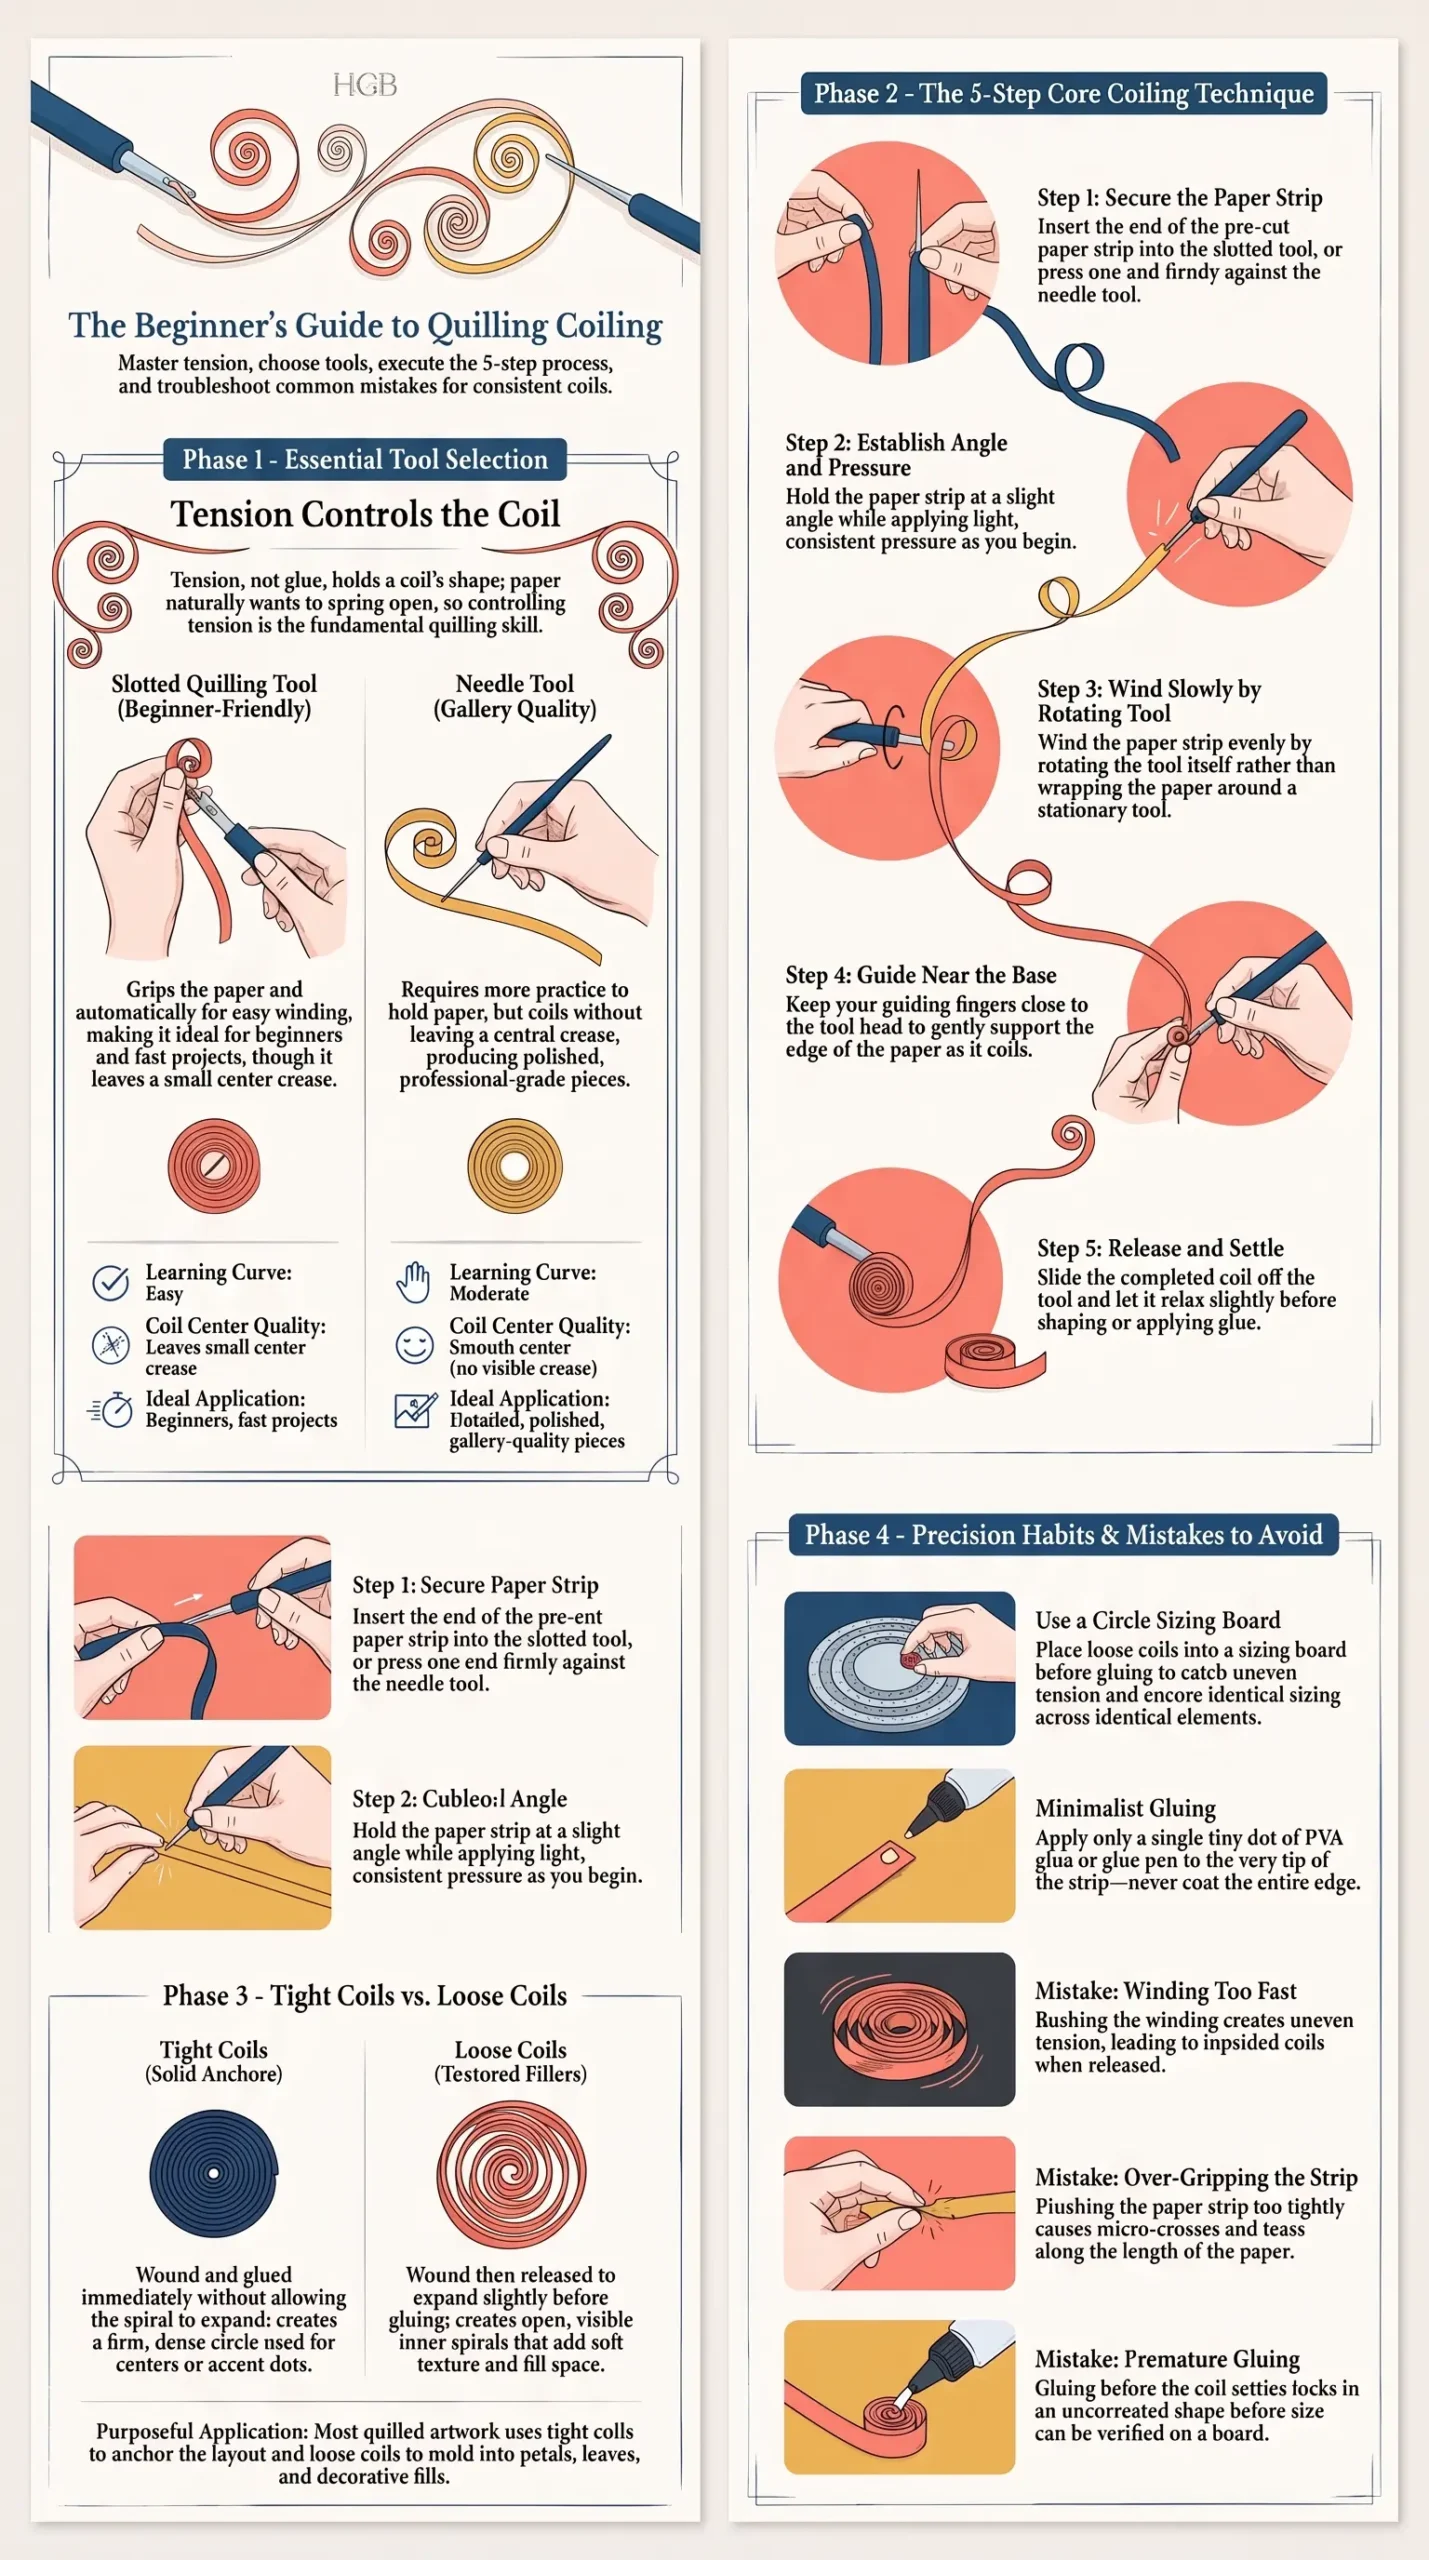
A slotted tool is easiest for beginners since it grips the paper end automatically. A needle tool takes more practice but leaves coils without a small crease at the center, which matters more once you're making finished, gallery-quality pieces.
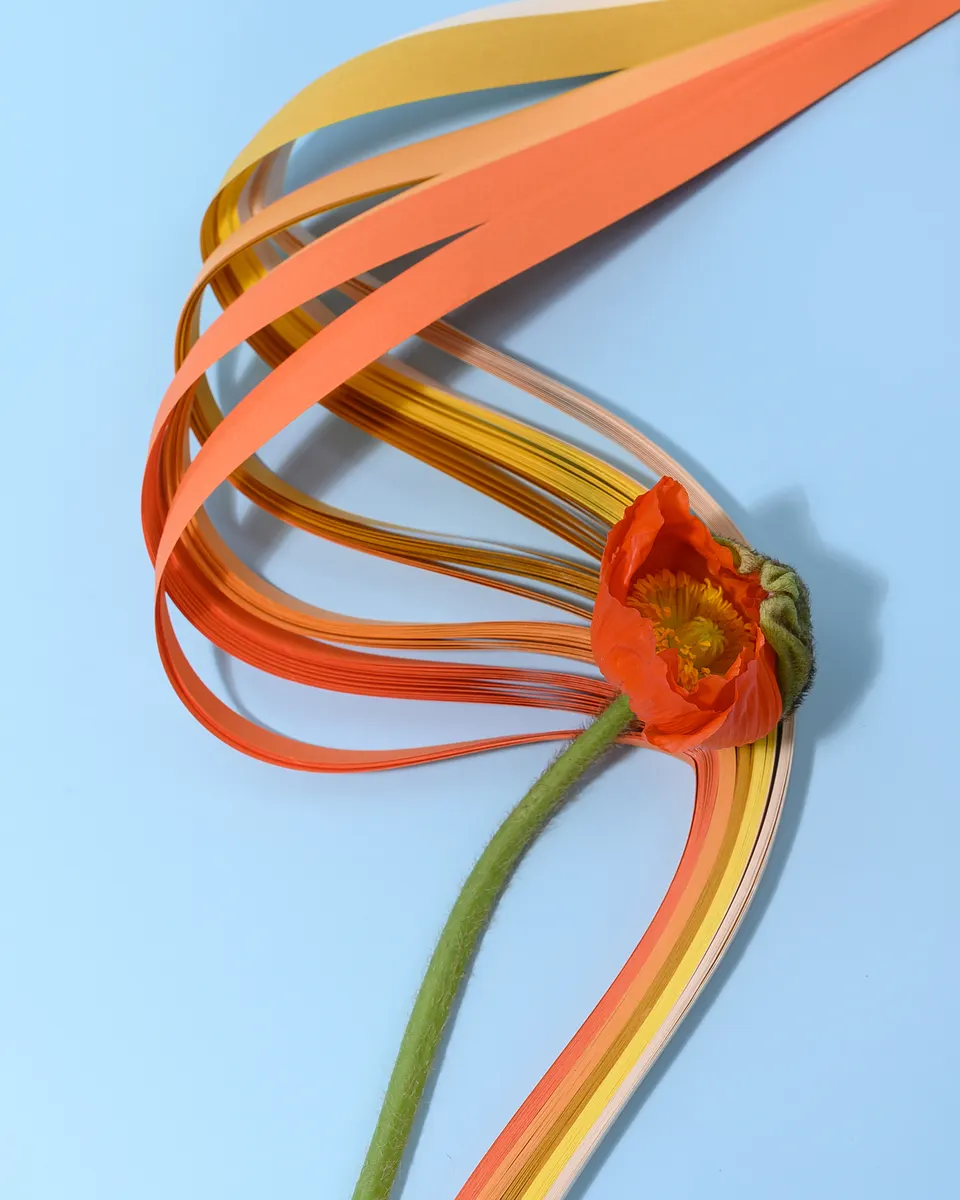
Photo Credit: Hobby Guidebook Editorial
Core Technique: How Do You Make a Quilling Coil
Making a basic coil is the first skill every quiller learns, and it's worth practicing until it feels automatic.
Insert the paper strip into the slot of your quilling tool, or press one end against a needle tool.
Hold the paper at a slight angle, keeping consistent pressure as you begin winding.
Wind the strip slowly and evenly, rotating the tool rather than the paper itself.
Keep your fingers close to the tool as a guide, gently supporting the paper's edge as it winds.
Release the coil from the tool once you've wound the full strip, letting it relax slightly before shaping.
Speed matters less than consistency here. A slow, even wind produces a rounder coil than a fast one, even if the fast one feels more satisfying in the moment.
Tight Coil vs Loose Coil Quilling
Once you understand basic coiling, the next skill is knowing when to keep a coil tight and when to let it relax into a loose coil. Tight coil loose coil quilling techniques create very different looks from the same starting motion.
What is a tight coil in paper quilling? A tight coil is wound and glued immediately, with no space left to loosen. It holds a small, firm circle shape and is often used as a centerpiece or a solid dot within a larger design.
What is a loose coil in quilling? A loose coil is wound the same way but released from the tool and allowed to relax slightly before gluing. This creates a slightly larger circle with visible spiral lines inside, giving it a softer, more open look than a tight coil.
Most quilled designs use a mix of both. Tight coils tend to anchor a design, while loose coils fill space and add texture without feeling overly dense.
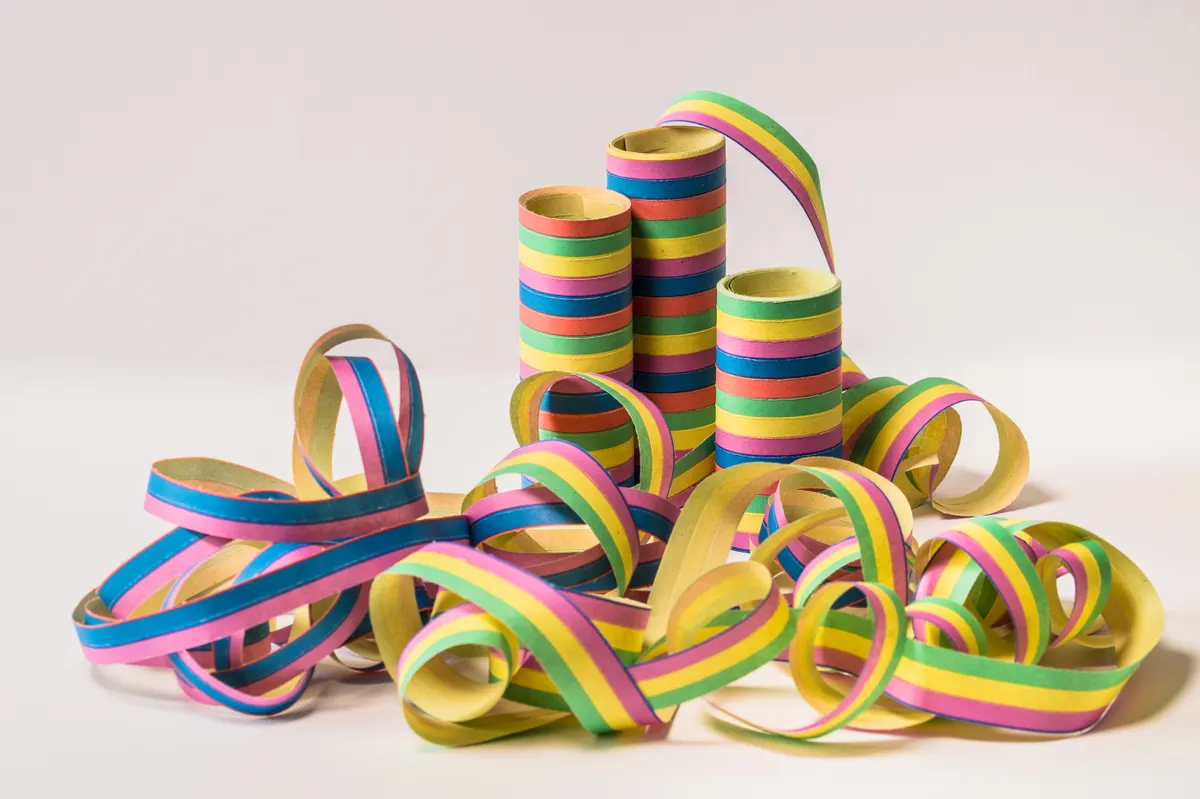
Photo Credit: Ylanite Koppens
How Do You Keep a Quilling Coil Evenly Shaped
An uneven coil usually comes down to inconsistent tension, meaning the pressure on the paper changes partway through winding instead of staying steady.
A few habits fix most shaping problems:
Wind at a steady, slow pace rather than speeding up partway through, since rushed sections tend to loosen unevenly.
Use a circle sizing board to check coil size before gluing, catching uneven winds before they're permanent.
Let loose coils relax naturally rather than pulling them open by hand, which often creates a lopsided shape.
Glue only the very end of the strip, using a small dot rather than running glue along the whole edge.
A coil doesn't need to be perfectly round to look good in a finished piece. Slight variation often reads as handmade charm rather than a mistake, as long as the tension feels intentional rather than sloppy.
What Tool Do You Use to Coil Quilling Paper
Beginners often ask whether a slotted tool or a needle tool is the better choice, and honestly, both work well depending on your goals.
Tool
Learning Curve
Coil Quality
Best For
Slotted quilling tool
Easy
Small center crease
Beginners, fast projects
Needle tool
Moderate
No visible crease
Detailed, polished pieces
Starting with a slotted tool builds confidence quickly, since it holds the paper for you while you focus on winding technique. Once that feels comfortable, switching to a needle tool removes the small crease and gives coils a cleaner, more finished center.
Once your coils feel consistent, the next skill worth learning is edge treatment.Quilling Fringing Technique covers how to cut and coil fringed paper strips into fluffy flower centers, which builds directly on the same winding motion you've been practicing.
Common Coiling Mistakes to Avoid
A handful of habits separate shaky first coils from smooth, professional looking ones.
Winding too fast, which creates uneven tension and a lopsided final shape.
Gripping the paper too tightly, causing creases or tears along the strip.
Using dull or bent quilling tools, which snags paper and throws off consistent winding.
Gluing before the coil settles, locking in a shape before you've checked its size.
Skipping the sizing board, leading to mismatched coils within the same design.
Photo Credit: Daria Liudnaya
Once coiling feels steady, shaping those coils into teardrops, marquises, and other forms is the natural next step.Quilling Shaping & Husking Technique walks through how to pinch and mold coils into the shapes most quilled designs actually rely on.
FAQ
What is a tight coil in paper quilling? A tight coil is wound and glued immediately with no relaxing, creating a small, firm circle often used as a centerpiece within a design.
What is a loose coil in quilling? A loose coil is wound the same way but allowed to relax before gluing, creating a slightly larger circle with visible spiral lines inside.
How do you make a quilling coil? Insert a paper strip into a slotted or needle tool, wind it slowly and evenly while keeping consistent tension, then release and glue the loose end.
What tool do you use to coil quilling paper? A slotted quilling tool is easiest for beginners, while a needle tool takes more practice but leaves coils without a small center crease.
How do you keep a quilling coil evenly shaped? Wind at a steady pace, use a circle sizing board to check size, and let loose coils relax naturally instead of pulling them open by hand.
Final Thoughts
The quilling coiling technique really comes down to controlling tension, winding slowly, and letting the paper settle before you glue. Once tight and loose coils feel comfortable, everything else in quilling builds on that same steady hand.







Leave a Reply