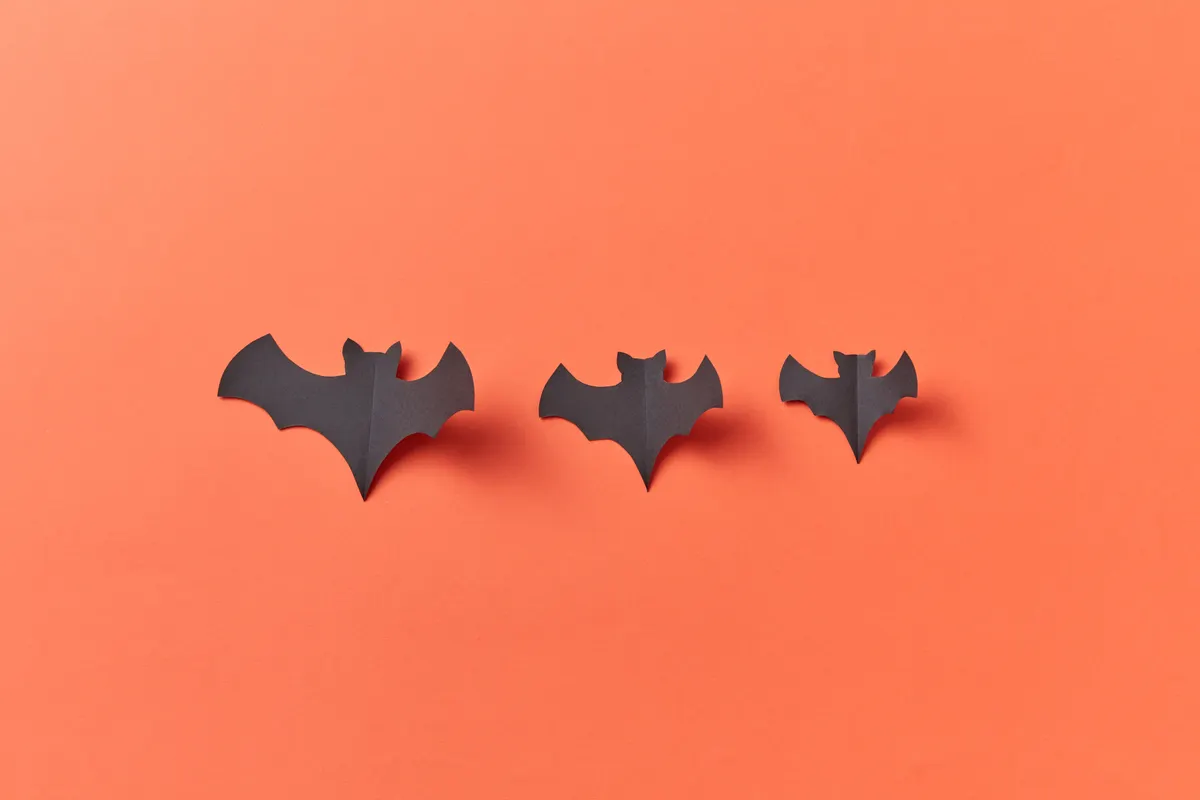
A single sheet of black paper and a sharp blade can turn into a portrait so precise it looks printed, not hand cut. That's the appeal of the silhouette paper cutting technique, a craft that's been around for centuries and still has a way of stopping people mid-scroll when they see one done well.
This guide is part of Paper Cutting Techniques, and it covers exactly how to choose paper, transfer a design, and cut a clean silhouette from a single sheet. I've cut everything from simple profile portraits to detailed nature scenes over the years, and the technique rewards a steady hand and a sharp blade more than almost any other paper craft I do.
What Silhouette Paper Cutting Actually Is
Silhouette paper cutting is the art of cutting a solid, single-color shape out of paper, traditionally a dark profile against a light background, though modern versions use any color or design. Unlike layered paper cutting, which stacks multiple sheets for depth, silhouette work usually comes from one sheet of paper, with the cut shape either kept whole or removed to leave a stencil-like negative space.
The style dates back to portrait art from centuries ago, but it's found new life in modern papercutting silhouette art, from wall decor to custom wedding invitations. The charm is in the contrast, a solid black shape against white paper reads instantly, with no shading or detail needed beyond the outline itself.
Is Silhouette Paper Cutting Done From One Sheet of Paper
Yes, in most cases. Traditional silhouette cutting uses a single sheet, cutting either the outline shape to keep as the finished piece, or cutting away the background to leave a stencil version behind. This single-sheet approach is part of what makes silhouette work different from layered paper cutting, which intentionally uses several sheets stacked together for a dimensional, 3D effect.
If you're interested in that layered style once you've got single-sheet cutting down, Layered Paper Cutting Technique covers how to stack and offset multiple cut layers for depth, a natural next step once basic silhouette cutting feels comfortable.
What Paper Is Best for Silhouette Cutting
Paper choice matters more here than in most paper crafts, since the paper needs to hold fine detail without tearing under a blade.
- Black cardstock is the classic choice for traditional silhouette portraits, usually around 65 to 80 pound weight, heavy enough to handle without tearing but thin enough to cut cleanly.
- Construction paper works for beginner practice pieces, though it tends to tear more easily on fine detail cuts.
- Specialty silhouette paper is sold pre-cut to standard sizes and often has a smoother surface that cuts more predictably than general cardstock.
- Vellum or translucent paper works well for silhouettes meant to be backlit or layered over a colored background.
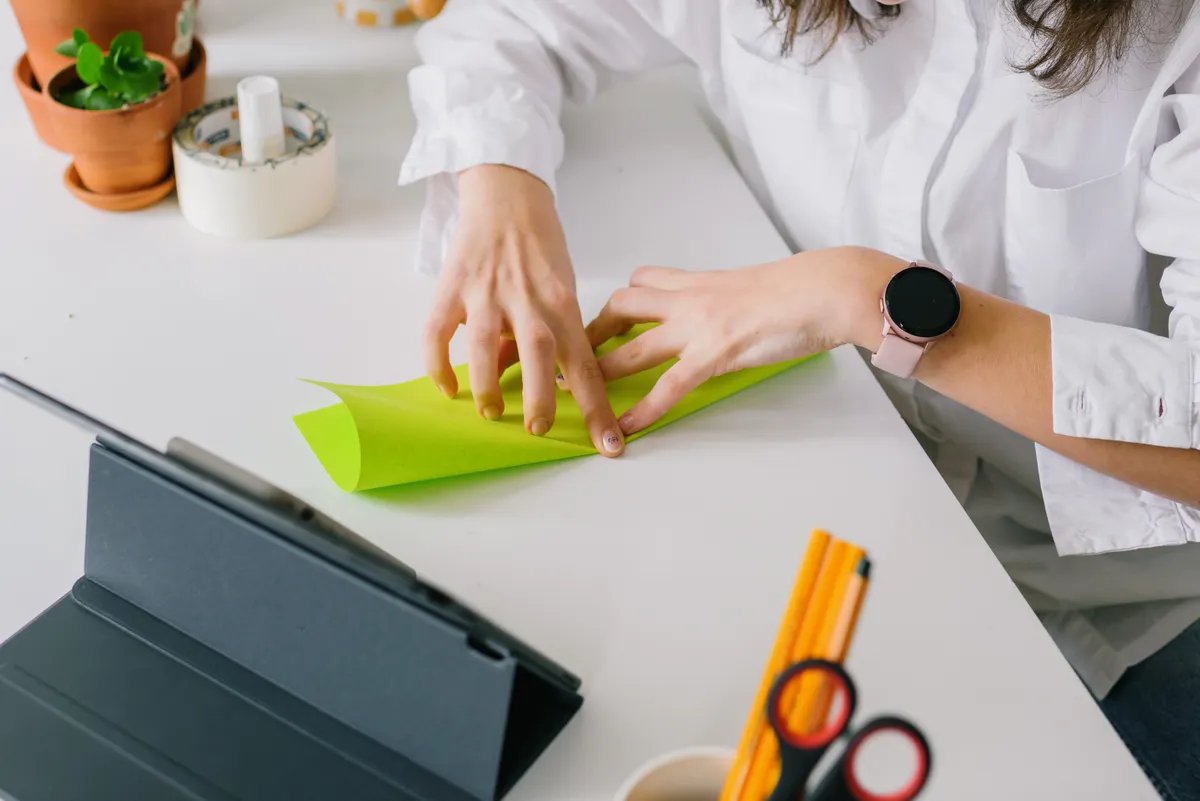
I usually recommend starting with a mid-weight black cardstock, since it's forgiving enough for a beginner's hand but still holds crisp, clean lines once you get the hang of the blade work.
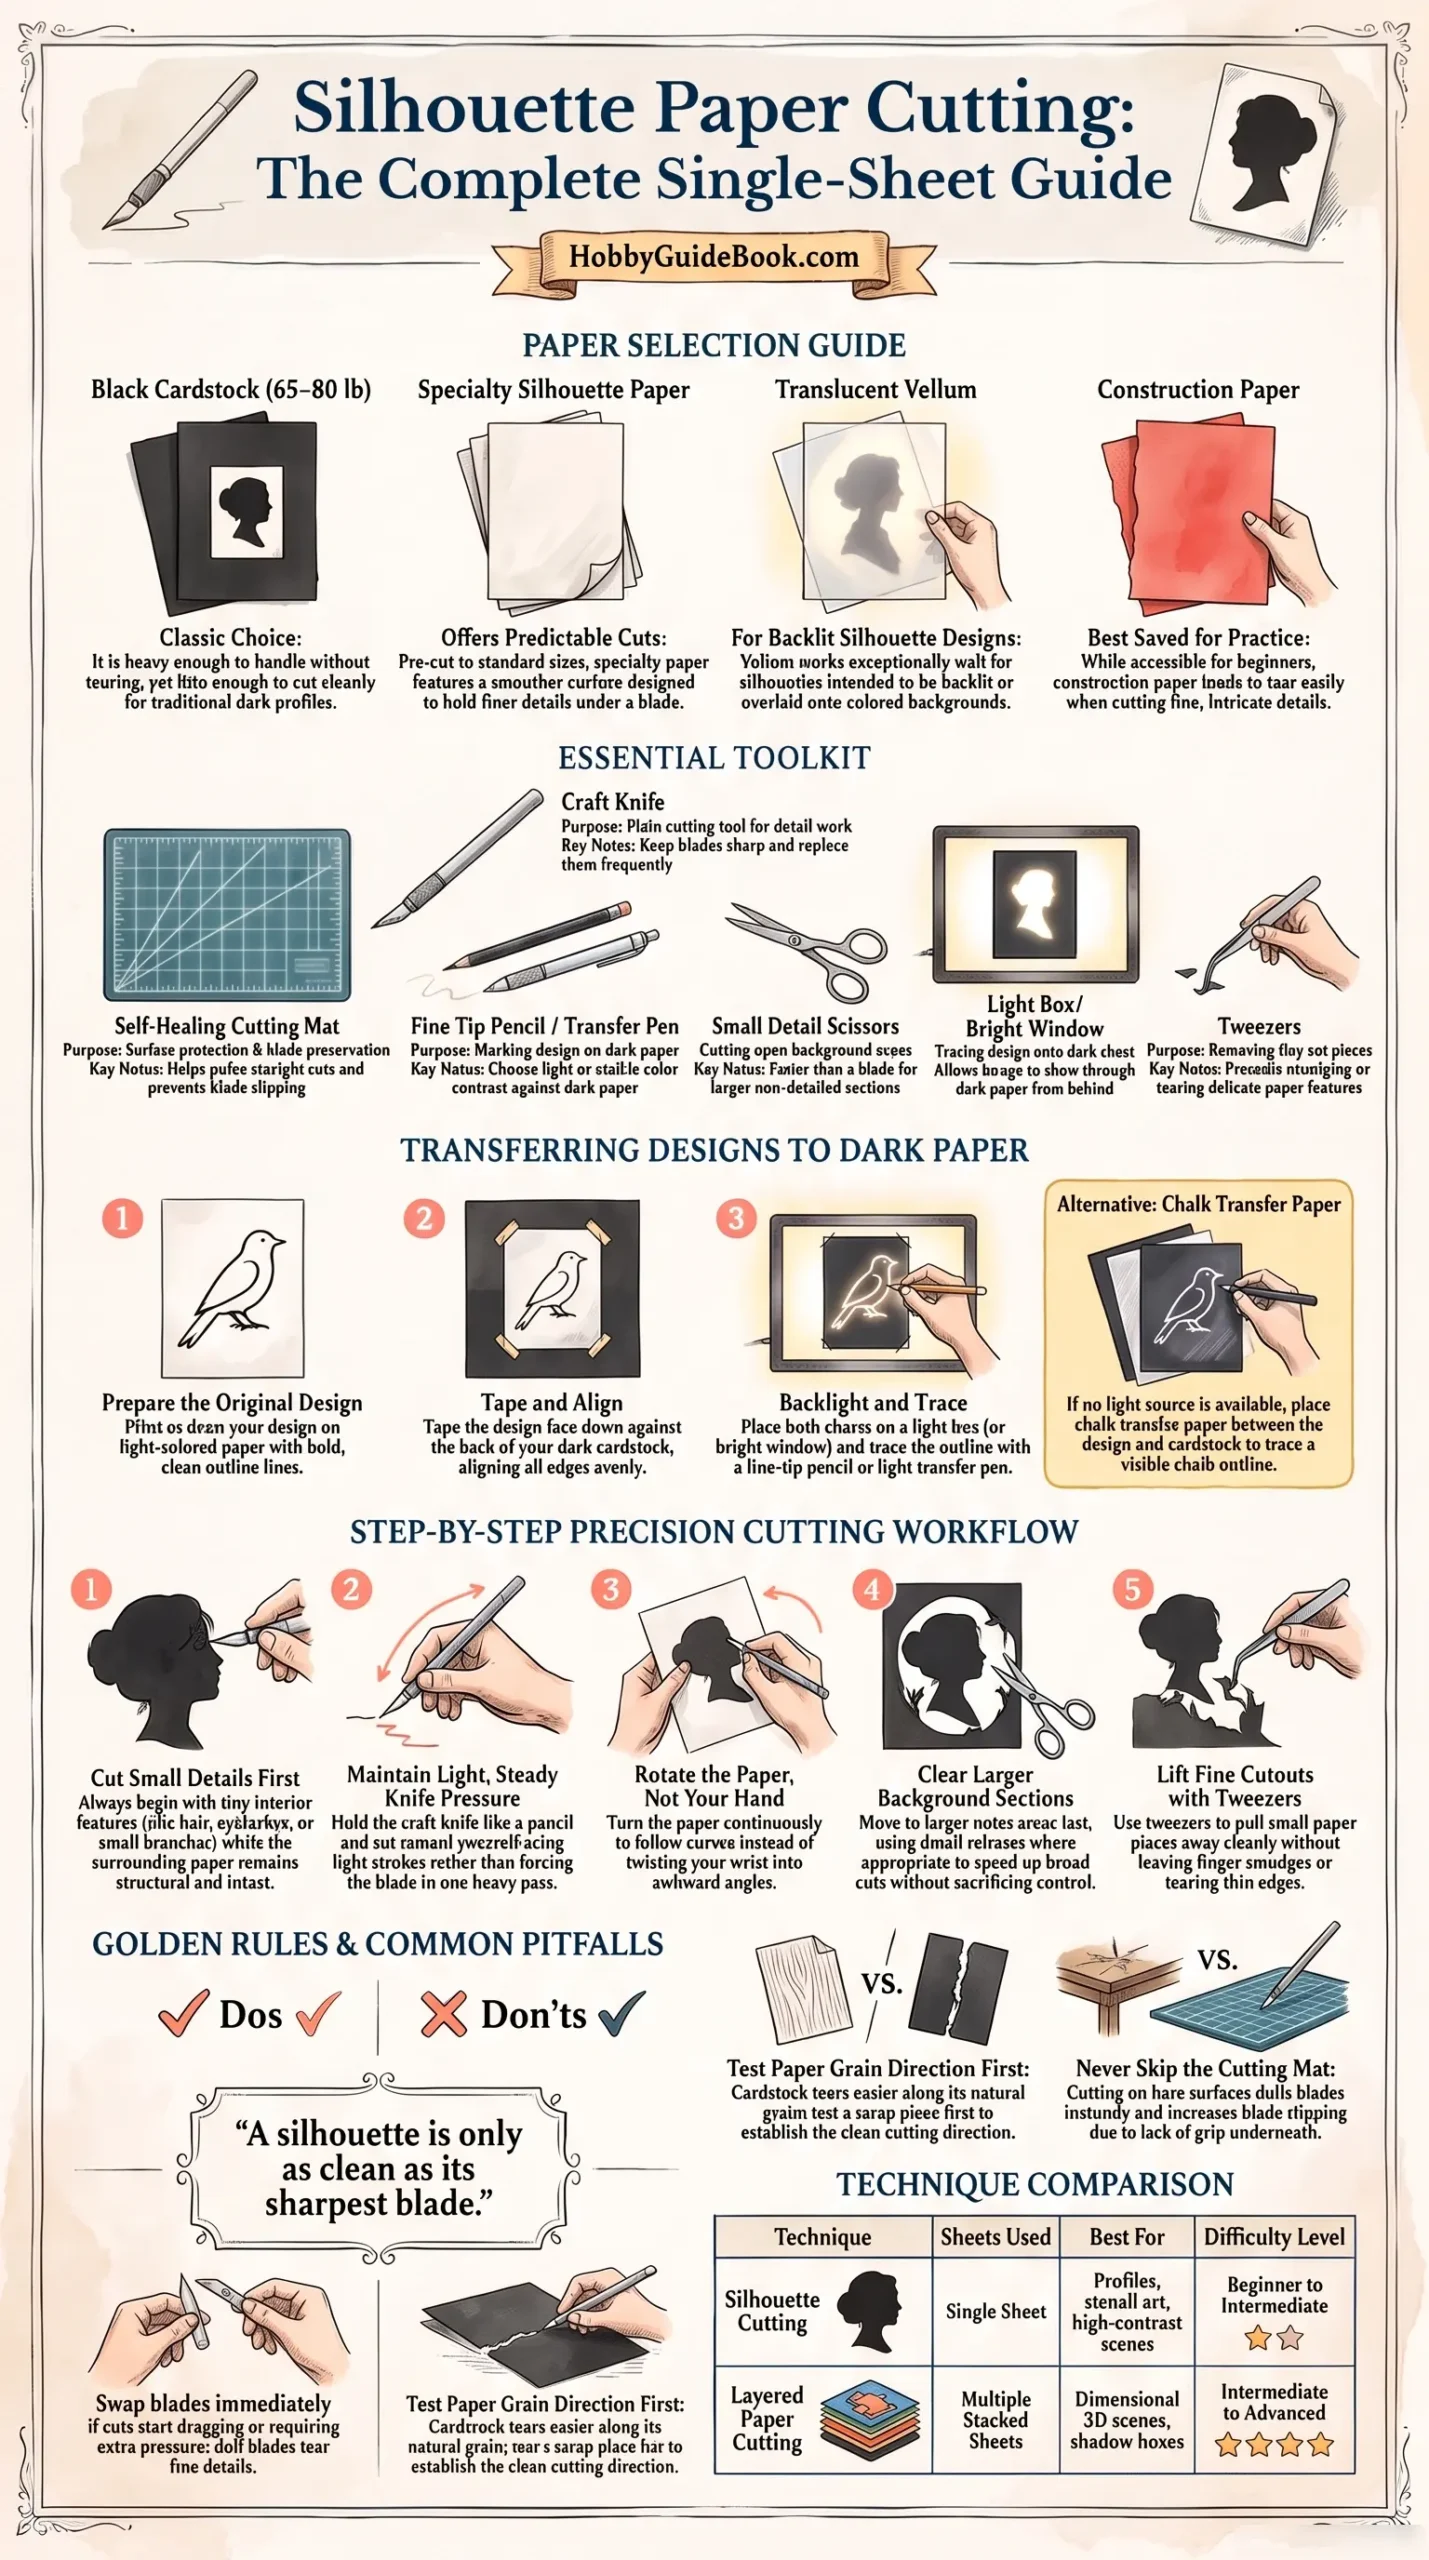
Photo Credit: Hobby Guidebook Editorial
Tools for Cutting Paper Silhouettes
The right tools make the difference between a shaky, torn outline and a clean, professional-looking cut.
|
Tool |
Purpose |
Notes |
|
Craft knife |
Main cutting tool for detail work |
Keep blades sharp and swap them often |
|
Self-healing cutting mat |
Protects your work surface |
Also helps guide straight cuts |
|
Fine tip pencil or transfer pen |
Marking the design onto paper |
Choose a color visible against dark paper |
|
Small detail scissors |
Cutting larger open areas |
Faster than a blade for big background sections |
|
Light box or bright window |
Transferring designs accurately |
Helps trace through dark paper |
|
Tweezers |
Removing small cut pieces cleanly |
Prevents smudging or tearing tiny details |
A sharp blade is genuinely the single most important item on this list. A dull craft knife drags through paper fibers instead of slicing them cleanly, which tears fine details like eyelashes or thin branch lines almost every time. For a deeper look at blade types and when to switch them out, Cutting Tools for Paper Crafts breaks down the differences between standard and detail blades.
How to Transfer a Silhouette Design to Paper
Getting a design onto dark paper takes a slightly different approach than working with light colored cardstock, since regular pencil marks barely show up.
- Print or draw your design on light colored paper first, keeping the outline clean and bold enough to see clearly.
- Tape the design face down against the back of your dark paper, lining up the edges evenly.
- Use a light box or hold both sheets up to a bright window, so the design shows through the dark paper from behind.
- Trace over the visible lines with a fine tip pencil or a light colored transfer pen, working slowly to keep the lines accurate.
- Double check the traced lines are visible enough to follow before removing the design sheet, since faint lines are easy to lose halfway through cutting.
If a light box isn't available, chalk transfer paper works as an alternative, placed between the design and the dark cardstock, then traced over to leave a faint chalk outline underneath.
Photo Credit: Polina ⠀
Step by Step: Cutting Your Silhouette
Once your design is transferred, the actual cutting is where patience really counts.
- Start with the smallest, most detailed areas first, like facial features or thin branches, while the surrounding paper is still fully intact and easier to control.
- Hold your craft knife like a pencil, using light, steady pressure rather than forcing the blade through in one heavy stroke.
- Cut toward yourself in small, controlled strokes, rotating the paper rather than twisting your hand into awkward angles.
- Move to larger sections once detail work is finished, switching to small scissors if it speeds things up without sacrificing accuracy.
- Use tweezers to lift away small cut pieces, keeping the surrounding paper clean and free of smudges from fingers.
- Check your blade sharpness periodically, especially on longer projects, and swap it the moment cuts start feeling like they need extra pressure.
"A silhouette is only as clean as its sharpest blade." That's something worth remembering any time a cut starts feeling like a struggle, since it's almost always the blade asking to be replaced, not a sign your hand has lost its steadiness.
Pro Tips and Common Mistakes to Avoid
A few patterns show up again and again with beginners working through their first silhouette projects.
- Rushing detail areas. Fine details like hair strands or thin lines need slow, deliberate cuts. Moving too fast almost always tears these sections.
- Using a dull blade for too long. As mentioned earlier, this is the most common reason for torn or ragged edges, and it's an easy fix with a spare blade on hand.
- Cutting against the paper's natural grain. Some cardstock tears more easily in one direction. Testing a scrap piece first helps you feel out which way cuts cleaner.
- Skipping the cutting mat. Cutting directly on a table dulls blades faster and increases the risk of the knife slipping since there's no grip beneath the paper.
- Not rotating the paper while cutting. Twisting your wrist into awkward angles instead of turning the paper leads to shaky, uneven lines.
Photo Credit: RDNE Stock project
Silhouette Cutting Compared to Layered Paper Cutting
Here's a quick comparison to help decide which style fits your next project.
|
Technique |
Sheets Used |
Best For |
Difficulty |
|
Silhouette cutting |
One sheet |
Portraits, simple scenes, stencils |
Beginner to intermediate |
|
Layered paper cutting |
Multiple sheets |
Dimensional scenes, shadow box art |
Intermediate to advanced |
Frequently Asked Questions
What is silhouette paper cutting? Silhouette paper cutting is the technique of cutting a solid shape, usually a dark profile, out of a single sheet of paper to create a clean, high-contrast image. It's traditionally used for portrait art but now covers everything from nature scenes to custom decor.
What paper is best for silhouette cutting? Black cardstock around 65 to 80 pound weight is the classic choice, since it holds fine detail without tearing easily. Specialty silhouette paper also works well for a smoother, more predictable cutting surface.
What tool is best for cutting paper silhouettes? A sharp craft knife is the main tool for detail work, paired with a self-healing cutting mat for control and blade protection. Small detail scissors help speed up larger open background areas once the fine cutting is done.
How do you transfer a silhouette design to paper? Tape your design face down against the back of dark paper, then hold both up to a light box or bright window so the design shows through. Trace the visible lines with a fine tip pencil or light colored transfer pen before cutting.
Is silhouette paper cutting done from one sheet of paper? Yes, traditional silhouette cutting uses a single sheet, unlike layered paper cutting which stacks multiple sheets for dimension. The single sheet either becomes the finished silhouette shape or a stencil once the background is removed.
Wrapping Up Your Silhouette Practice
The silhouette paper cutting technique comes down to a sharp blade, a steady hand, and patience through the fine detail sections. It's a craft that looks intricate in the final piece but breaks down into manageable, slow steps once you understand the order to tackle them in.
Start with a simple profile shape on a scrap piece of cardstock, then work up to more detailed designs as your blade control improves.
Want to explore more paper craft skills? Read the full paper crafts guide for techniques across every paper craft style.





Leave a Reply