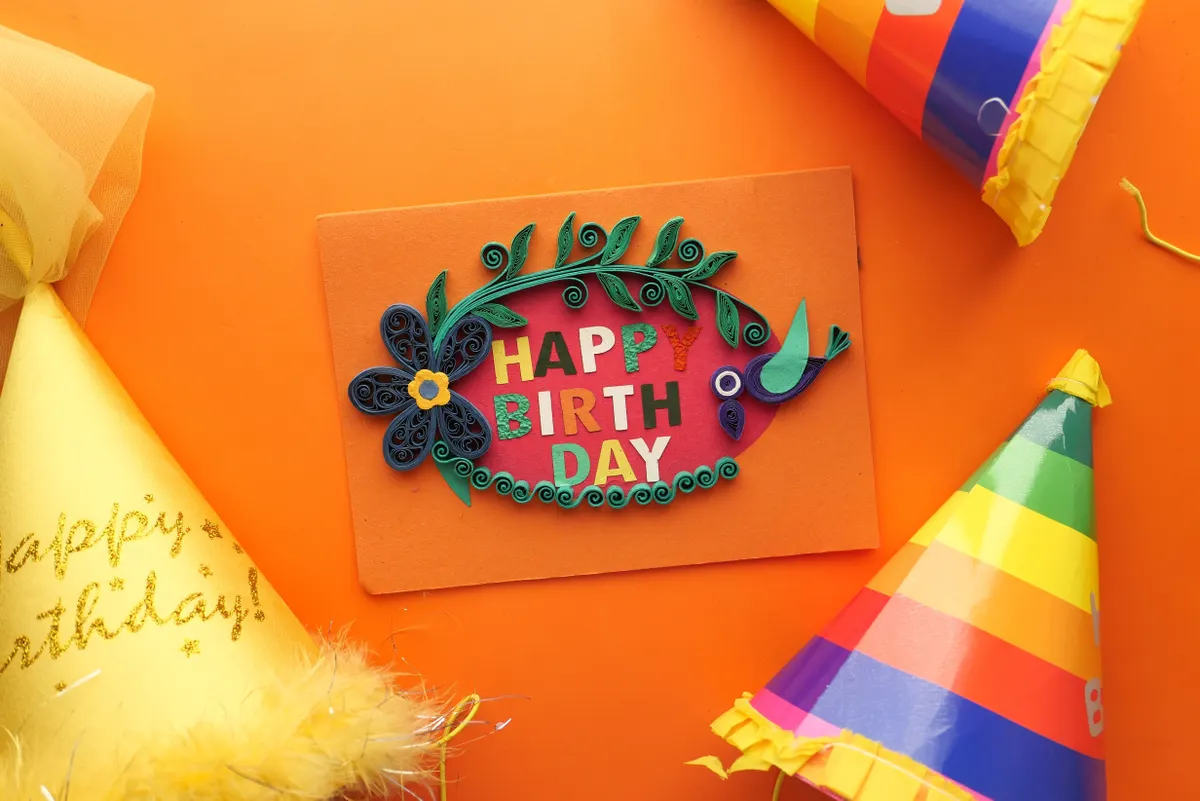
A single strip of paper, snipped into dozens of tiny slits and rolled into a coil, can bloom into something that looks like it belongs in an actual garden. That's the quilling fringing technique in a nutshell, and it's one of the most satisfying tricks in paper quilling once your scissors and your patience learn to work together.
This guide is part ofPaper Quilling Techniques, and it covers exactly how to cut, roll, and shape fringed paper into flowers and other soft, textured accents. I've fringed more quilling strips than I can count, and this technique rewards a steady hand more than any other quilling method I teach.
What Quilling Fringing Actually Is
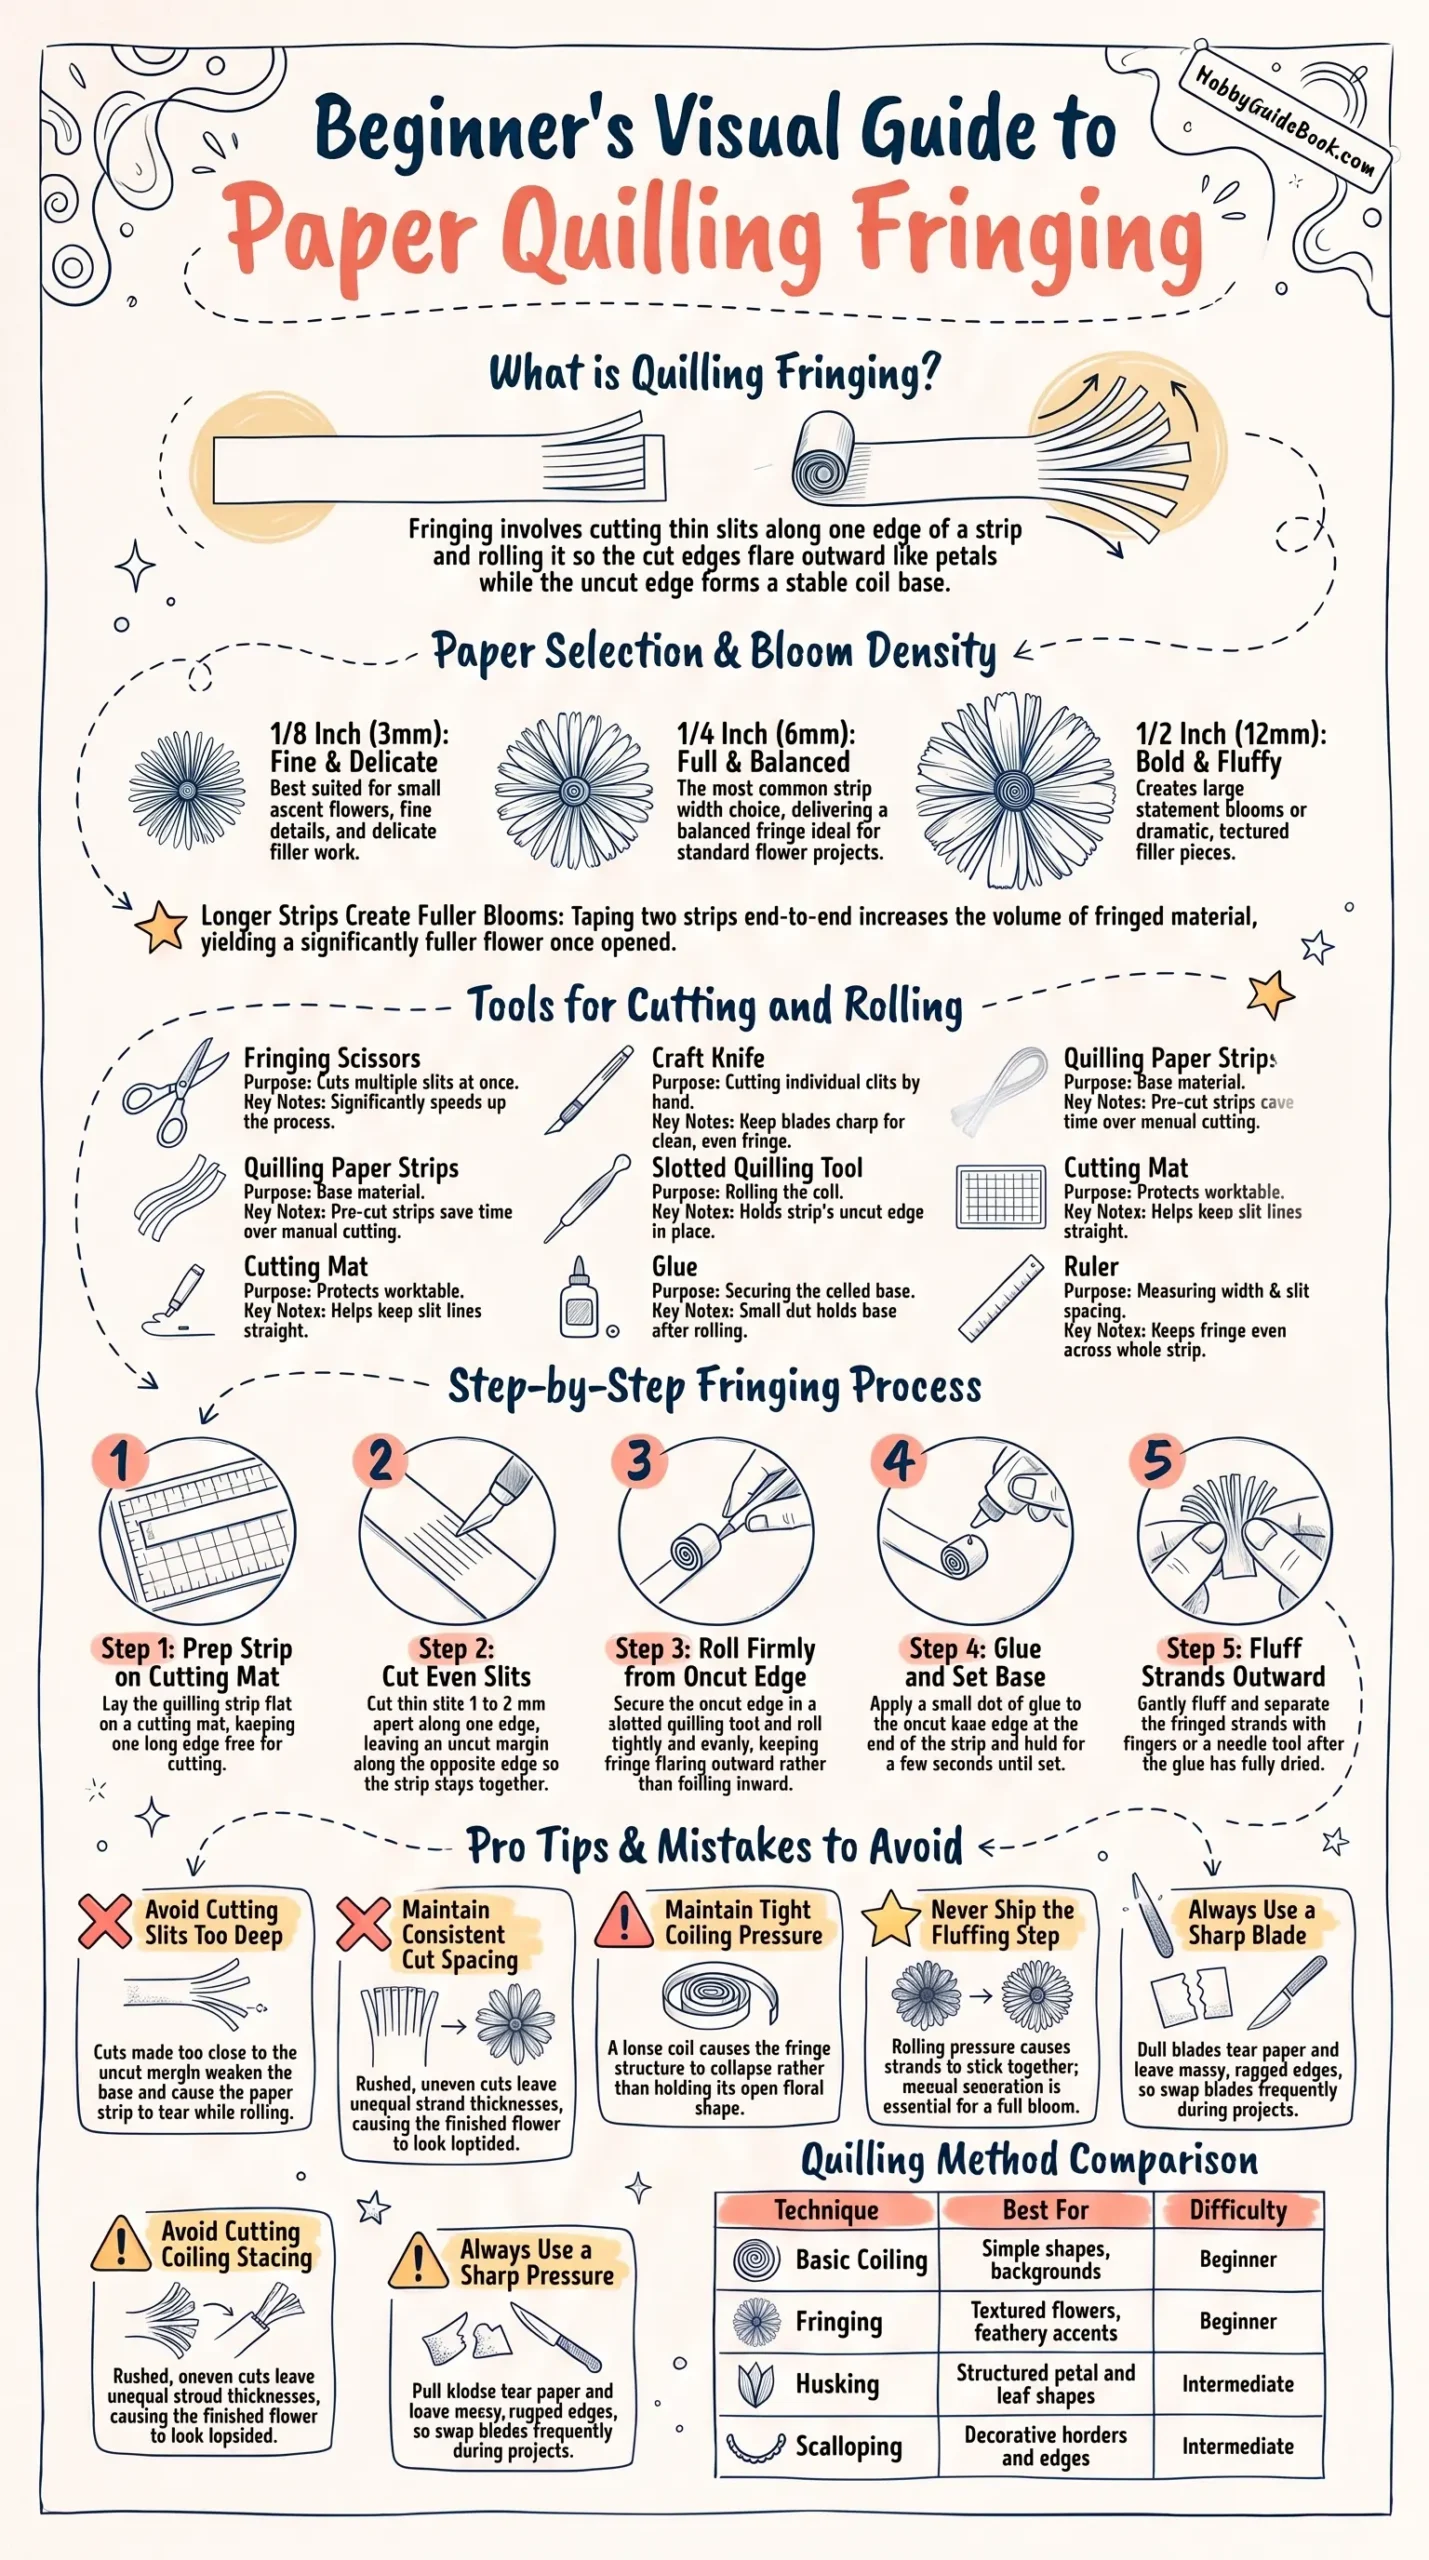
Fringing is the process of cutting a series of thin slits along one edge of a quilling strip, then rolling that strip into a coil so the cut edges flare outward like petals or feathery texture. The uncut edge becomes the base of the coil, while the fringed edge opens up into soft, delicate strands once released.
It's a simple idea with a big visual payoff. A fringed flower quilling piece looks far more intricate than the actual technique requires, which makes it one of the better tricks to have ready when a project needs a wow factor without hours of extra work.
Tools for Cutting and Rolling Quilling Fringe
The right tools make a real difference here, since fringing depends on clean, even cuts far more than most other quilling techniques.
Tool
Purpose
Notes
Fringing scissors
Cuts multiple slits at once
Speeds up the process significantly
Craft knife
Cutting individual slits by hand
Keep blades sharp for clean, even fringe
Quilling paper strips
The base material
Pre-cut strips save time over cutting your own
Slotted quilling tool
Rolling the coil
Holds the strip's uncut edge in place
Cutting mat
Protects your worktable
Also helps keep slits straight
Glue
Securing the coiled base
A small dot holds the fringe in place after rolling
Ruler
Measuring strip width and slit spacing
Keeps fringe even across the whole strip
Having these basics on hand covers nearly every fringed project, whether you're making one flower or filling out an entire quilled bouquet.
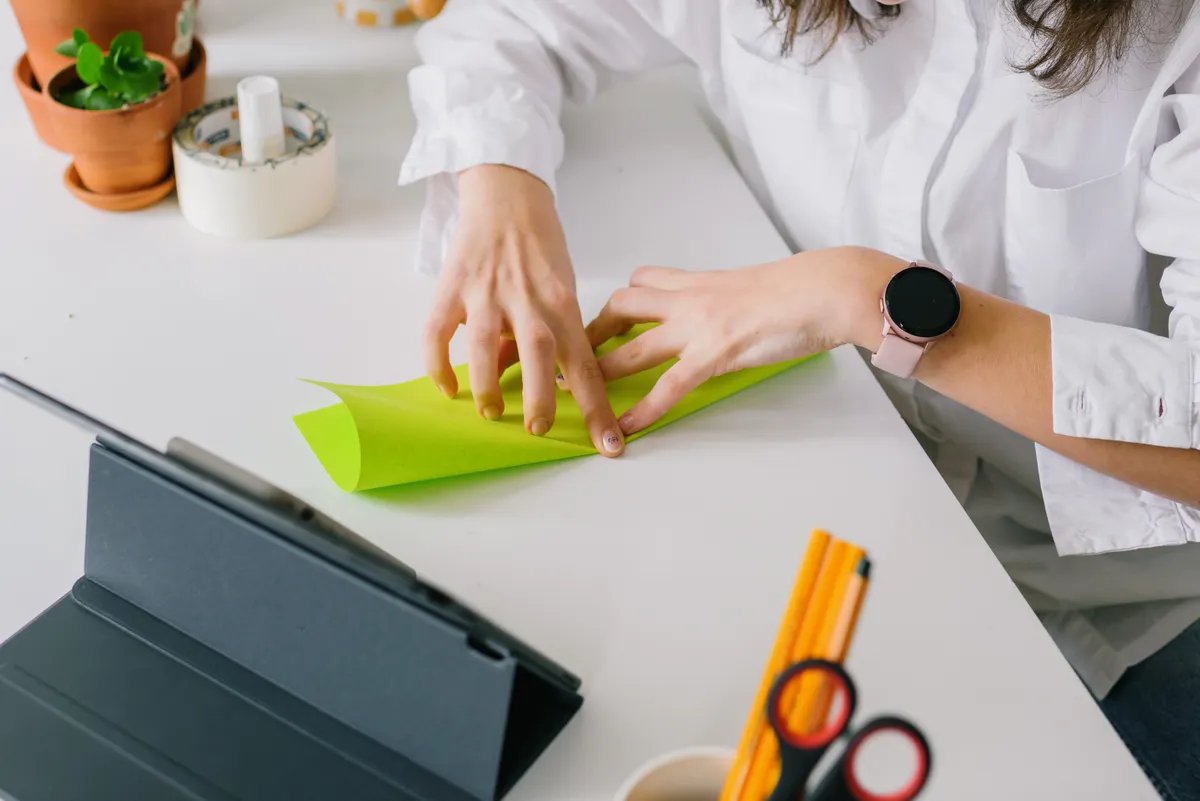
Photo Credit: Hobby Guidebook Editorial
What Paper Width Works Best for Quilling Fringe
Strip width matters more with fringing than with basic coiling, since the width determines how full or delicate the finished flower looks. Standard quilling paper comes in a few common widths, and each one changes the outcome.
1/8 inch (3mm) strips create fine, delicate fringe, best for small accent flowers or detail work.
1/4 inch (6mm) strips are the most common choice, giving a full, balanced fringe that suits most flower projects.
1/2 inch (12mm) strips create bold, fluffy fringe, good for larger statement flowers or textured filler pieces.
Longer strips also produce fuller flowers, since more fringed material means more petals once the coil opens up. I usually reach for two strips taped end to end when I want an especially full bloom.
Step by Step: How to Fringe Quilling Paper
Once you've got your strips and tools ready, the actual fringing process moves fairly quickly.
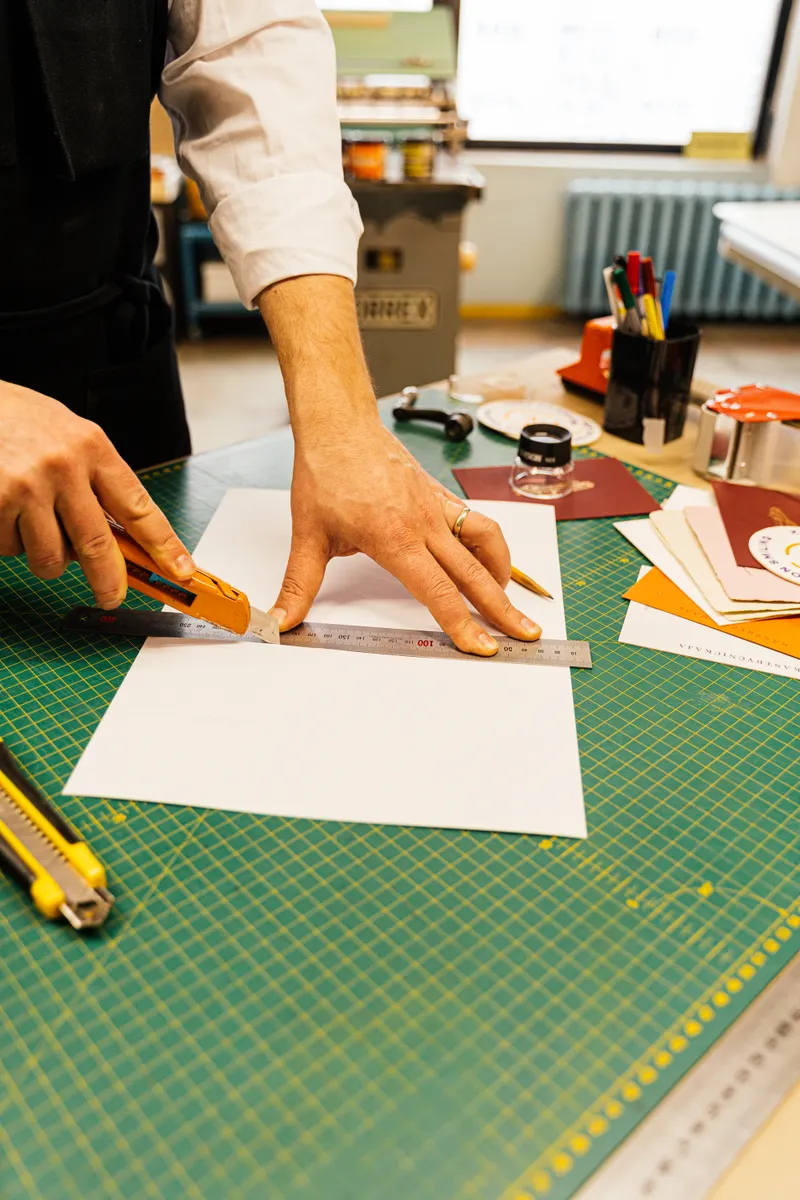
Lay your quilling strip flat on a cutting mat, keeping one long edge free for cutting.
Cut thin slits along one edge of the strip, spacing them about one to two millimeters apart. Leave a small uncut margin along the opposite edge so the strip holds together as a single piece.
Use fringing scissors for speed, or a craft knife if you want more control over slit spacing on smaller or more delicate projects.
Keep your cuts even in length, stopping each slit at roughly the same depth so the fringe flares out uniformly once rolled.
Check your blade before starting a long strip. A dull blade tears the paper instead of slicing clean lines, which leaves ragged fringe that looks messy once it opens up. Swap blades often, especially on longer projects.
This is also a good point to mention that rolling technique matters just as much as cutting. If you haven't worked much with basic coils yet,Quilling Coiling Technique covers the rolling fundamentals that fringing builds directly on top of.
Photo Credit: Antoni Shkraba
How to Make a Fringed Quilling Flower
Turning a fringed strip into an actual flower is where the technique really shows off.
Start rolling from the uncut edge, using a slotted quilling tool to hold the strip's base in place.
Roll the strip tightly and evenly, keeping the fringed edge flaring outward as you go rather than folding inward.
Continue rolling until you reach the end of the strip.
Glue the uncut base edge to secure the coil, holding it in place for a few seconds until the glue sets.
Gently fluff the fringed strands outward with your fingers or a needle tool, separating any strands that stuck together during rolling.
Let the glue dry fully before attaching the flower to your project, usually just a few minutes for a small dot of glue.
"A fringed flower is really just a coil wearing a costume." That's how I explain it to beginners, since the coiling underneath is the same skill they already know, just dressed up with texture.
Once you're comfortable with a single fringed flower, it's worth exploring how these blooms pair with other paper flower styles for fuller arrangements.Paper Flower Making Techniques covers additional petal shaping methods that combine nicely with fringed centers or accents.
Pro Tips and Common Mistakes to Avoid
A few patterns show up again and again with beginners working through their first fringed quilling pieces.
Cutting slits too deep. Slits that go too close to the uncut edge weaken the base and can cause the strip to fall apart while rolling.
Uneven slit spacing. Rushed cuts leave some sections thicker than others, which makes the finished fringe look lopsided once opened.
Rolling too loosely. A loose coil lets the fringe collapse instead of holding its shape. Roll firmly and consistently from start to finish.
Skipping the fluffing step. Fringe often needs a gentle separation after rolling, since strands can stick together from the rolling pressure alone.
Using a dull blade for hand-cut fringe. As mentioned above, this is one of the fastest ways to ruin an otherwise good strip of paper, so keep spare blades within reach.
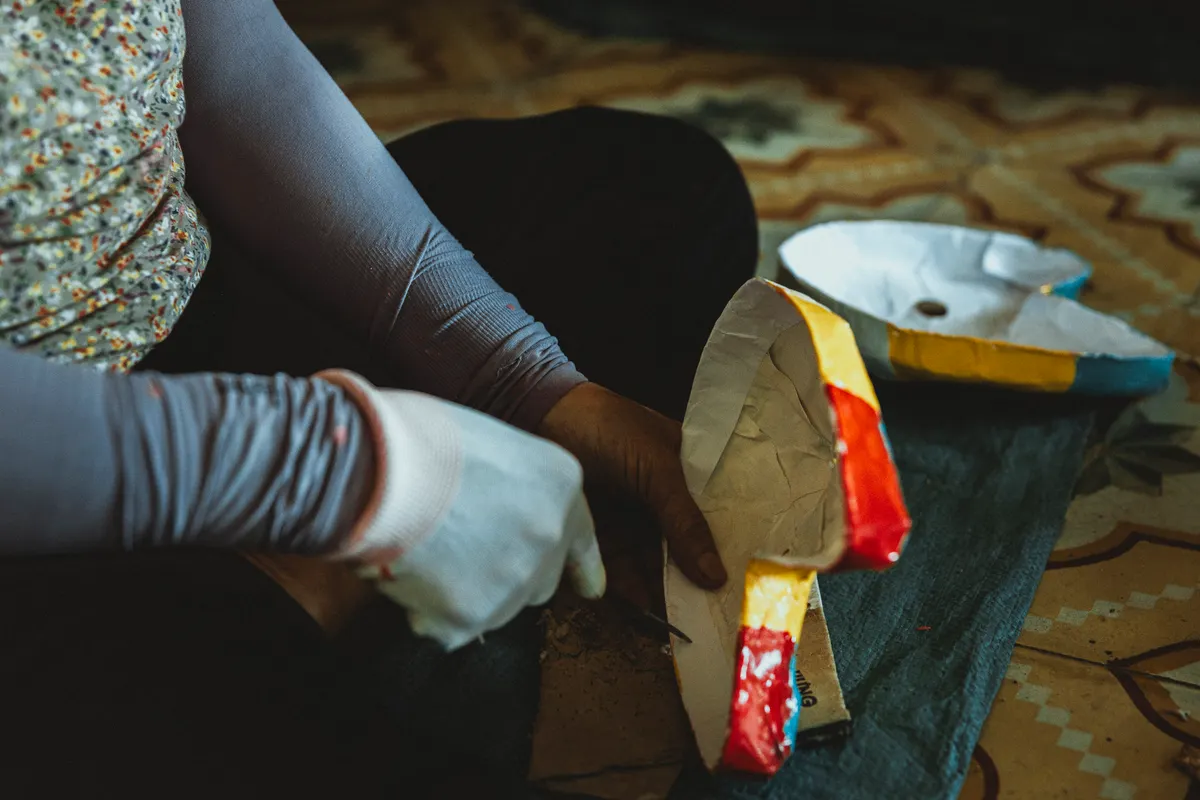
Photo Credit: Lucas George Wendt
Fringing Compared to Other Quilling Techniques
Here's a quick comparison to help decide when fringing fits a project better than other common quilling methods.
Technique
Best For
Difficulty
Basic coiling
Simple shapes, backgrounds
Beginner
Fringing
Textured flowers, feathery accents
Beginner
Husking
Structured petal and leaf shapes
Intermediate
Scalloping
Decorative borders and edges
Intermediate
Frequently Asked Questions
What is quilling fringing? Quilling fringing is a technique where thin slits are cut along one edge of a paper strip, which is then rolled into a coil so the cut edges flare outward. It's most often used to create textured flowers or feathery decorative accents.
How do you fringe quilling paper? Lay the strip flat and cut evenly spaced slits along one edge, leaving a small uncut margin on the opposite side to hold the strip together. Fringing scissors speed up the process, while a craft knife offers more control for delicate work.
What tool is best for cutting quilling fringe? Fringing scissors are the fastest option, since they cut multiple slits in one motion. A sharp craft knife works well too, especially for smaller strips where precise, controlled spacing matters more than speed.
How do you make a fringed quilling flower? Roll a fringed strip from its uncut edge using a slotted quilling tool, keeping the fringe flared outward as you go. Glue the base to secure the coil, then gently fluff the strands apart once the glue has set.
What paper width works best for quilling fringe? Quarter inch (6mm) strips are the most common choice and give a full, balanced fringe for most flowers. Thinner 1/8 inch strips suit delicate accents, while 1/2 inch strips create bolder, fuller blooms.
Bringing Your Fringed Flowers to Life
The quilling fringing technique comes down to clean cuts, even spacing, and a firm, steady roll once the fringe is ready. It's a simple skill built on the same coiling basics most quillers already know, just with a little extra texture layered on top.
Start with a single fringed flower using quarter inch strips, and once the cutting and rolling feel natural, try mixing widths for fuller, more layered blooms.


Leave a Reply